
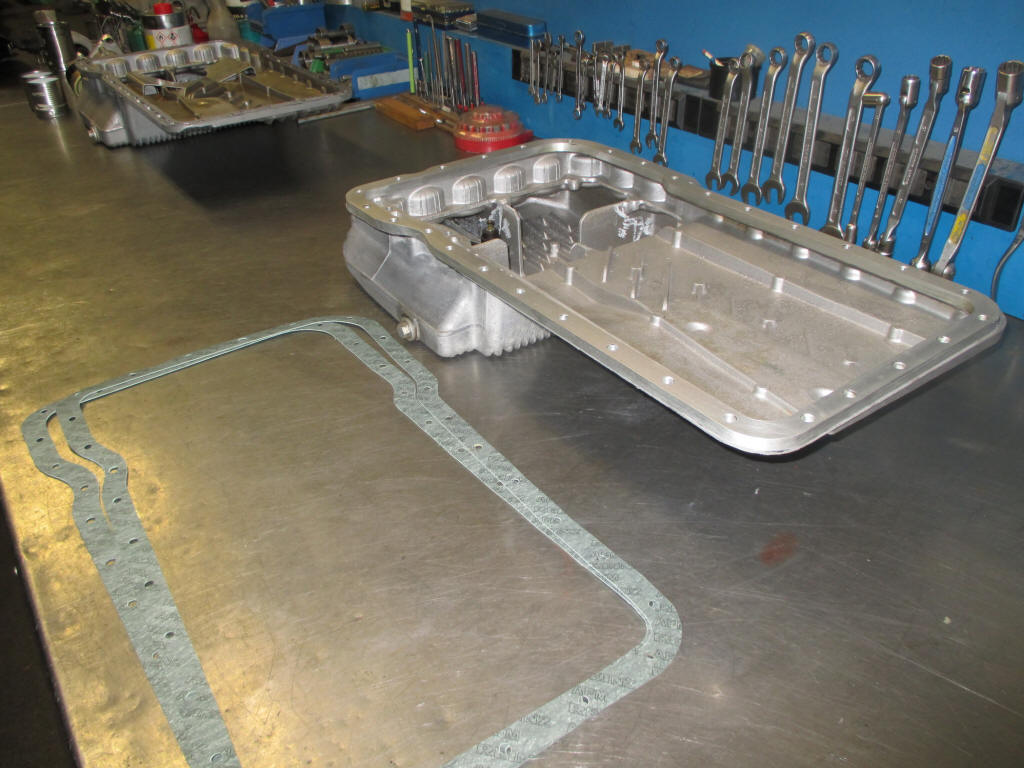
There is a lot of discussion about oil pan seals. Cork, which hardens and shrinks, and eventually will need retensioning the bolts but still leak... Or maybe the silicone gasket that was introduced a while ago? Buy the latest from 928sRus (Roger)? Or maybe use the material from Victor Reinz and make your own like Ake did:, see pics below


Carefully and gradually torque the bolts to 7Nm. That should do it.
regards, Theo
====
If you want to make your own oil pan gasket, it helps to have a template that can be used to cut the outline and holes.
To make this easier for those who just want an oil pan gasket....
I've attached to this email printable versions of the oil pan gasket drawing. In
Adobe Acrobat (PDF), Adobe Illustrator (AI) and Adobe Photoshop (PSD) formats in
a ZIP file. And the PDF file unzipped for easier downloading. They are scaled to
the correct size paper. You have three options:
1) Give the file to your local print shop (Kinkos, FedEx, poster/banner print
shop, etc). Have them print it out in full size.
2) Look for an online printing service (anywhere that can print blueprints or
posters/banners, etc).
2) Print it out on your home printer in full size. It will print it out on
multiple pages which you can cut and tape together.
These are the settings that I used when printing the PDF version to get the
correct size, which can then be taped together:
Once you have the printout, make sure to carefully measure the gasket template
drawing. The length of the drawing should be 598mm (23.543") and the width at
the widest part should be 332mm (13.071"). Within a few mm is fine.
You can now use the printout as a pattern for the gasket. Either cut the
template out so you have a paper "gasket" to use for the template, or lay it on
your gasket sheet and cut through the paper and gasket at the same time. Either
method will work. The fastest method would be to lay the uncut template down on
the gasket sheet and then use a utility knife to cut through the paper and
lightly score the surface of the gasket sheet. Then, remove the paper and finish
cutting the gasket out, using the scored lines as a guide.
Once you have the gasket cut out, put the paper template back down on it and
mark the centers of the holes by whatever means you prefer. An awl, the tip of a
razor blade, the tip of a small drill bit, etc. Then, remove the paper template
and put your holes into the gasket. If you decide to put the holes in with a
drill, make sure that you place two pieces of wood very close to either side of
the hole to hold the gasket down so it doesn't twist or spiral up the drill bit.
If you use a leather/gasket punch (something like this Amazon Amazon ), then
make sure to only use it on 1/16" or thinner gaskets. Thicker gaskets will split
when using a hole punch. 1/16" may still split, so it's marginal. Best to
practice your holes on the extra gasket material.
For the gasket sheet, you can get it wherever you want, but if you want "easy",
just order it from here:
https://www.gallagherseals.com/kling...-material.html
You can order it big enough for one gasket (30" x 15") or for two gaskets (30" x
30")
For thickness, you have a decision to make:
-1/64" will be very easy to work with, but also so thin as to offer little
benefit in the way of compressing and molding to irregularities in the pan
flange shape.
-1/32" is better, and still easy to cut, and I wouldn't go thinner than this,
personally. This is also the maximum thickness that will reliably accept punched
holes without splitting.
-1/16" is a good compromise in thickness versus ease of cutting. It will take
some effort, but very doable.
-1/8" will most closely match the OEM cork pan gasket thickness after it is
compressed. But, this will be difficult to cut. I found that a few strokes with
heavy pressure from a utility knife with a fresh blade, then turning it over and
finishing from the opposite side worked best.
Whatever you select, I recommend dressing the gasket with a gasket dressing.
Something like Permatex Ultra Black or Drei Bond. You want a thin coating on the
oil pan flange and another thin coating on the "top" of the oil pan gasket so
that you end up with a thin coating between the pan and gasket, and between the
gasket and the block. Thin means that you're not making a gasket with the
dressing, you're just making sure everything has a thin coating to ensure that
any irregularities are filled in.
For a cutting tool, I recommend a fresh blade in a sturdy utility knife for the
most precise cut. I tried a wheeled blade and it just didn't work nearly as well
as the utility knife. I also tried heavy shears but the hinge bolt gets in the
way after a couple of inches.
By far, the easiest way to cut the gasket is to use good quality tin snips. And
if you have the left/right hand curve versions, they help a lot with the curves
in the gasket. This is a very easy method to cutting the gasket, but the edges
won't come out as perfectly as if you use a utility knife. If you use tin snips,
you'll want to clean up any burs or irregularities with a utility knife.
For the 1/8" thick gasket material, you can try the score and bend method. This
is where you deeply score the top of it, cut perpendicular lines with tin snips,
then bend the resulting flaps backward. Then, use a utility knife to cut the
"hinge" from the back side. Sort of like drywall. If done carefully, it will
turn out fine with minimal cleanup of the edges needed.
In summary...
1) Print out the template.
2) Trace the template onto the gasket sheet (either cut it out and trace with
pen, or score the gasket sheet with a utility knife through the paper template).
3) Cut the gasket out.
4) Drill/punch the holes.
Oil Pan Gasket DIY Printable Template.pdf
