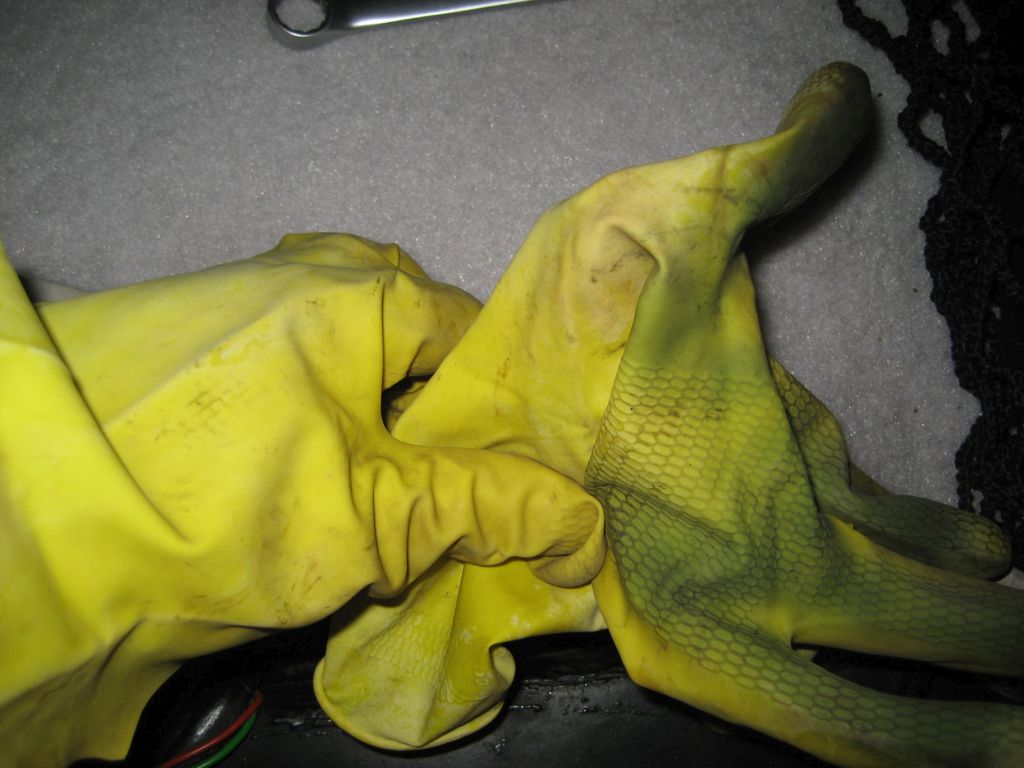
2) Once your 928 is in position, disconnect your battery at the battery ground strap-chassis point hidden under the tool kit panel. I put a rubber glove over the cable after to stop it shorting out anywhere.
Engine Mountings Porsche 928 S4 1990 Rhd.
4 years ago I did the engine mounts on my S4. I installed the solid mounts thinking they were a good long-term solution. I guess I got unlucky; maybe a bad batch on production. After only 2 weeks of driving on them the sump was way below the crossmember like the OEM failed mounts. I had to fit a speed mount from Garage9.com as a temporary fix. Been running on that since 2018 and now, inevitably, the pressure that puts on the sump has led to a failed sump gasket leaking badly. So, time to fit OEM mounts+new sump gasket.
1)
If you have a car lift, get your 928 up on it with the best access you can create to work under the engine safely. If you don't have a lift, you MUST support the car safely on axle stands. Get your 928 as high off the floor as you can to make access easiest as you'll be under the engine a long time doing this work.2) Once your 928 is in position, disconnect your battery at the battery ground strap-chassis point hidden under the tool kit panel. I put a rubber glove over the cable after to stop it shorting out anywhere.
3)
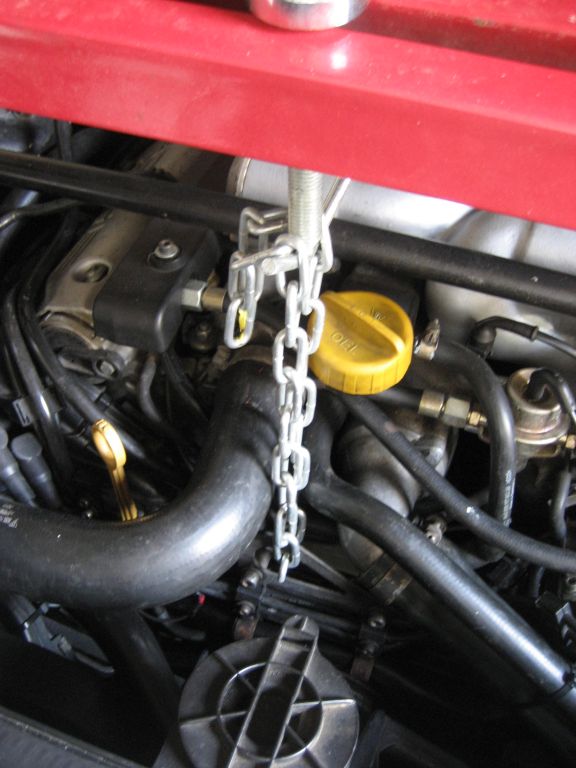
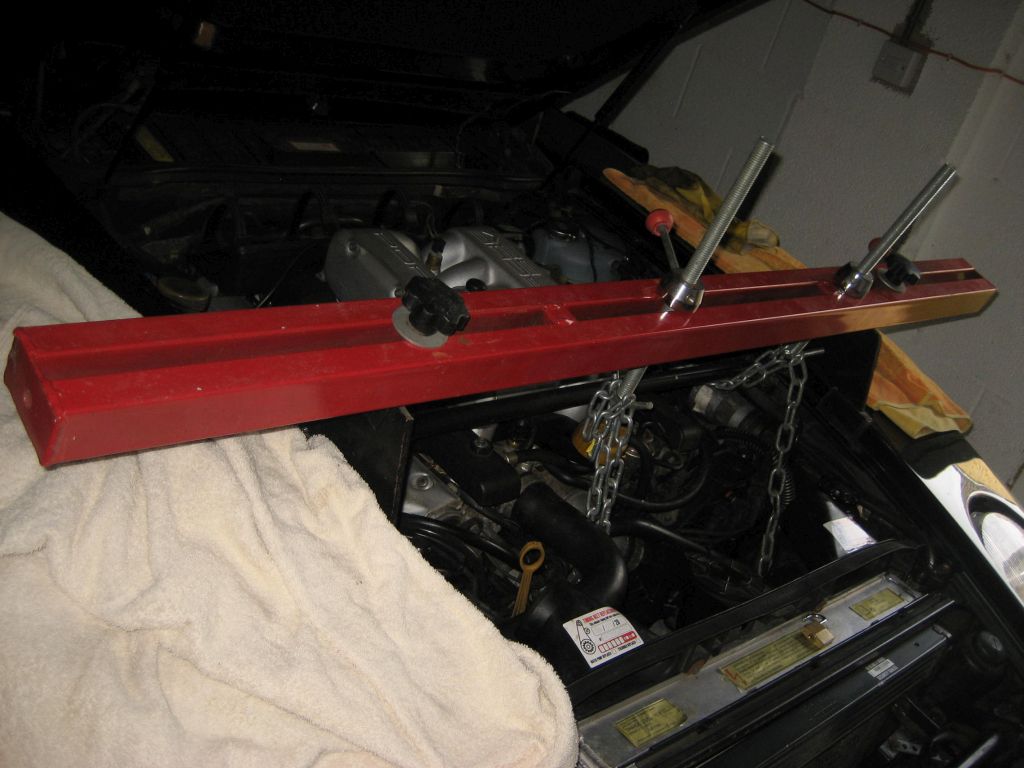
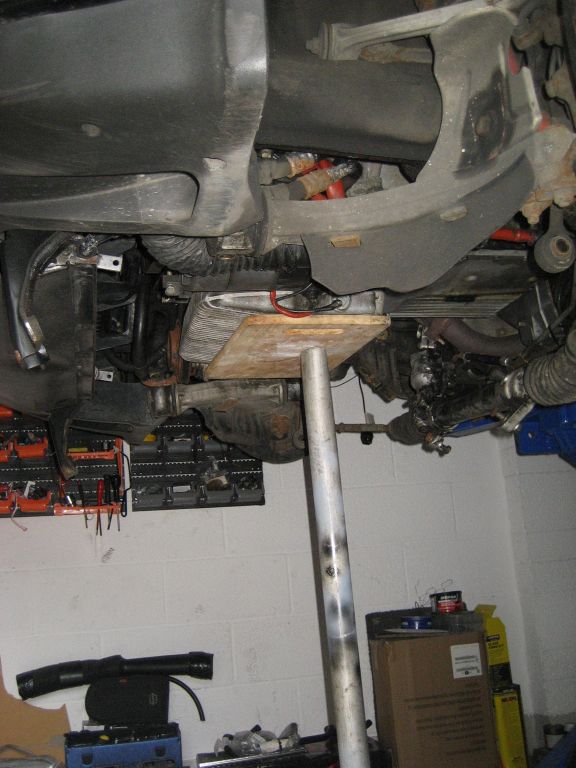
I use an engine bay installed engine support crossmember to support the engine at the lifting points using chains and padlocks. See pic's. You can buy these useful items almost anywhere online. Make sure you buy VERY STRONG chains and ALWAYS padlock them in position.


4)
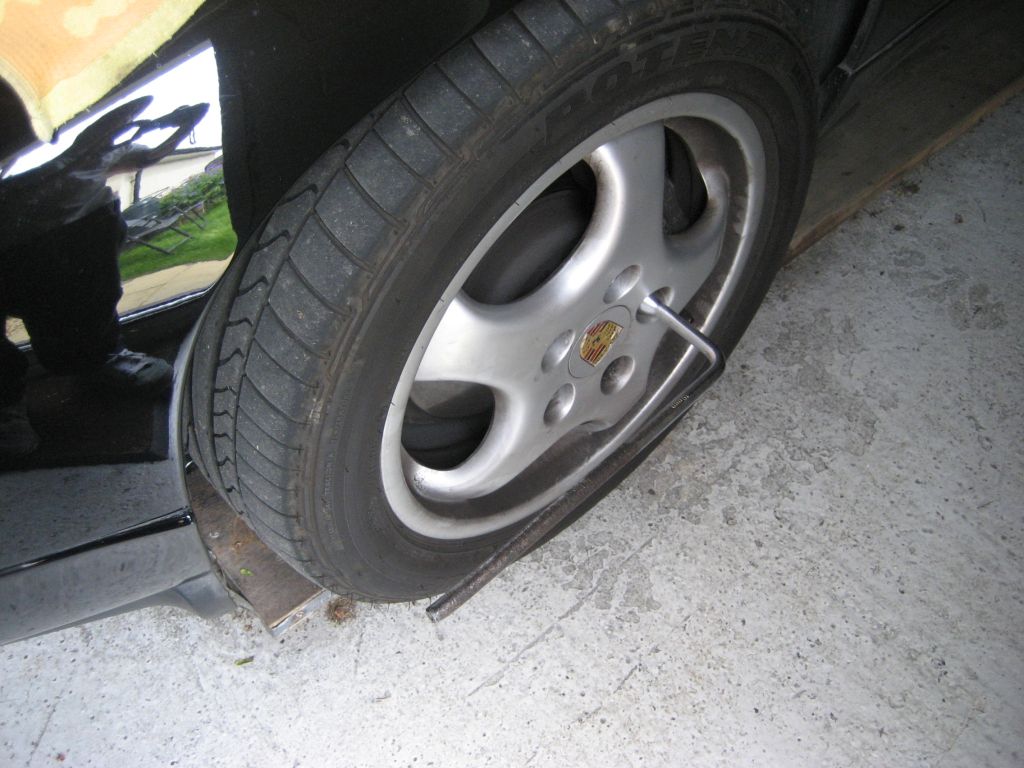
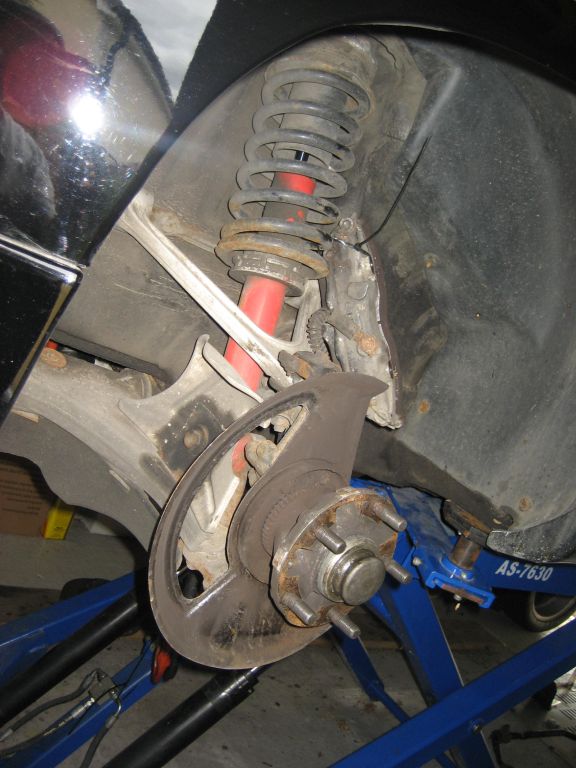
Before raising the car off the ground, undo your front wheel nuts. Raise your 928 up and remove the front wheels. The reason to remove the front wheels is that you don't want all that weight pulling down on the front suspension; it will make realigning the suspension on reassembly impossible.
5)
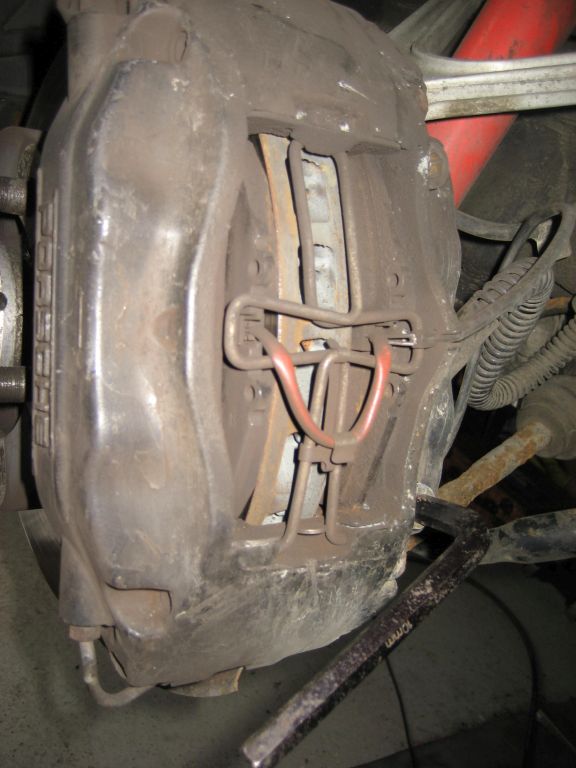
This step is optional. I also remove the front brake discs+calipers as again it removes weight off the front suspension making reassembly MUCH EASIER.

6)
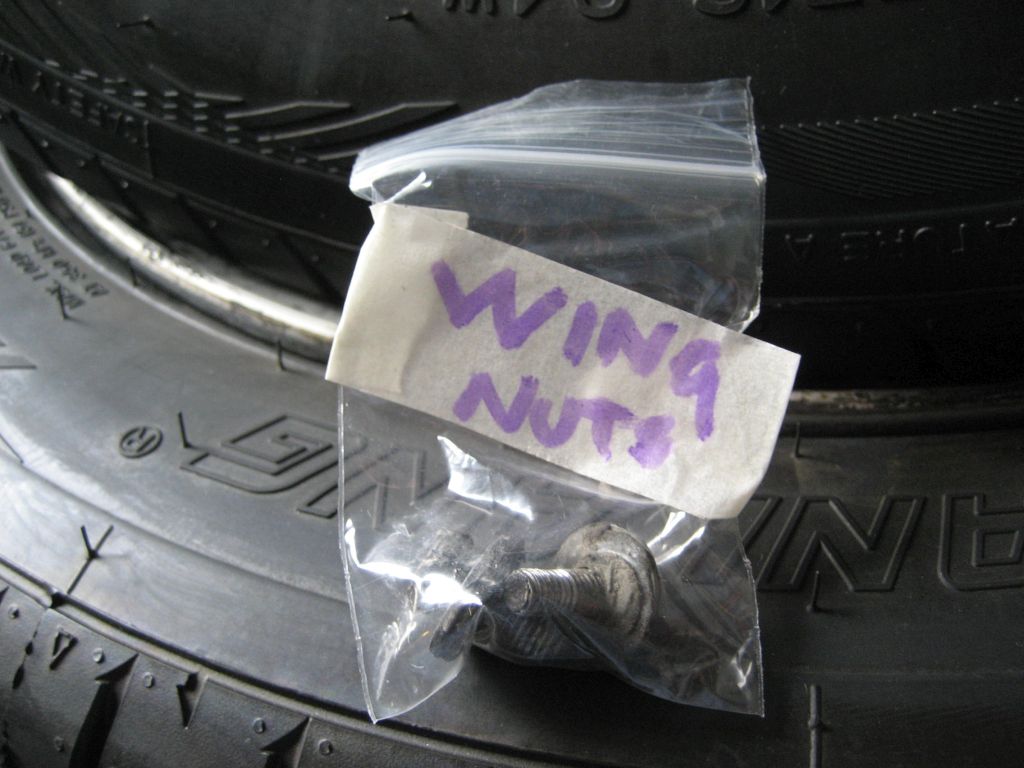
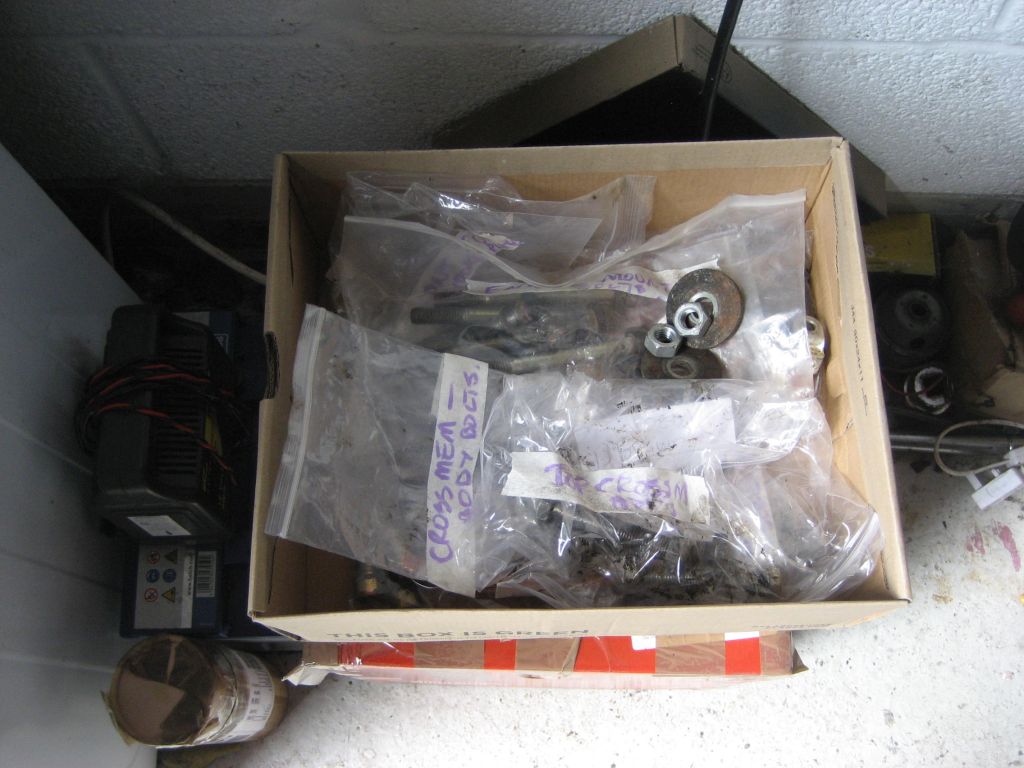
Get a cardboard box and as many spare, clear plastic bags as you can. EVERY set of bolts+screws you remove from your 928, place them in a separate bag and label them as shown. This makes reassembly much easier as everything is organized. It's surprising how many bolts+nuts engine mount work removes form the 928!


7)
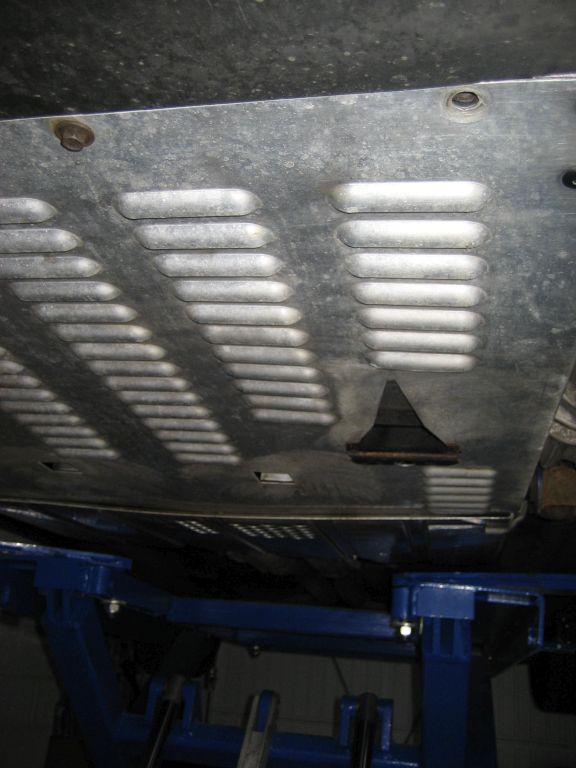
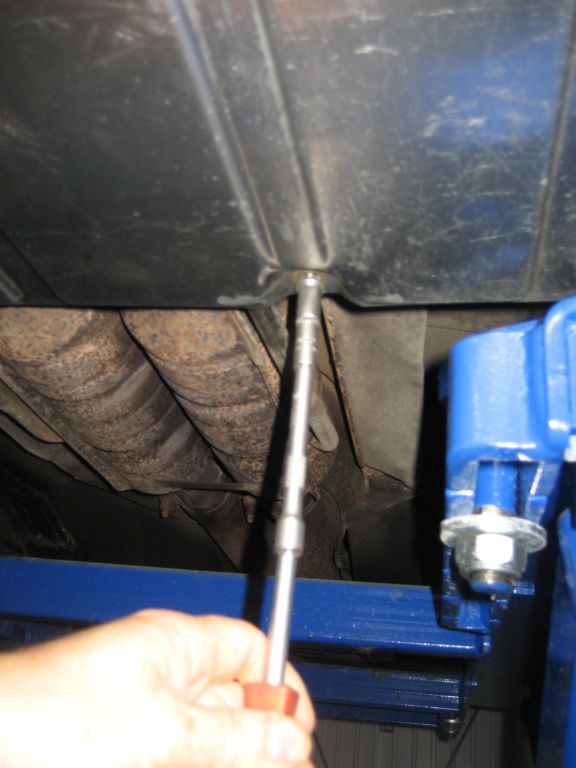
Remove the undertrays from you 928. Store screws in bags +box as shown.
8)
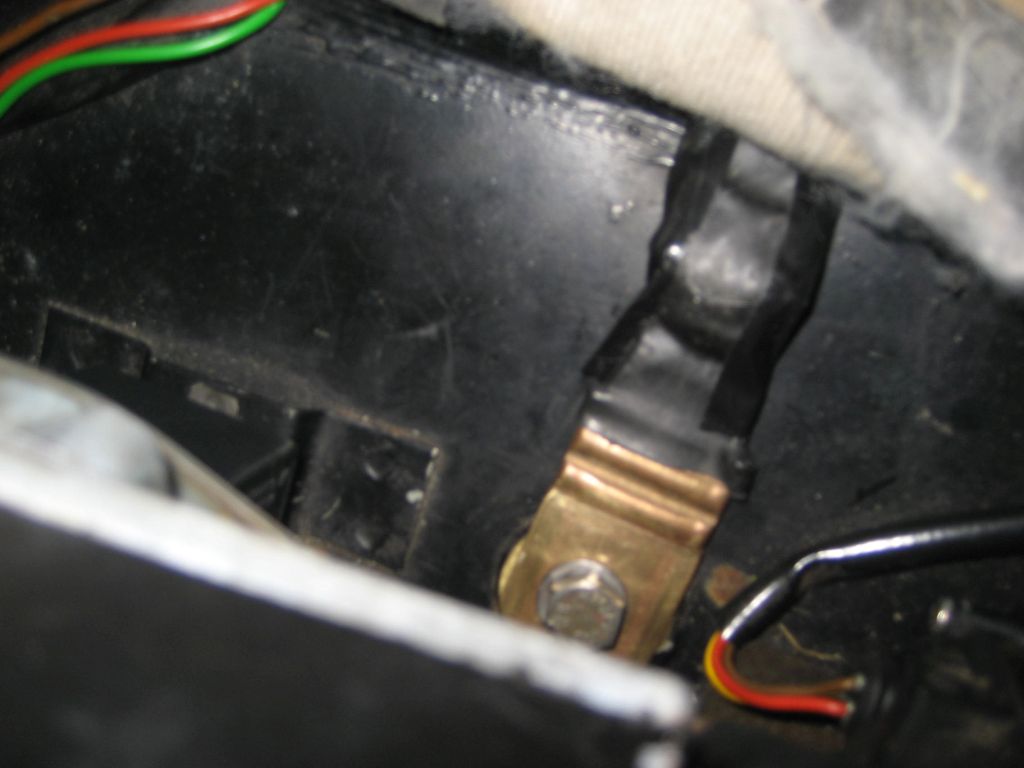
Remove engine-chassis strap.
9)
I think engine mount removal is made MUCH EASIER with lots of access. So, I remove the front anti-roll bar completely.


10)
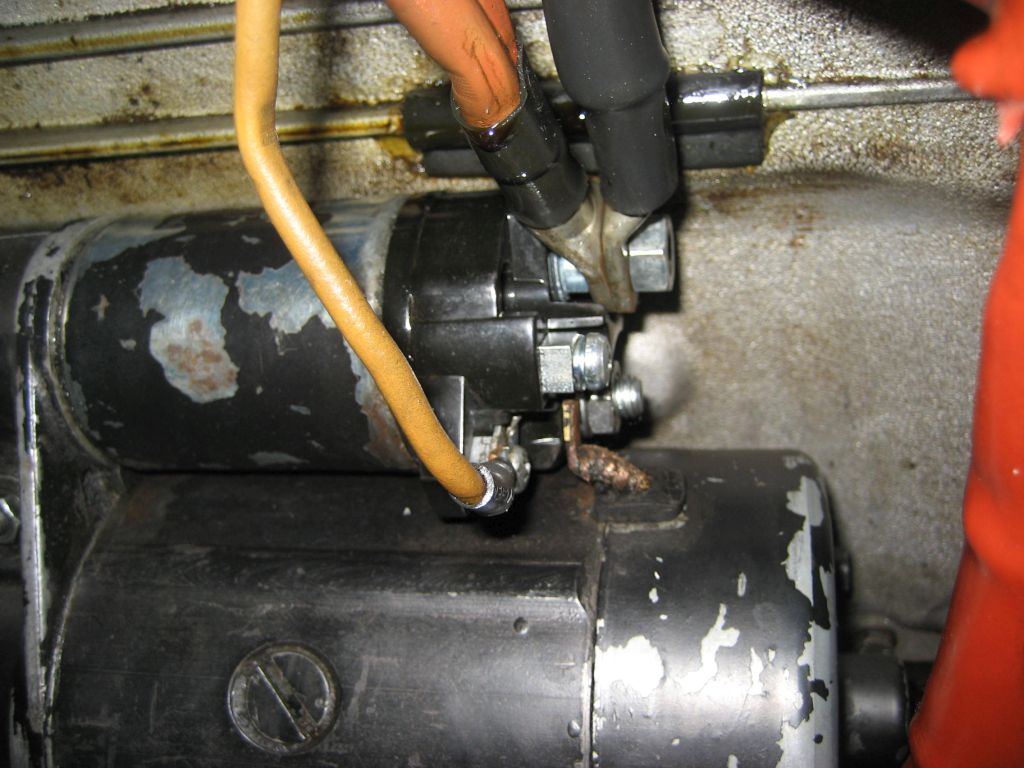
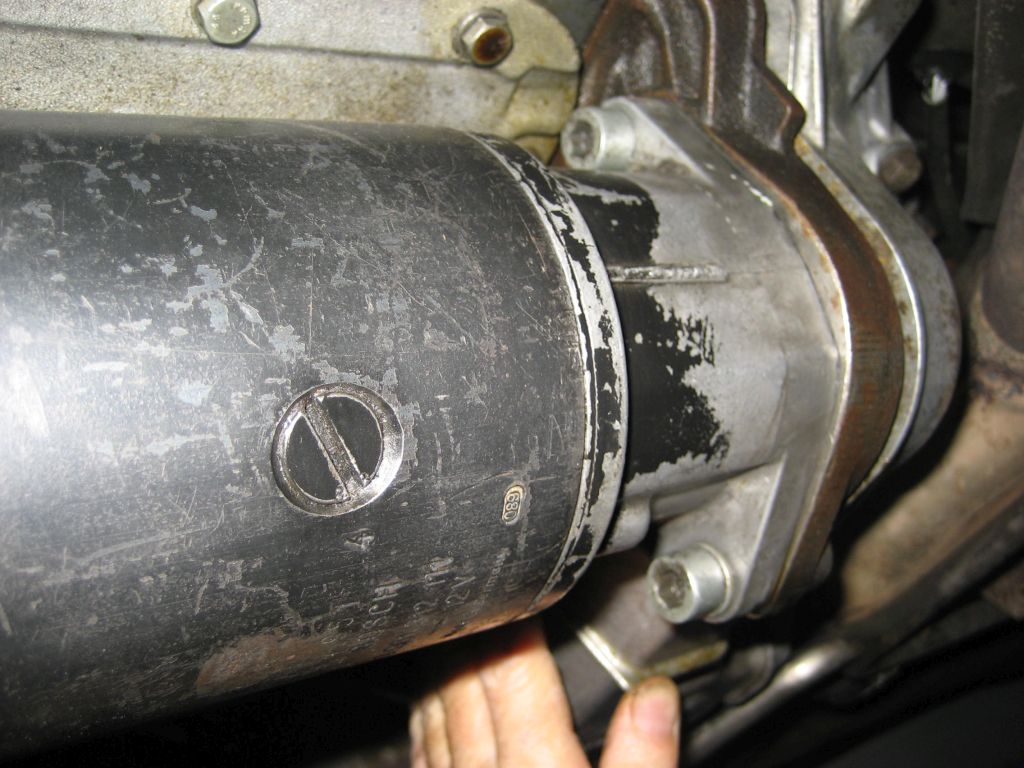
Remove the starter motor.
11) Go to the front of the car underneath and find what I guess are called the front tow hooks. Using a BIG bar, crack loose, the 2x19mm bolts that hold them to the front lower A-arm. Then look further to the front of these tow-hooks, and there is 2x 17mm nuts+bolts holding them. Remove the rear one completely and just loosen the front one. Remove the 2x 19mm bolts and the tow-hook will drop forwards out of the way. Repeat and the other side.


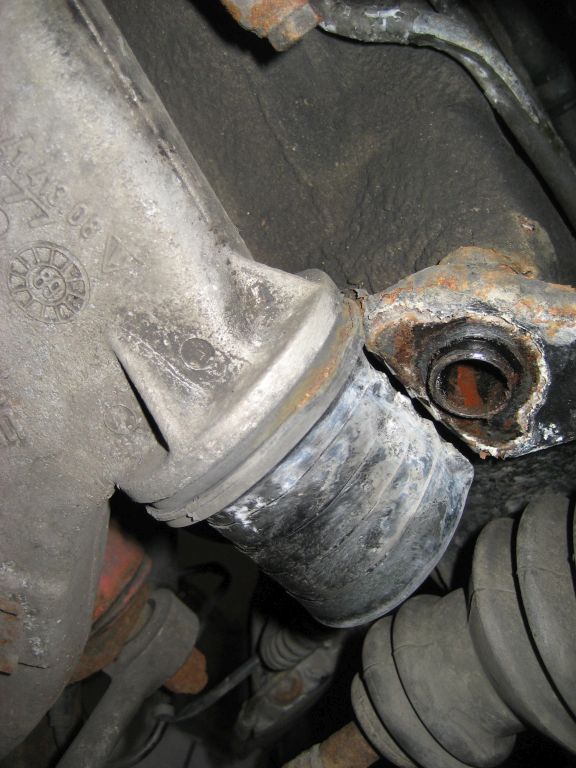
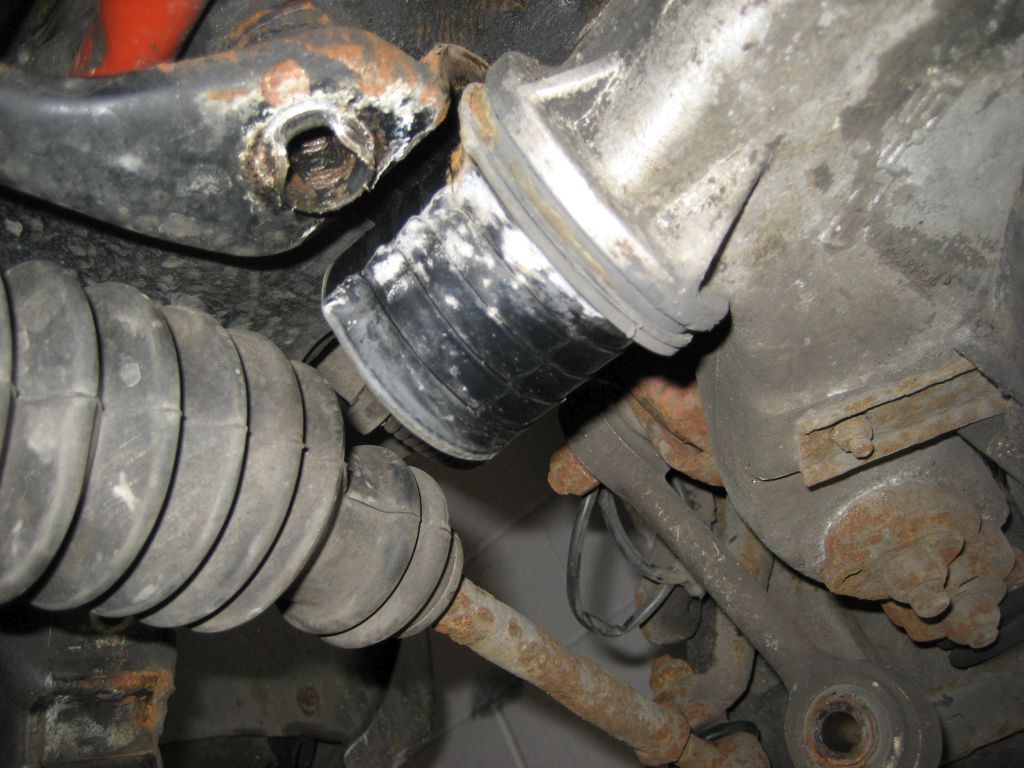
12)
Find the 2x19mm bolts holding the fixing bracket for the lower a-arm near to the steering rack. Remove these with a big bar+ratchet, and the bolts+bracket will drop away. Store safely. The lower a-arm is now free. Repeat on the other side.


13)
Look at the steering rack. There is 4x 17mm bolts+nuts holding it in place+to the protection plate. Undo these nuts holding the bolts still with a spanner. You might need a rubber mallet or punch to push them up out of their holes through the rack.
14)
Remove the protection plate. There is 4x 13mm nuts to undo that come off the engine crossmember and 2x 19mm bolts that afix to the car body at either end of the plate and hold the plate to the chassis.

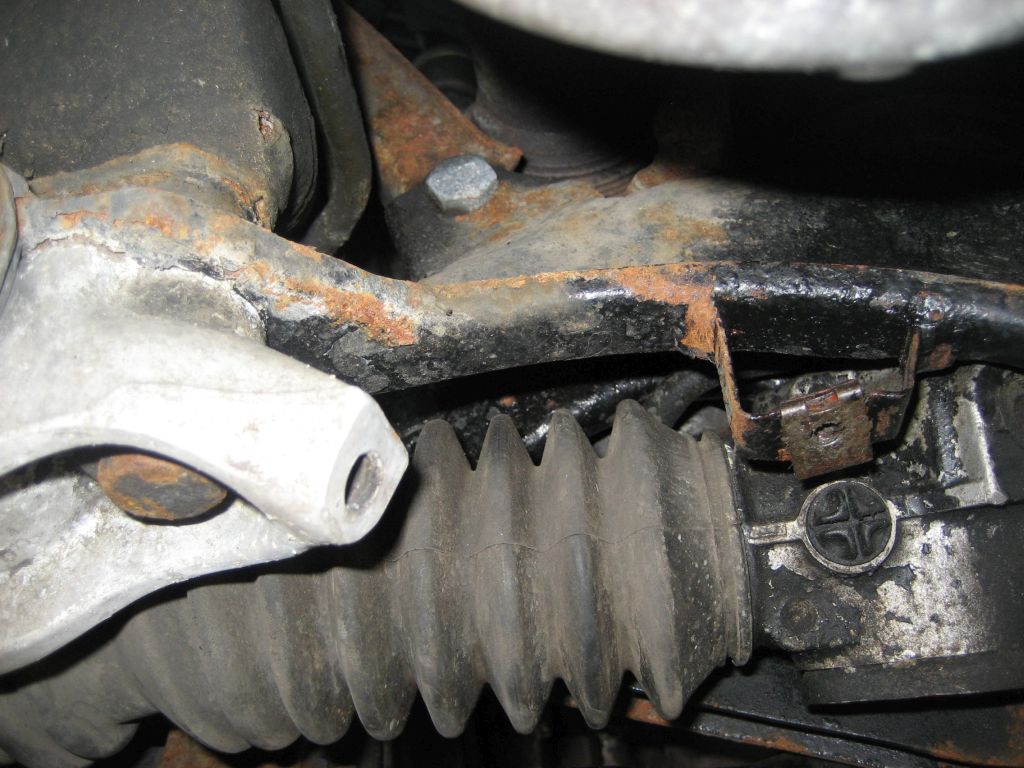
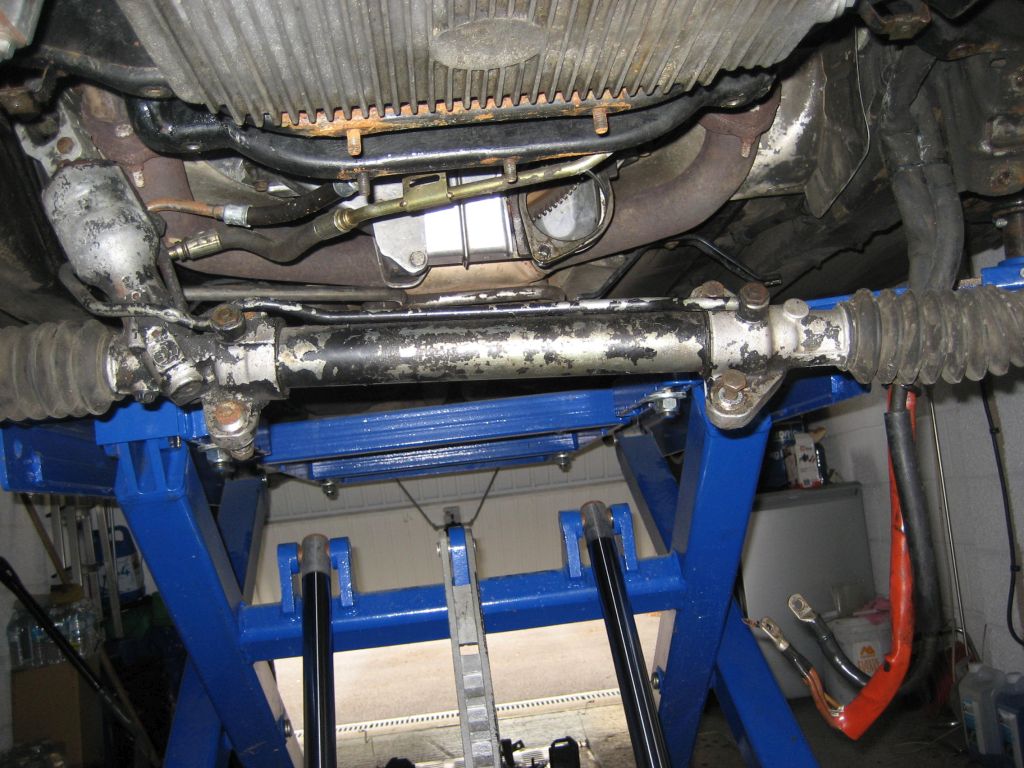
15)
Now, using a lever bar, gentle pull the steering rack down and move it away towards the torque tube. I use a tie-wrap to hold it in place.

16)
Undo the bolts holding the power steering lines+starter motor wiring to the engine crossmember at the rear, and move the wiring+lines away.
17)
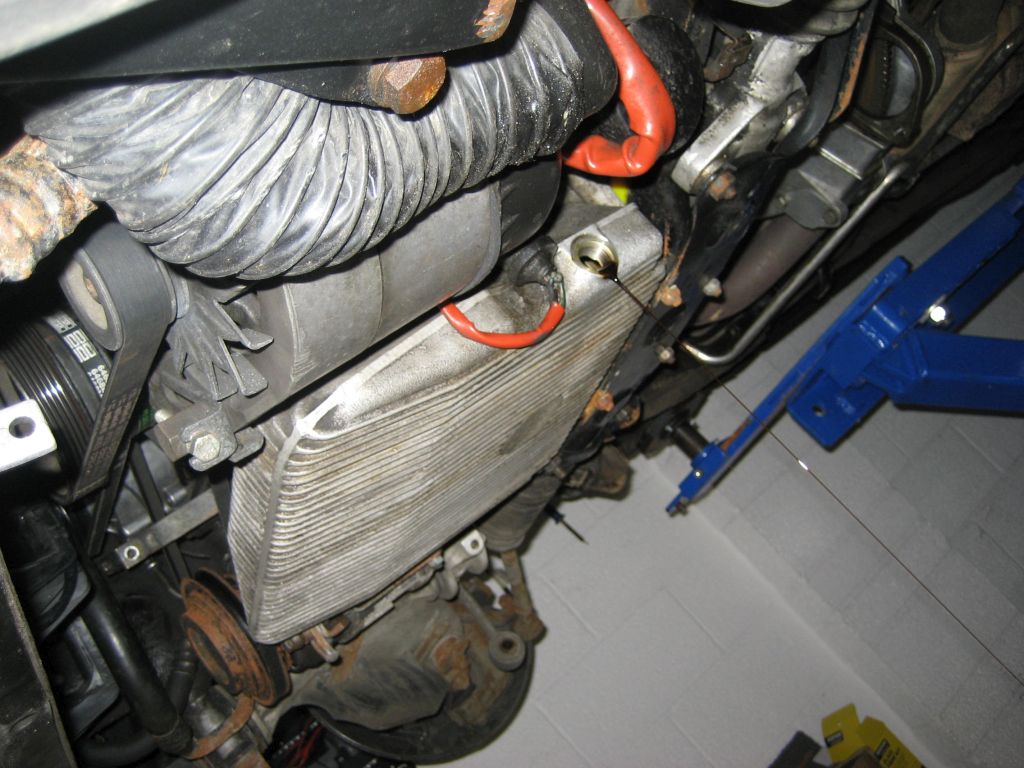
Locate and undo the 4x bolts that attach the engine mounts to the engine block. I also undo the lower engine mount nut here that is fix to the crossmember as I find it easier with the mount in sit.
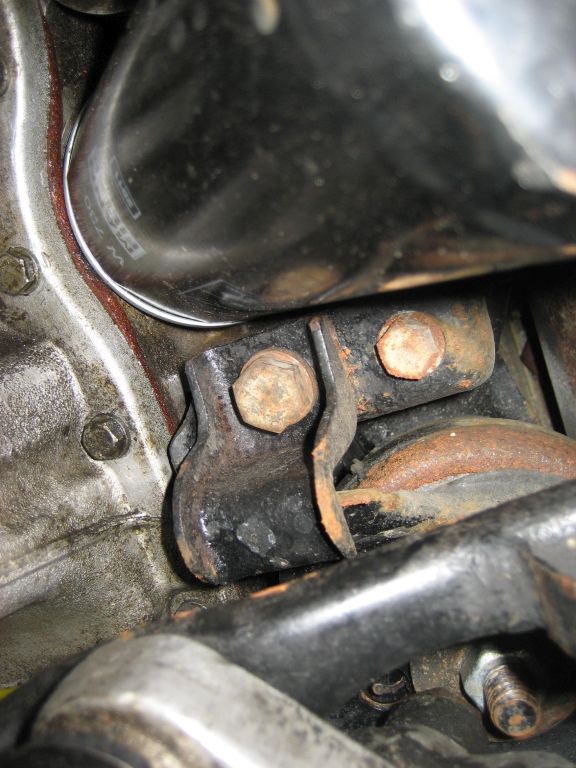

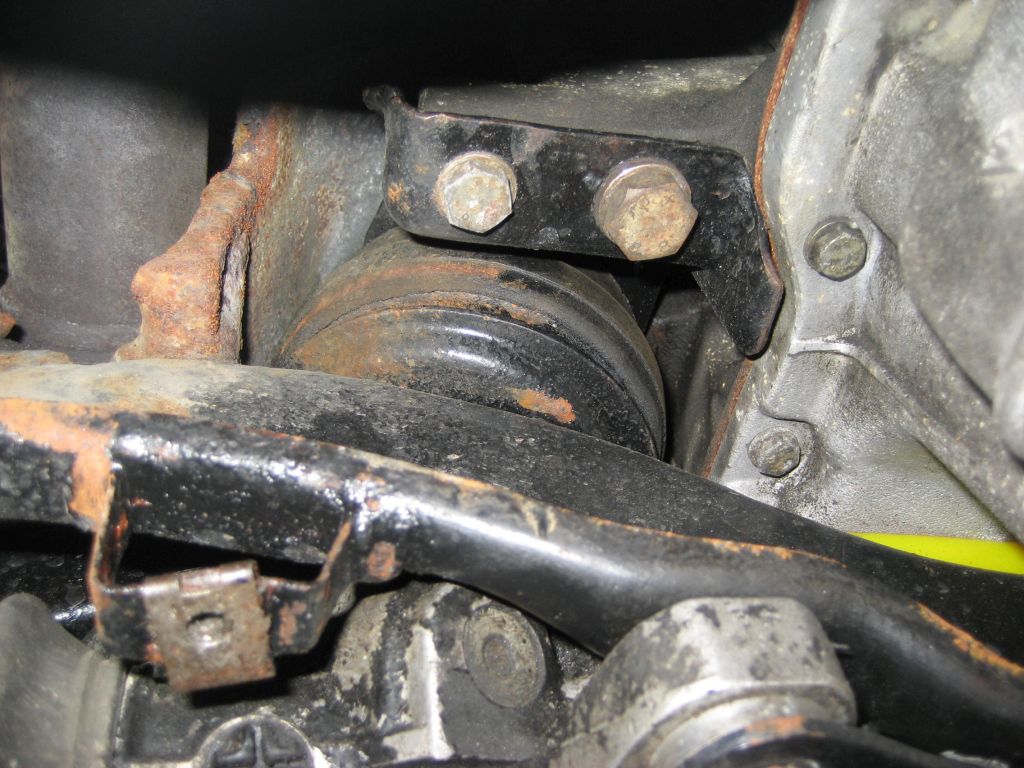
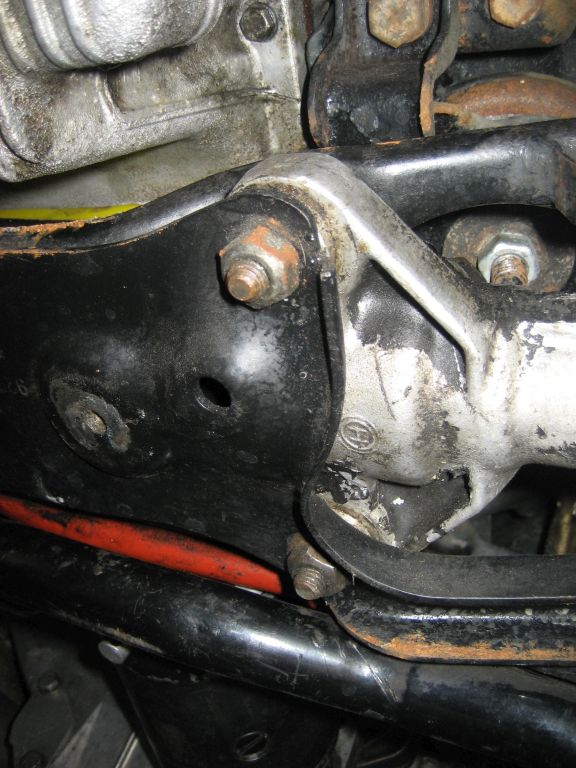
18)
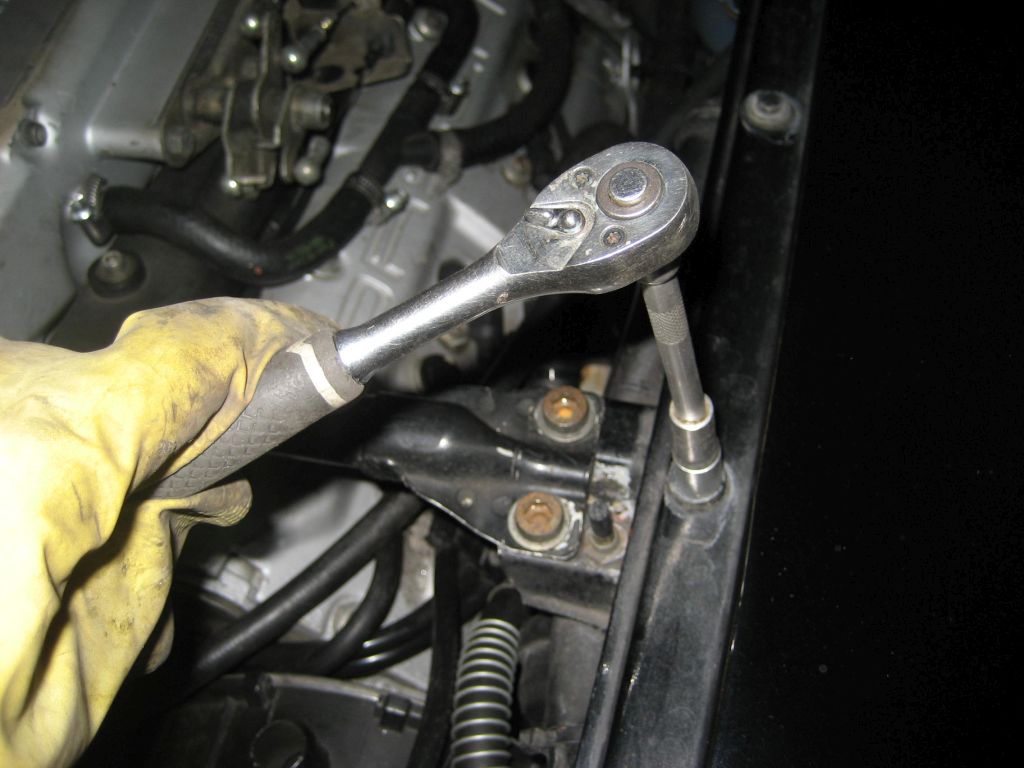
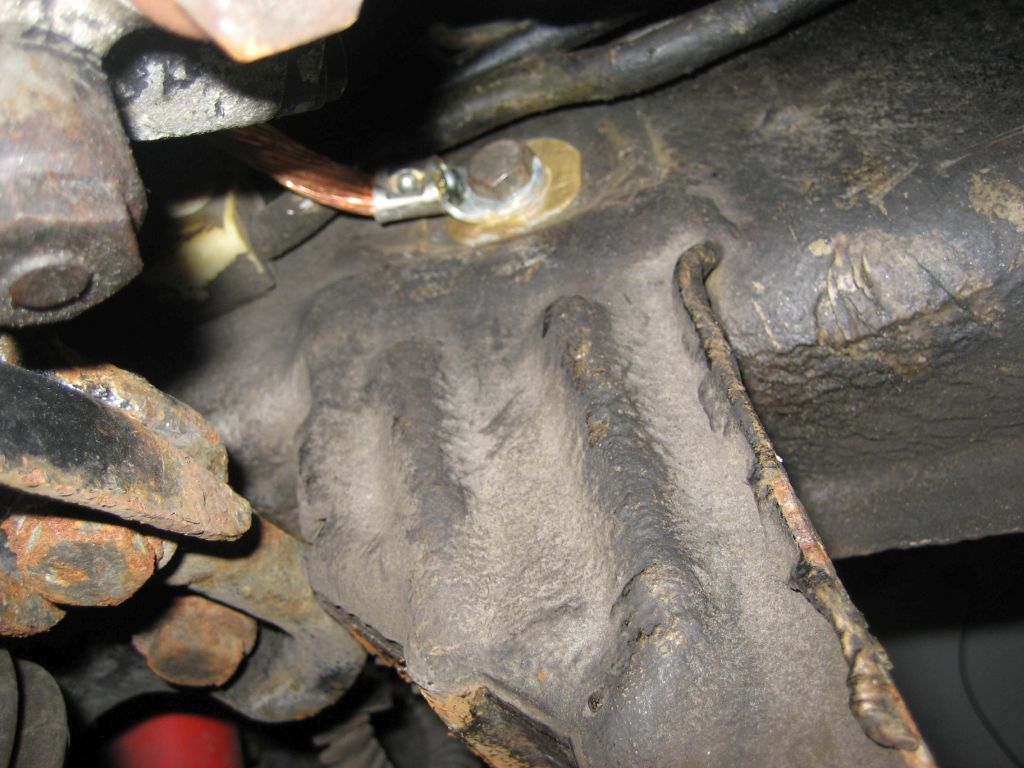
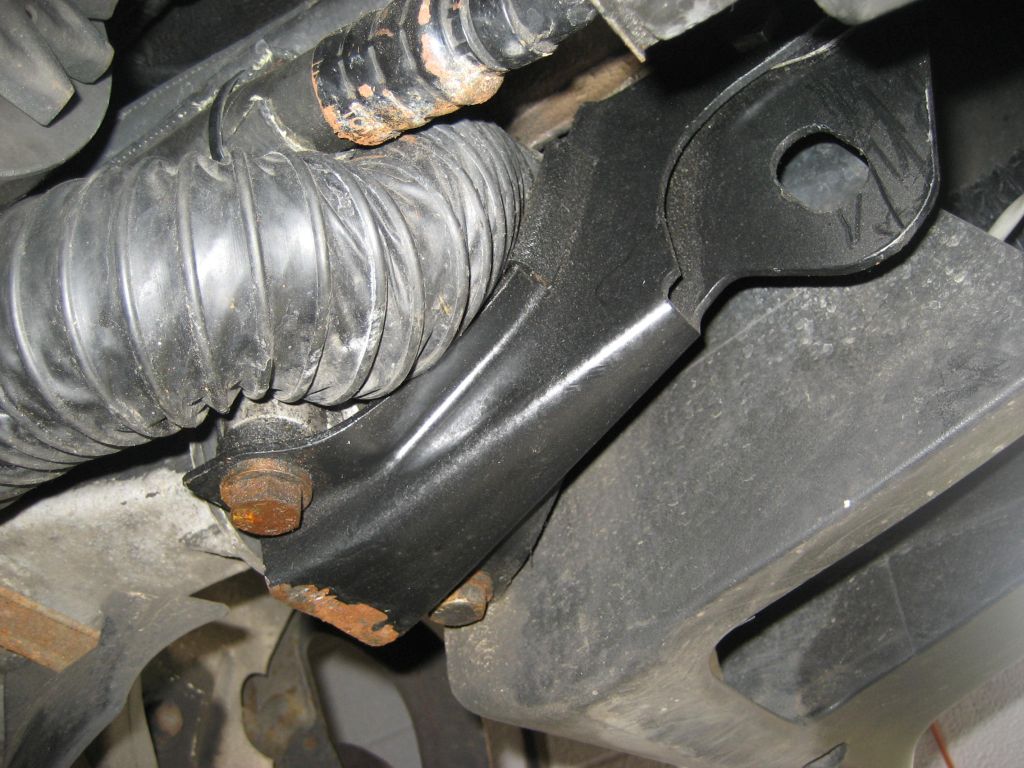
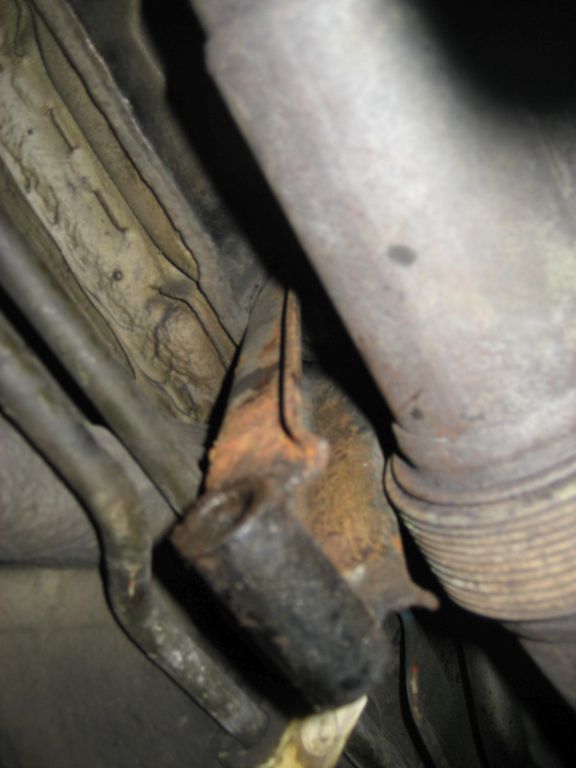
Locate the notorious upper crossmember support bolts 2x19. You have to counter hold them at the nut the bolt threads onto from the back of the crossmember. Undo them, wind the nut off and keeping winding them out with a ratchet until the bolt is free (takes some time+effort as they are a tight fit with crossmember installed).
19)
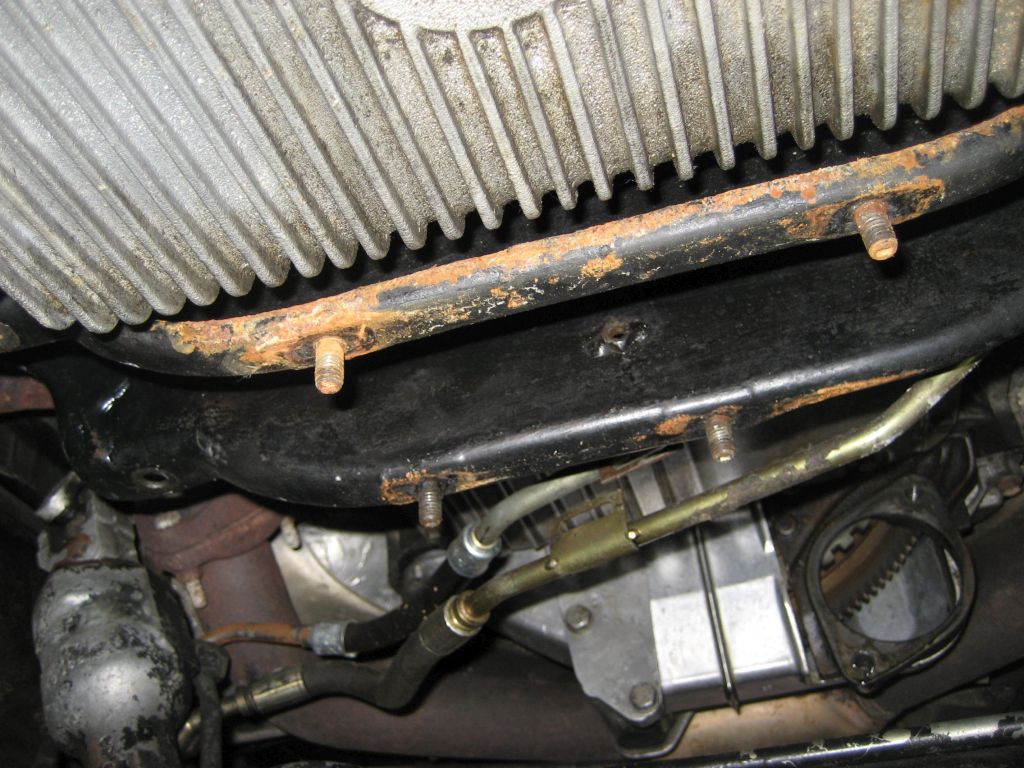
Locate the last 2 19mm bolts holding the crossmember to the car body underneath. Crack them off with a big bar and wind them out with a ratchet. Congratulations! The engine mounts+crossmember is free!
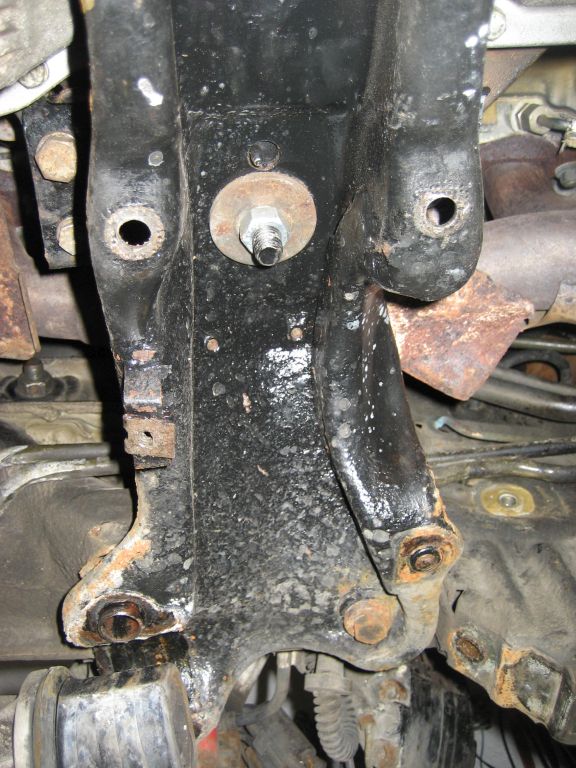
20)
The crossmember with engine mounts should now be free and will be sat down on the suspension you dissembled first. Use a long lever bar to wiggle it free pushing it towards the rear of the engine while you wiggle it loose. It may drop onto the ground or you can lower it with your hand. It is quite heavy though with the mounts installed, so go easy.

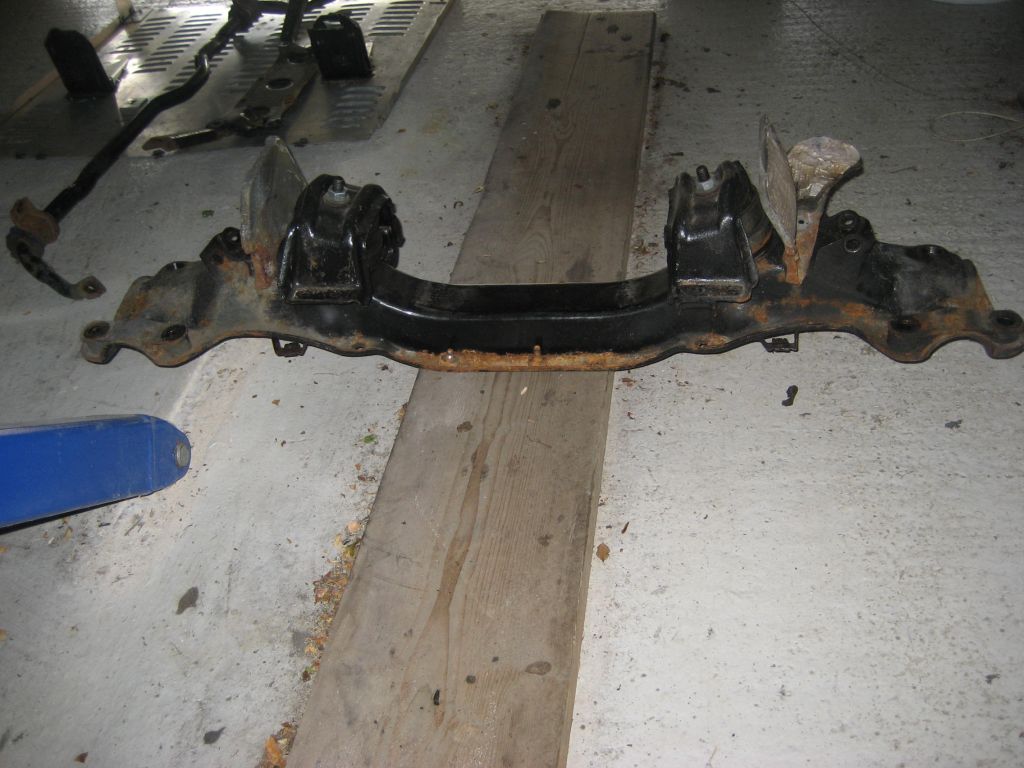
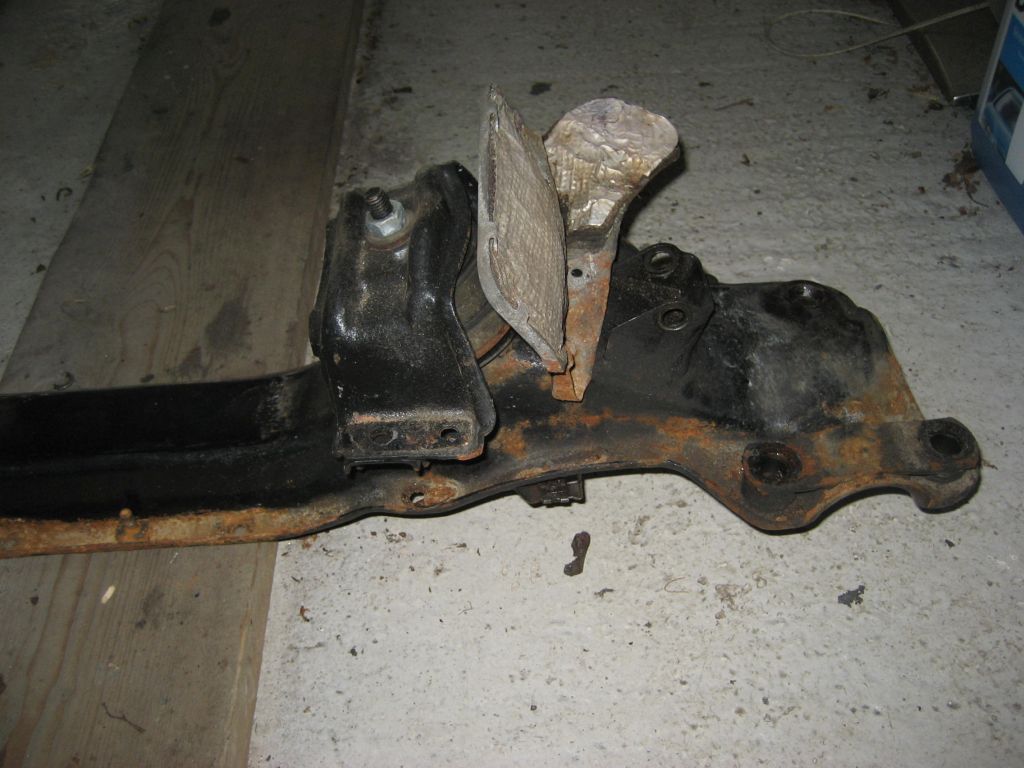
21)
You can now undo the top engine mounting nut and the mounts are free; see pic's of solid mounts..
22)
Installing your new mounts is self-explanatory; just follow in reverse, what you did to remove the old mounts.
23)
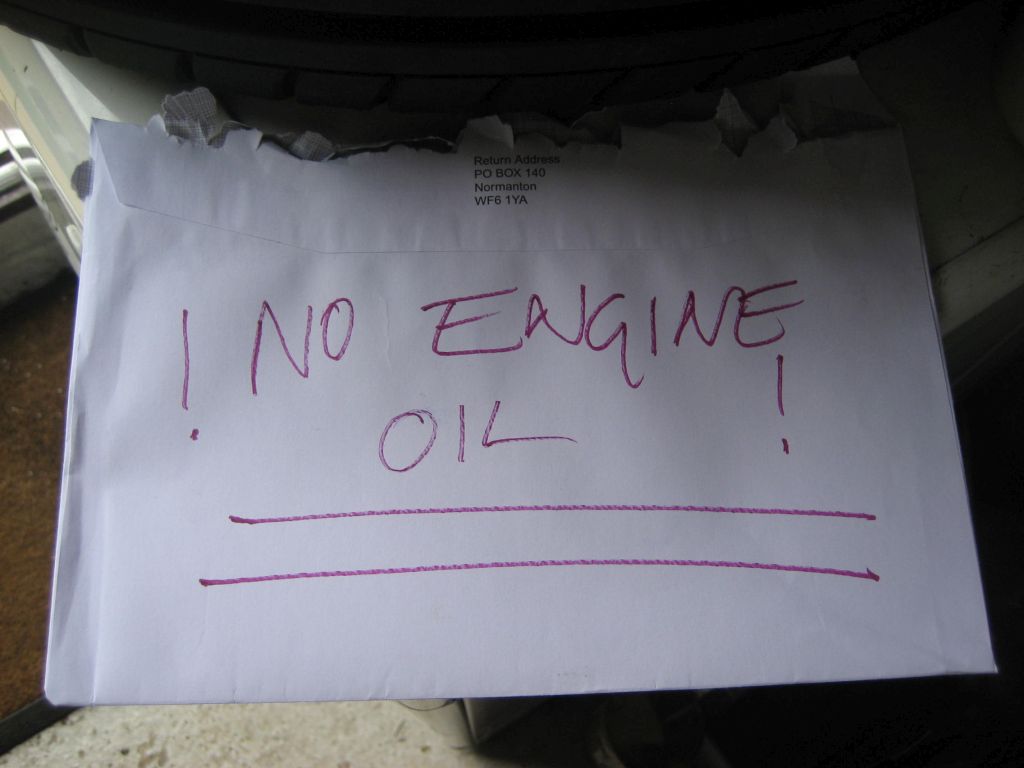
The sump gasket renewal is straight forward. See my previous detailed write-up on Theo's excellent website. Basically, DRAIN THE OIL! Then, keep the sump supported with a jack+wood block, remove the bolts (keeping them in the exact same order as they come off) and then slowly lower your jack and take the weight of the sump by hand and the sump gasket will pull off with the sump also. Clean the sump meticulously where the new gasket goes and refit your new gasket+sump in the same order. DON'T overtighten the new gasket!
24)
Reassembly is simply the reverse of disassembly. Make sure your grease EVERY nut and bolt on reinstall. It makes working on your 928 in the future MUCH EASIER!25)
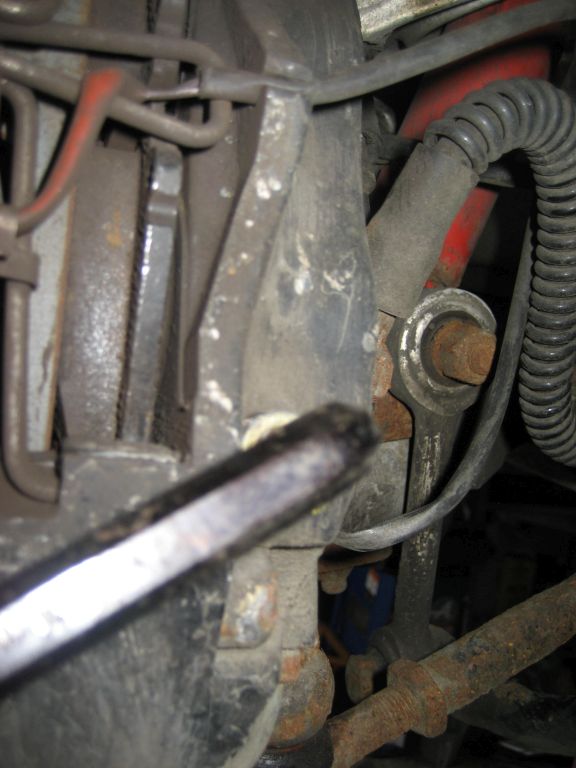
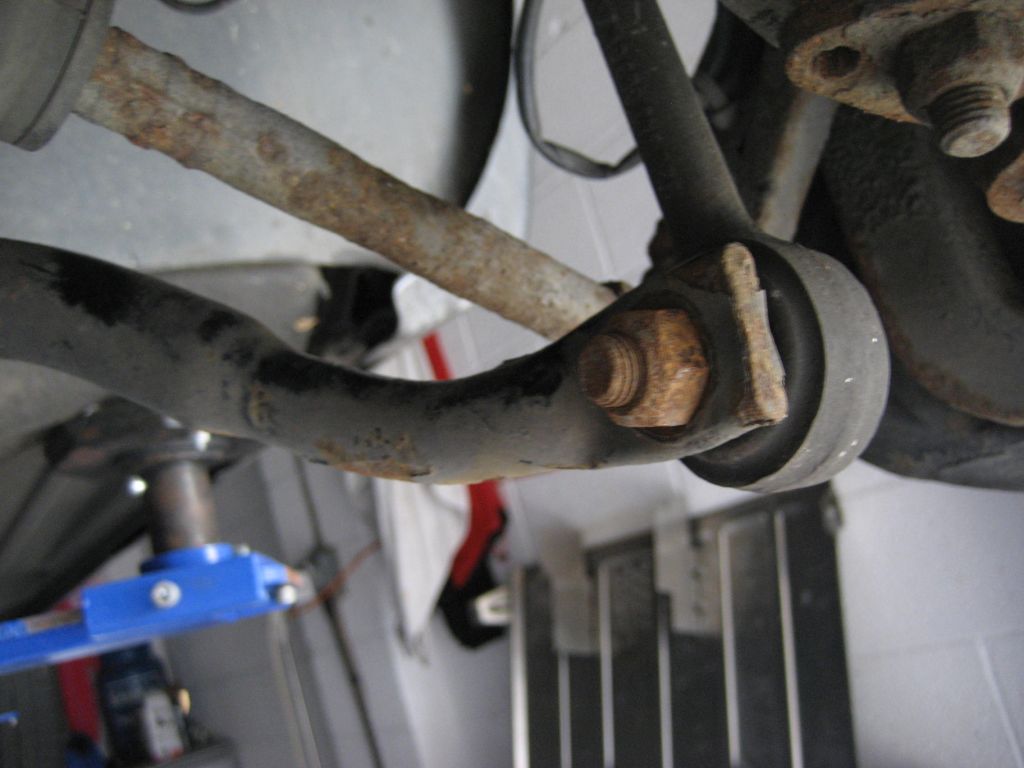
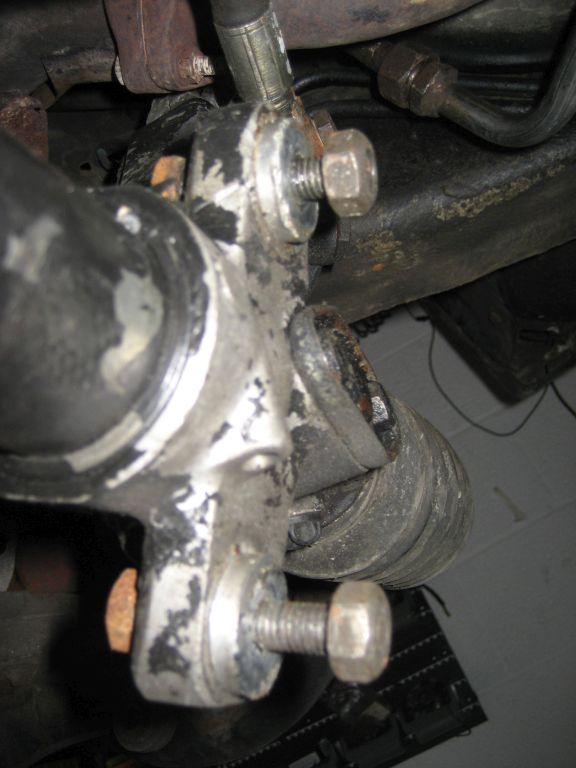
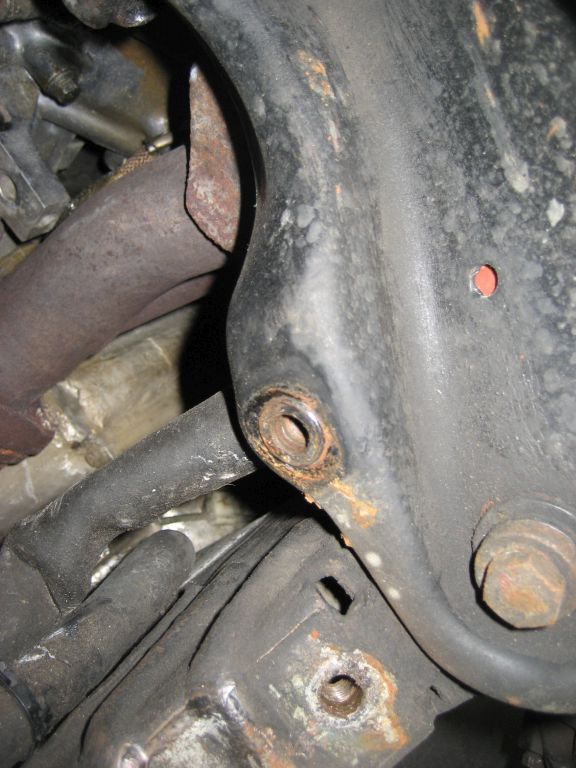
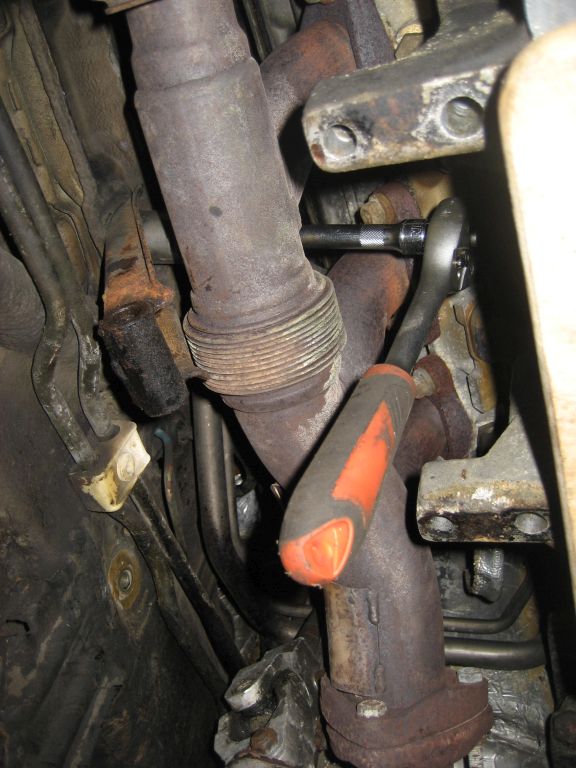
Dissasembly time for me was 4hrs. Reassembly is similar. There is helpful tips I posted for reassembly on Theo's website site. Main thing is using a jack+bar to locate the crossmember from underneath to get the upper crossmember support bolts back in. Most people struggle to get the upper support brackets aligned +bolts reinserted when renewing engine mounts. Easy if you know how though!The brackets are held firm to the chassis with a 22mm nut. You can get a socket+wrench on these and loosen them off a little bit (see pic's). The brackets are then able to move forward+side-to-side which makes aligning them much easier; the bolts will easily slide back in. Use some decent lube which really helps and make sure you tighten that 22m nut back up tight!


Hope this helps other 928 owners. Doing this work yourself can save you A LOT of garage labour charge!
best, Dave.