Coolant Reservoir Removal - What an Ordeal!
As part of my coolant hose replacement project, I had to remove the coolant
reservoir tonight. This looked so easy at first, but there were lots of
complications to deal with...
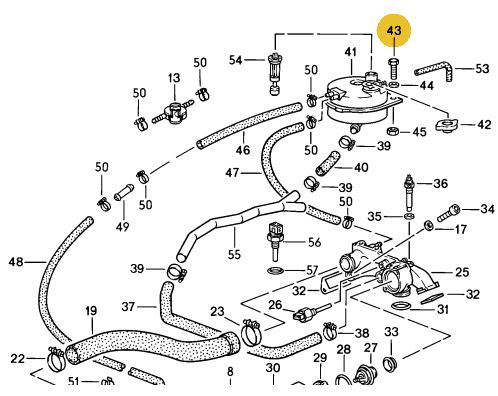
The reservoir is held in place by two bolts - one in front, and one behind. So I
thought I'd just disconnect the hoses, remove those bolts, and take out the
reservoir. Nooooooooooooooooooooo - not on a shark. It holds on to each little
part with his gazillion teeth.
First, the hose from the pressure switch to the reservoir had the clamp
installed in a way that no screwdriver in the world could reach the bolt screw.
Fortunately, I was able to loosen the hose on the pressure switch side.
Then I tried to get the bottom hose off the aluminum Y connector. However, the
clamp was again turned in a way that I could not get to it.
I had to remove a vacuum thingie that I have no clue what it's for (one
connection goes into wheel well, other to front of engine). That was a challenge
in itself, as it was connected to hoses and clamp screws were not easily
accessible; then the hoses were baked on. There is no space for leverage, so I
had a real hard time getting this thing disconnected and removed. But I managed
eventually.
Back to the hose on the Y-connector. Once the clamp was lose, it would not move
one bit. IT was "baked" on (or should I say "corroded" on?). The aluminum shows
pretty nasty corrosion at the mating surfaces, and I wonder what it might look
like inside... scary!
That still did not free the reservoir. No matter how I wiggled and turned it,
there was not enough space to move it out. I had to lost two bolts that hold
another vacuum thingie next to the engine. This thingie has more and larger
hoses attached than the first one - the last hose goes up to the air filter. I
guess it has to do with the air pump. Anyway, once the two bolts were removed, I
could push this thing far enough towards the engine to get the tank out. Well,
kinda.
There were other things routed between the tank and the hose that used to go to
the Y-Connector, so I had to fiddle with those to get the tank around them.
THEN the tank was out. Took me only 2.5 hours... most of it spent wiggling on
hoses or trying to figure out how to get leverage.
I inspected the tank, and it looks good overall. It had some crud at the bottom,
which I was able to clean out through the filler and sender holes. Still, I
wonder, if I should reuse it or just order a new one. It's 17 years old, shows
his age through a yellowish coloring, and I'm not sure, if a small white line I
see near the top center might be a crack forming.
In the meantime I will work on my heater hoses. Hope I won't have to cut those
out, too! In fact, they look so good that I would not replace them, if I did not
have them here already. But now I might as well do the whole thing.
_________________
Nicole