


**be aware, this is for a UK based car so steering at right side** This for the driver side!!
Hi Theo,
I did a task that I've needed to do since buying the S4; rattling door window guides; very annoying! So here's a write-up for the driver's side. I'll do the passenger side soon and supply pic's for that as well in case there is any differences.
Driver's side door window guide renewal on a Rhd 1990 928 S4.
When the door window guides have worn on your 928 EVERY time you drop the window you get that annoying rattling happening. My S4 had the issue when I bought it 7 years ago and it's been on the 'to do' list. I did the quick 'tie-wrap' bodge to stop the rattle as a stop gap but always wanted to do the work properly. So here's a write-up with pic's of the task. It took me 3hrs start-to-finish and was really quite fiddly and messy due to all that grease, but possible for all 928 owners. It makes a HUGE improvement too, so worth it.
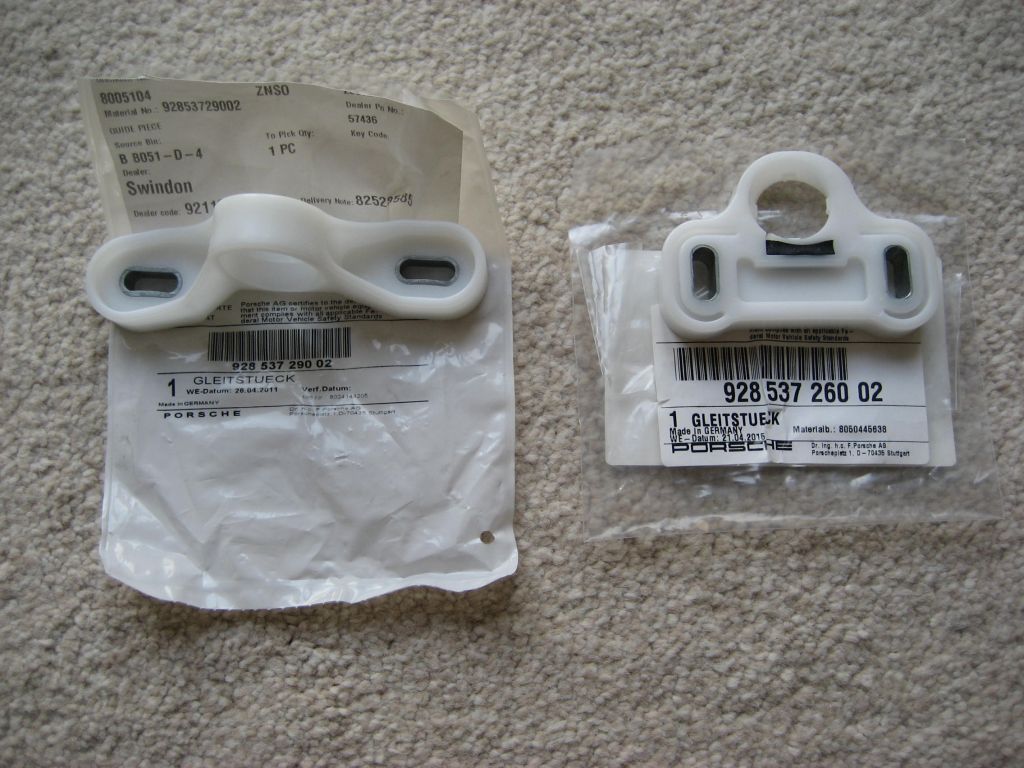
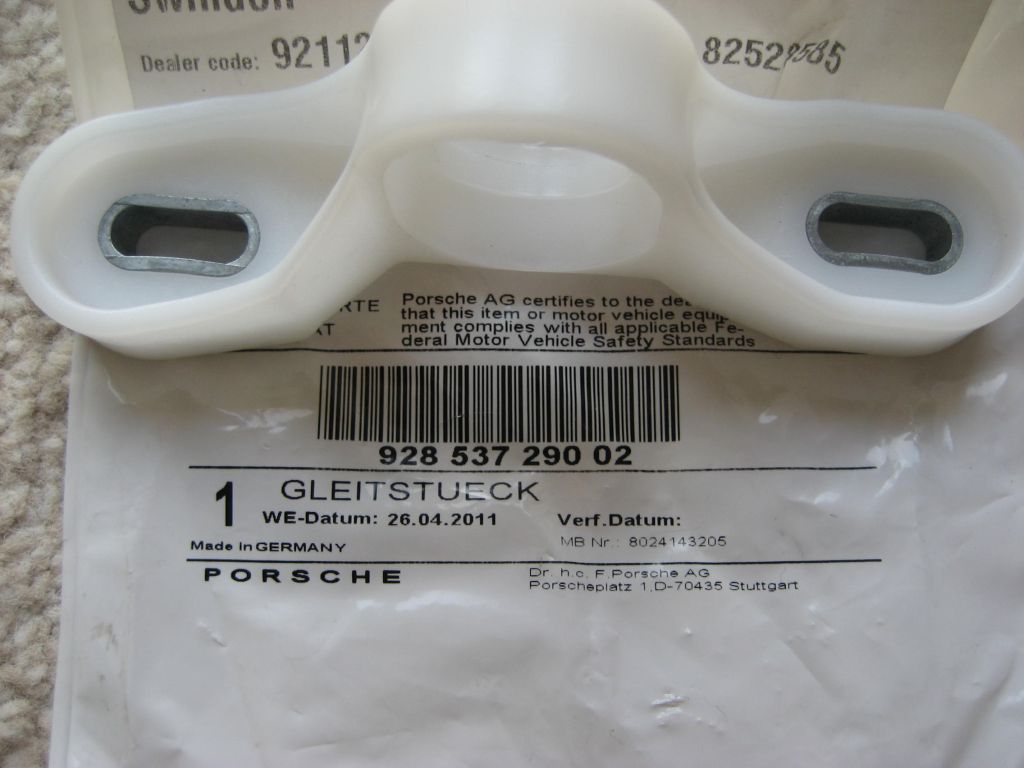
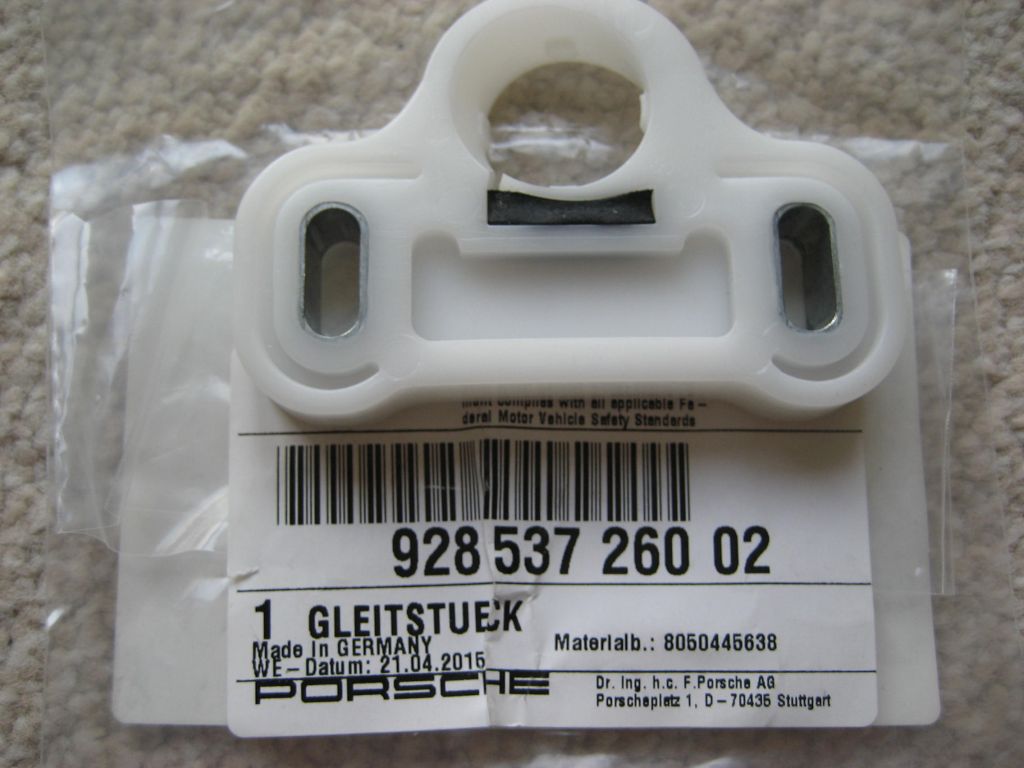
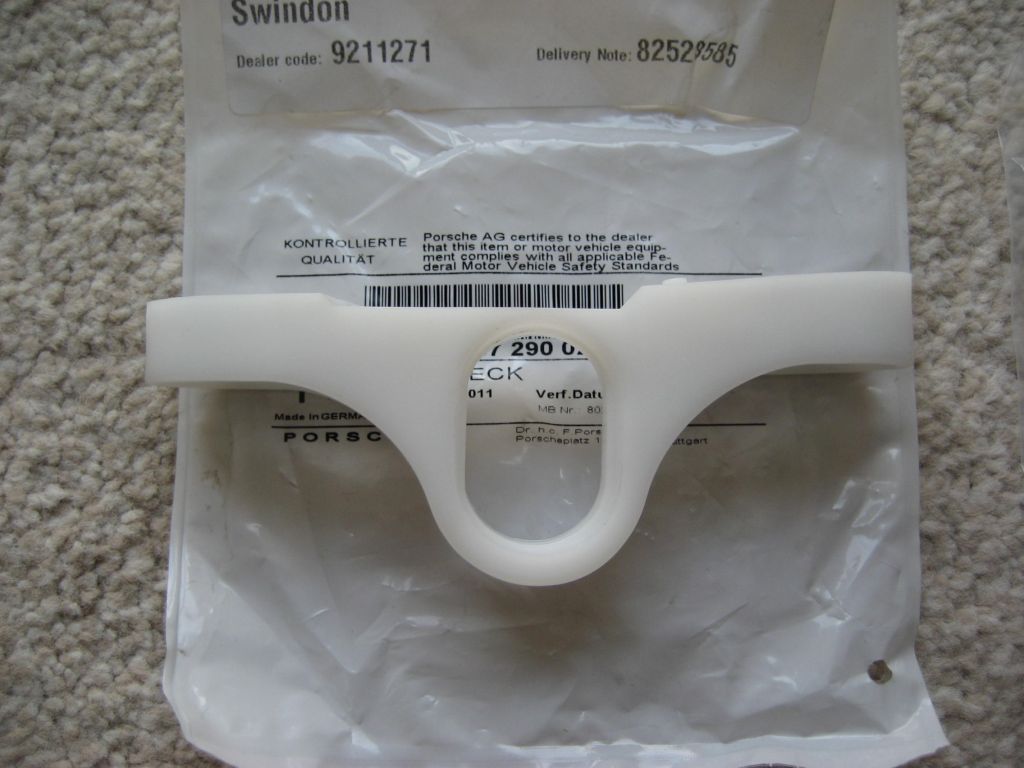
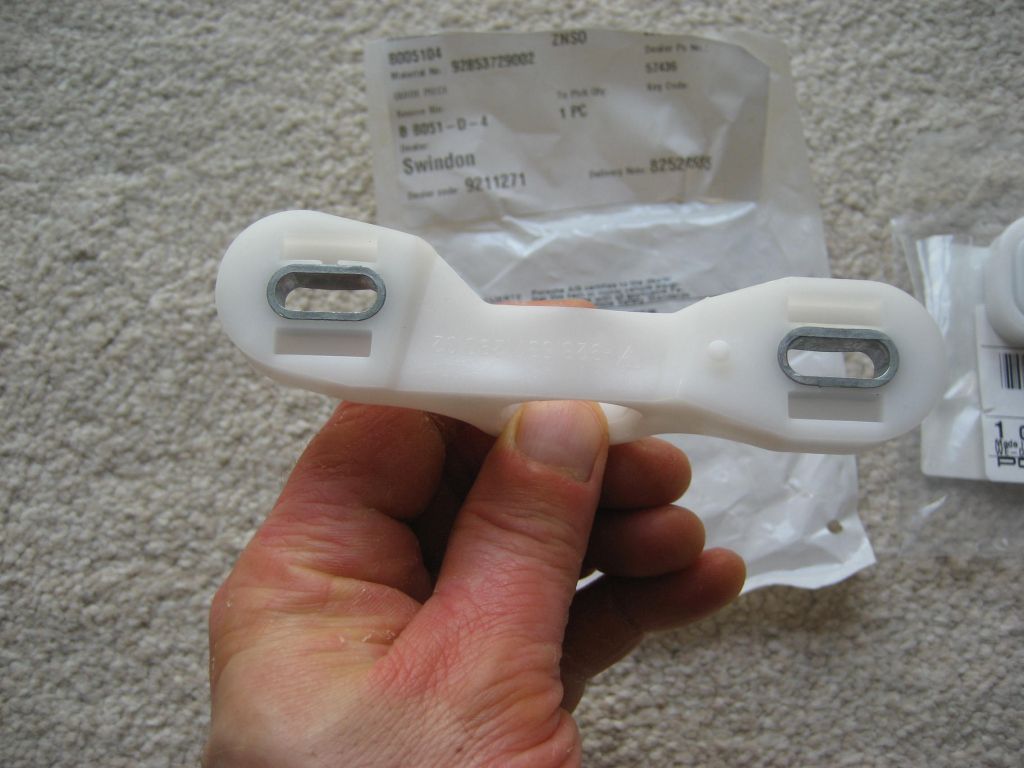
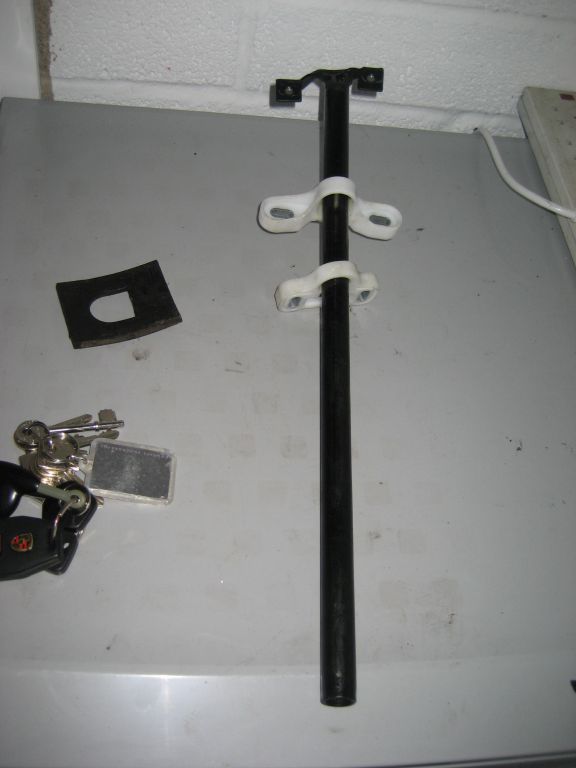
1) Order and buy the correct parts. They are available from Porsche and are handed; so you must get the correct ones for driver's side and passenger side. The part numbers for driver's side on Rhd are shown in the pic's.
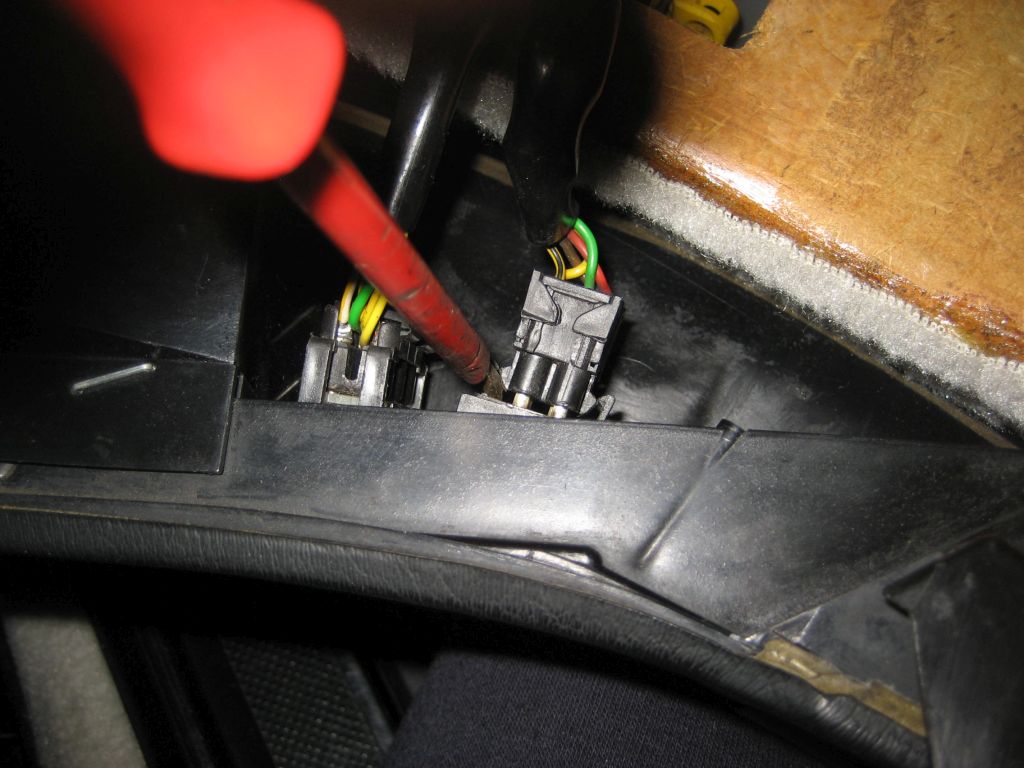
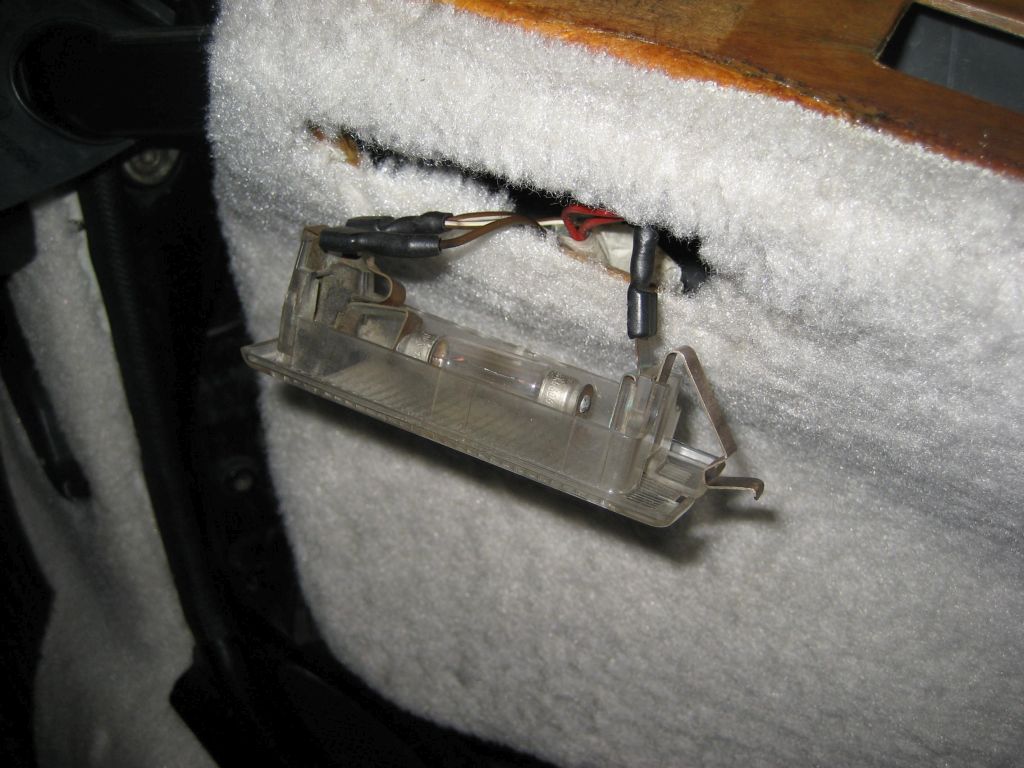
2) Disconnect battery or pull number 25 fuse to turn off all interior and door lights.
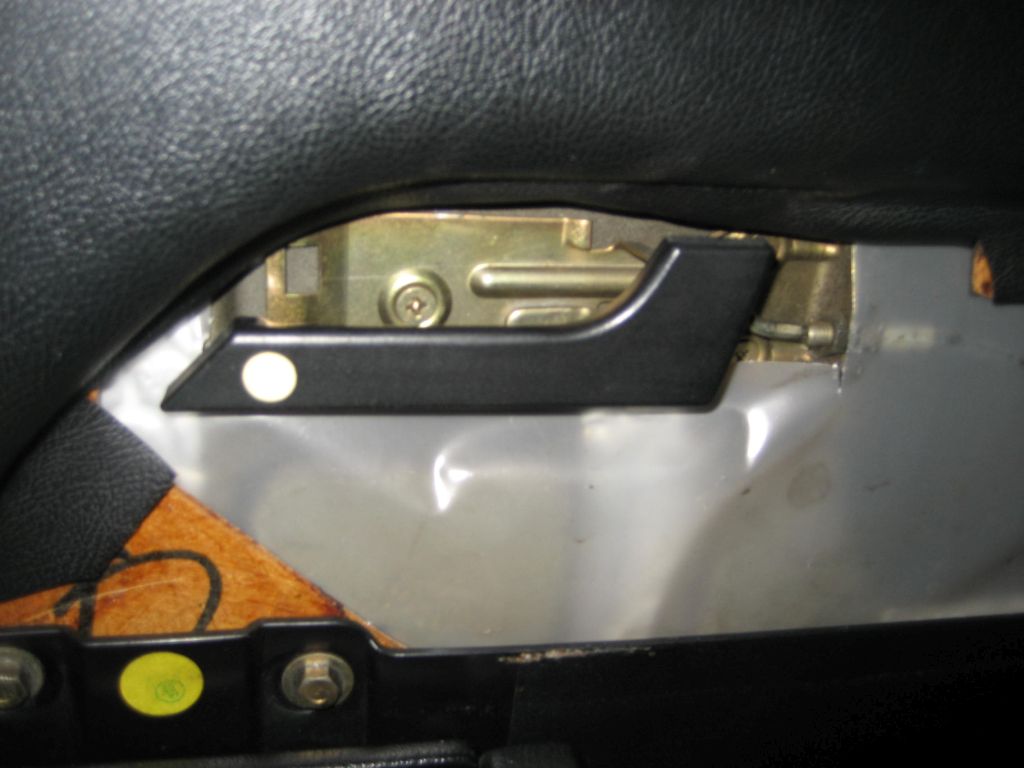
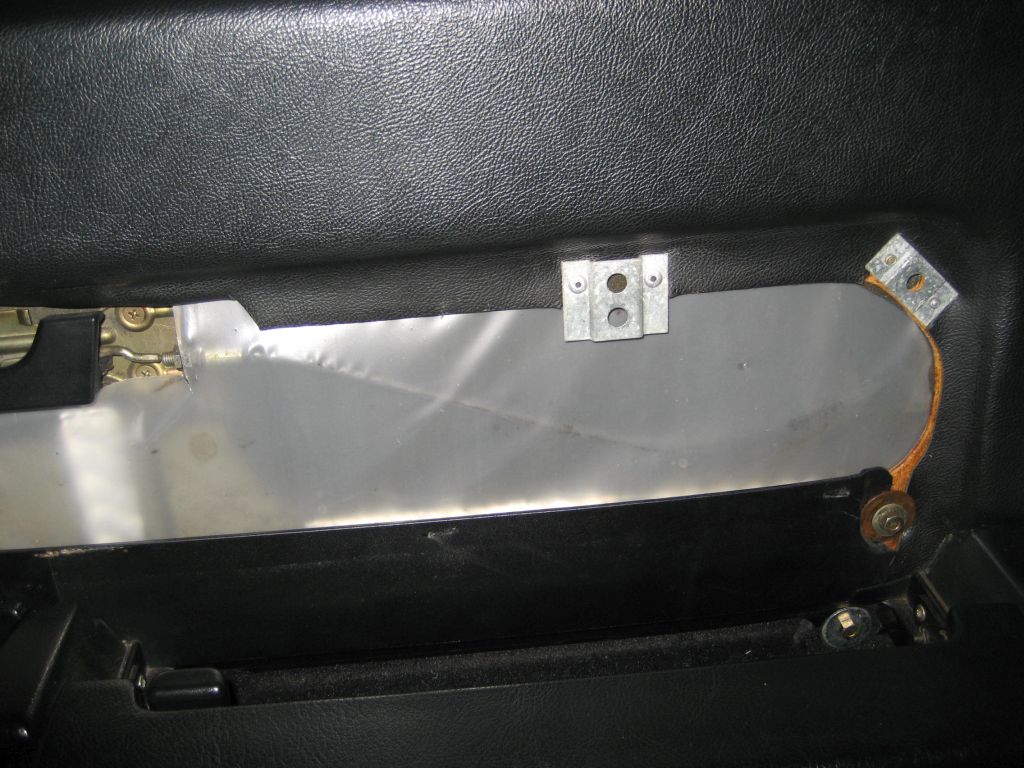
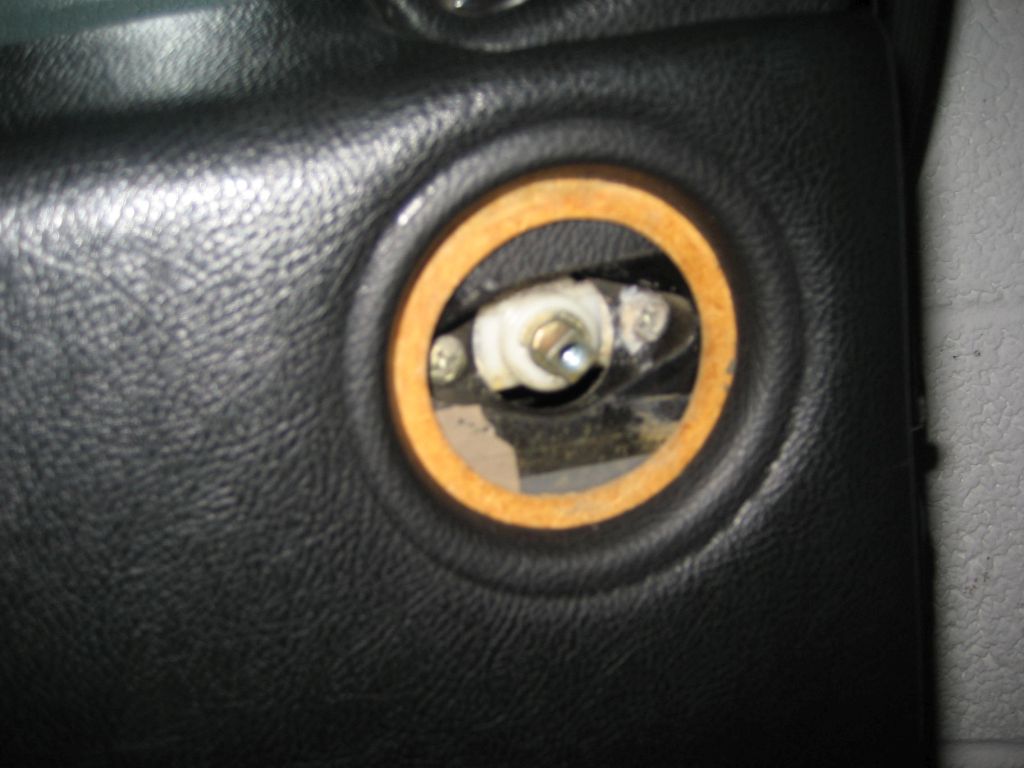
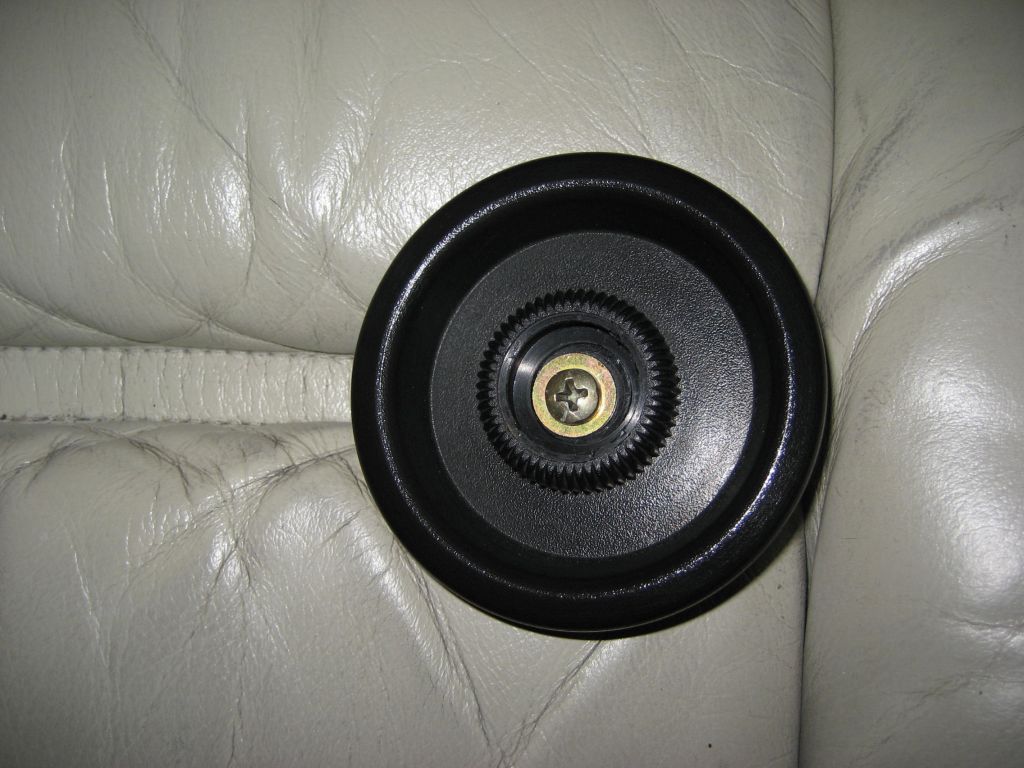
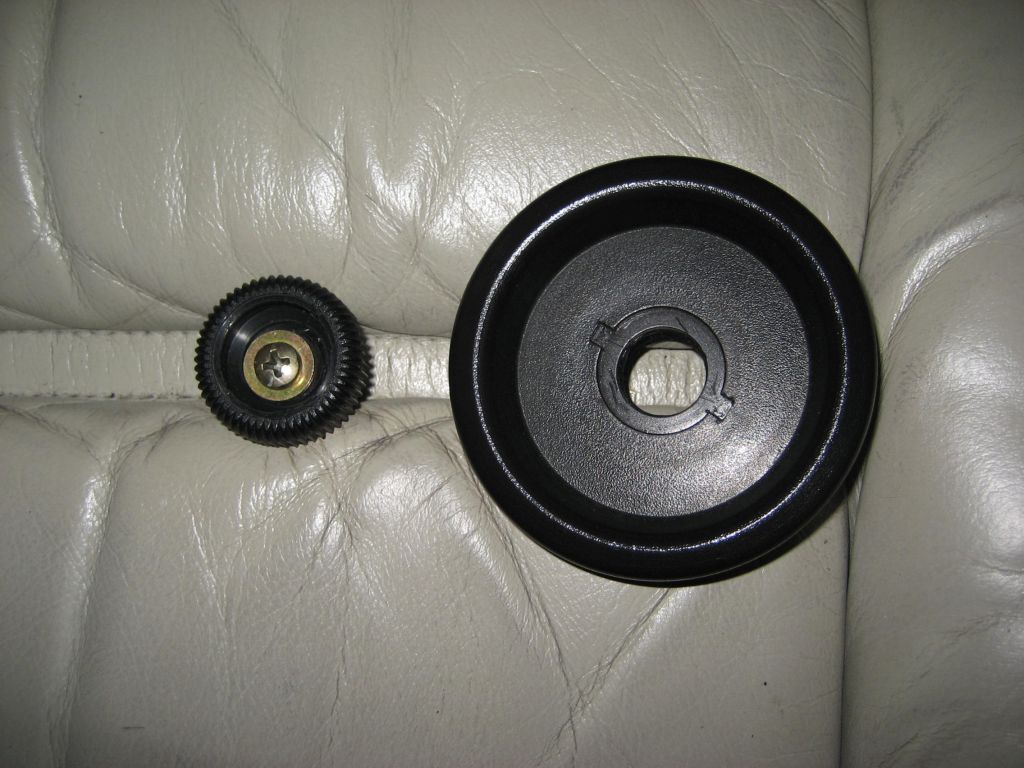
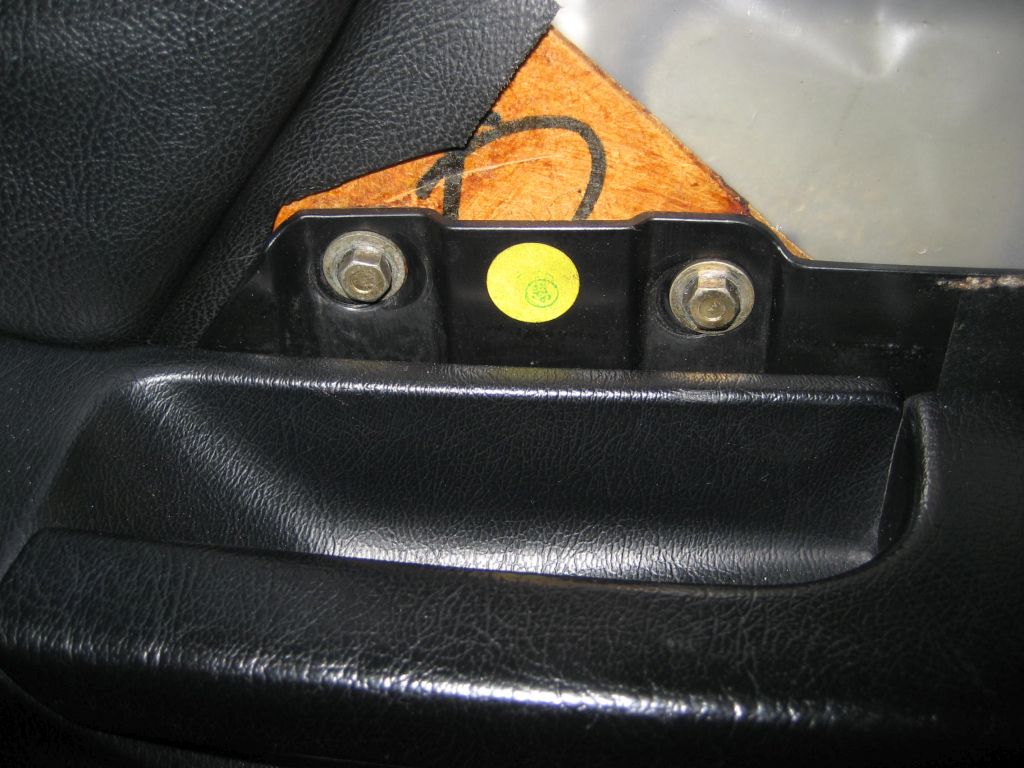
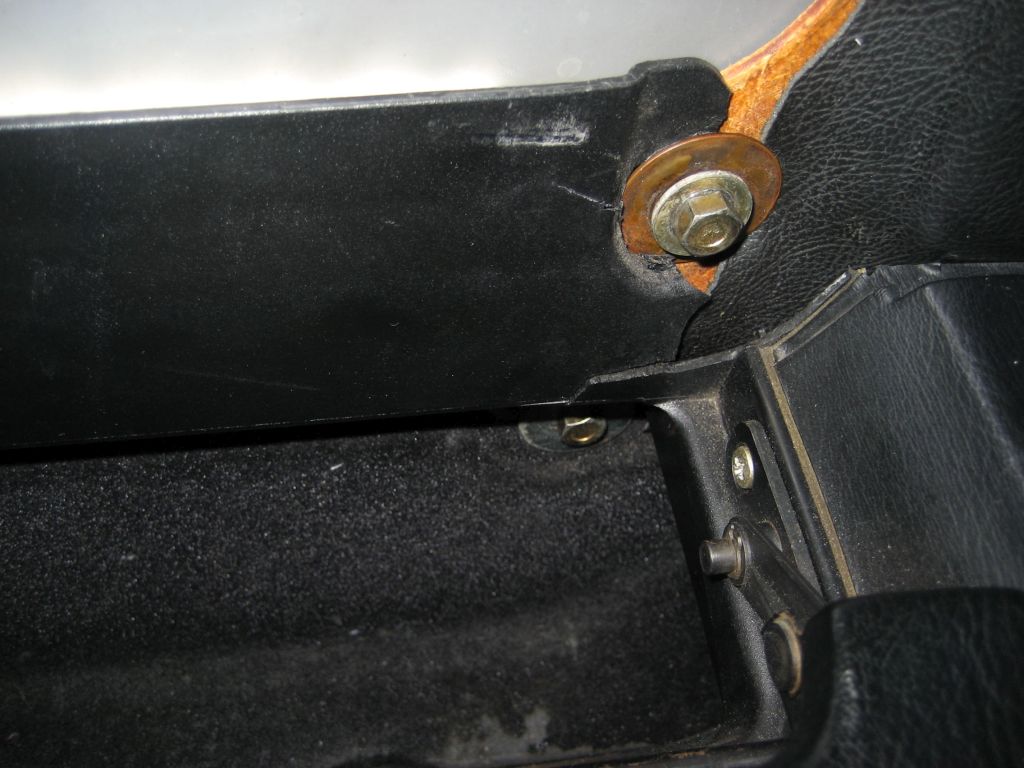
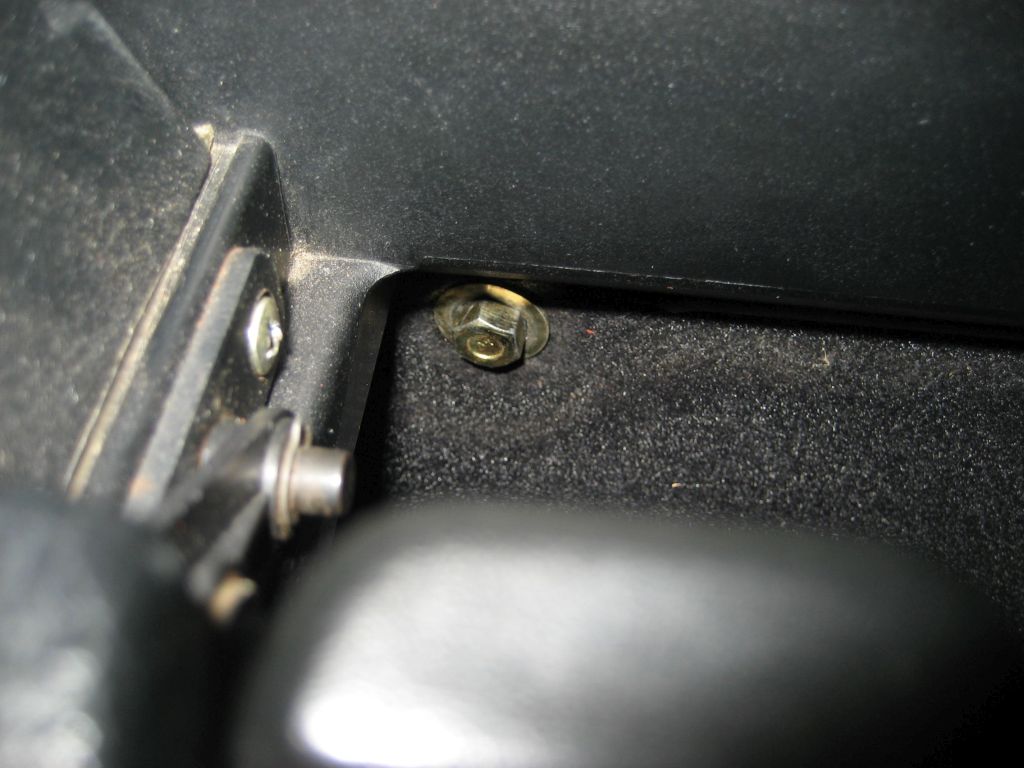
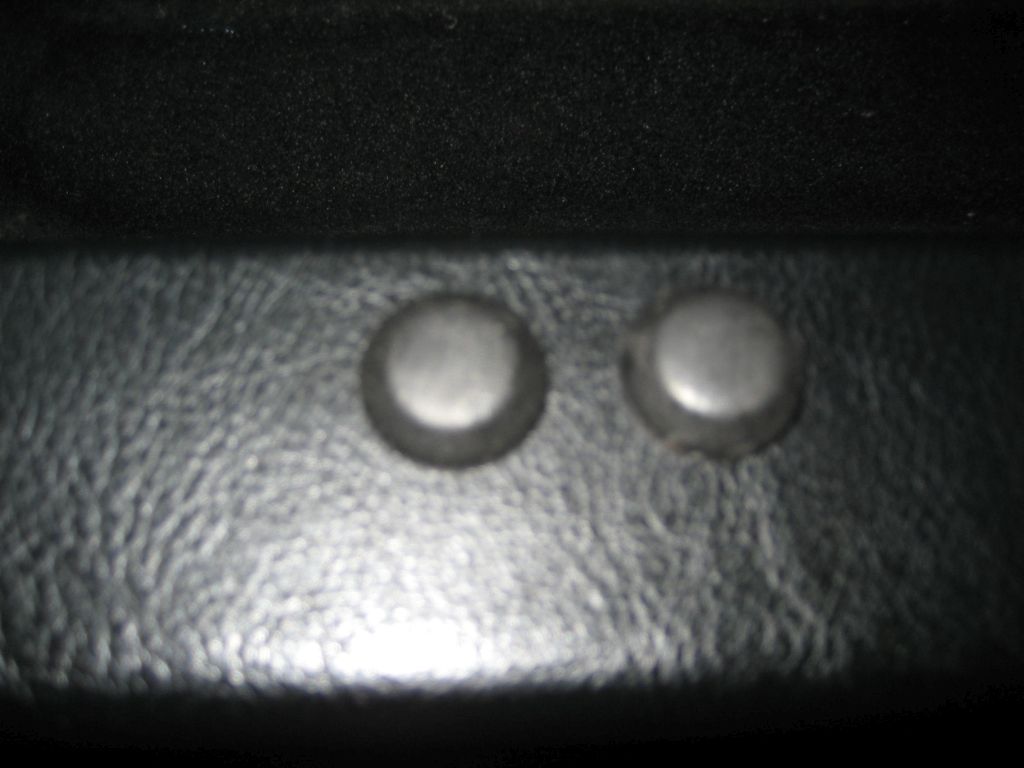
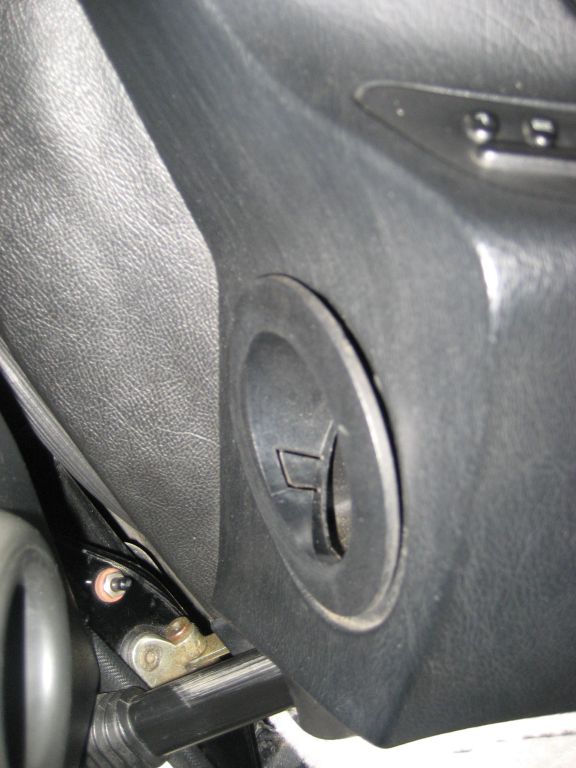
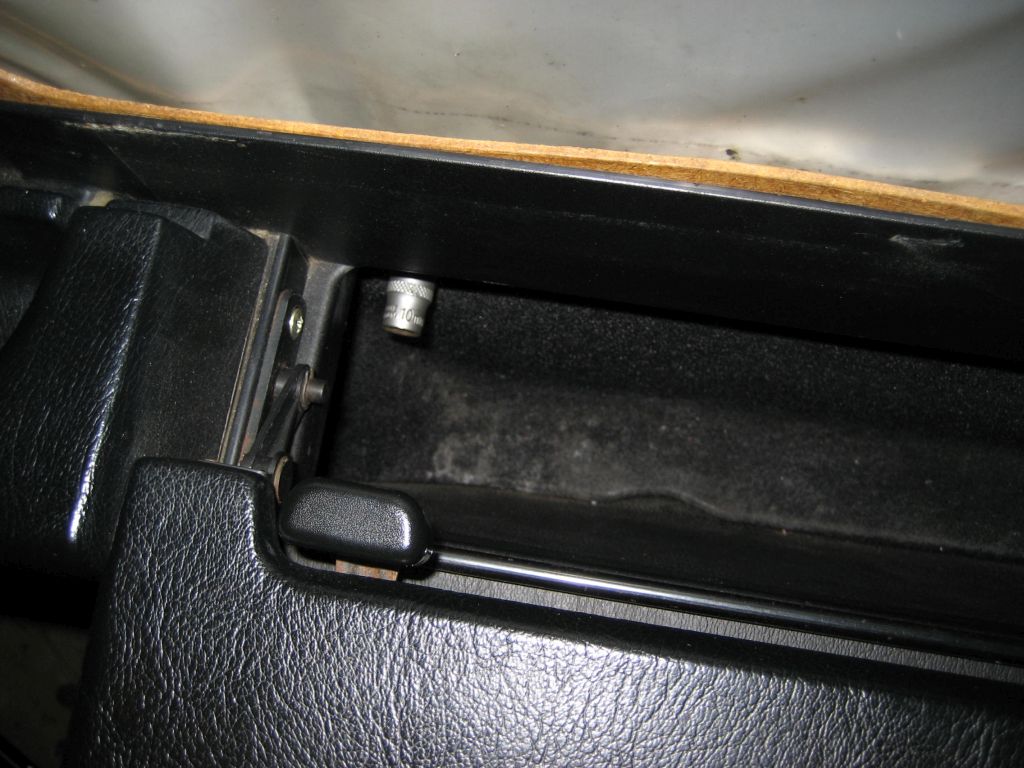
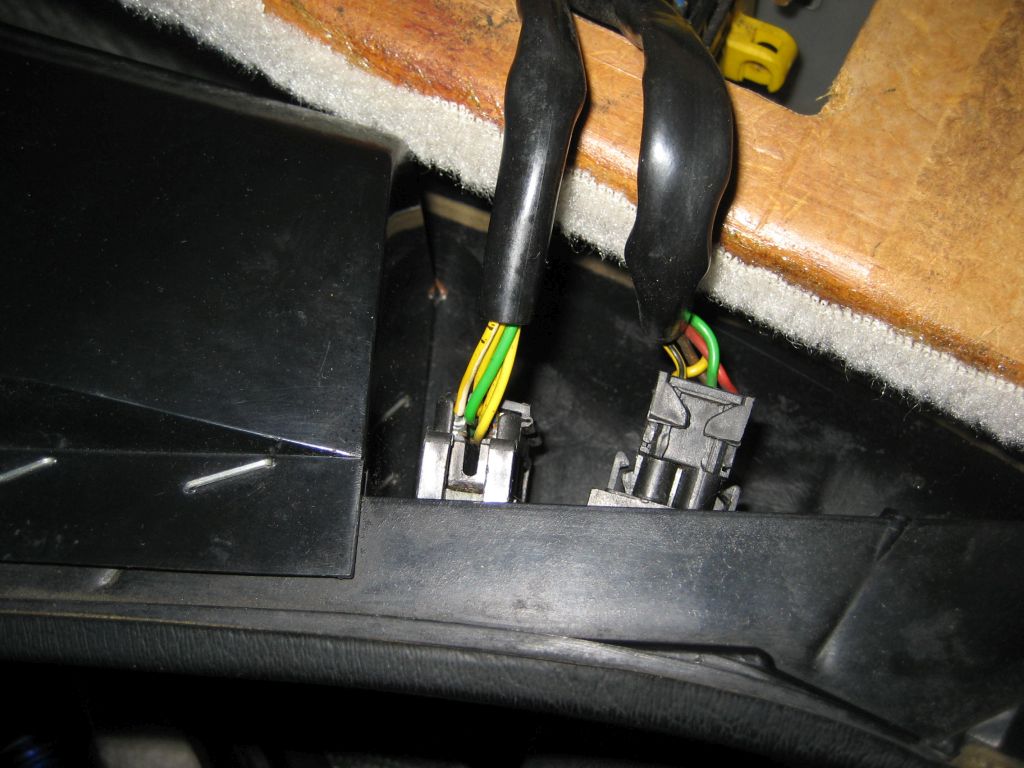
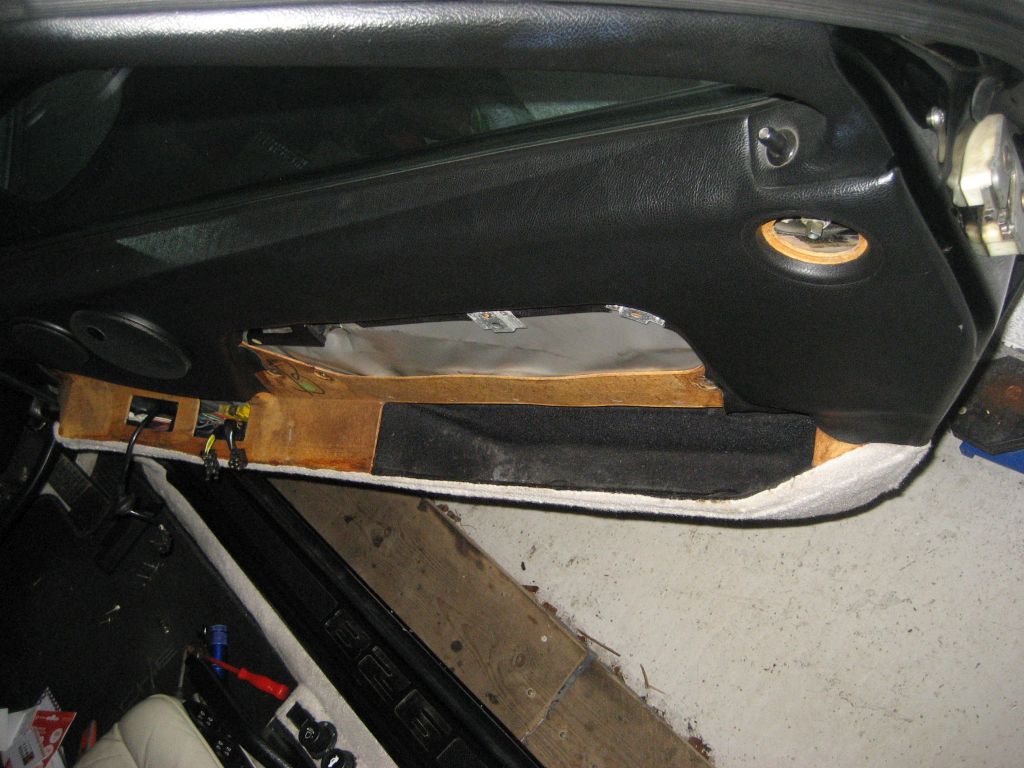
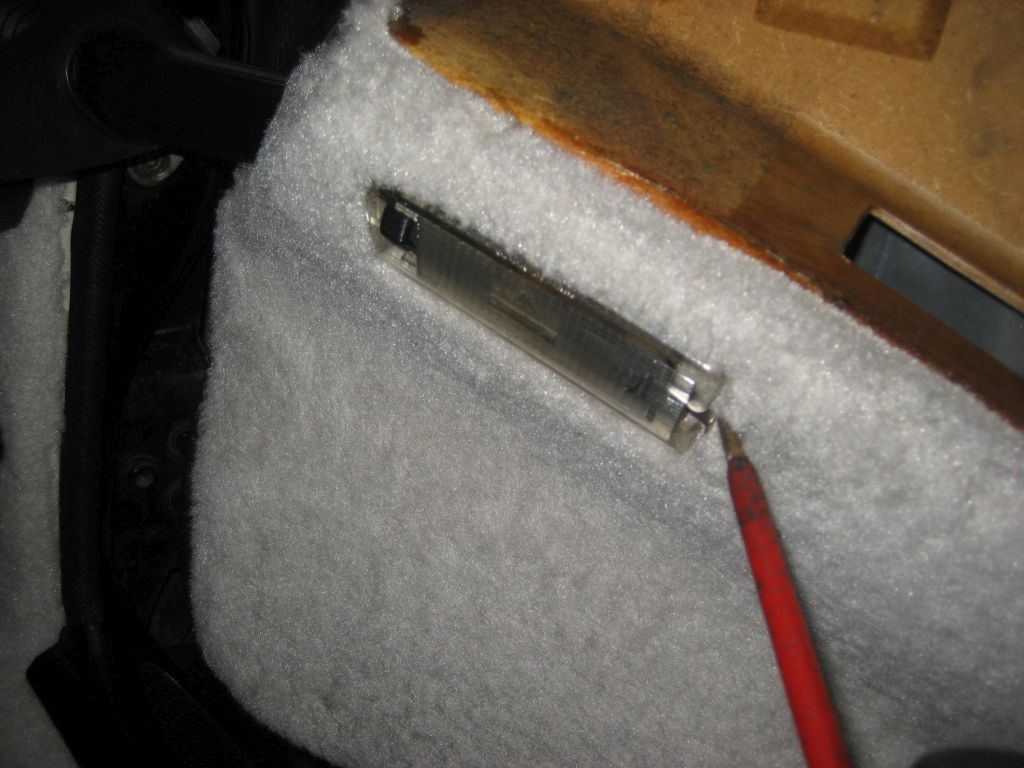
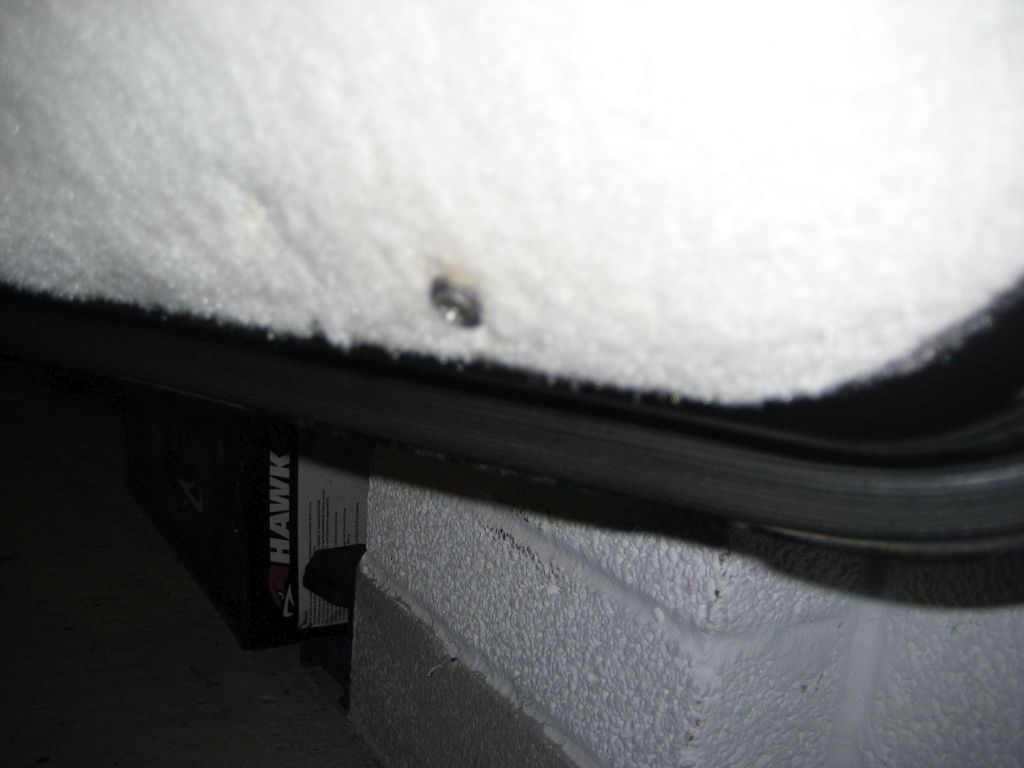
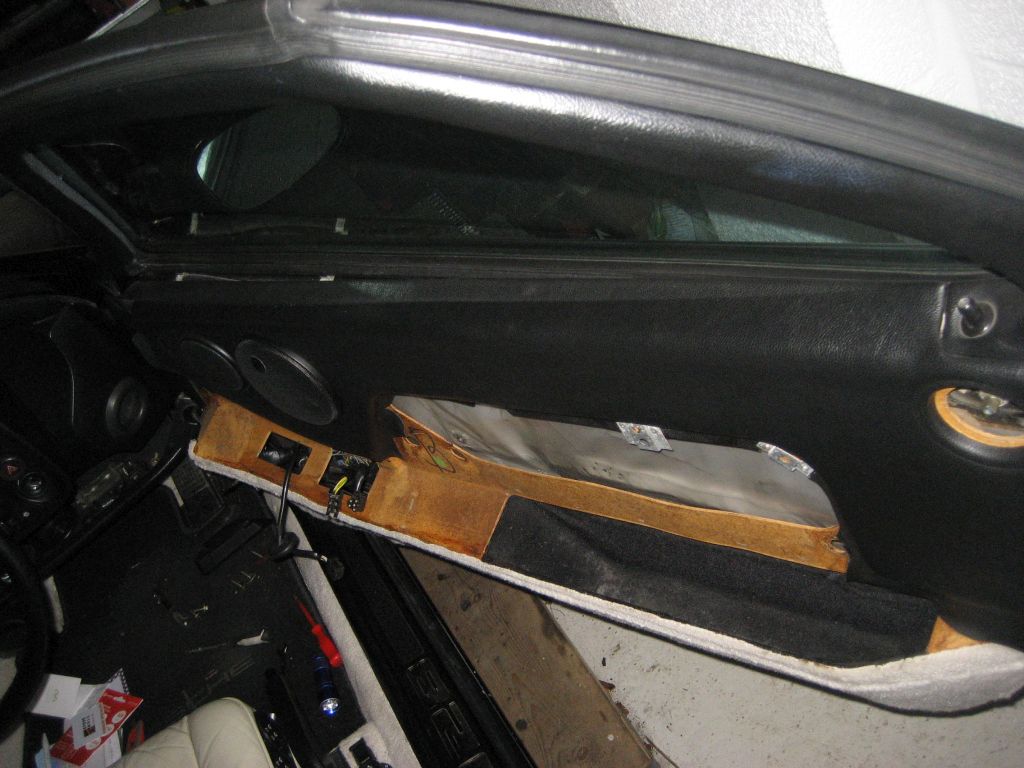
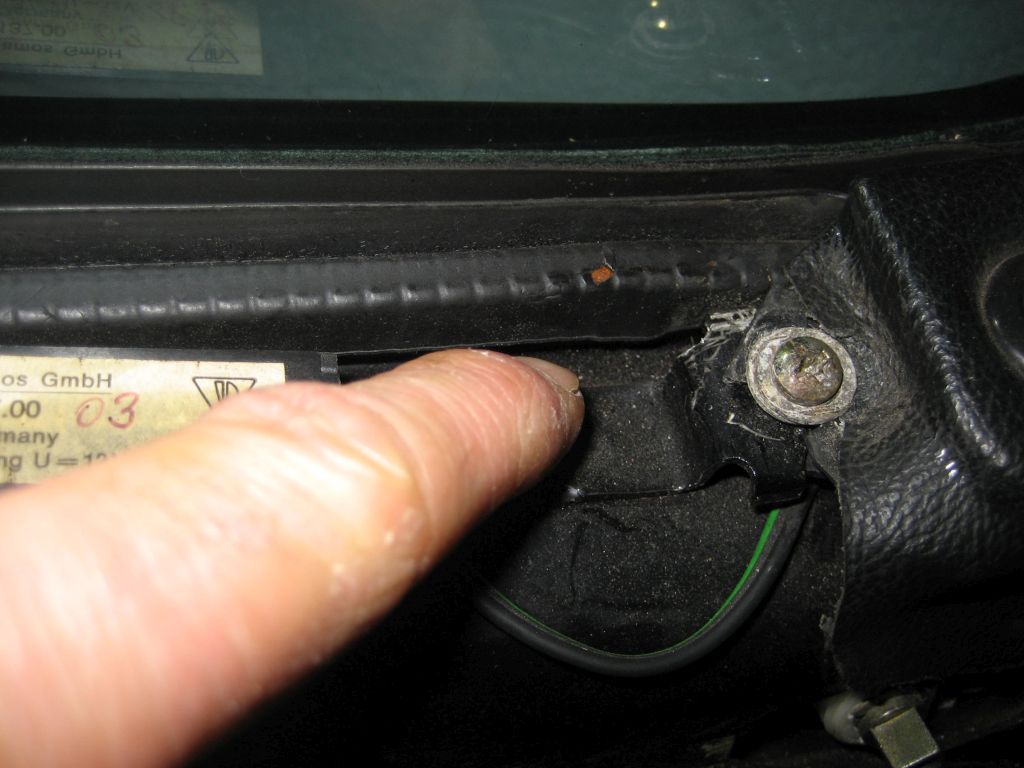
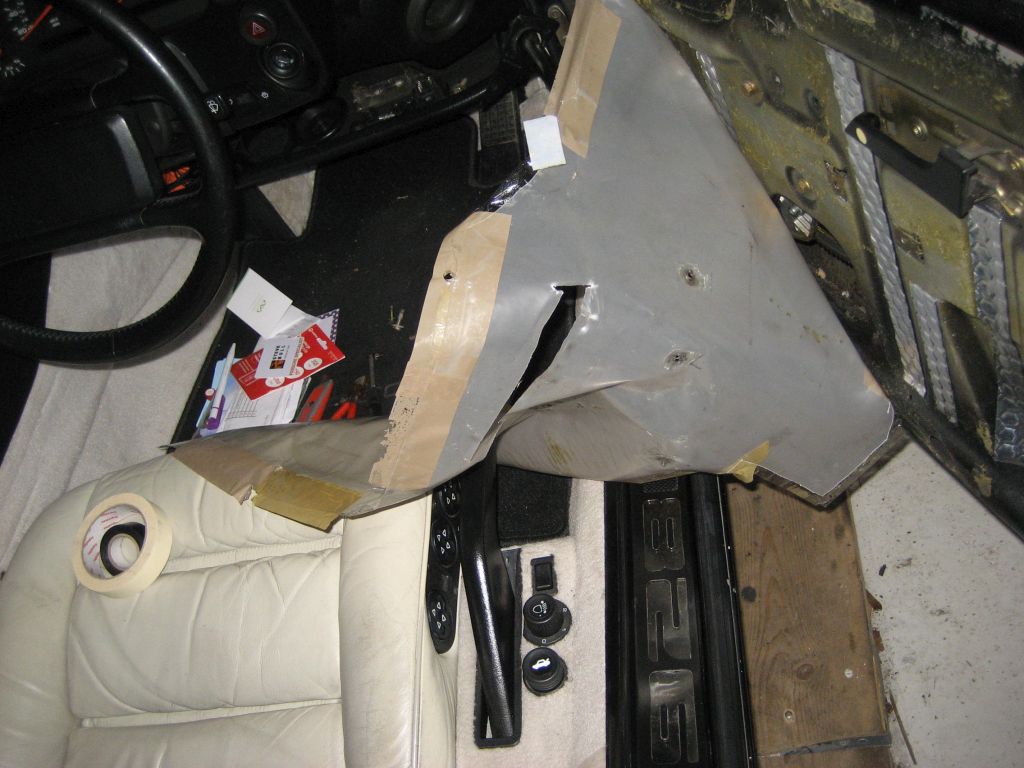
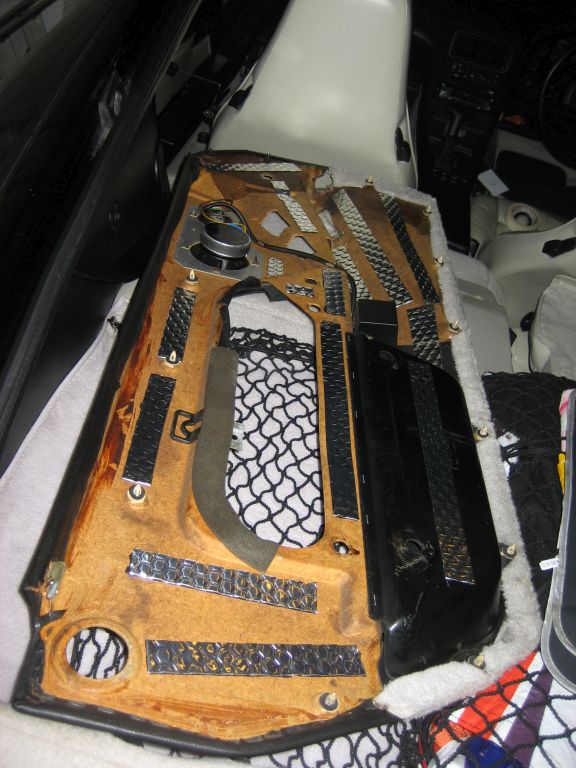
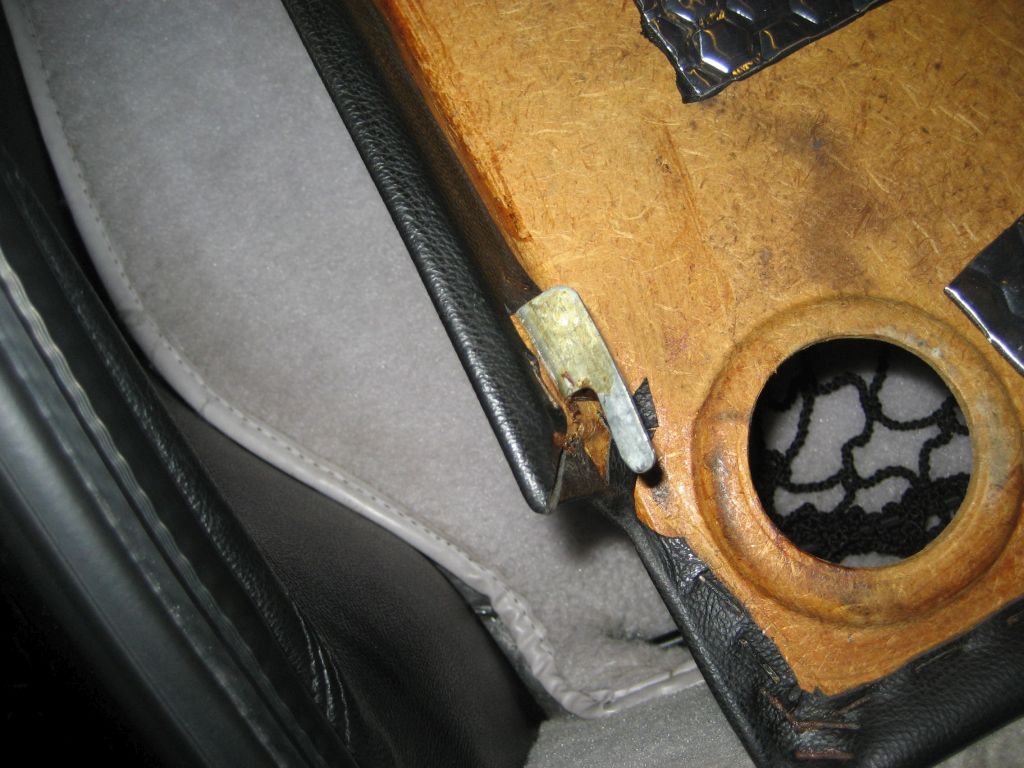
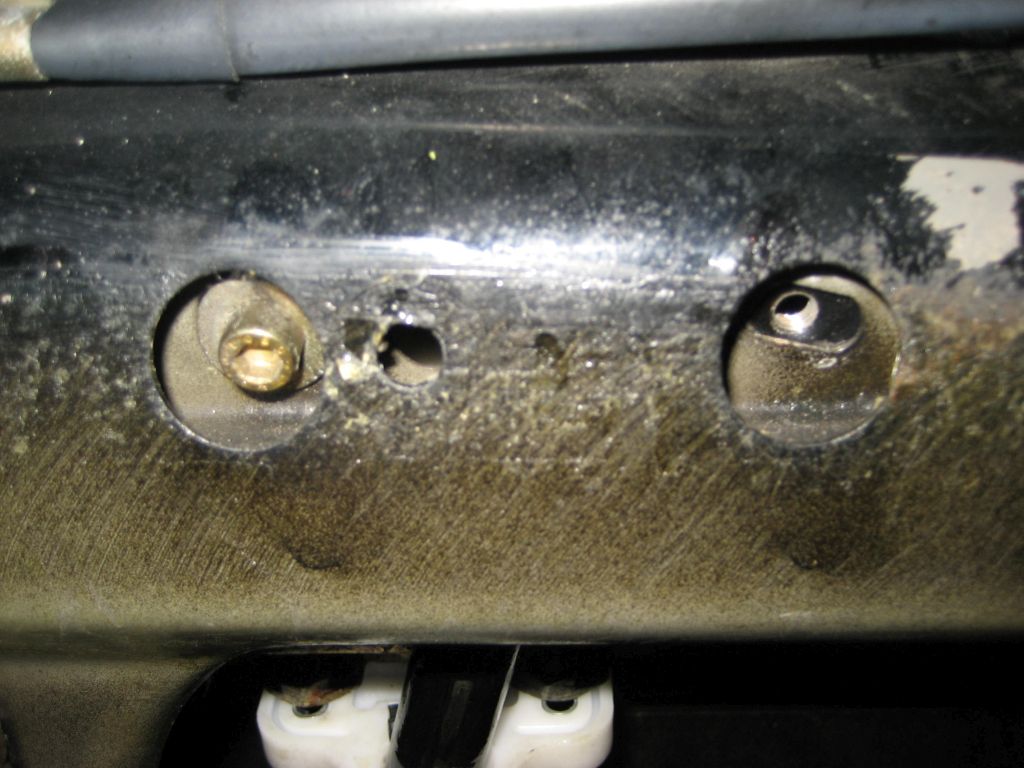
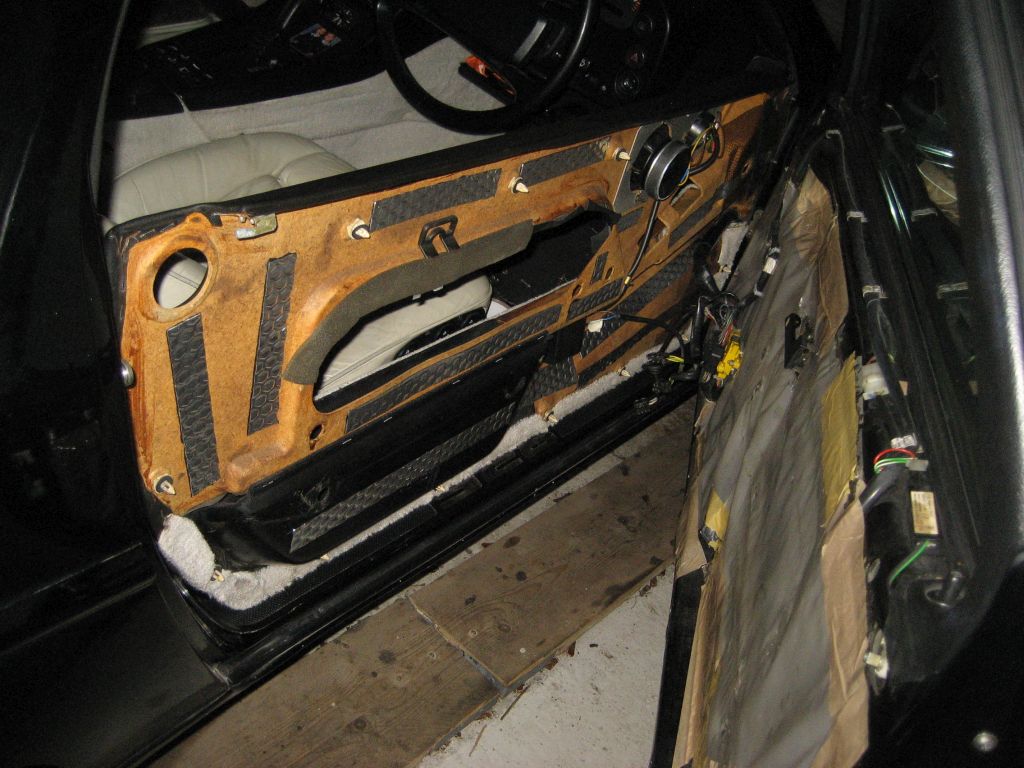
3) Remove driver's side door panel. I've included some pic's of the various bolts/screws etc. There are many write-ups on this so I won't go into depth here. It's pretty straight forward when you know where all the bolts/screws are and the order to follow. Just be sympathetic with the door furniture as it is often brittle due to age, and make sure you store the bolts/screws carefully.
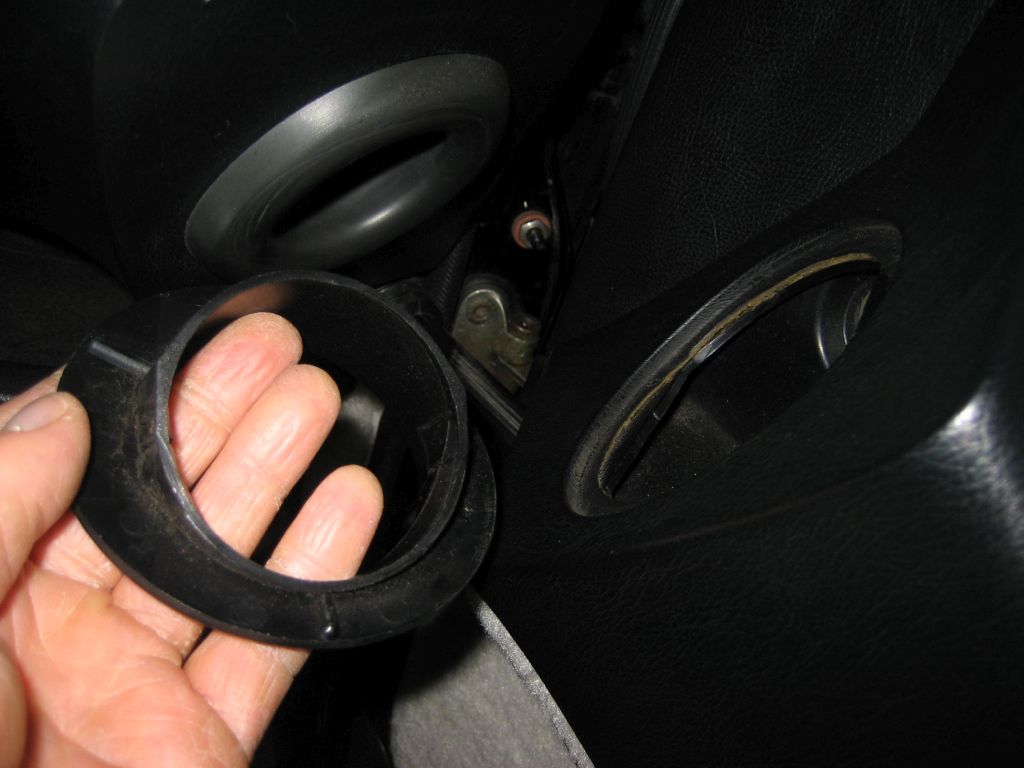
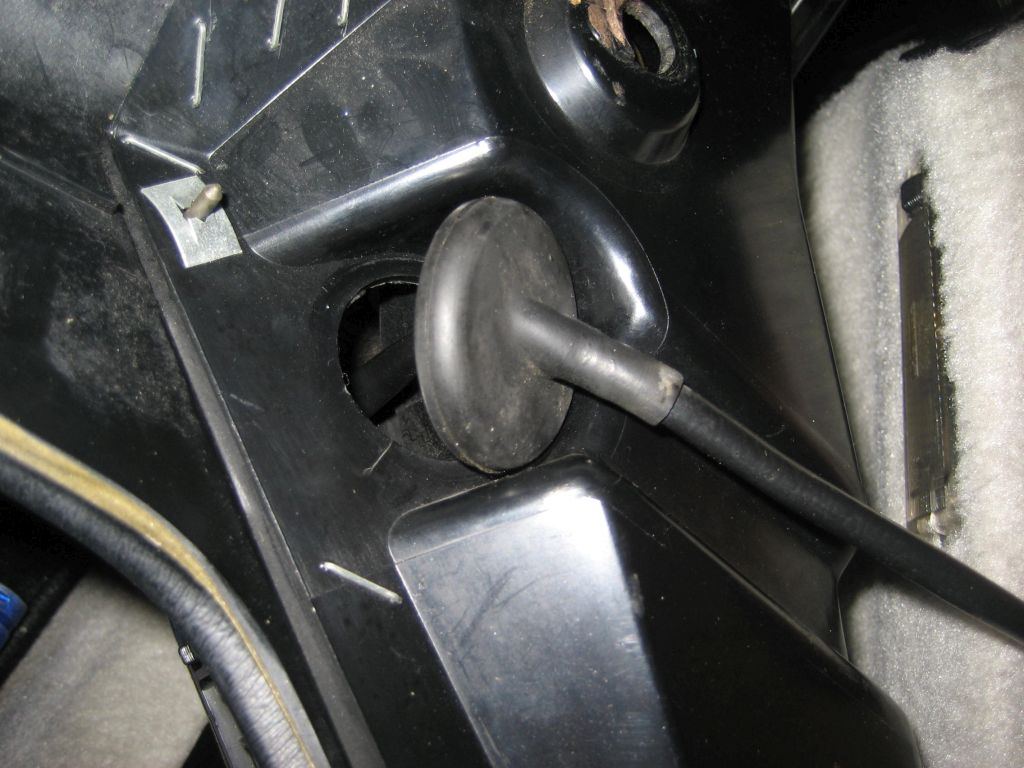
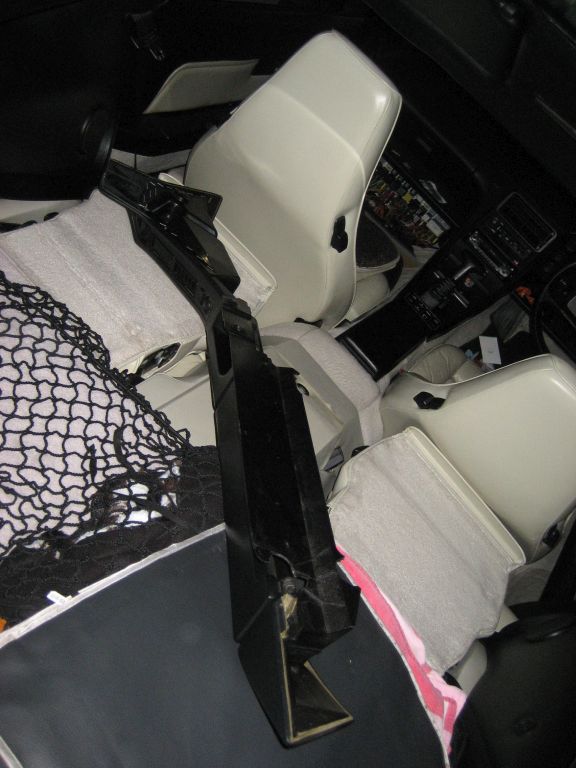
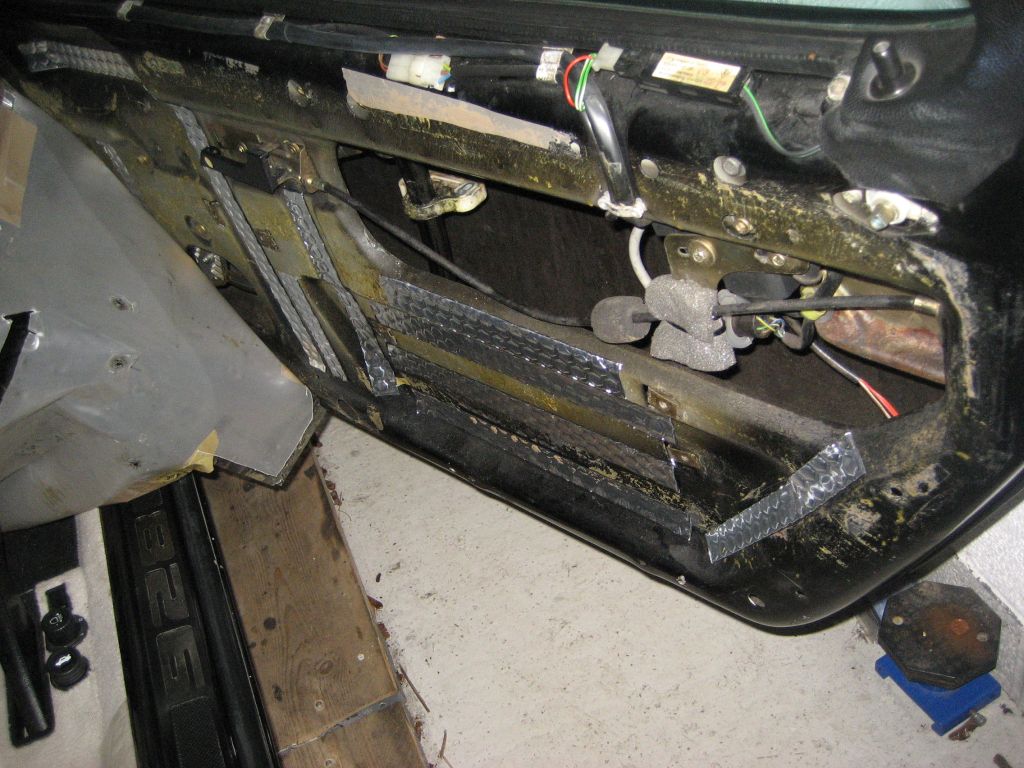
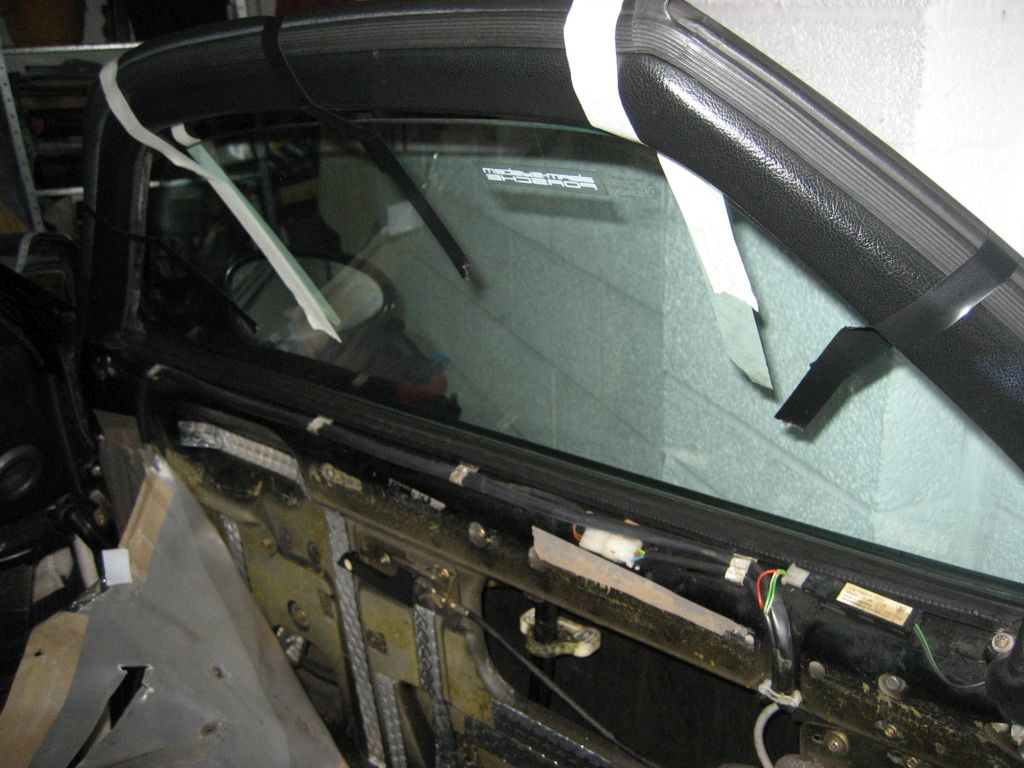
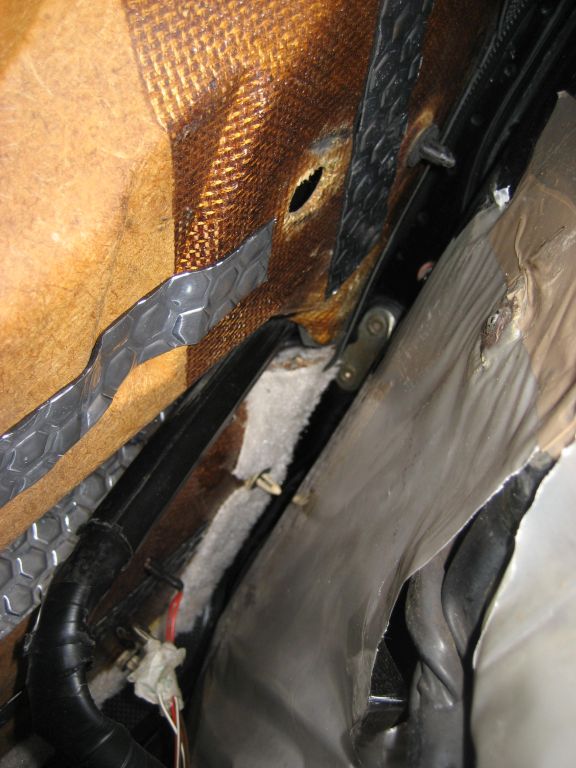
4) With the door panel removed you need to pull back as far as possible to the inner plastic water guard sheet (if there still is one on your 928; if not, renew it, as it stops water damaging your door panel). Lower the window a few inches and then stop it. Now should be able to see the door window slide bar, guides and window.
5) Using some strong tape, tape the window to the top door edge to stop it from moving while you do this task. DON'T press your window switch again until you have installed the new guides!
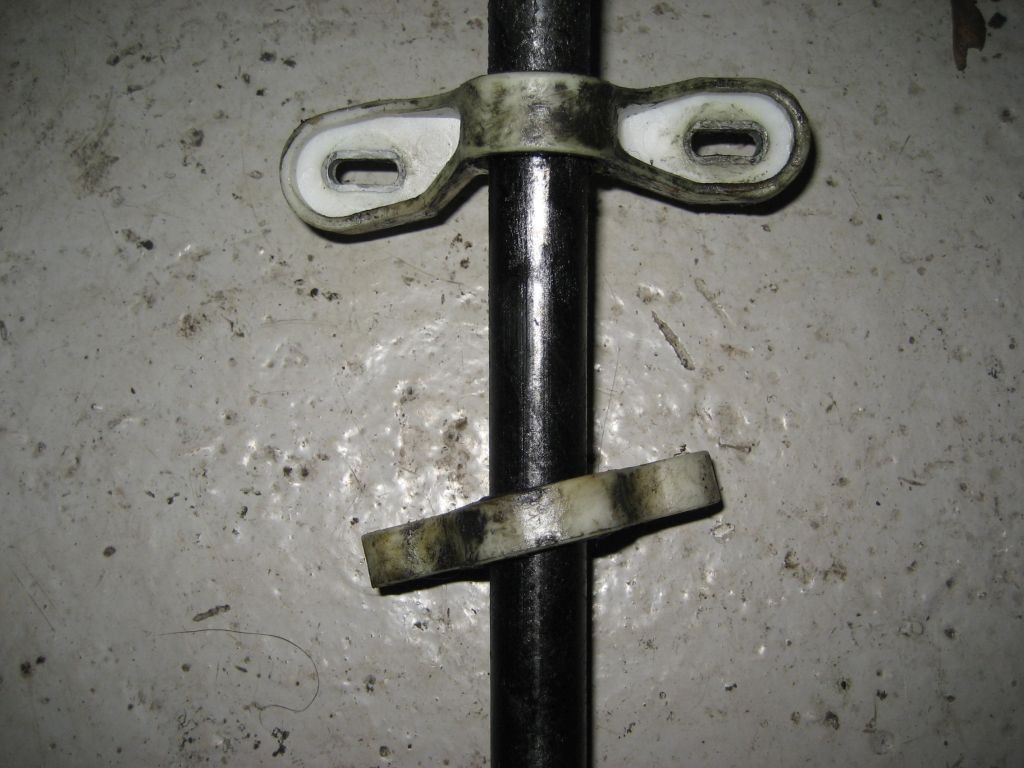
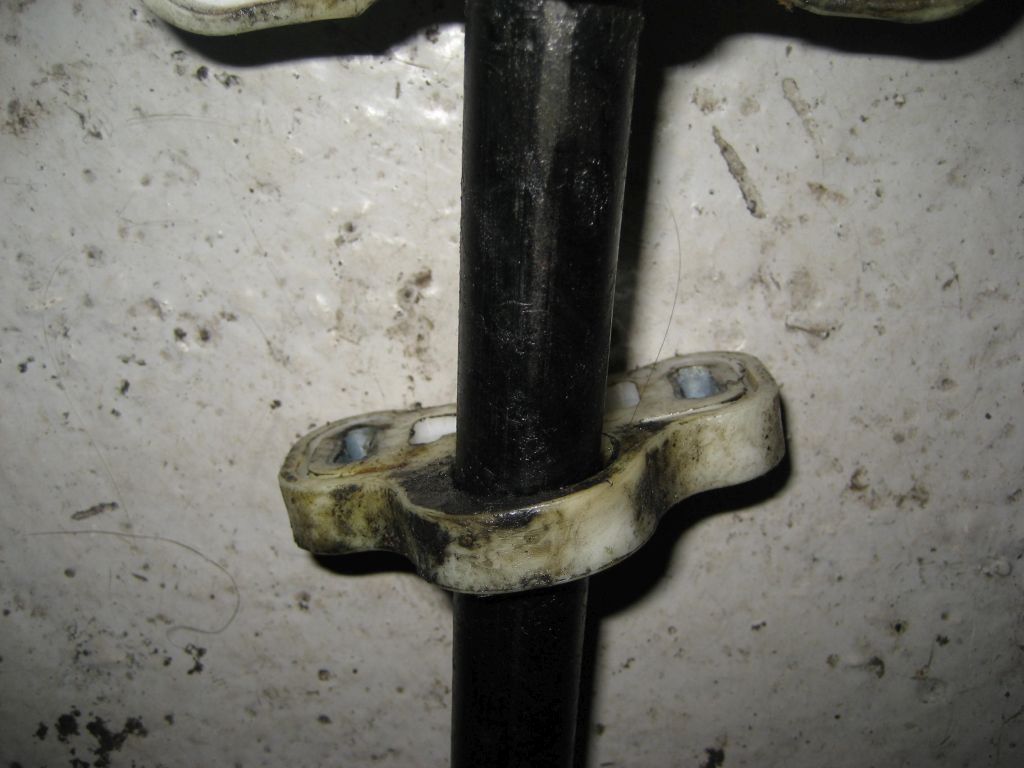
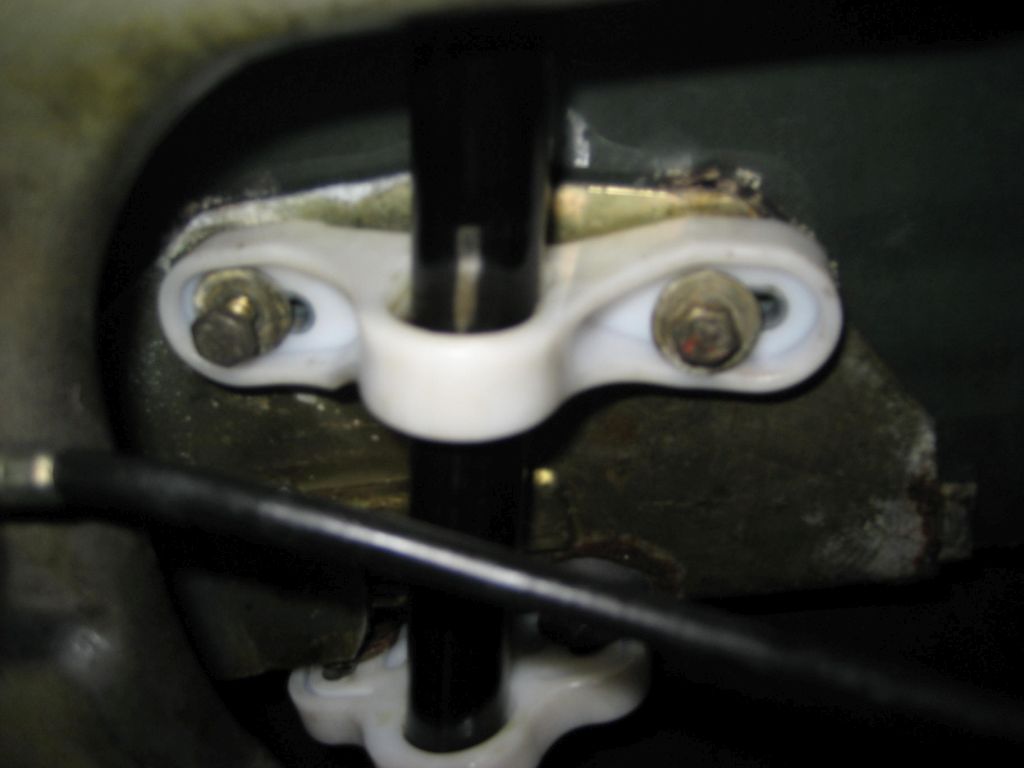
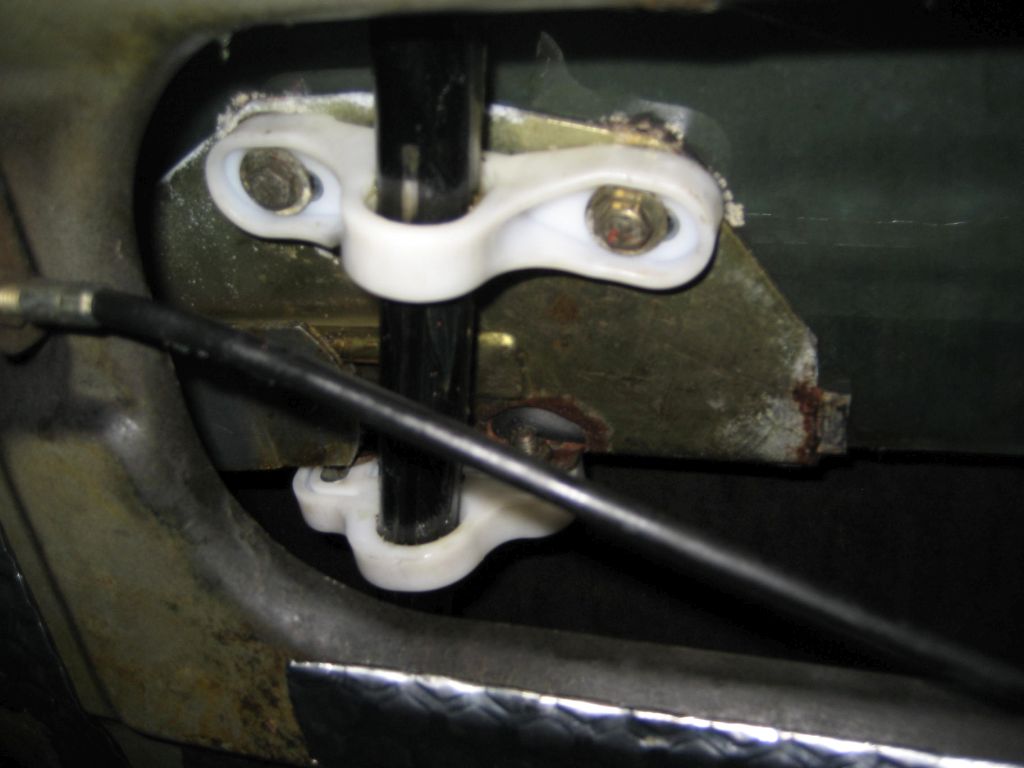
6) The 2 window guides (upper and lower) are fixed to the window with 4x 10mm bolts. Undo the top guide first (2 bolts) and then the lower guide (2 bolts).
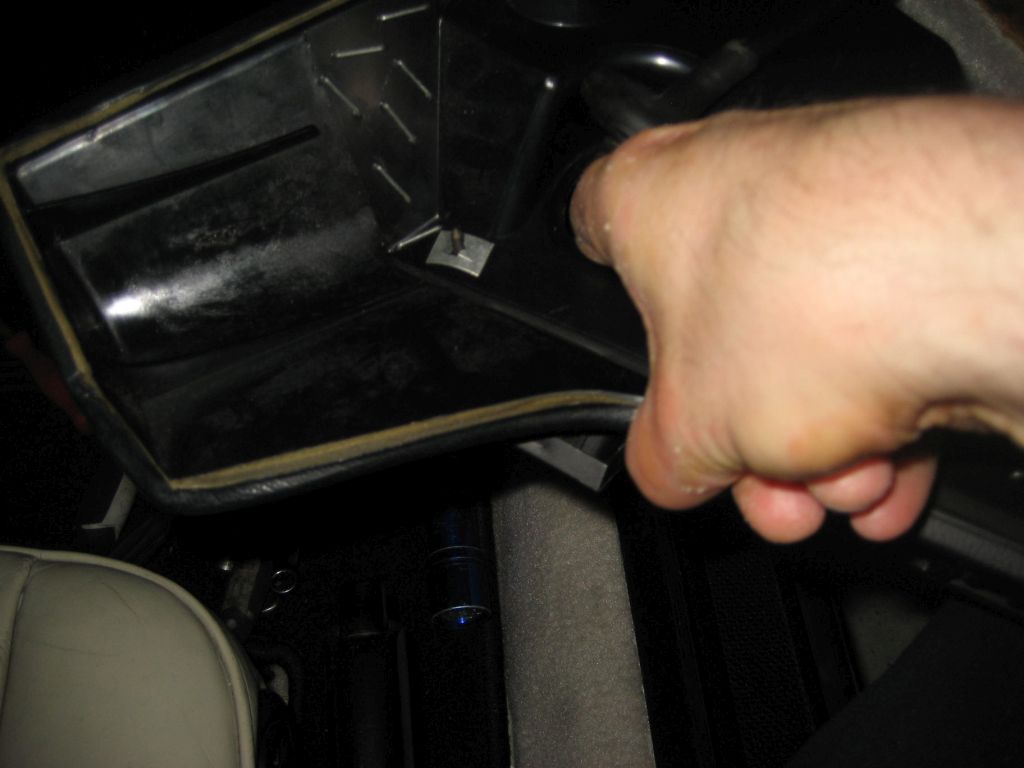
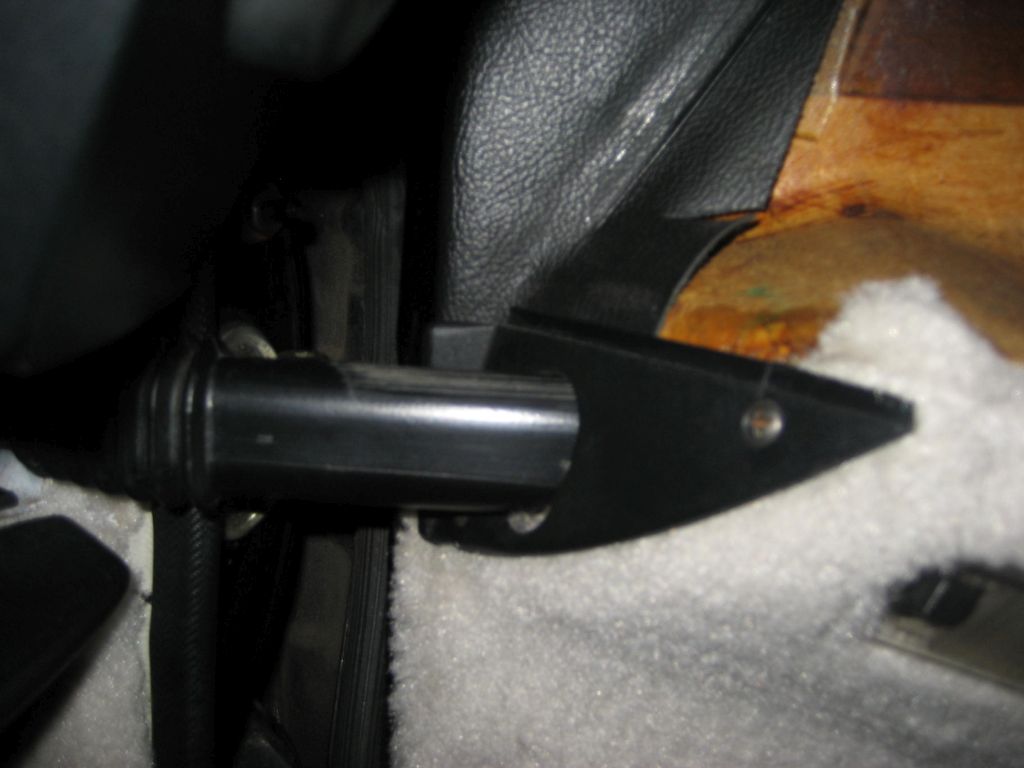
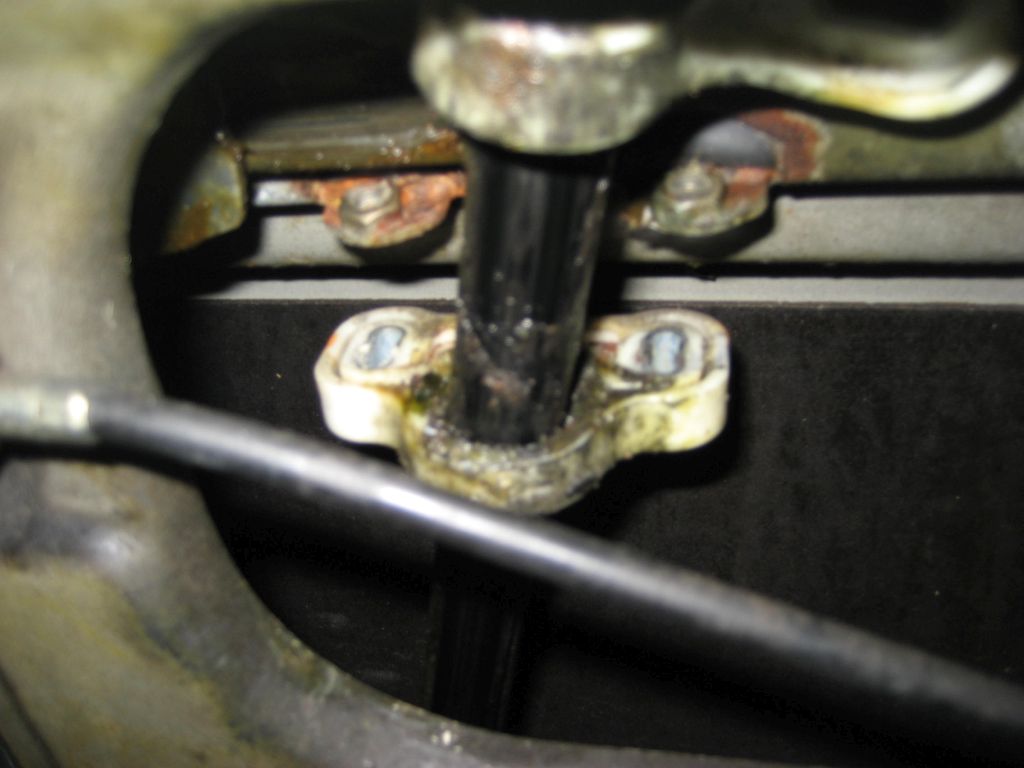
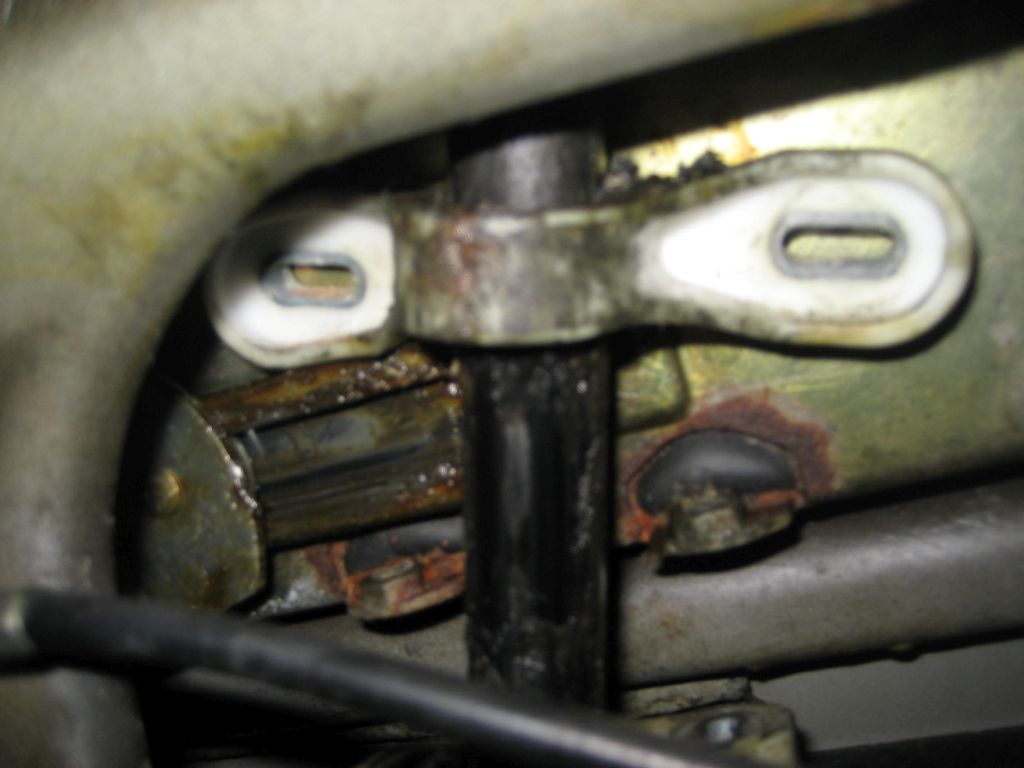
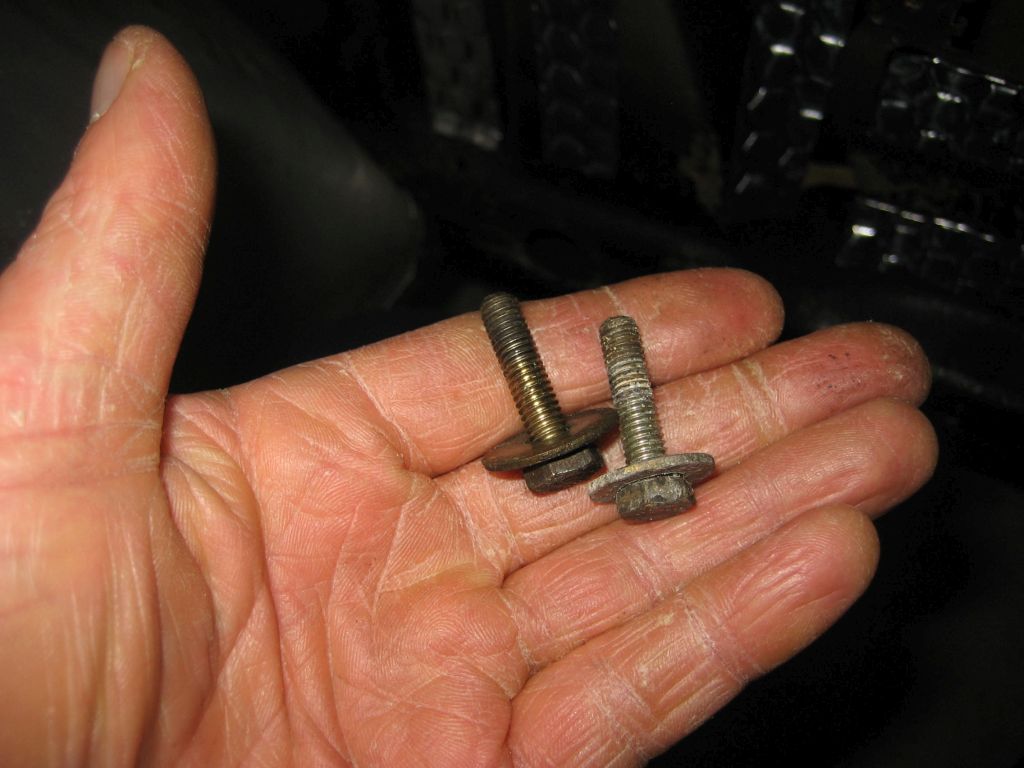
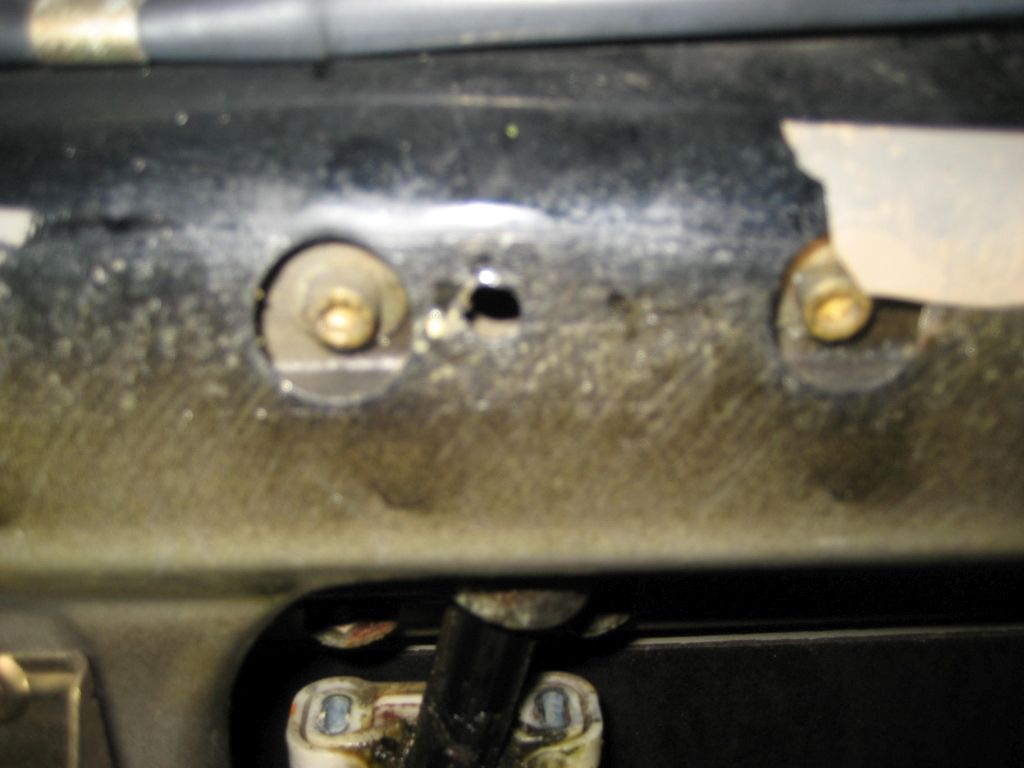
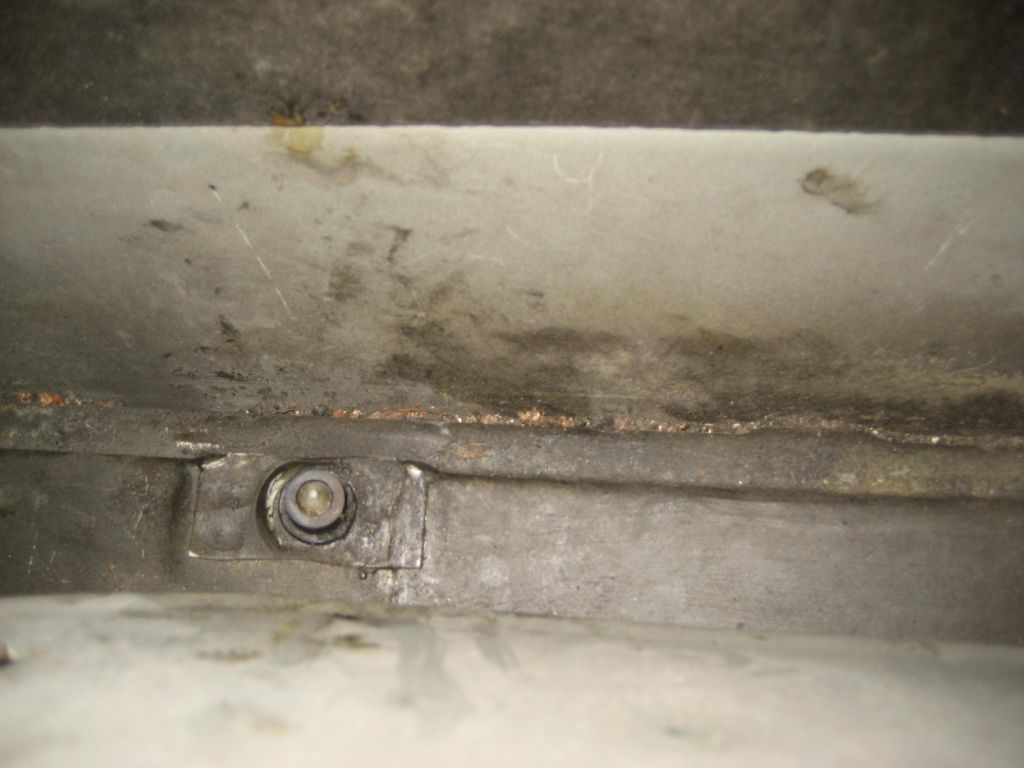
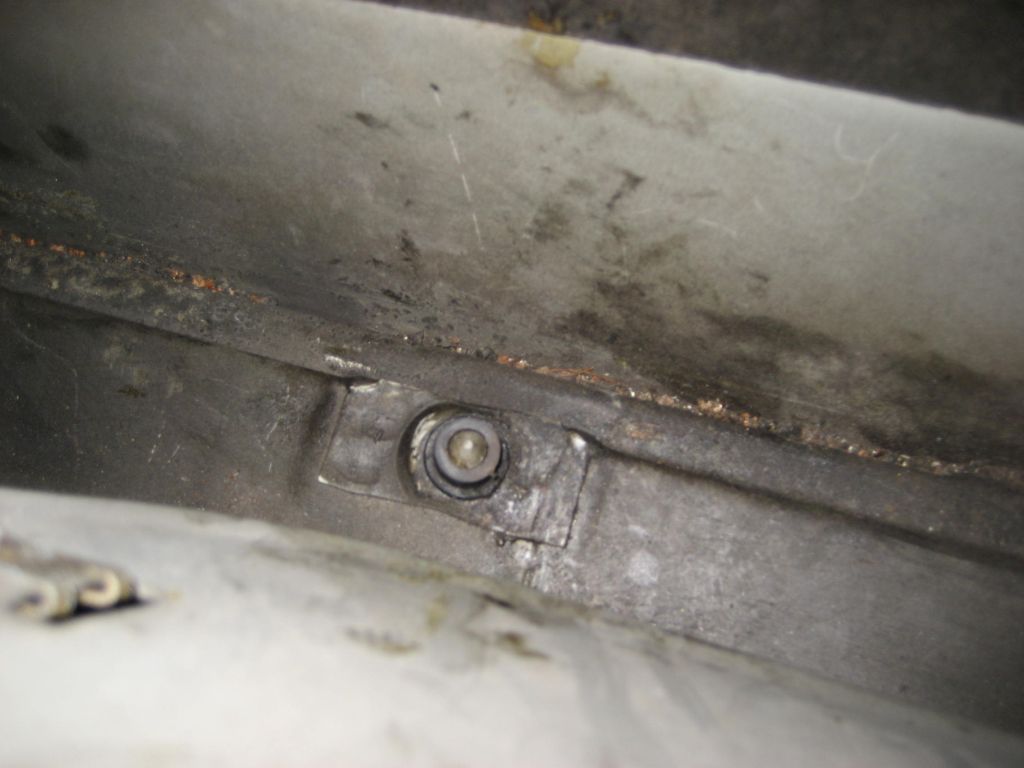
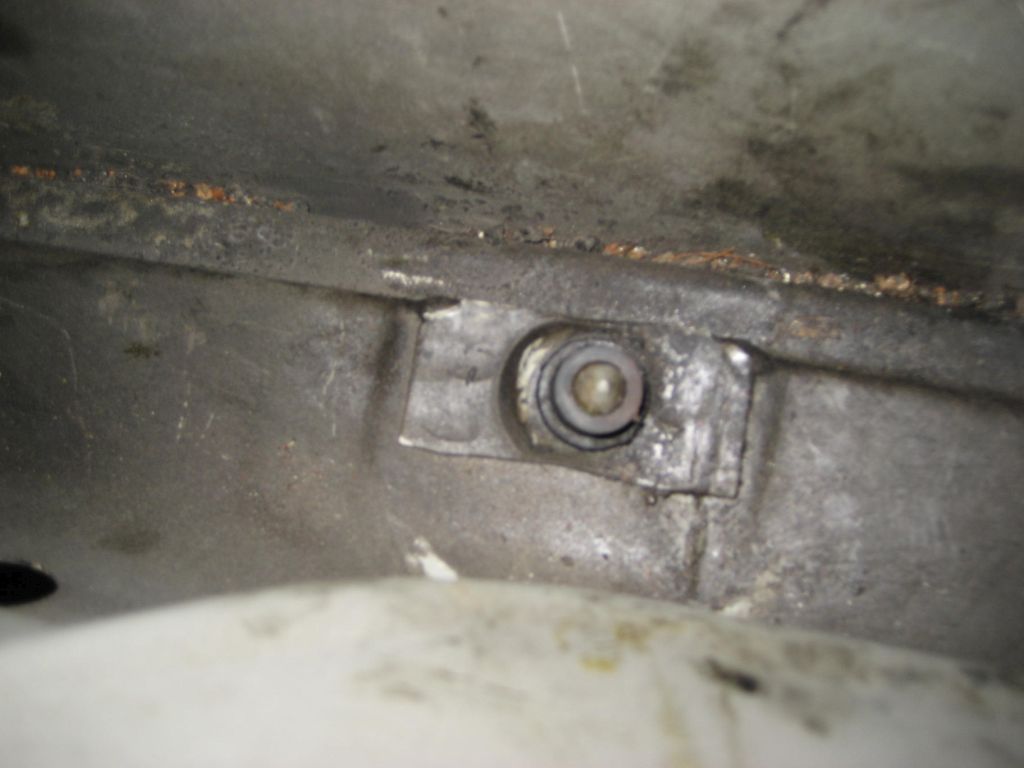
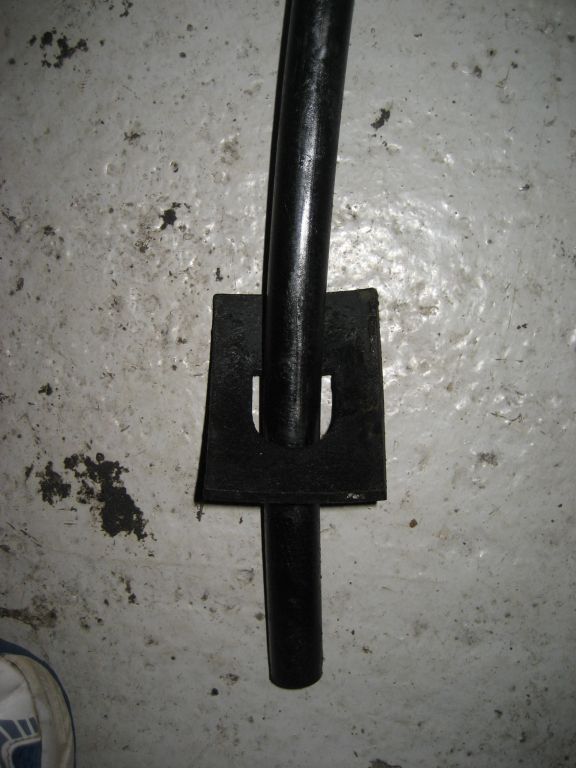
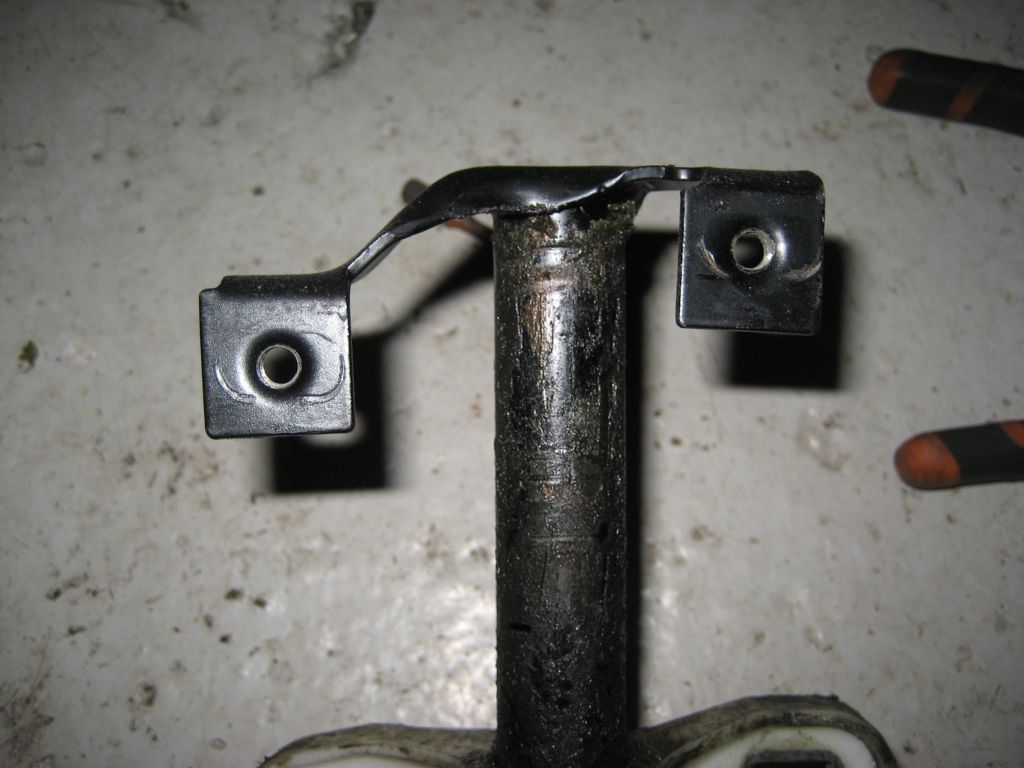
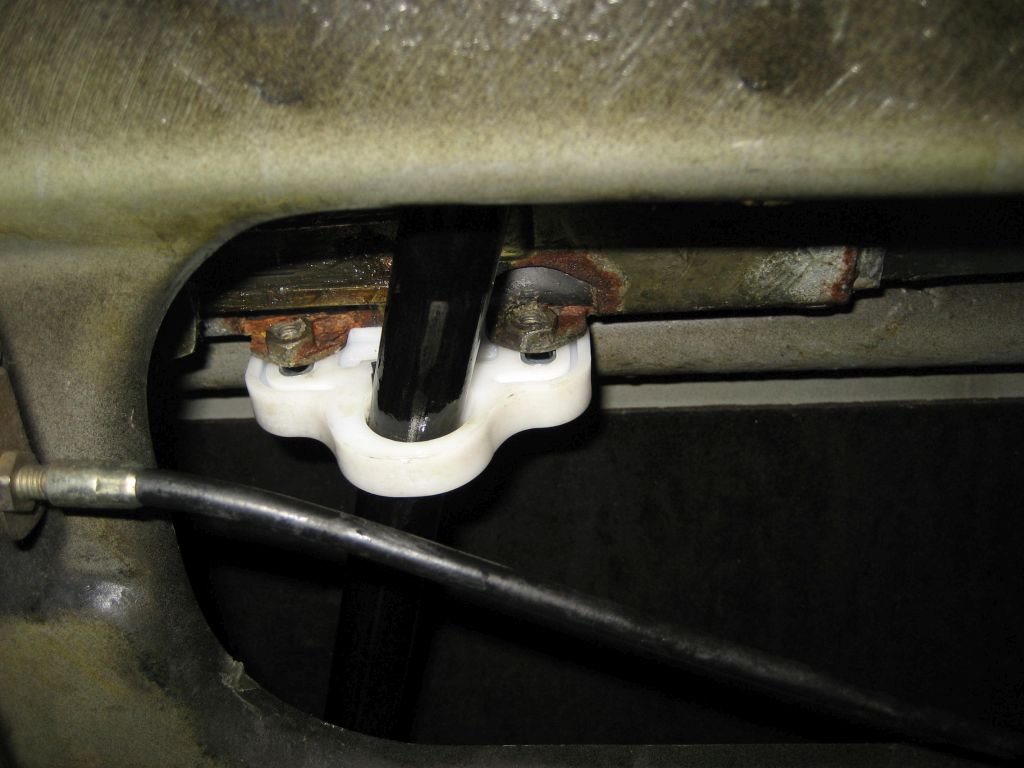
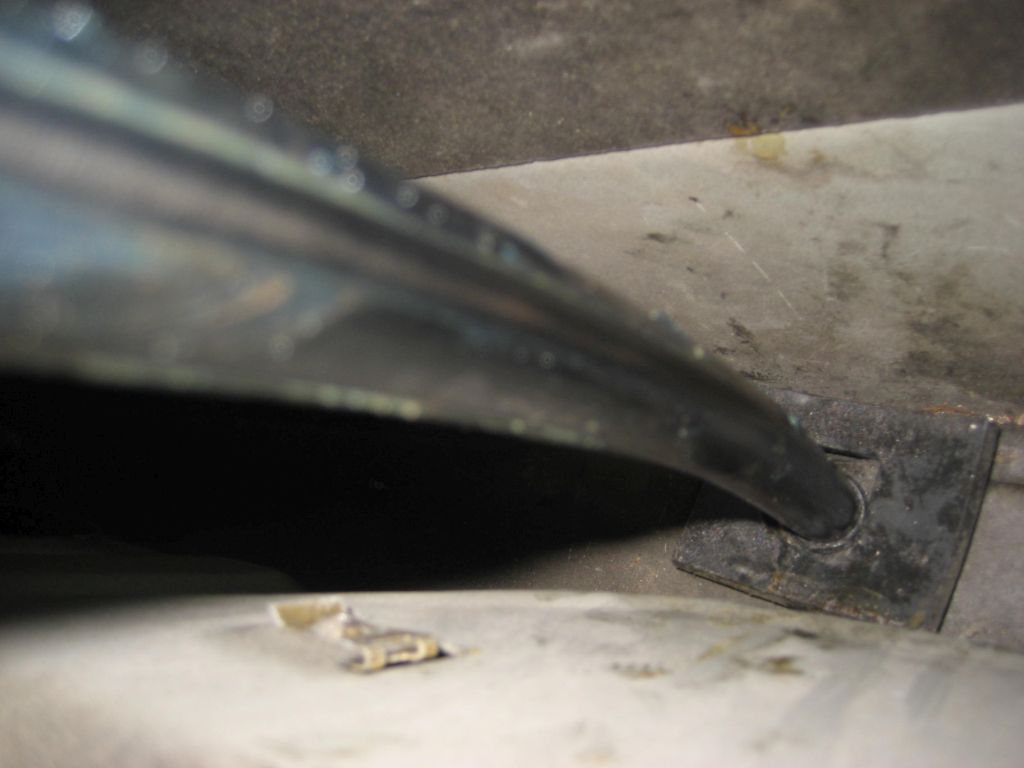
7) The window slider bar is attached to the door with 2x hex-head bolts at the top of the inner door panel and then pushes into a rubber stop right down in the bottom of the door itself. FIRST remove the 2x hex-head bolts that fix to the door inner panel. Now, carefully push the door window slide bar that the 2 guides are attached to, towards the back of the door to the right. As if you are pushing a pole stuck in the ground from vertical to horizontal. As you do so, the slide bar should detach from the rubber stop down in the bottom of the door; BE GENTLE AS YOU DON'T WANT TO SNAP IT OFF.
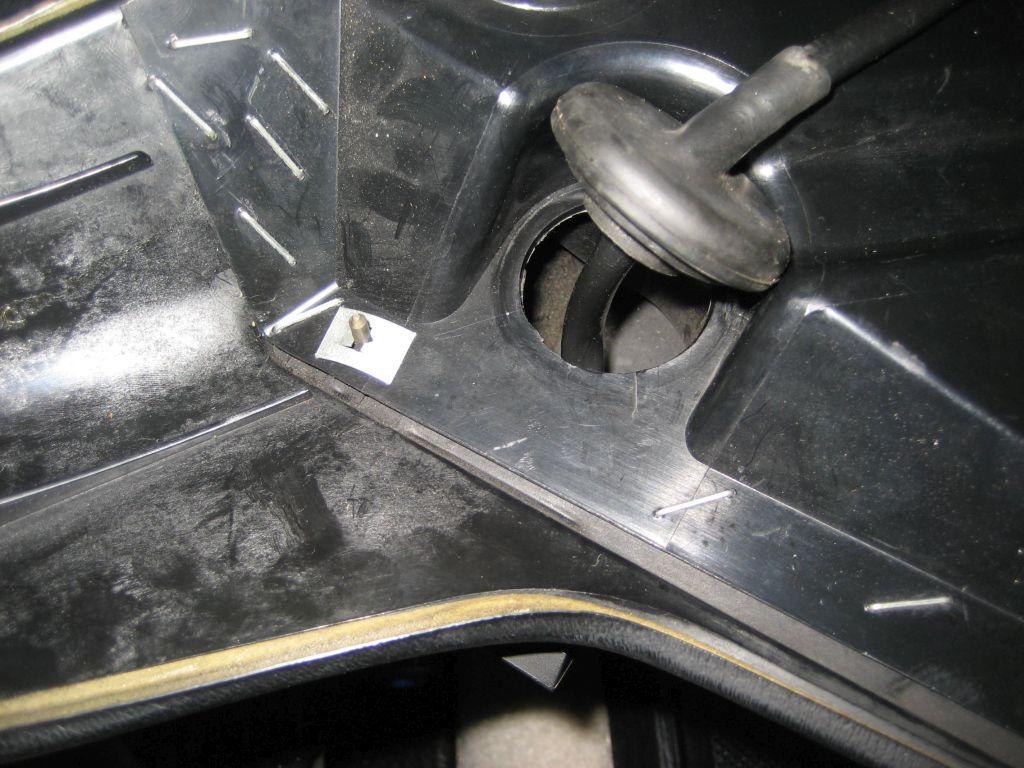
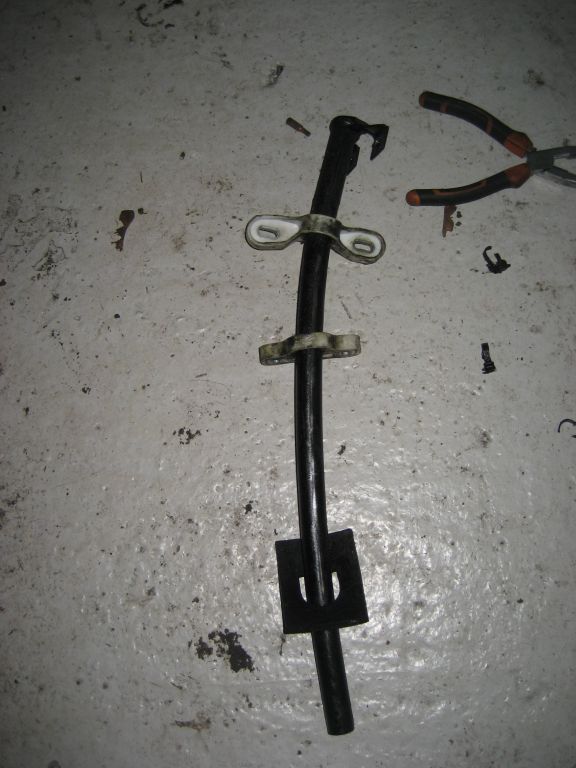
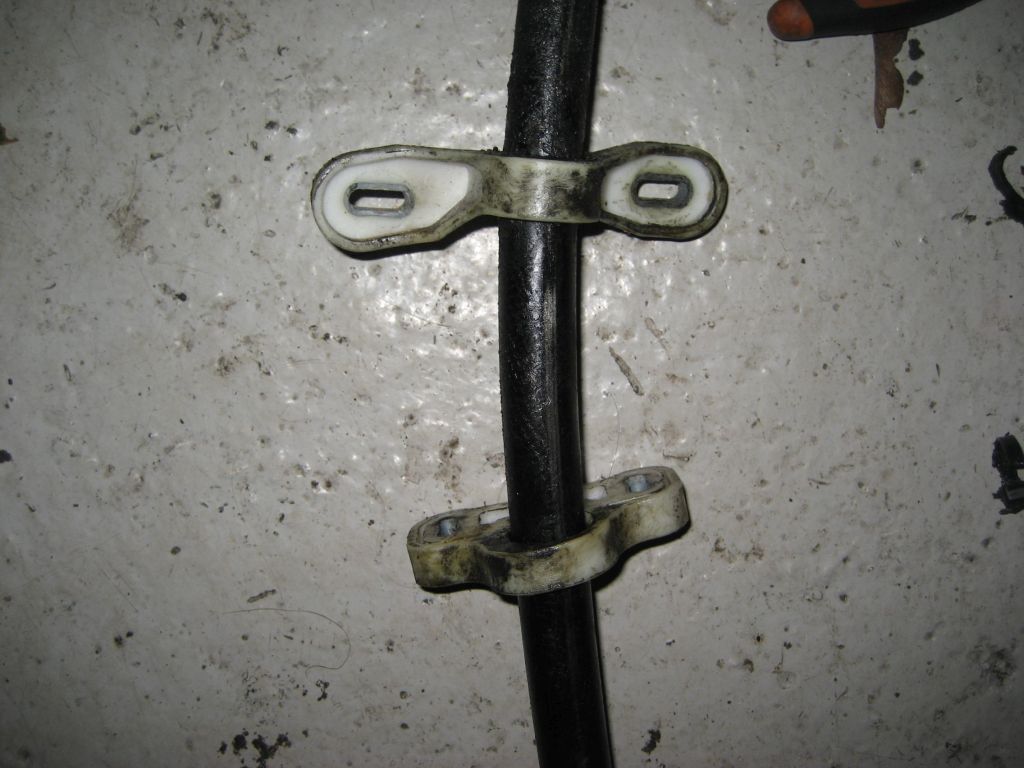
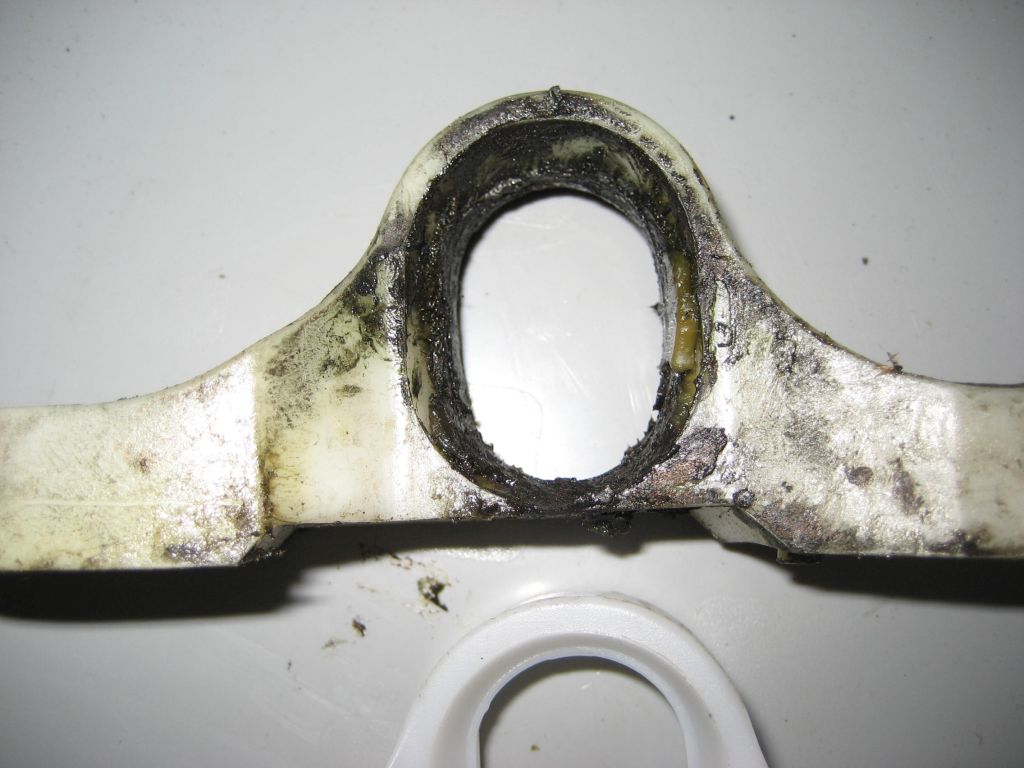
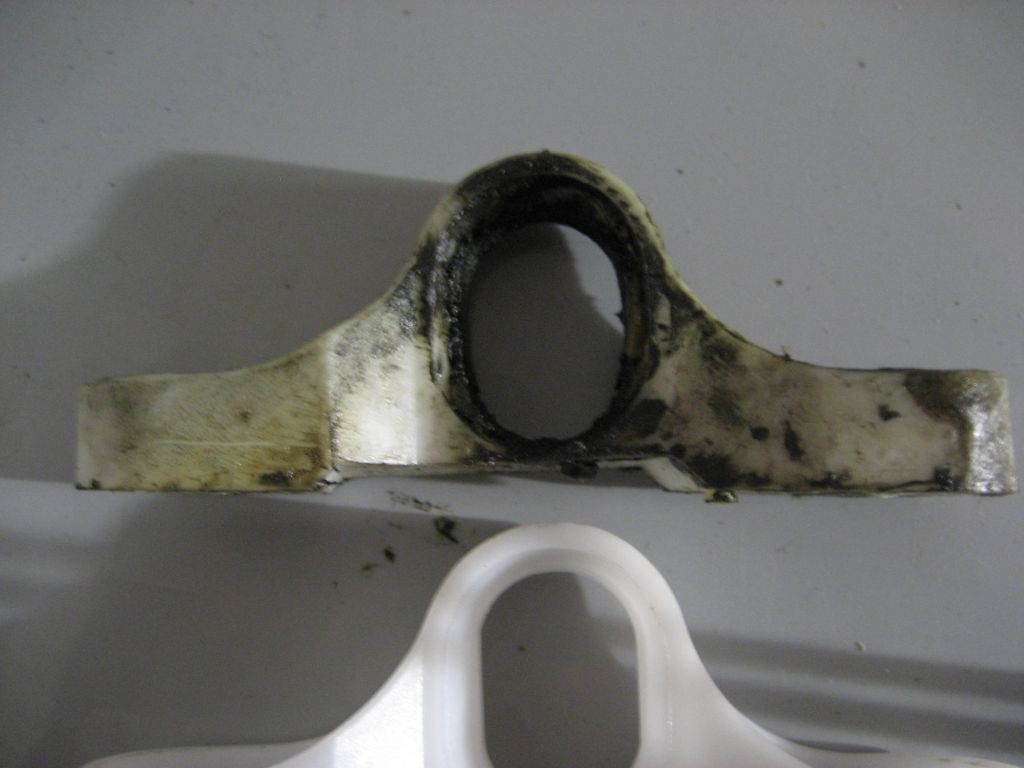
8) Once the slide bar with guides attached comes free you can wriggle it from the door itself. See pic's for what you should now have in-front of you. There should be a rubber cover in the bottom of the door that comes out too.
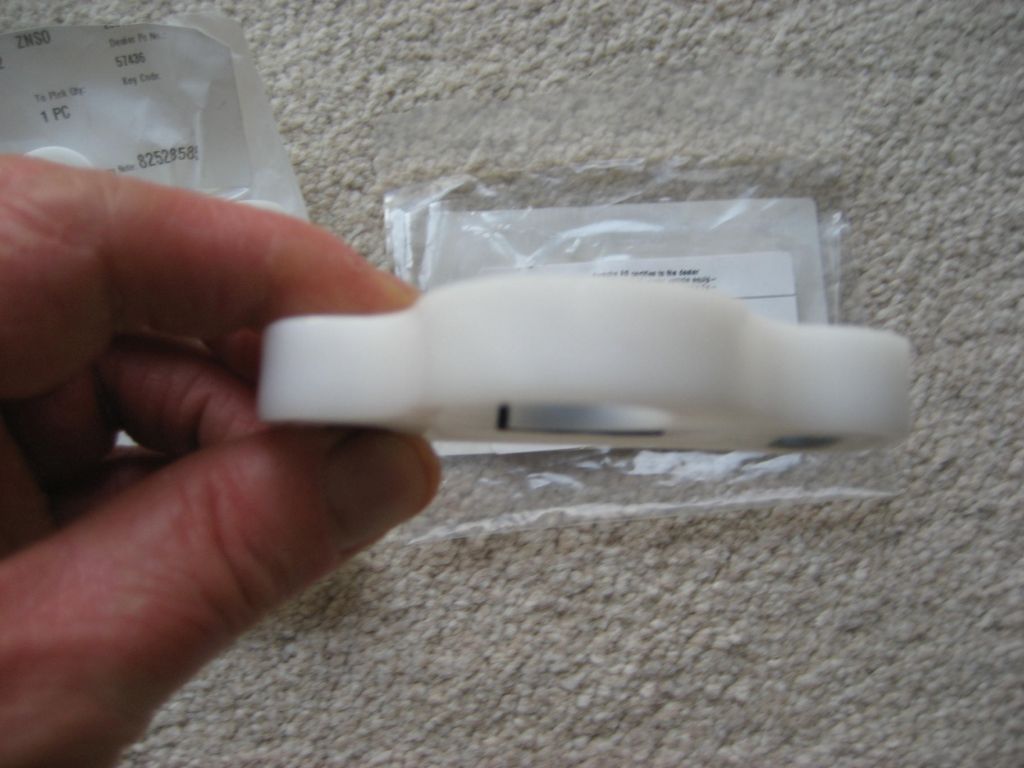
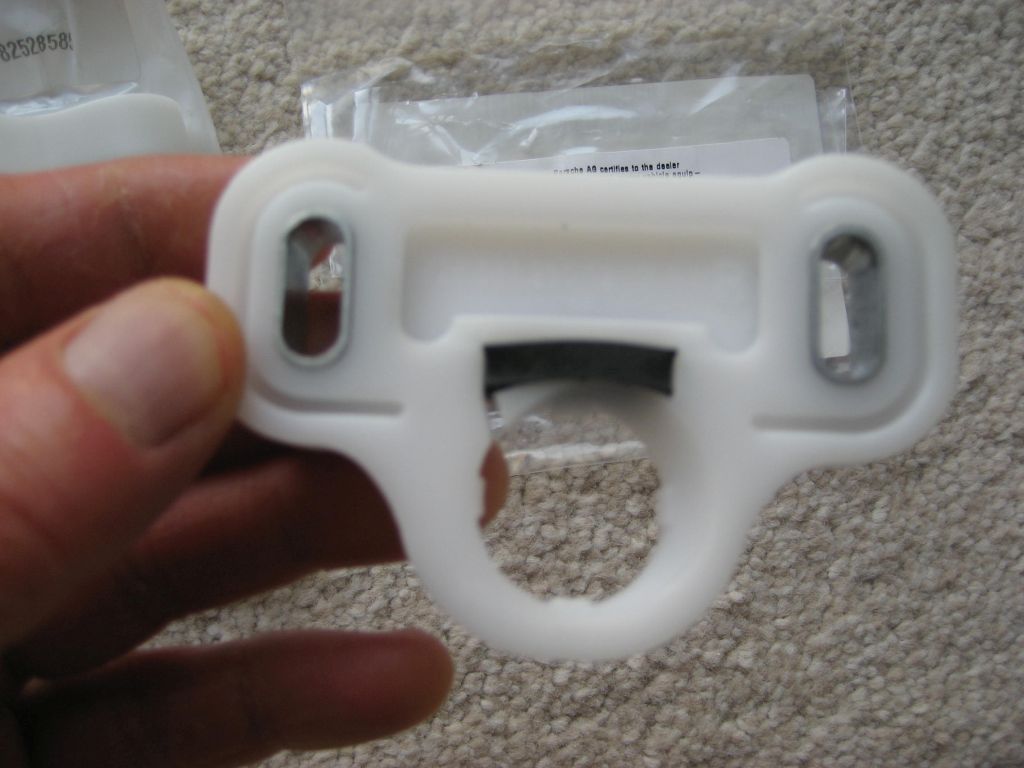
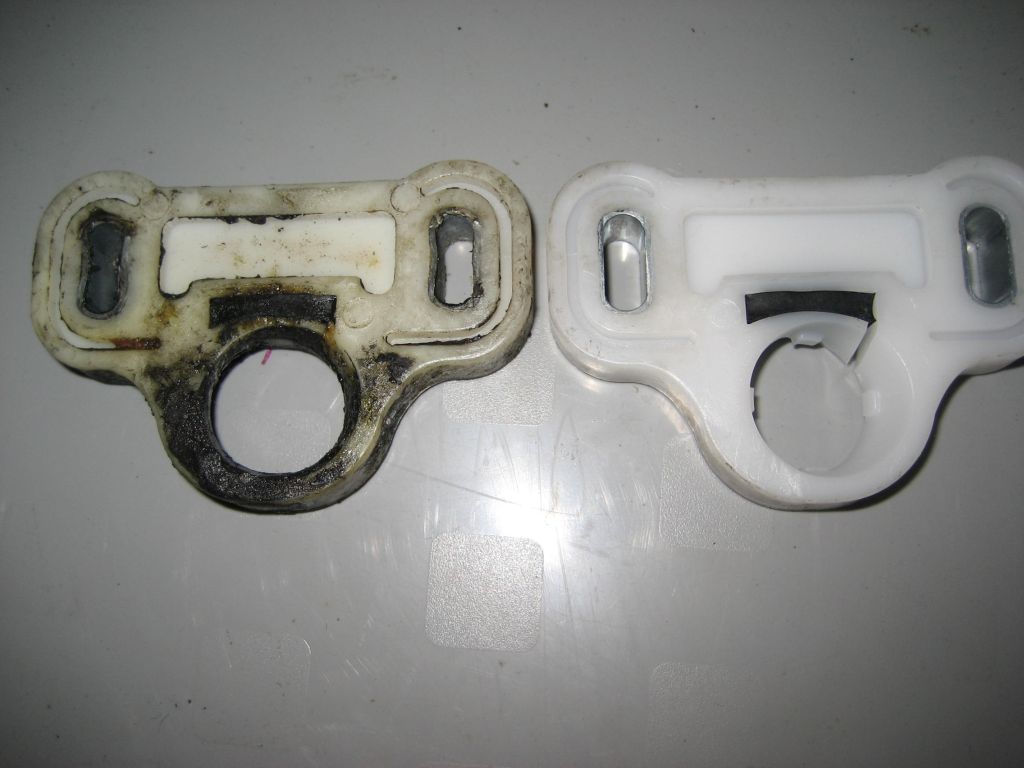
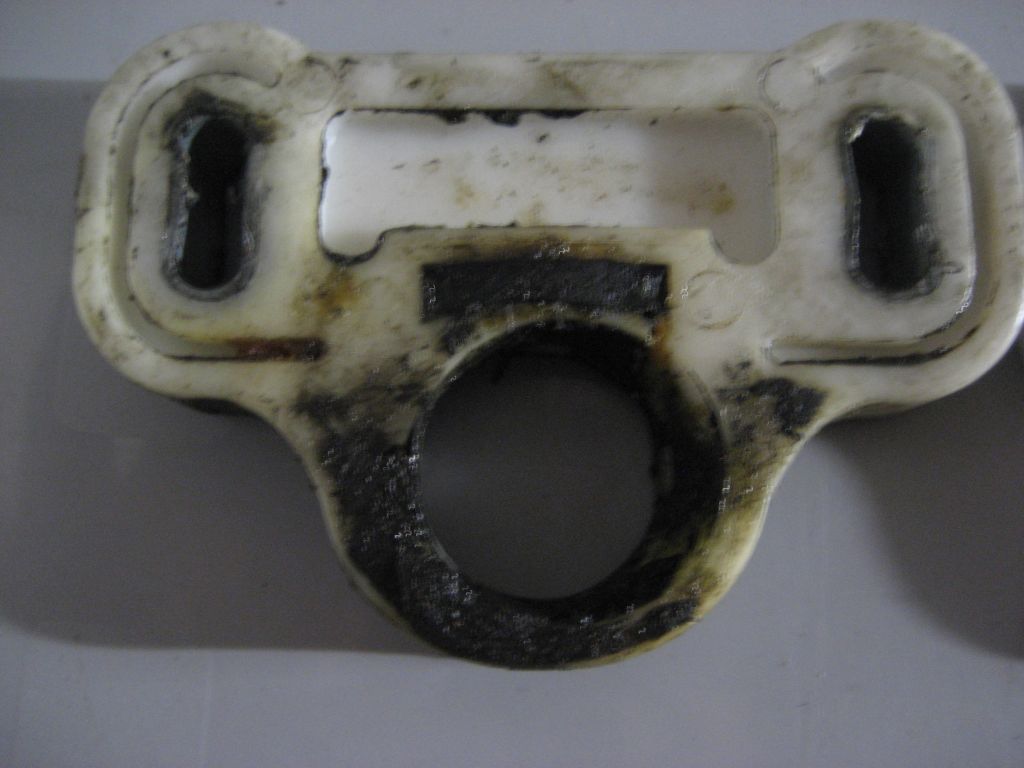
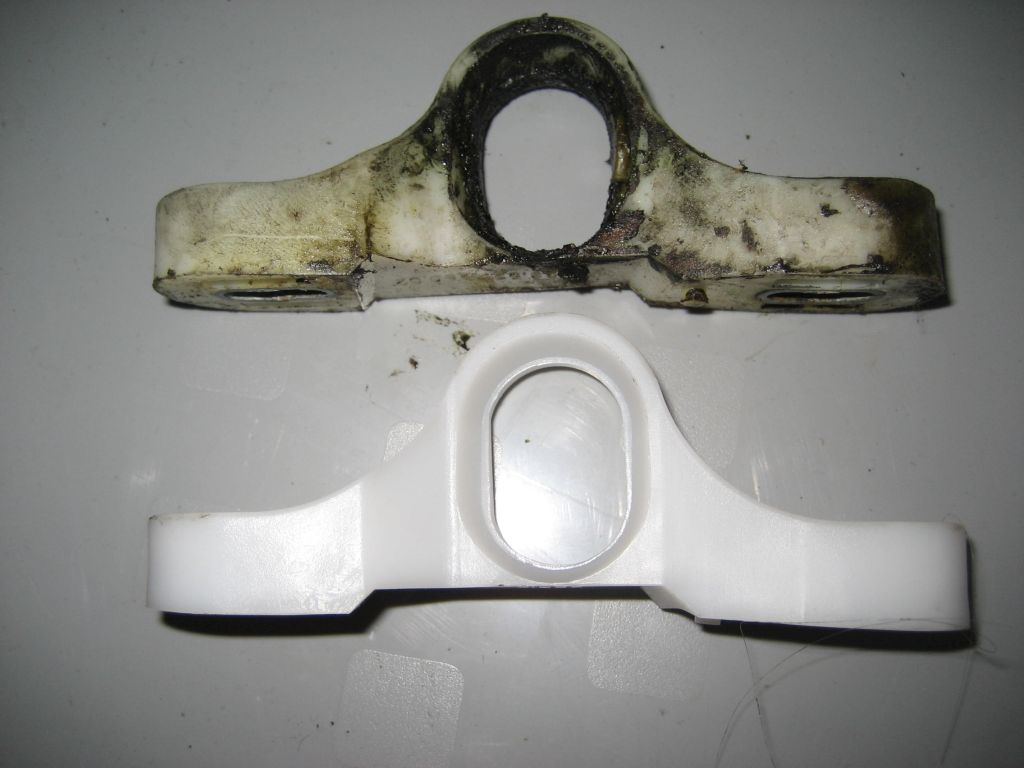
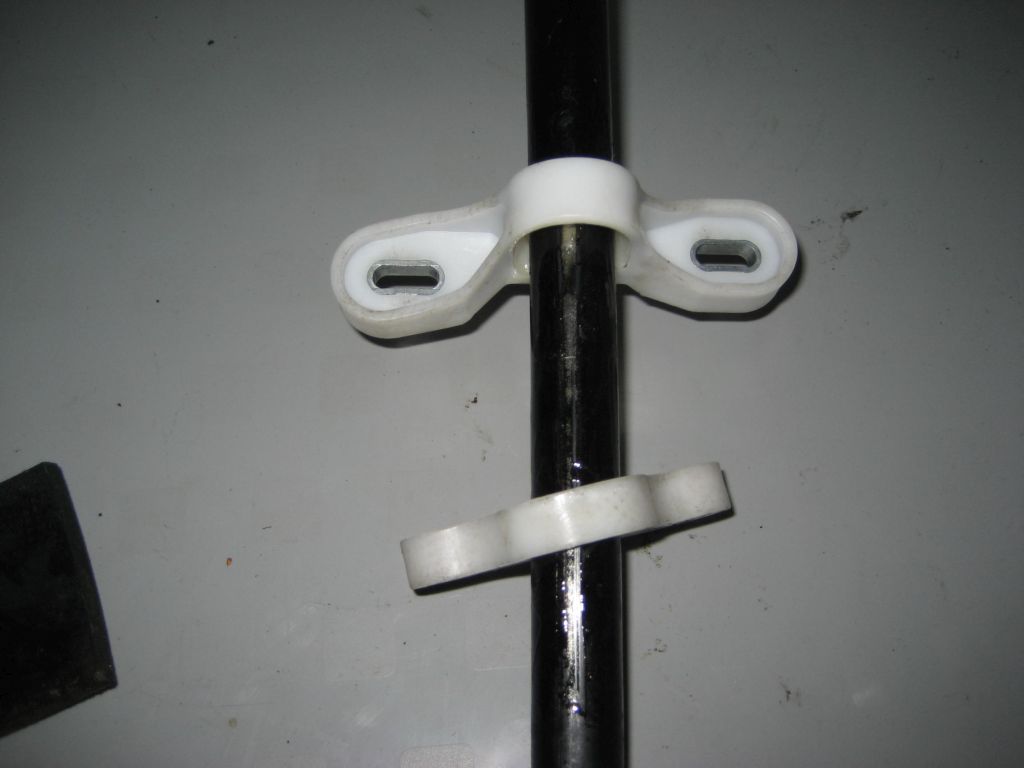
9) With slide bar and guides removed from the door you can clearly see why the guides wear. When new, the guides have 4 protruding high points that run along the slide bar. The top guide touches the slide bar left-to-right and the bottom guide touches front-back. Over time, these small pieces of plastic completely wear away under the stress of lifting the window up and down against steel. I imagine that they weren't greased at the factory upon assembly either; so the worn guides/rattling window problem was inevitable.
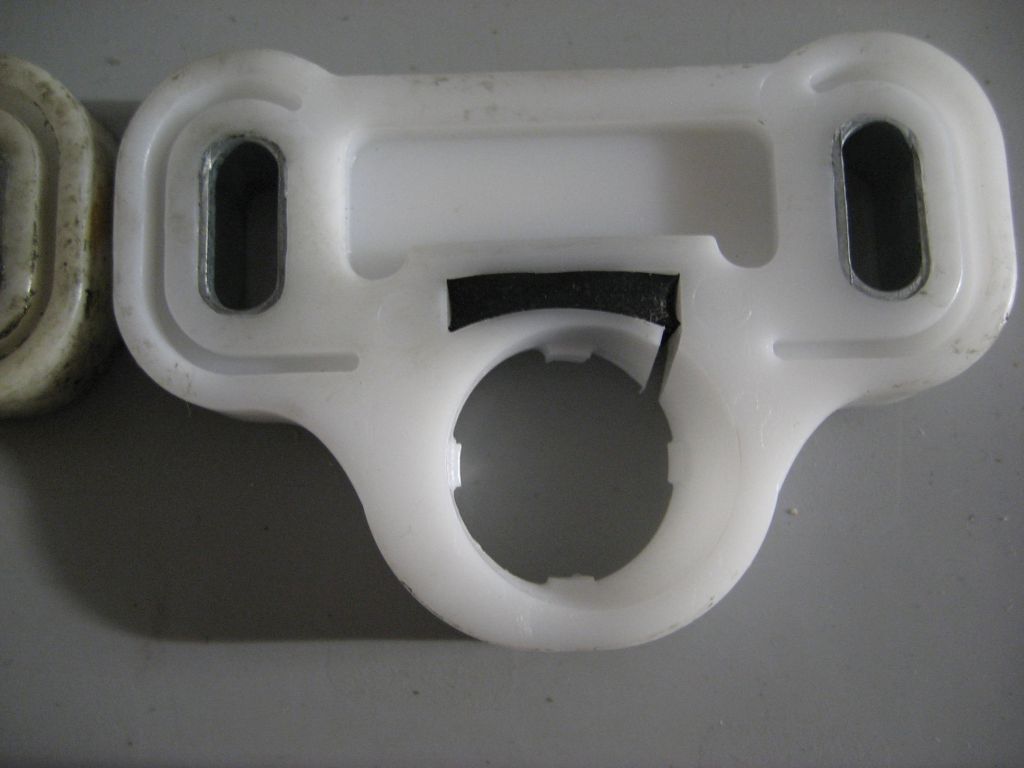
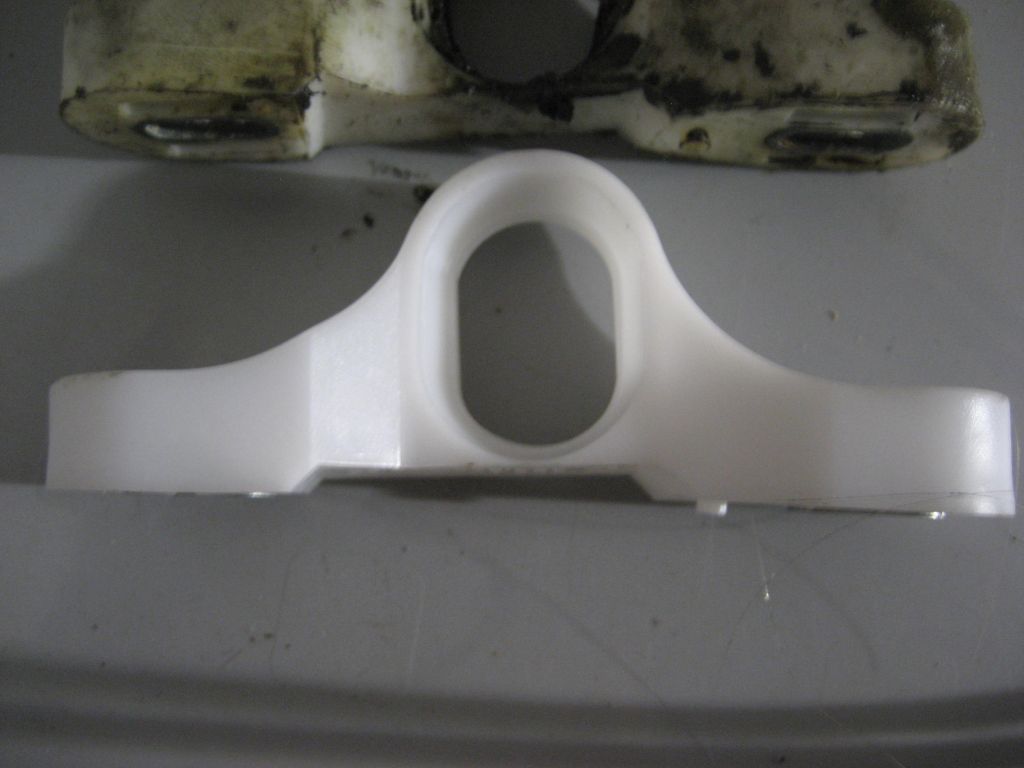
10) Make a note with pic's of the orientation of the guides as this is important for reinstalling. The slide bar will no doubt be covered in old grease, so clean it all off and remove the old work guides.
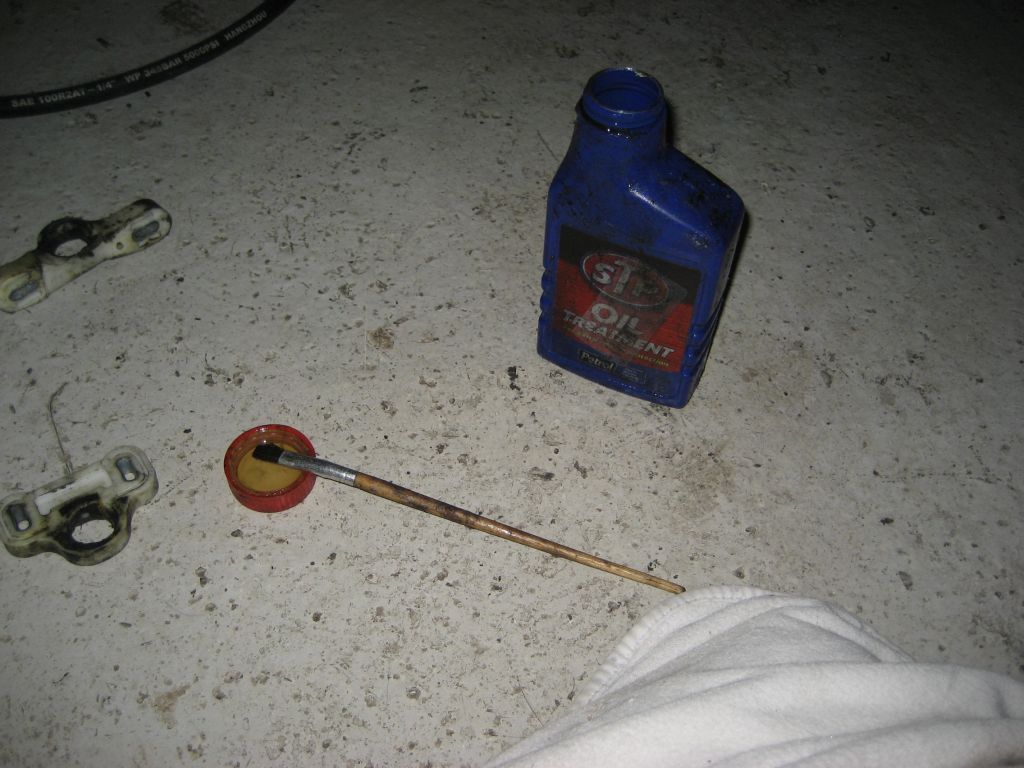
11) The new guides are a very tight fit. But because you still need to handle the slide bar on reinstalling, you don't want grease all over it yet. So what I did to get the new guides on the slide bar was to paint STP oil treatment around the plastic guide where it attaches to the slide bar to get them to slide on easily for reinstalling.
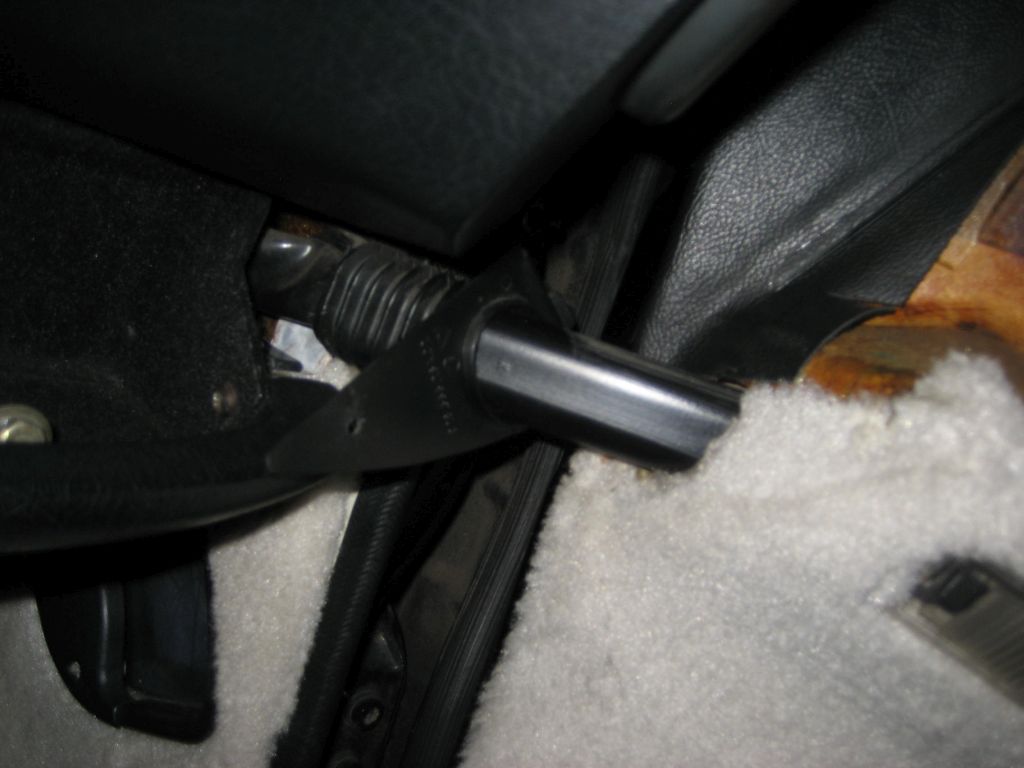
12) With the new guides pushed on put the slide bar back into the window exactly the same way you removed it. Remember the rubber cover that goes down into the bottom of the door where the slide bar attaches to the door.
13) Start by reattaching the slide bar at the bottom of the door by pushing it into the rubber grommet in the bottom of the door; it takes a bit of wrestling. GOOD TIP is to grease the rubber grommet. Now attach the slide bar at the top of the inner door panel with one of the hex-head screws that attaches to the inner door. Don't do it super tight yet; leave some play so you can wriggle things about a little.
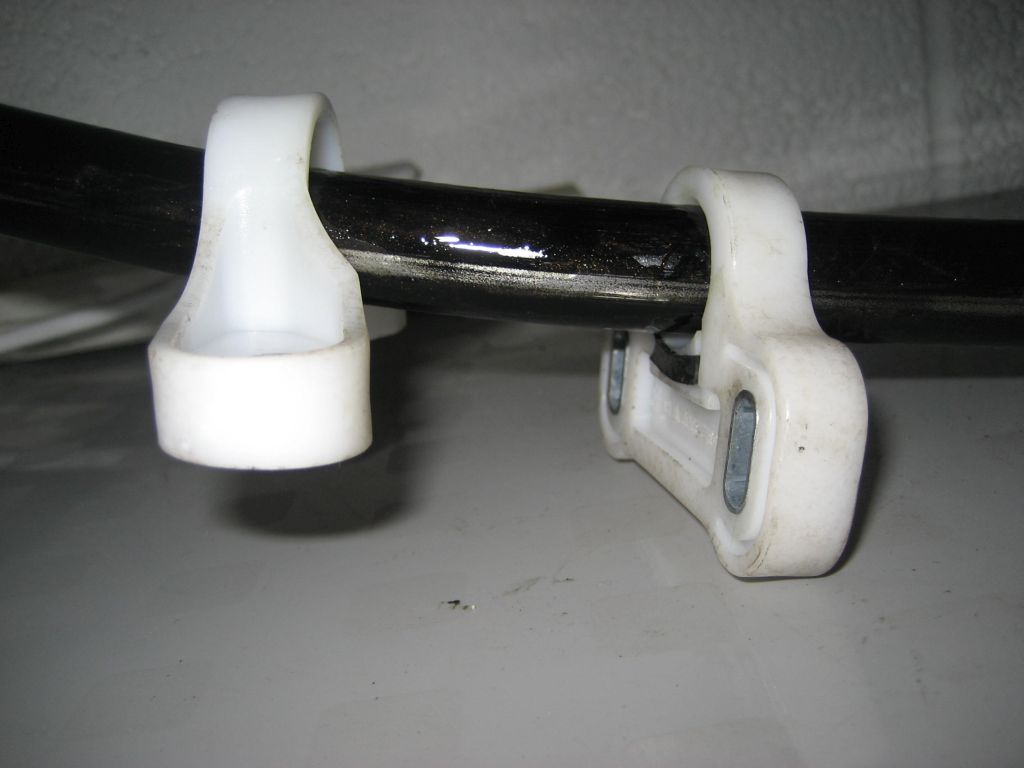
14) Now slide the top guide up to where it attaches to the window so it's out of the way of the bottom guide; but don't screw it back on yet. Do the bottom guide first so you have your window safely a fixed. Do the screws up tightly and then back them off a little so you have some movement on the guide. Now a-fix the top guide with the 2x 10mm bolts and do the same as you did for the lower guide; tighten them and then loosen them a little.
15) Now put in your second hex-head screw at the top of the window slide bar. Again tighten it up and then back it off a little.
16) Now remove the tape holding the window and slowly press your window button, moving the window to the top all the way. You will notice that it might wriggle about a bit as it slides into the top window felt and finds it's correct position. This is why you left a little play in all the bolts!
17) Now tighten up the hex-head bolts in the inner door panel and the bottom window guide so the window is held firmly in place.
18) Now lower the window a few inches so you can see the upper guide bolts and tighten them up tight.
19) Grease the door slide bar with lots of grease and try the window up and down several times to make sure it works all OK.
20) All that's left to do if the window slides up and down fine is reassemble the door panel.
21) You should notice a BIG difference with new guides correctly installed; no rattling and super smooth/fast action of lowering/raising the window. If you used the 'tie-wrap' quick fix you will notice that with new guides the window is now centered correctly on the slide bar so works much faster. The 'tie-wrap' fix makes the window off-center so it has more drag when opening/closing, which makes it slower/harder work for the motor. All being well, you have another job ticked off your 928 list!
I'll do the passenger-side soon and show pic's of that as well. Hope this helps other 928 owners.
best, Dave.