


Front and rear brake renewal 1990 Porsche 928 S4.
1) Ideally you need a lift to raise your 928 off the ground for access
underneath safely. If not, only use axle stands to work underneath your 928;
NEVER just rely on a jack. It helps a lot to get rid of most of the dirt using a
high pressure washer after removing the wheel.
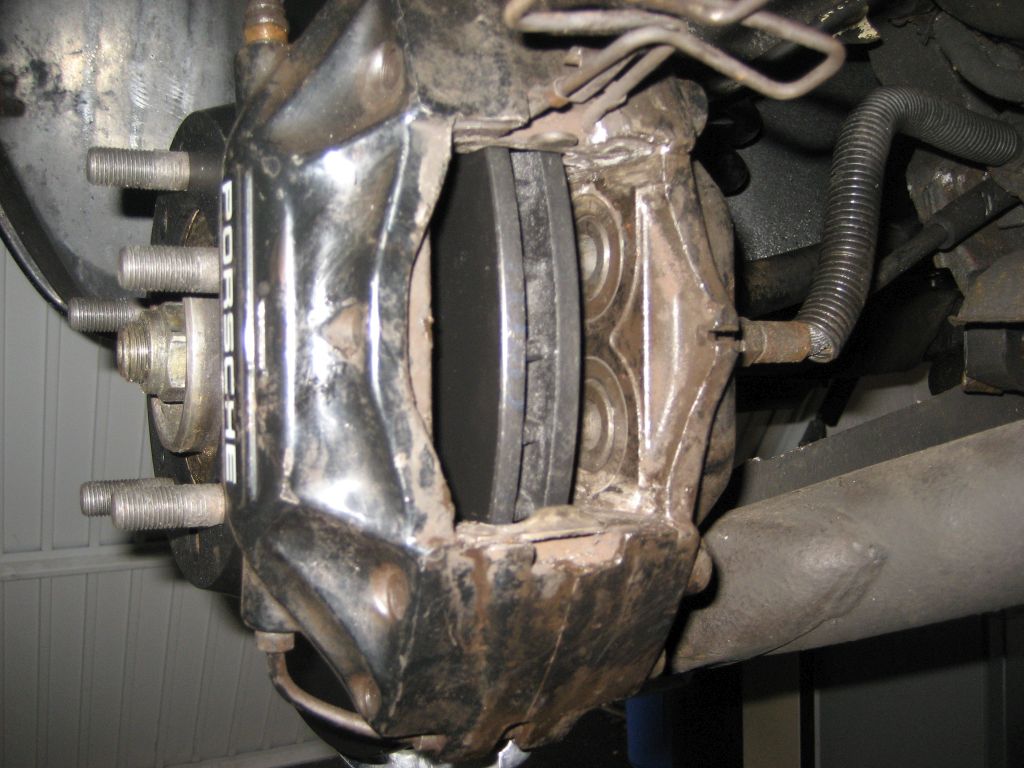
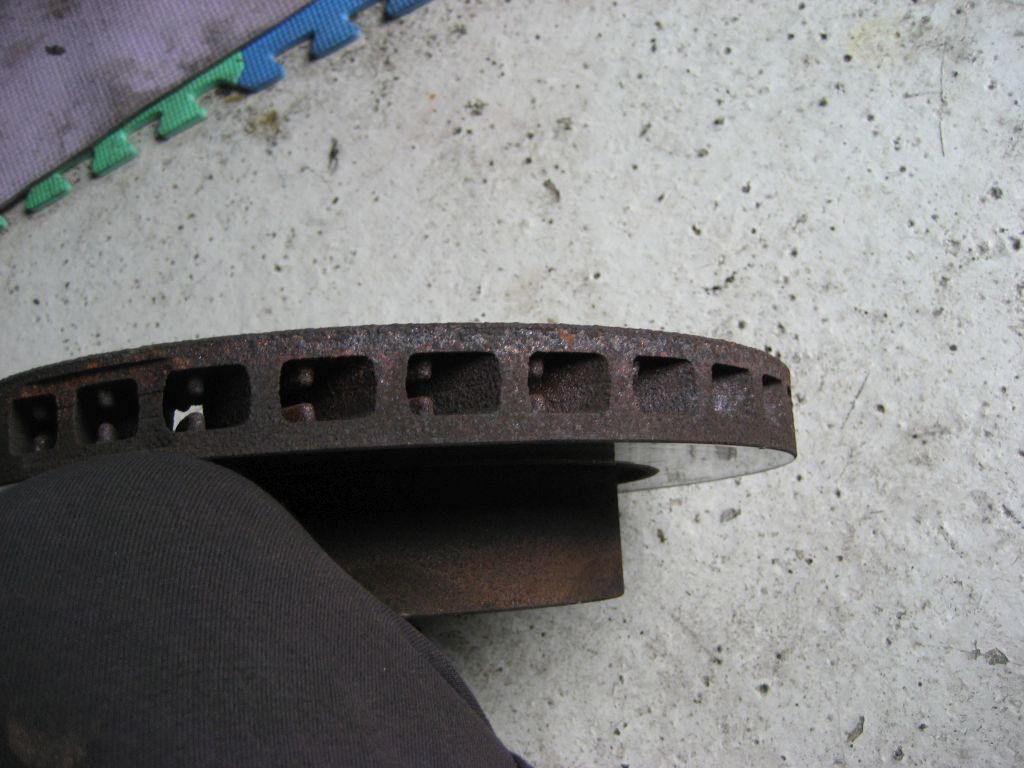
2) I started with the rear brakes. With your 928 safely raised and supported,
with the handbrake on, remove the rear wheels. Then remove the rear calipers. If
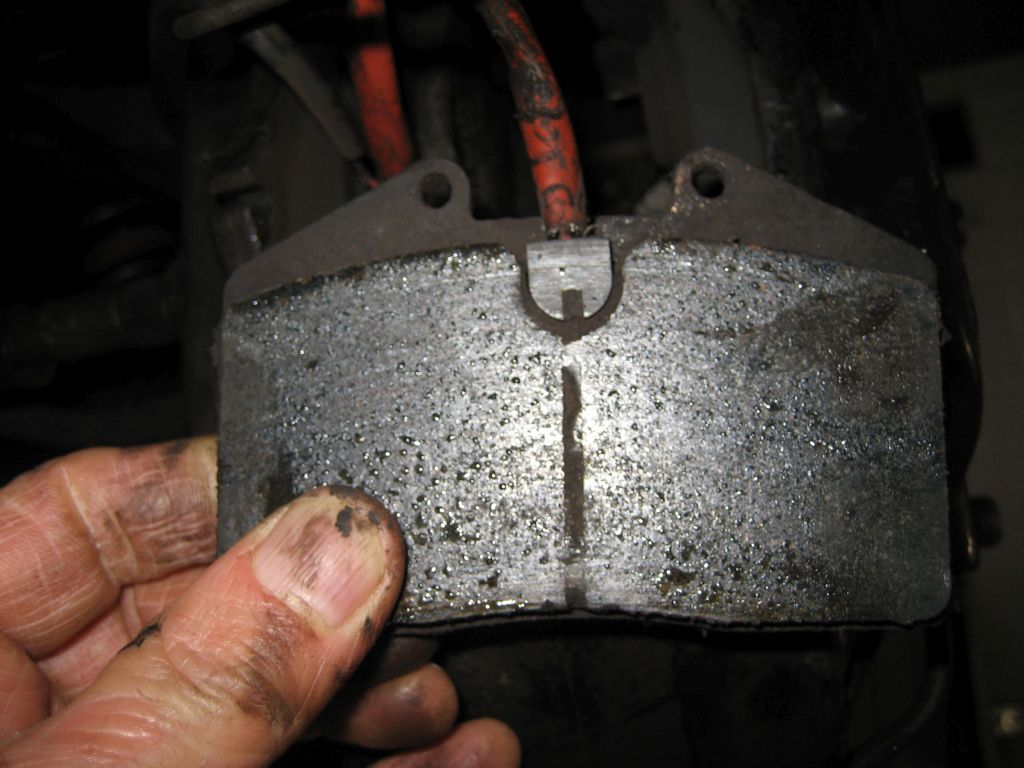
your brakes are well worn (mine had been on the car 6 years and covered 30,000
miles!) the discs will have a lip and the pads impossible to just pull out. So,
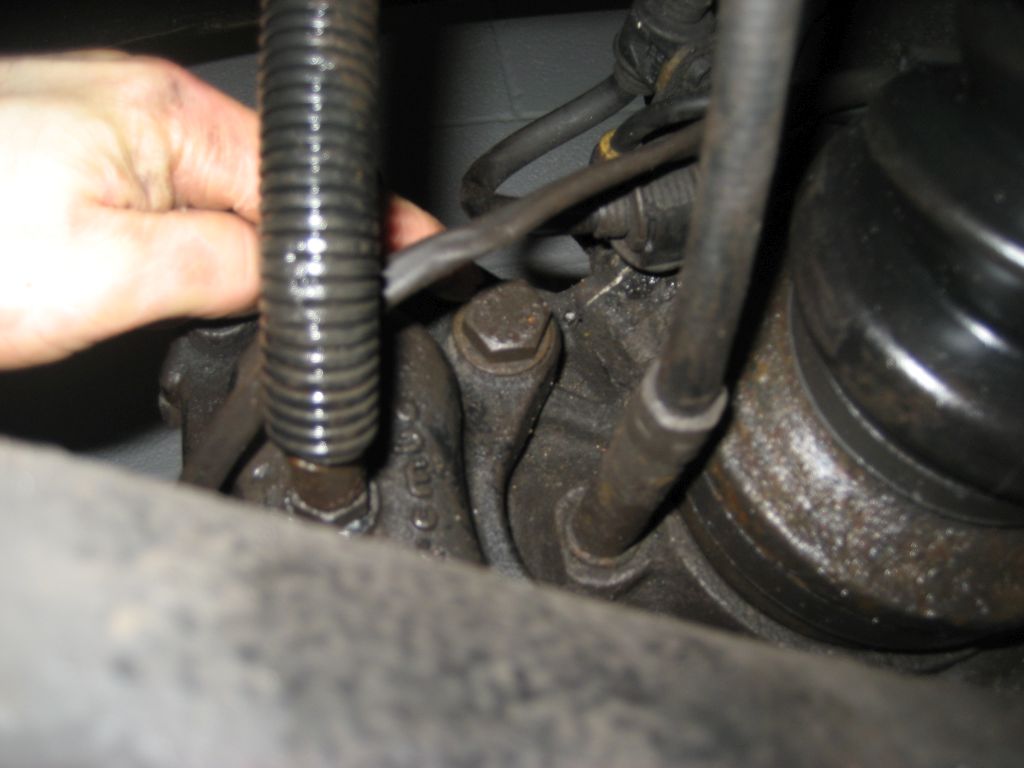
push the bake pads in a little so that they just clear the rim, remove the brake
caliper by undoing the 2 large hexagon head 19mm (read wheels) or pan-head bolts
(front wheels) at the back of the caliper. Use a tie-wrap to hold the caliper
safely after removal; never let the caliper hang down from the flexi brake line.
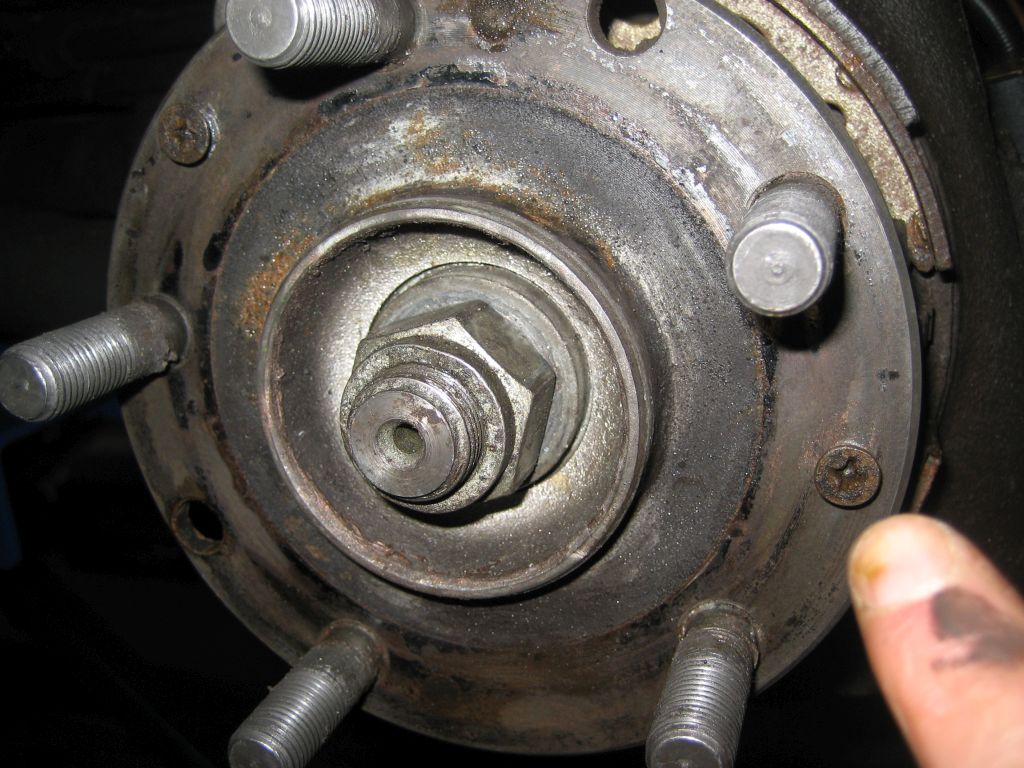
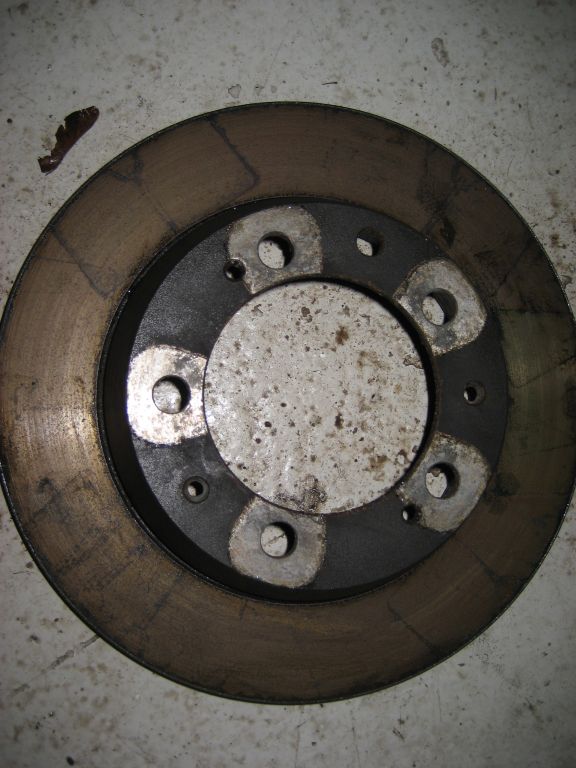
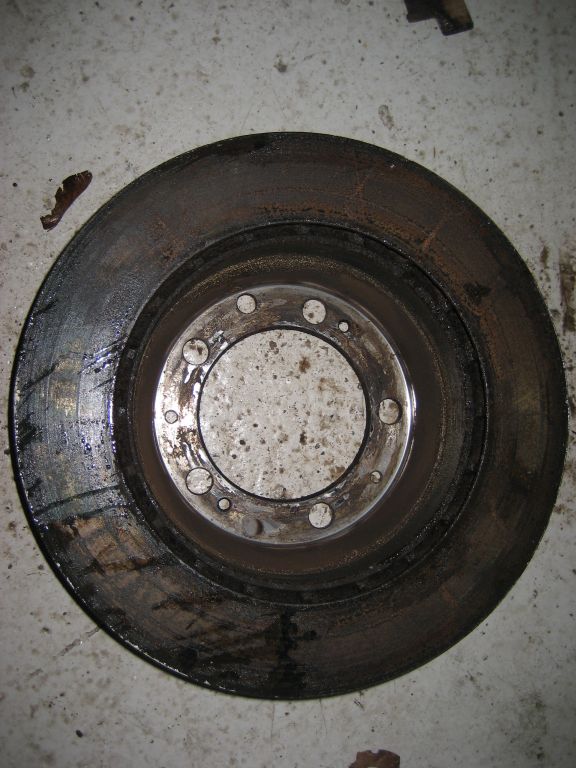
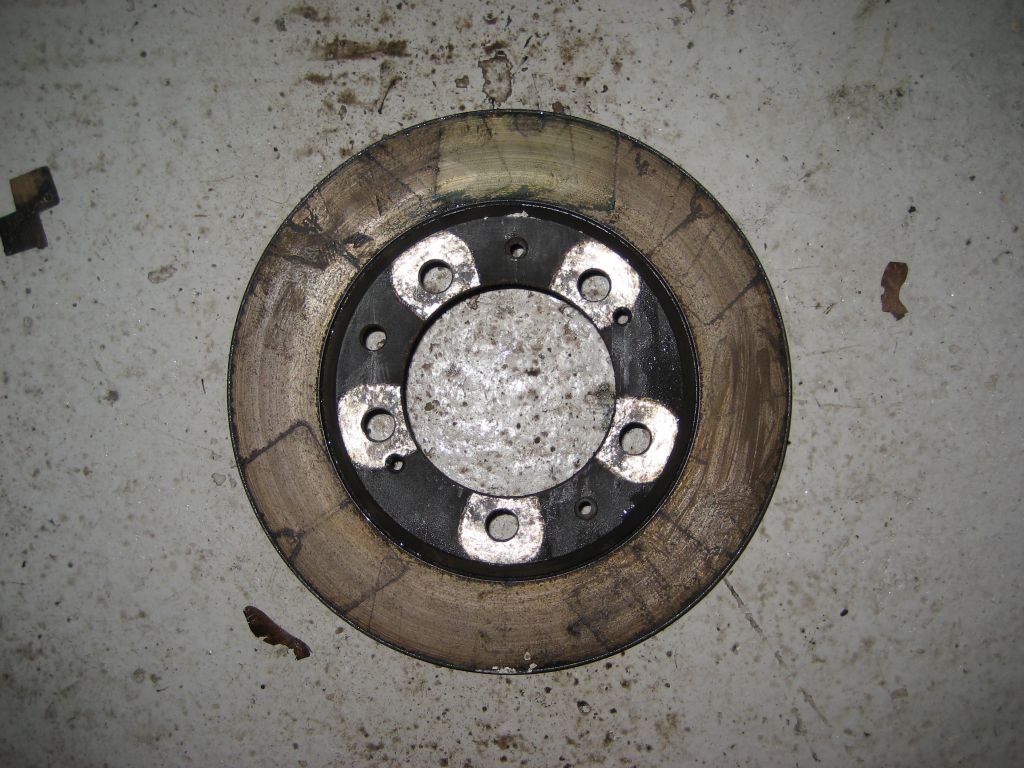
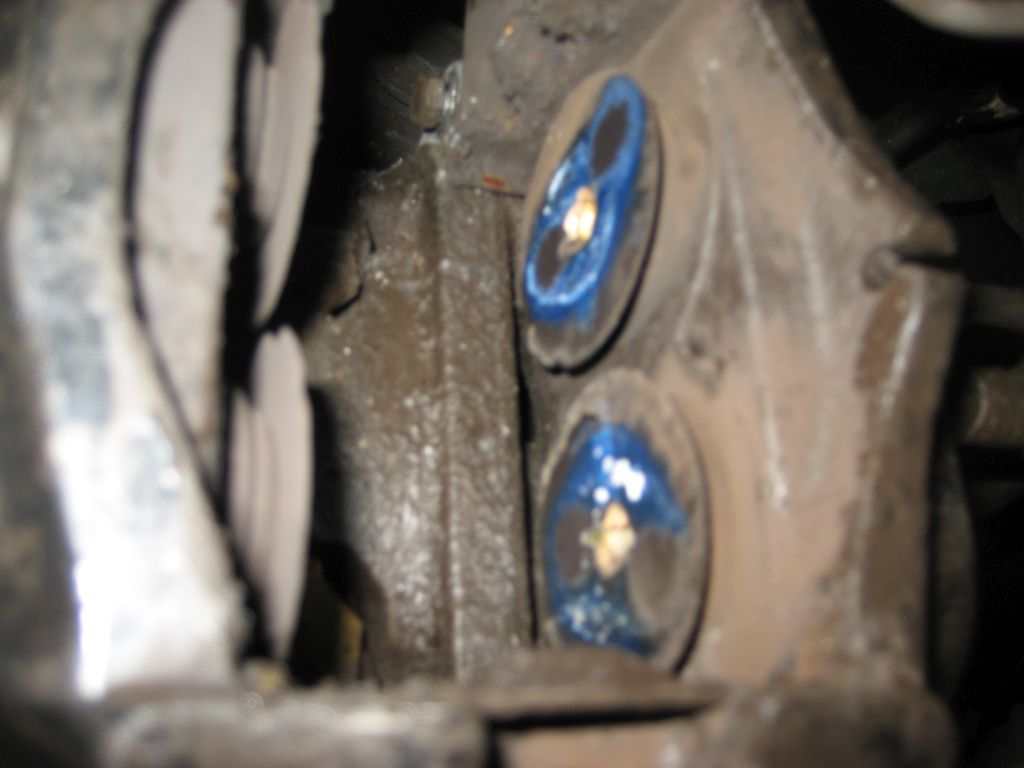
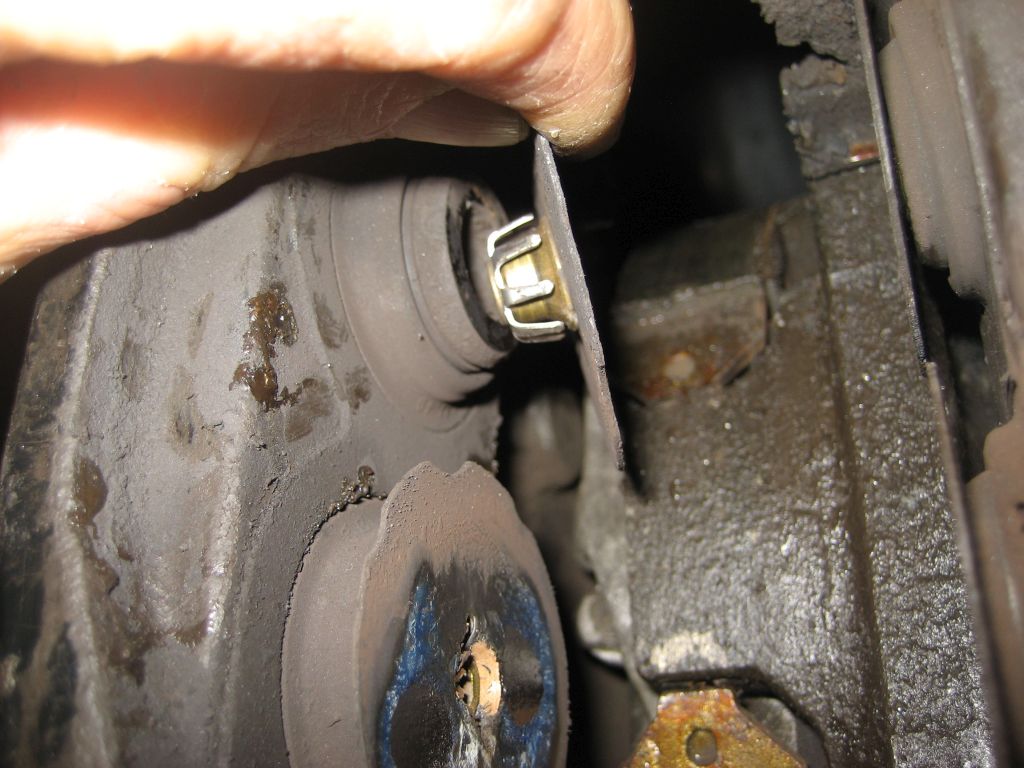
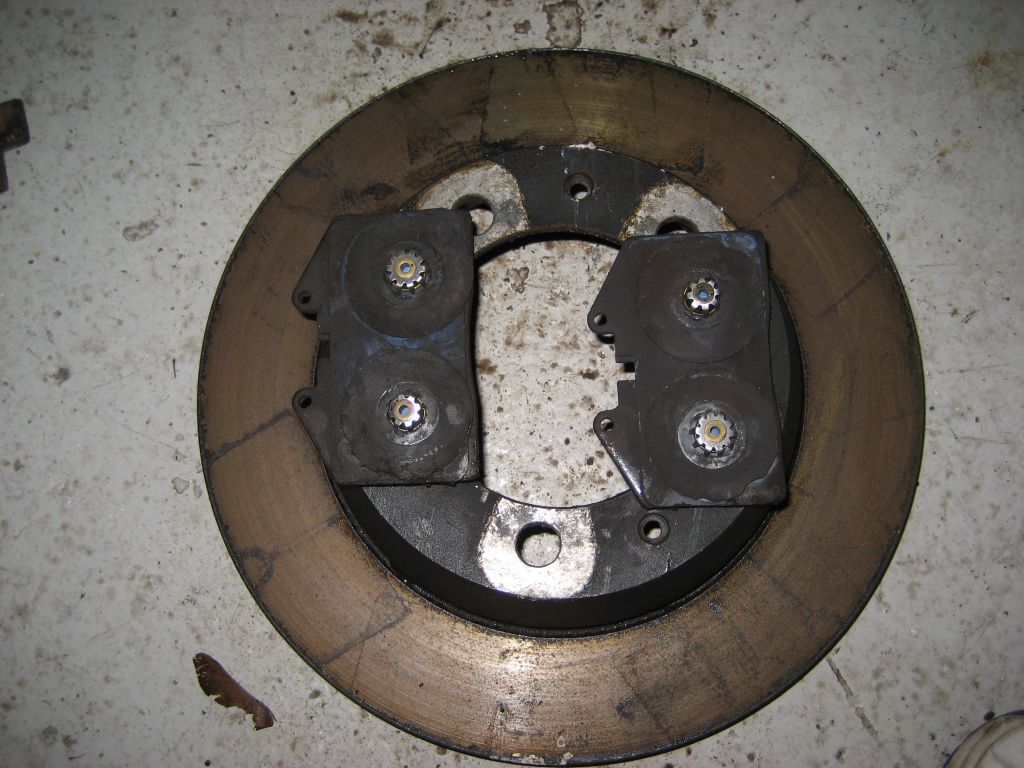
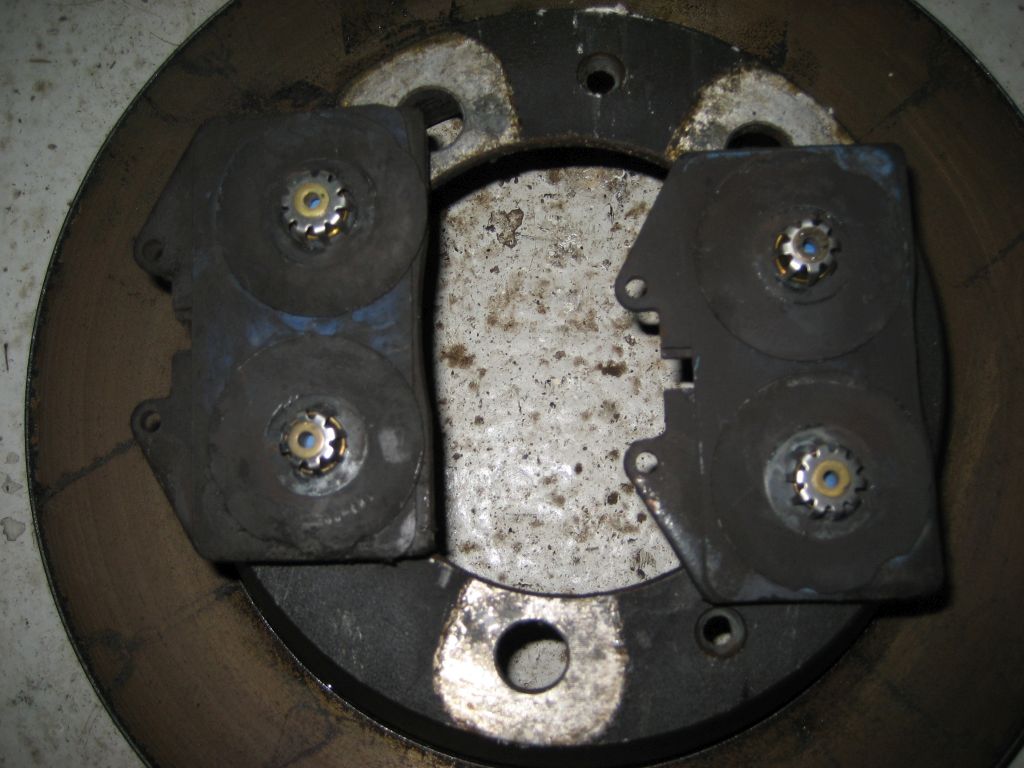
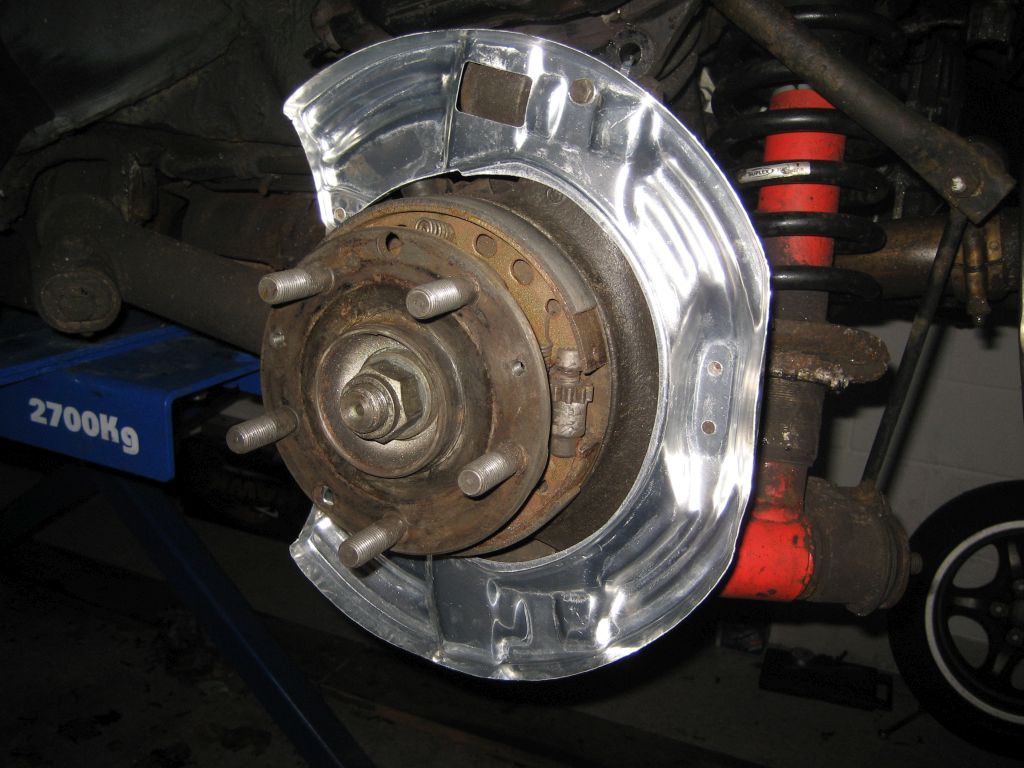
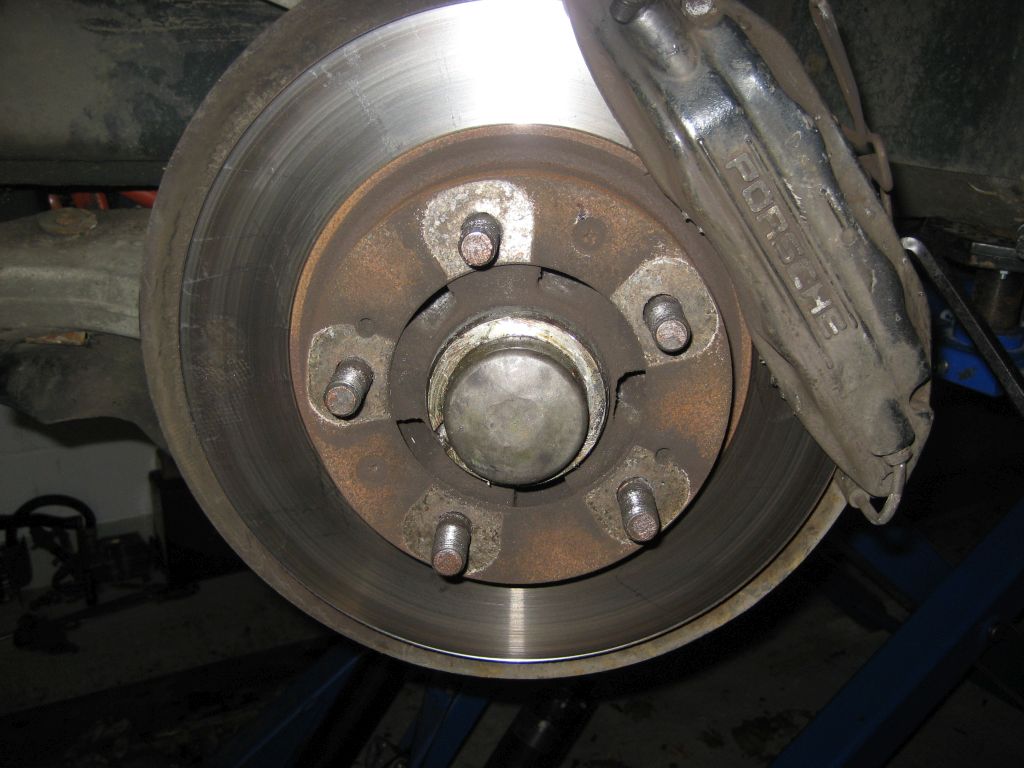
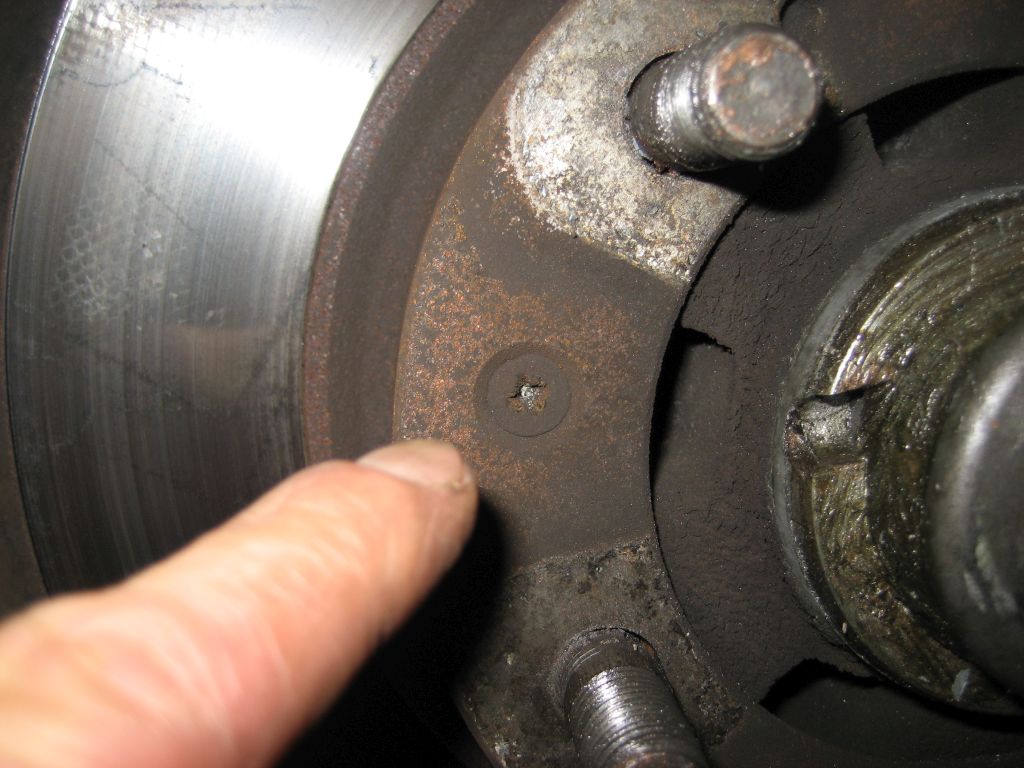
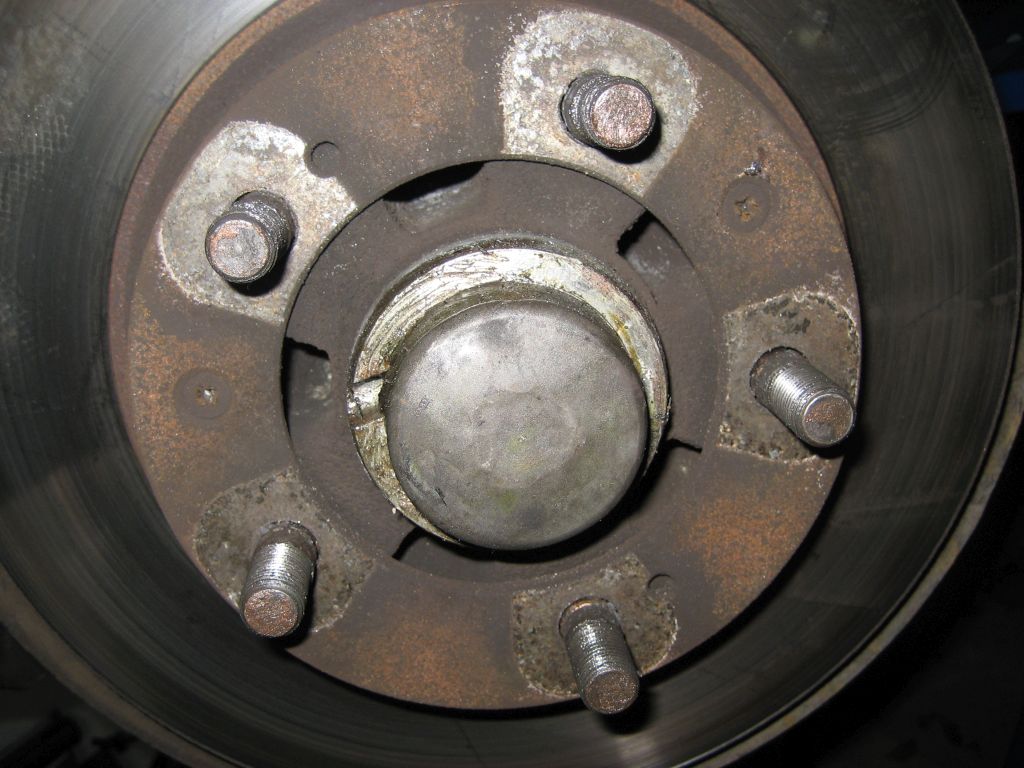
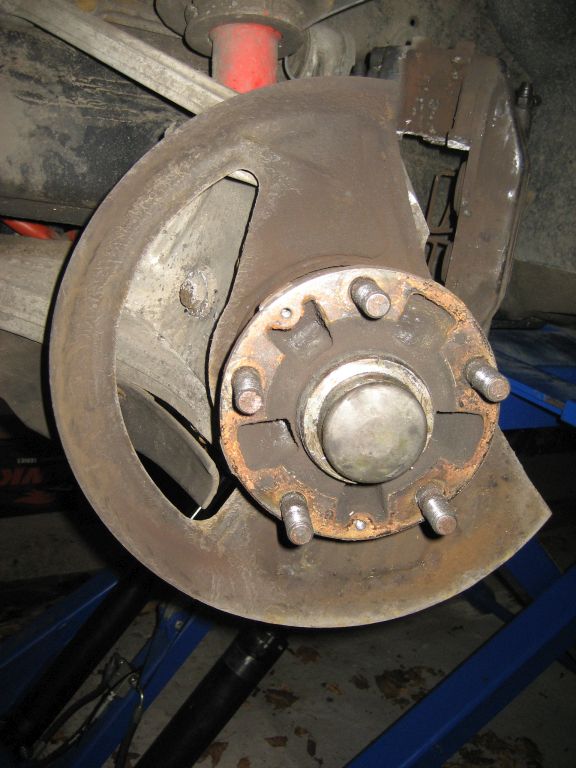
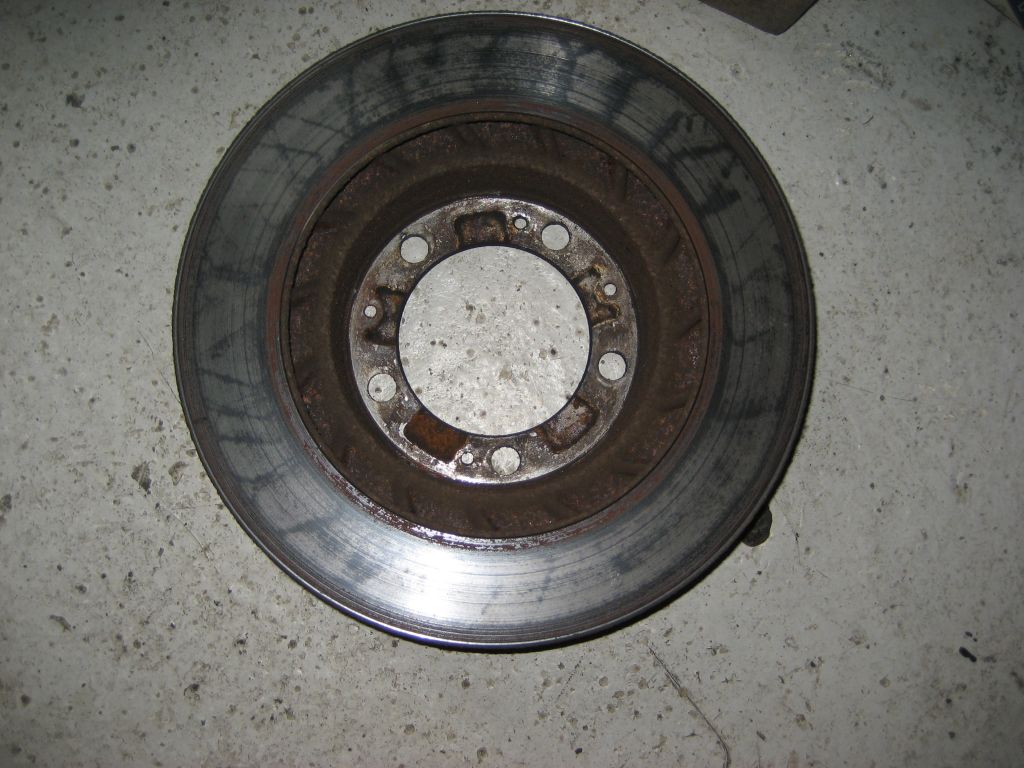
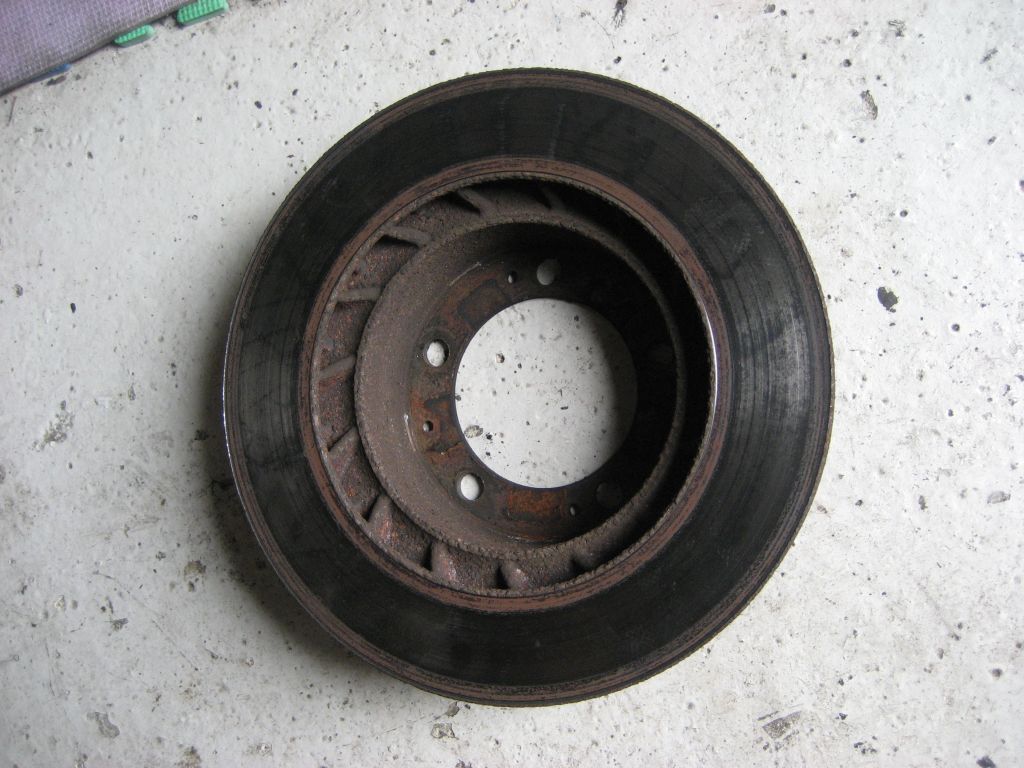
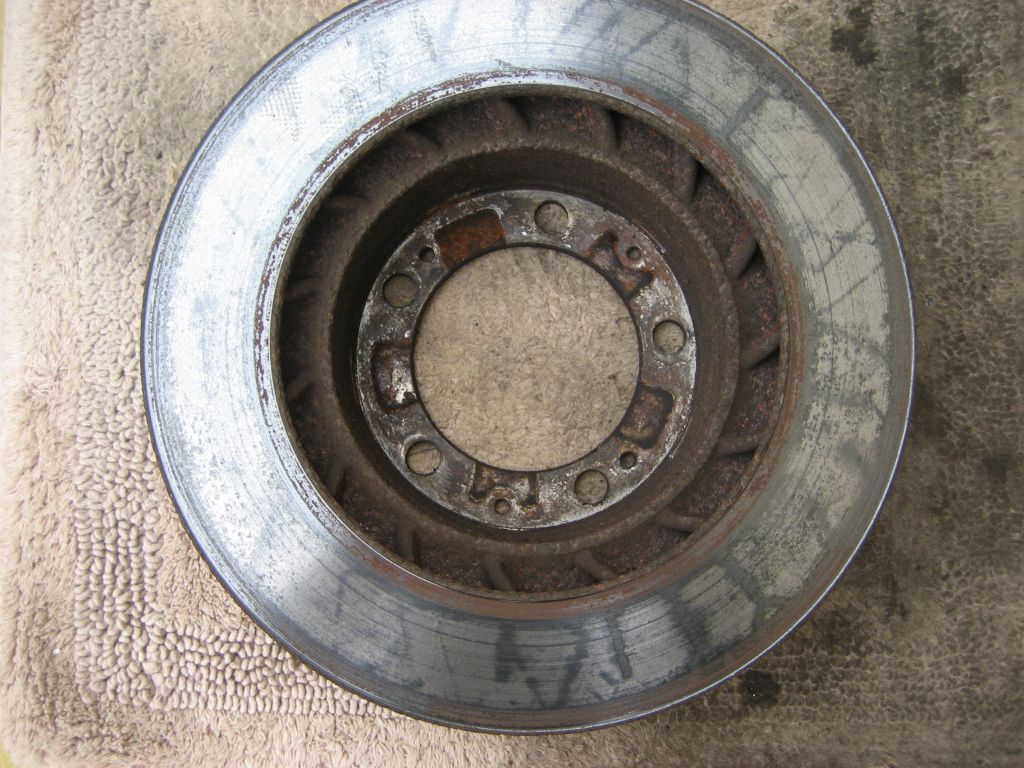
3) Now you can remove the rotor/disc. It is held in place by two hex-head grub
screws. If they have not been greased often, they may well be very difficult to
undo. Do not round the hex-heads off otherwise your rotor will not come off!
Hoping these screws undo OK, a light tap with a hammer will loosen the disc and
it simply pulls off. You will no doubt find a mess behind the disc. You can also
now see the handbrake shoes.
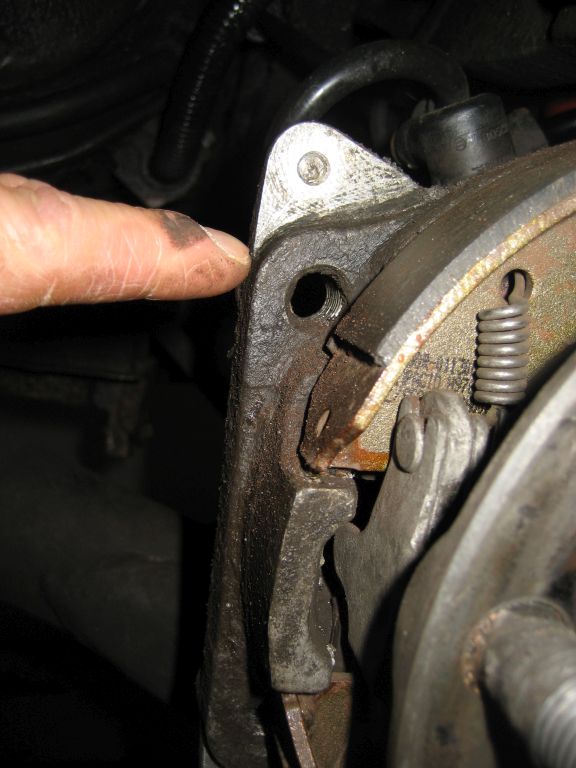
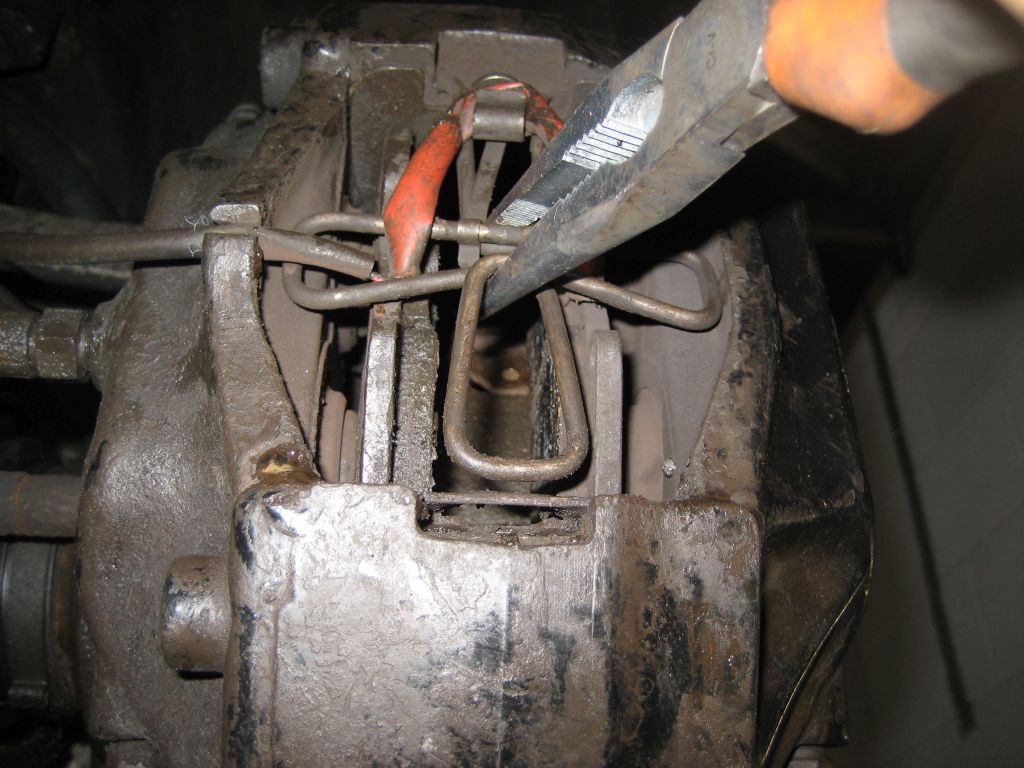
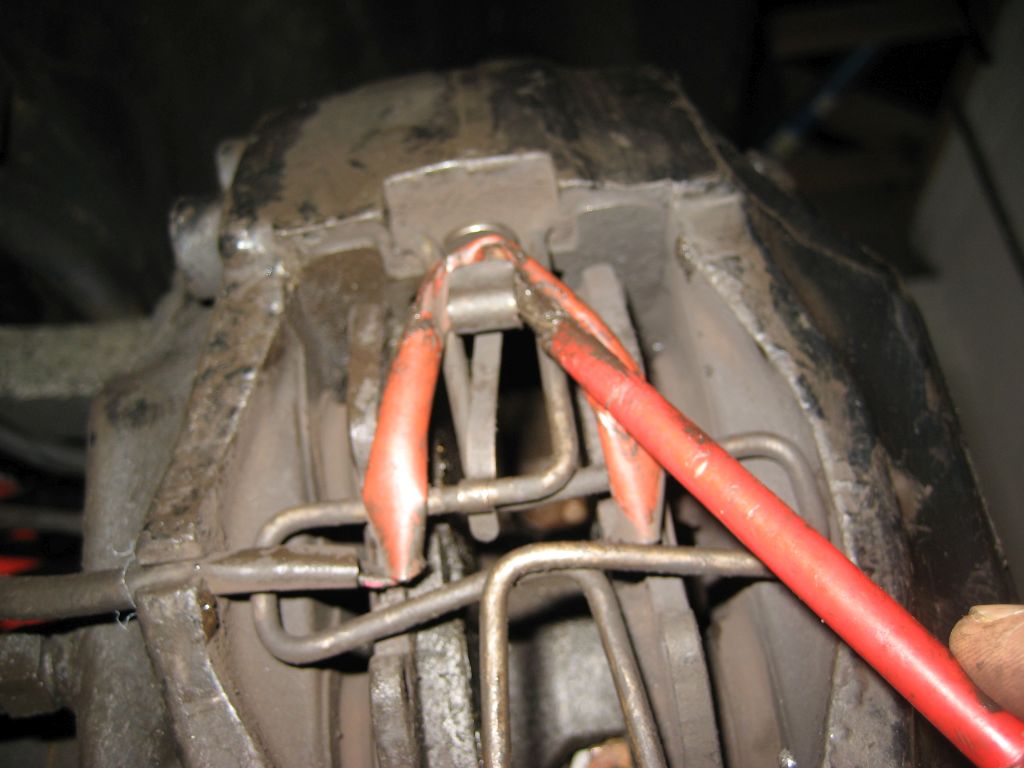
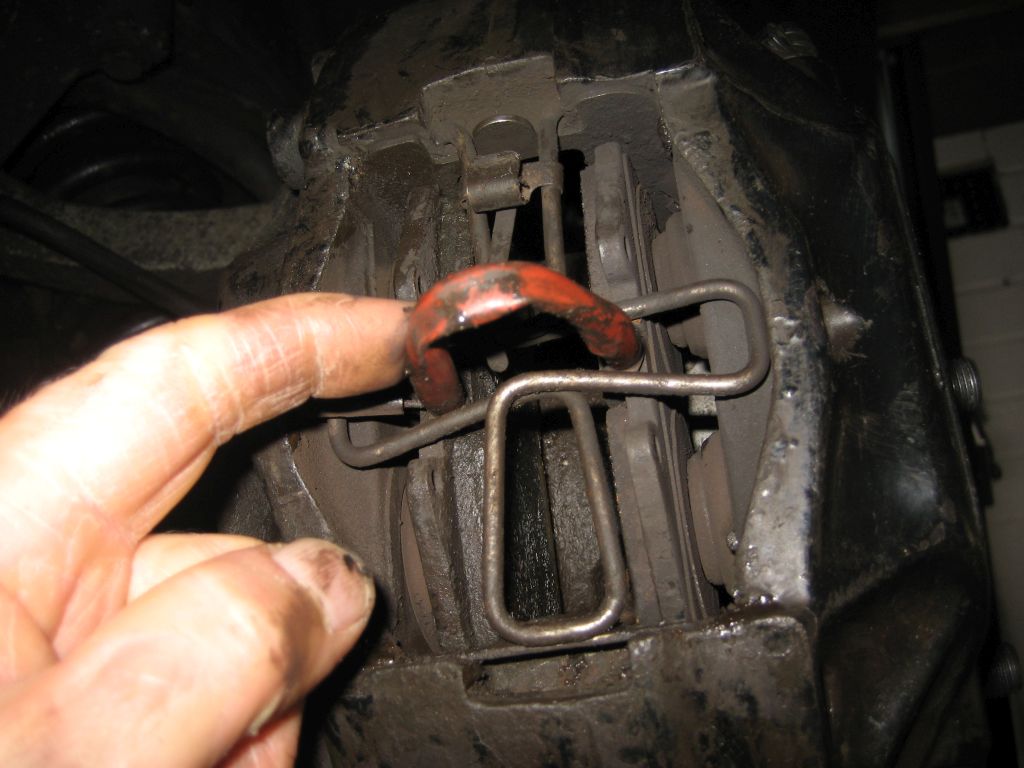
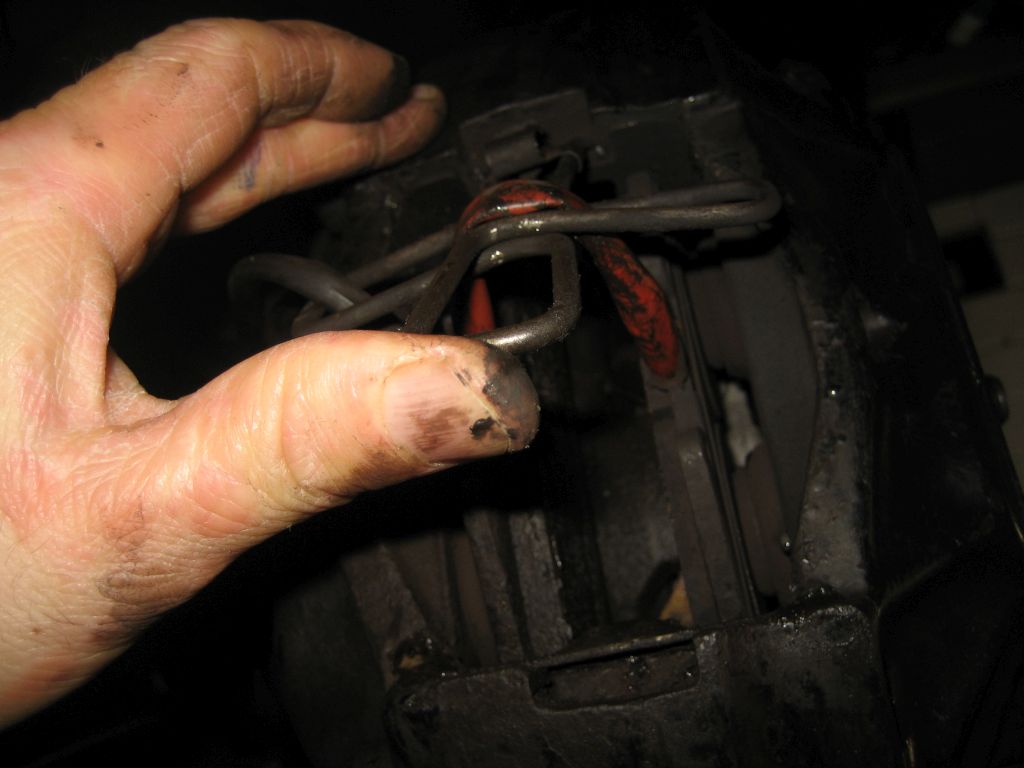
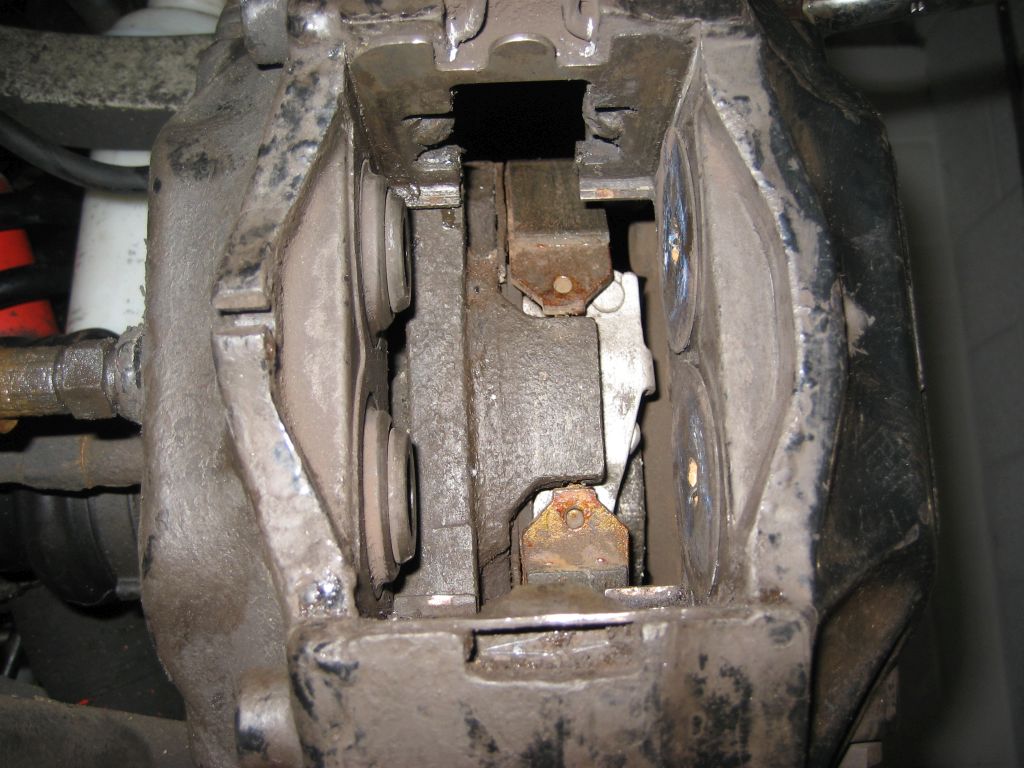
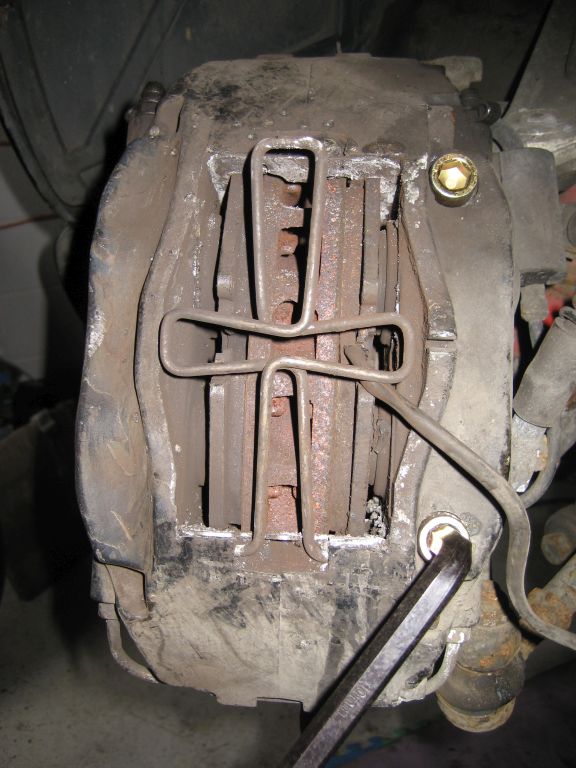
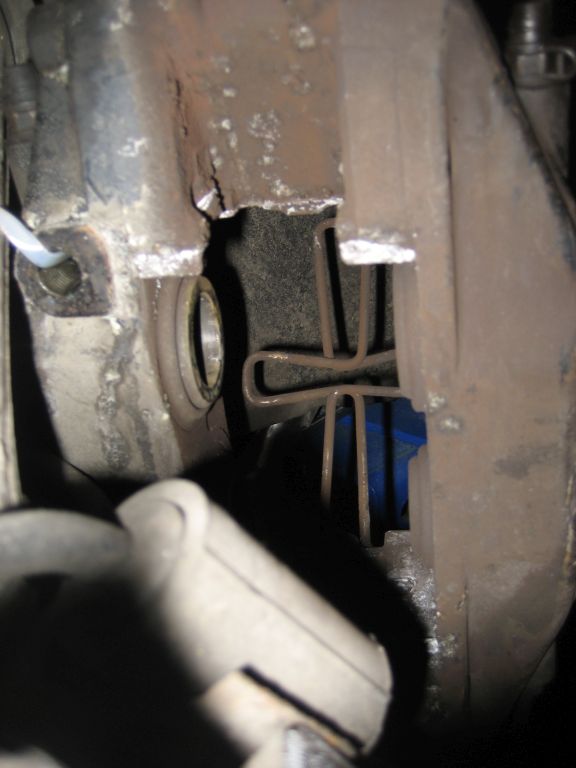
4) Now reattach your brake caliper to remove the brake pads/sensors. You will
see the pads are held in by a retaining X type of spring. It has a holding
bracket attached to it to hold the sensor wire. I found it best to remove the
sensor wire bracket from the pad retaining spring to make it easier to remove
the pad retaining spring. To remove the pad retaining spring get some mole-grips
and strongly grip the pad retaining spring right in the middle. It should pull
the spring out of the caliper and allow you to pull it out the way to access the
pads.
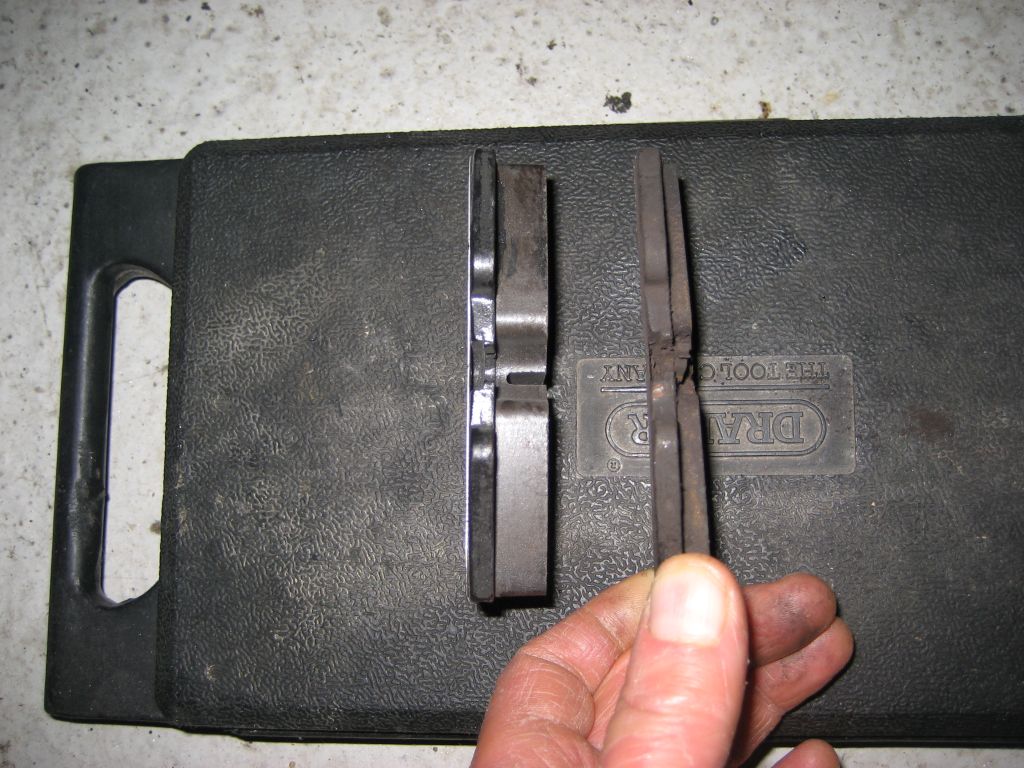
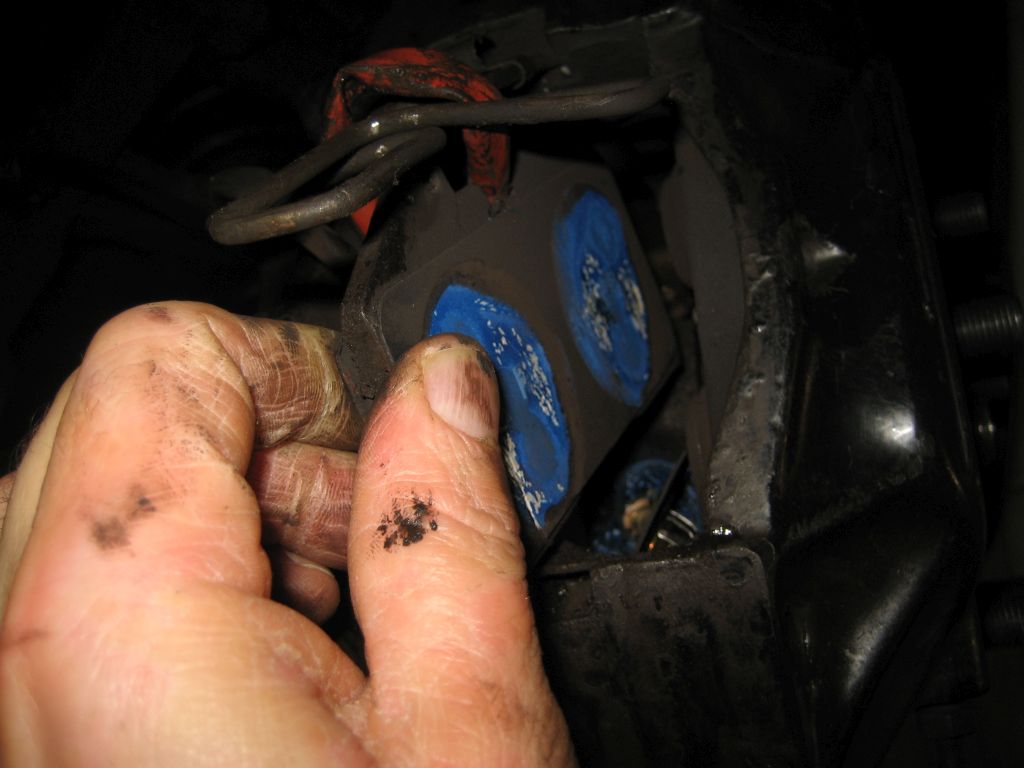
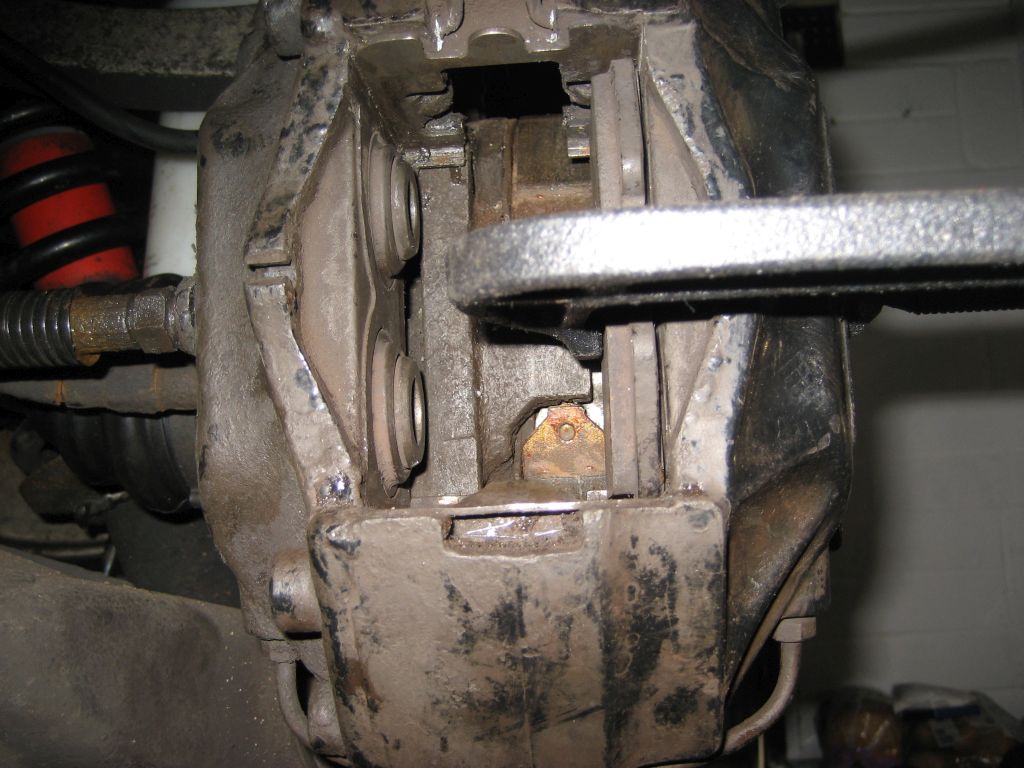
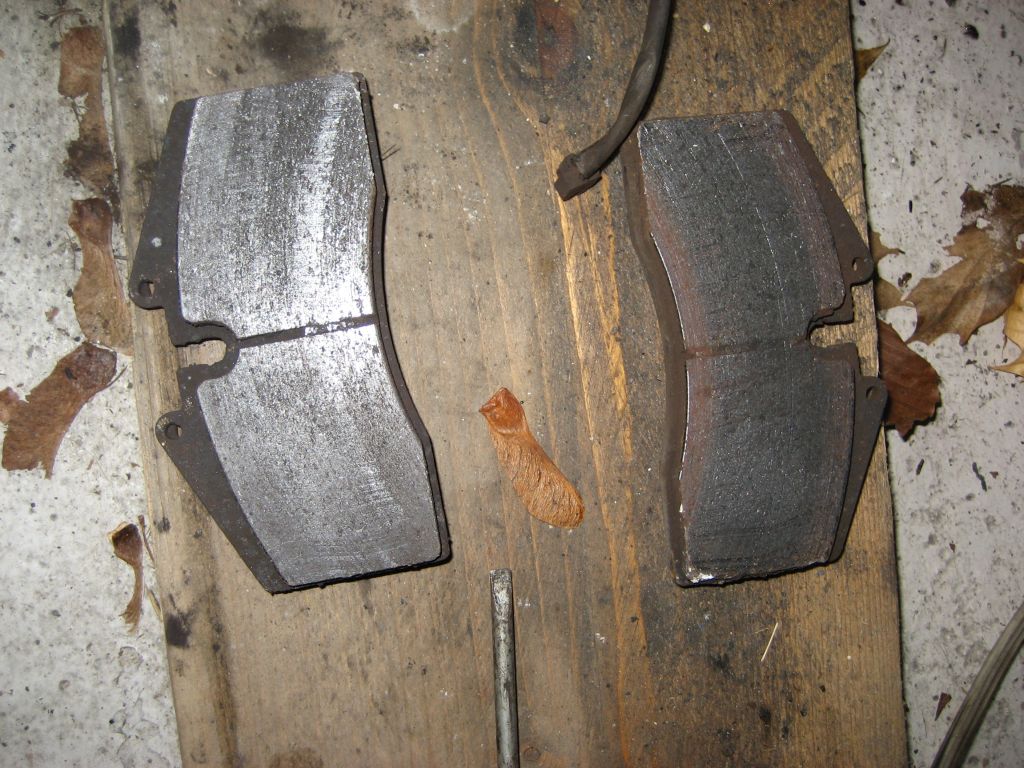
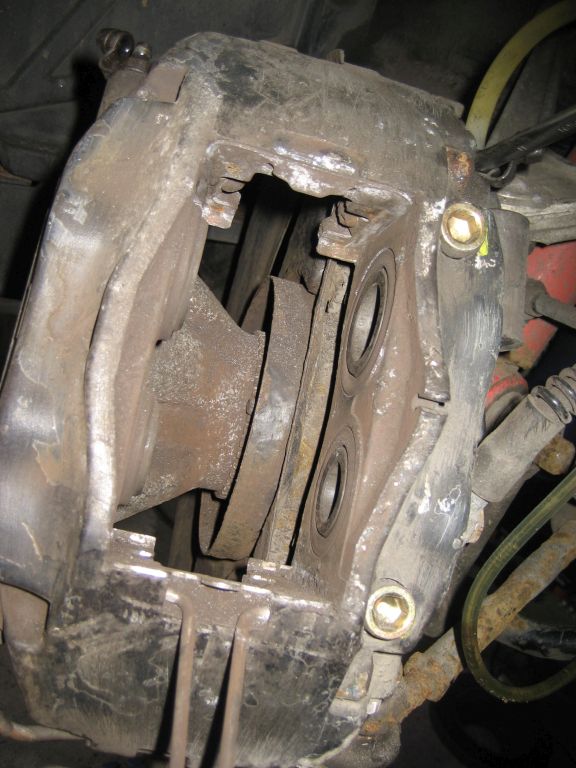
5) Now with access to the pads, if you get a flat-blade screwdriver you can pull
the pads away from the pistons. The anti-squeal pads are stuck to the back of
the brake pads and should pull out of the pistons all OK. Now you can pull the
old pads out of the caliper and disconnect the warning sensor wires. No doubt
they will be in a bad way.
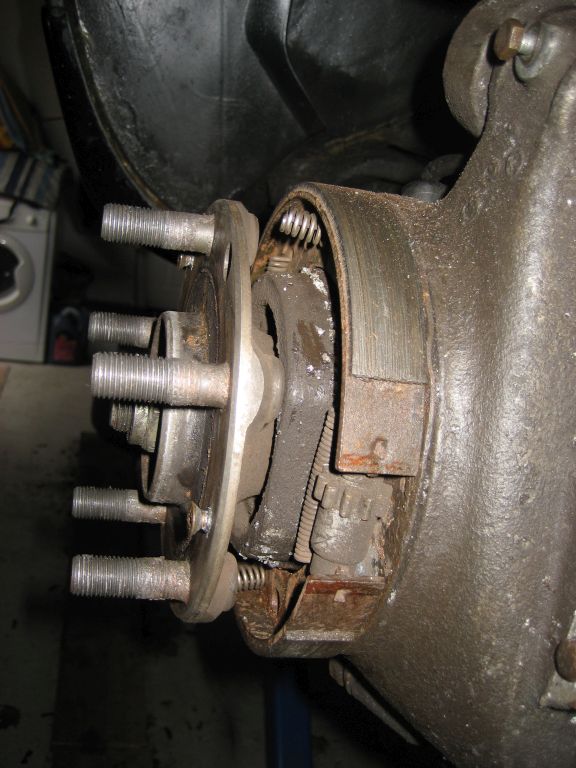
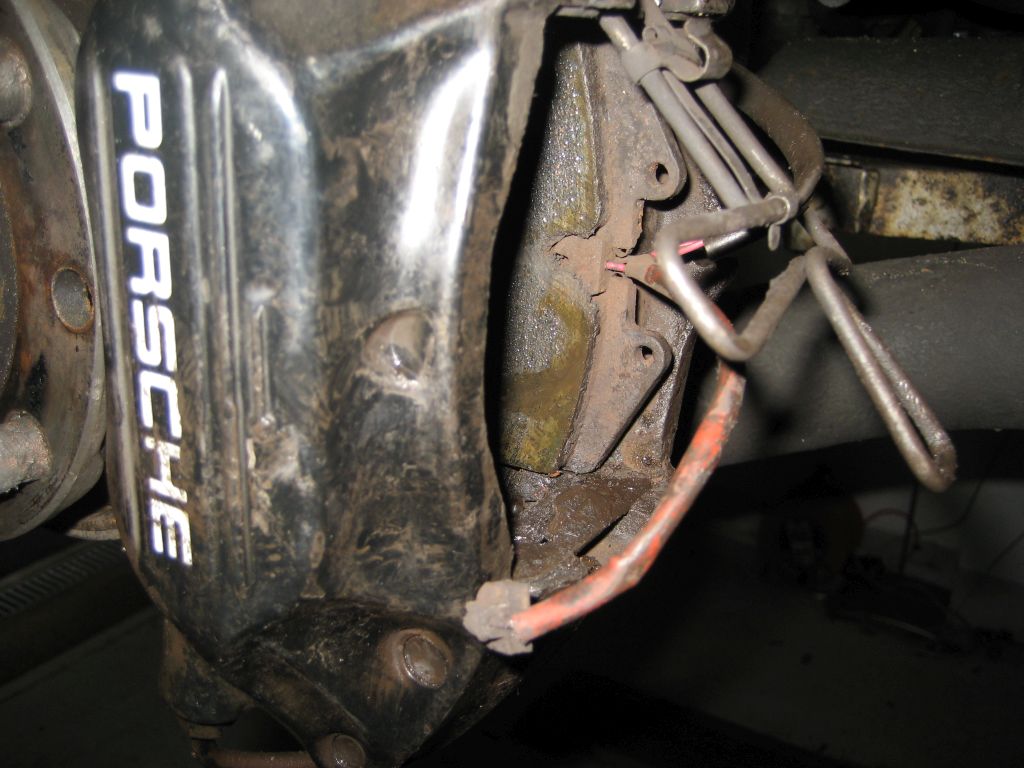
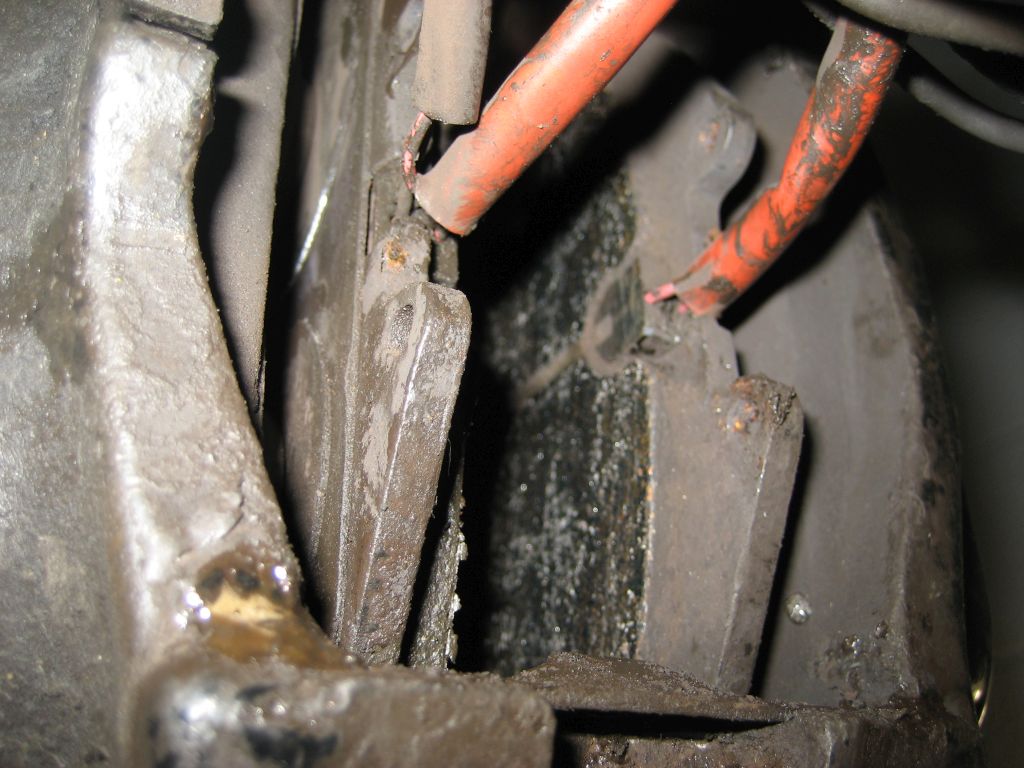
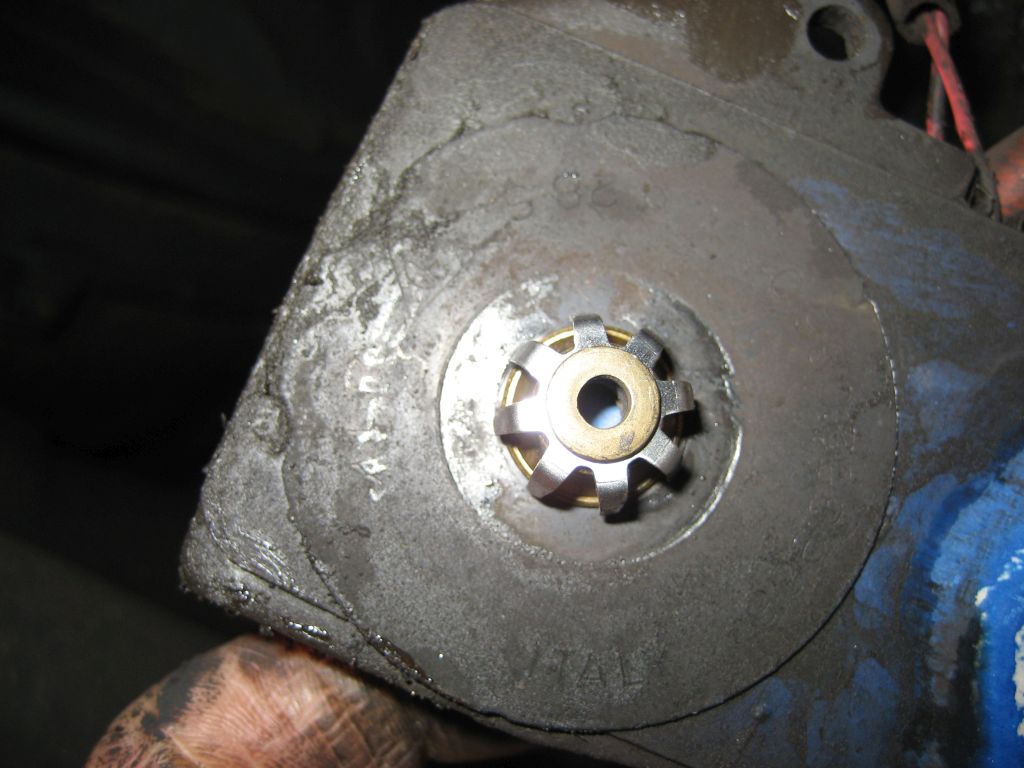
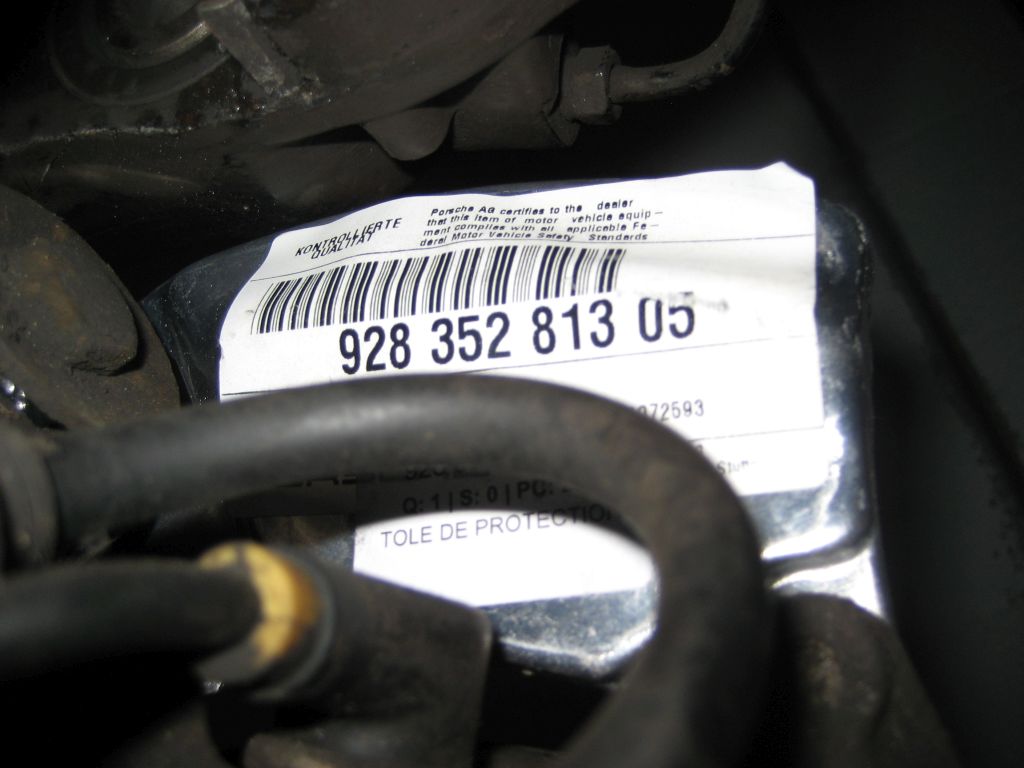
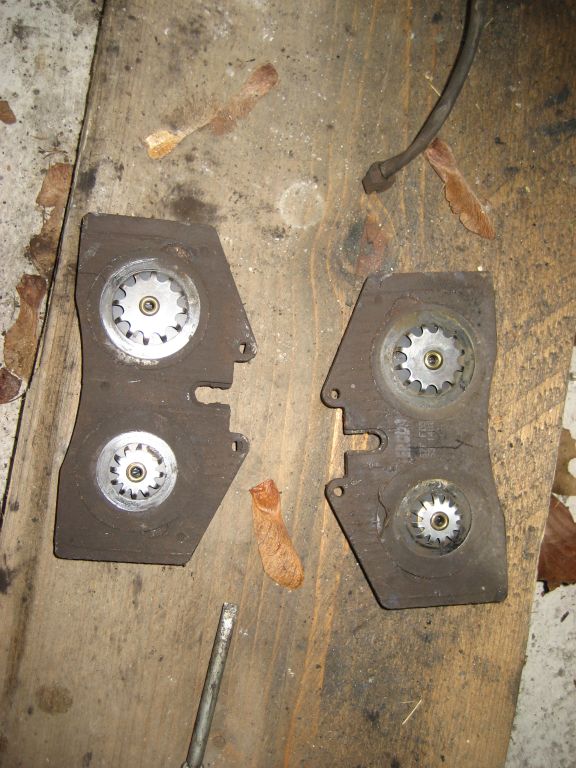
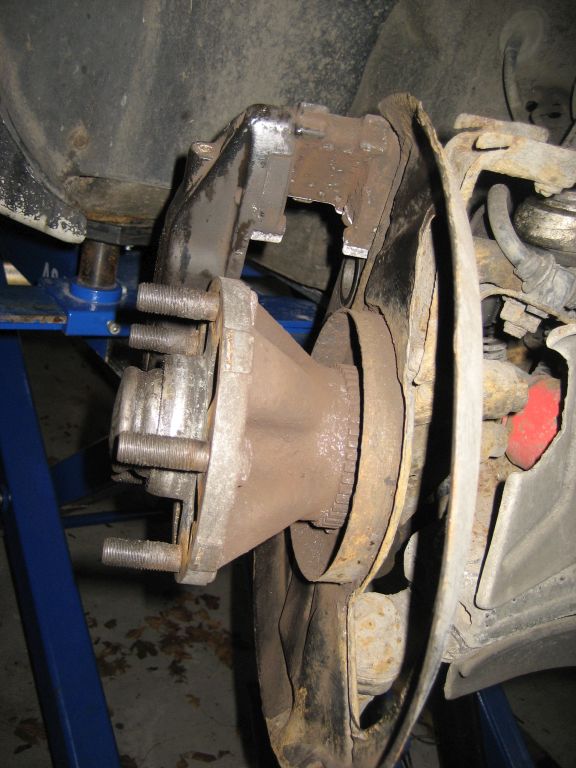
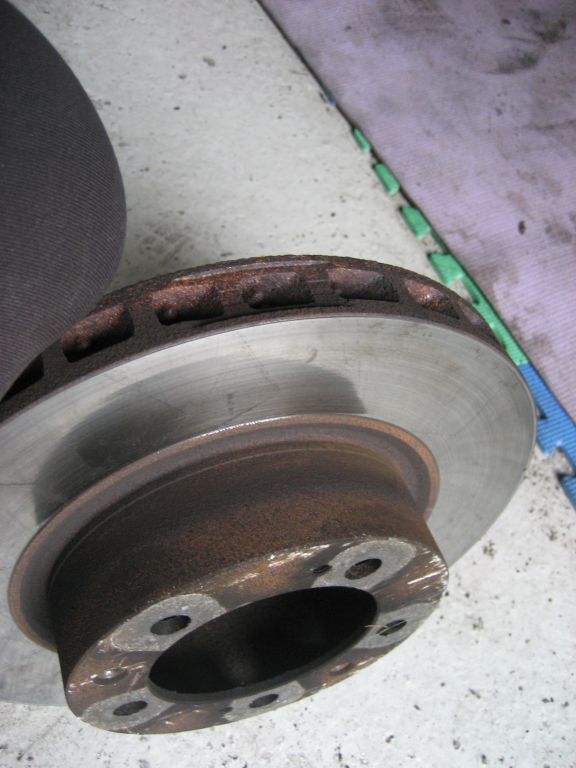
6) Now it's time to give the caliper, hub, backing plate and rear handbrake
shoes a good clean-up. My backplate were completely missing so had to be
renewed. I used a flat-blade screw-driver to get the old muck out of the caliper
and then a strong brush. Be careful to NOT touch the piston seals. I gave the
handbrake shoes a clean-up with sandpaper and used a wire brush and large
flat-blade screw driver on the hub.
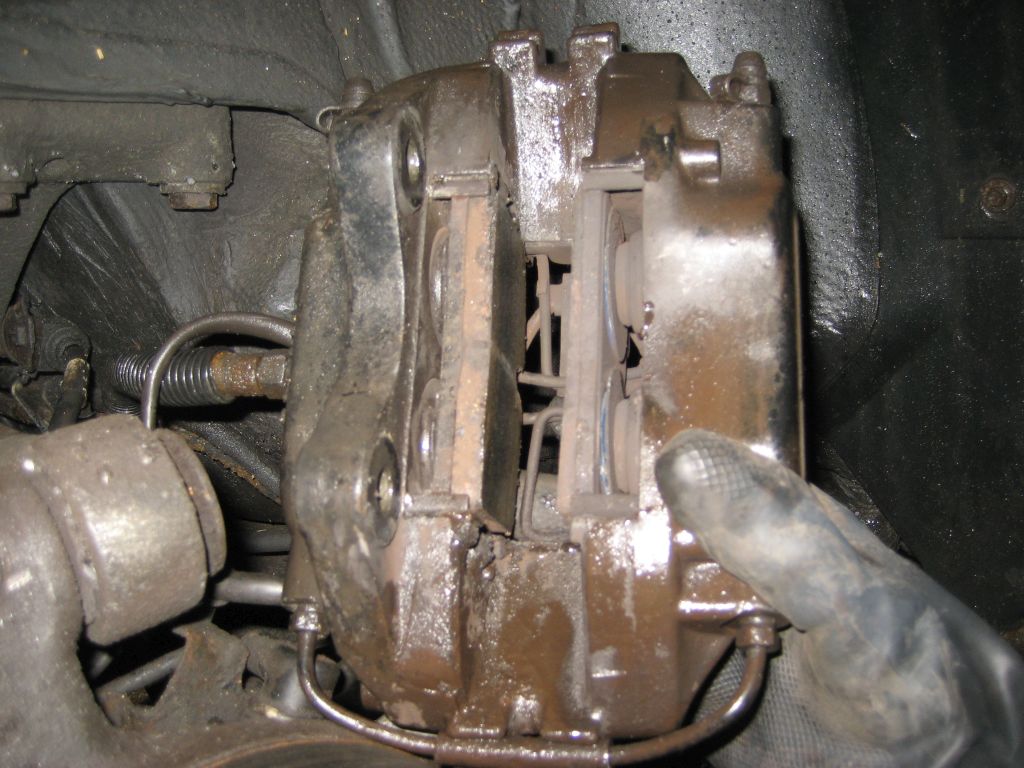
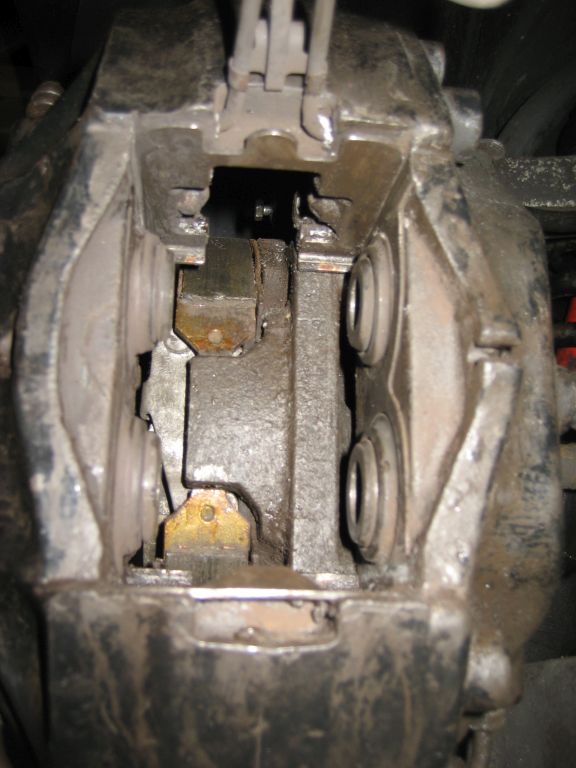
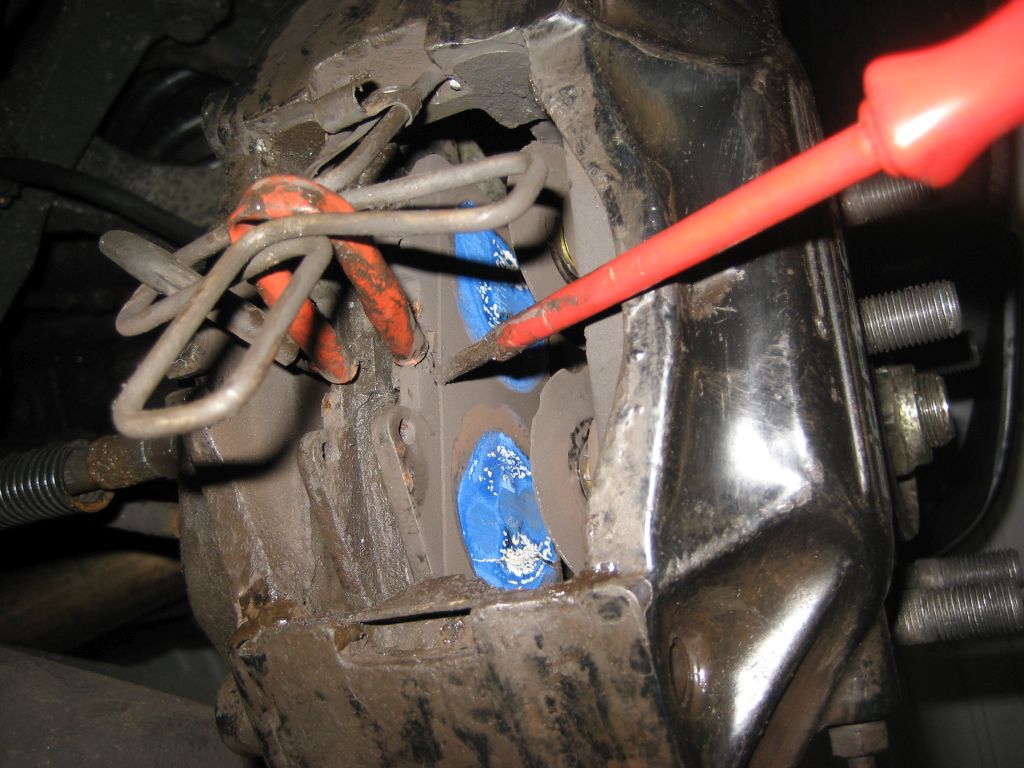
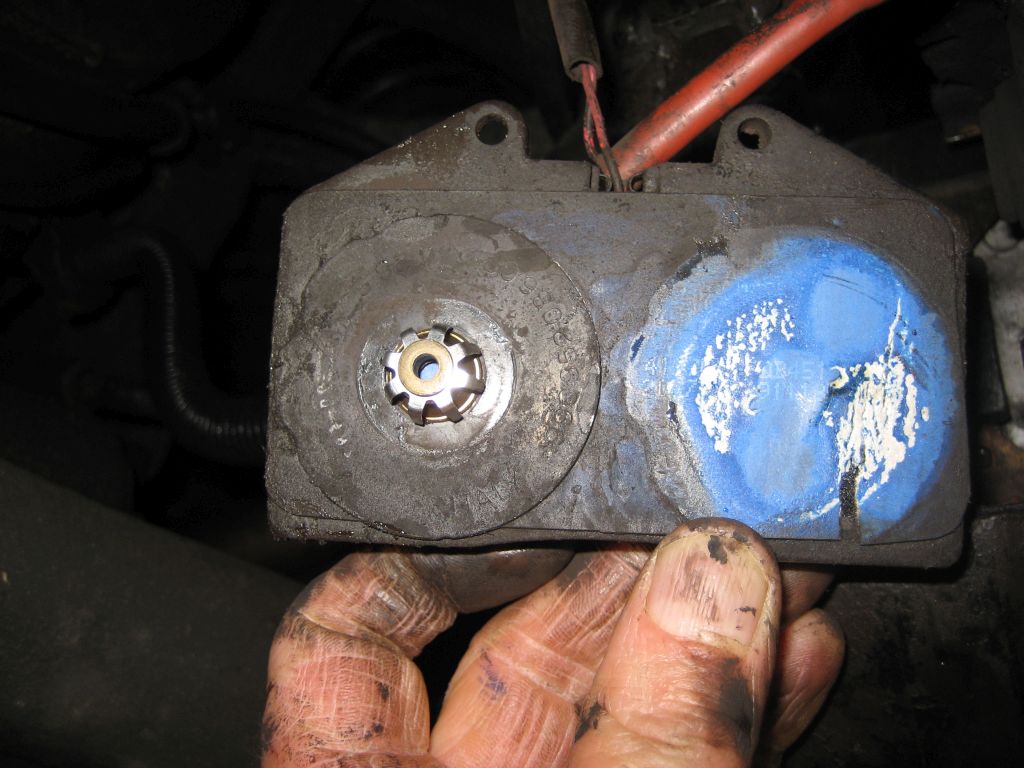
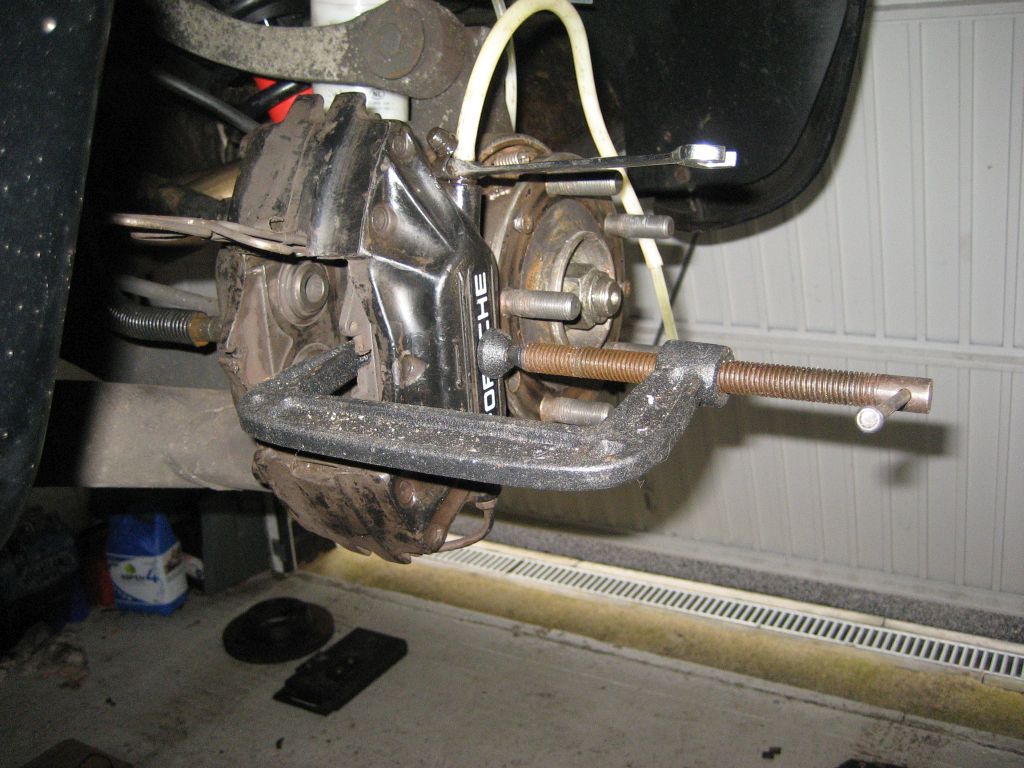
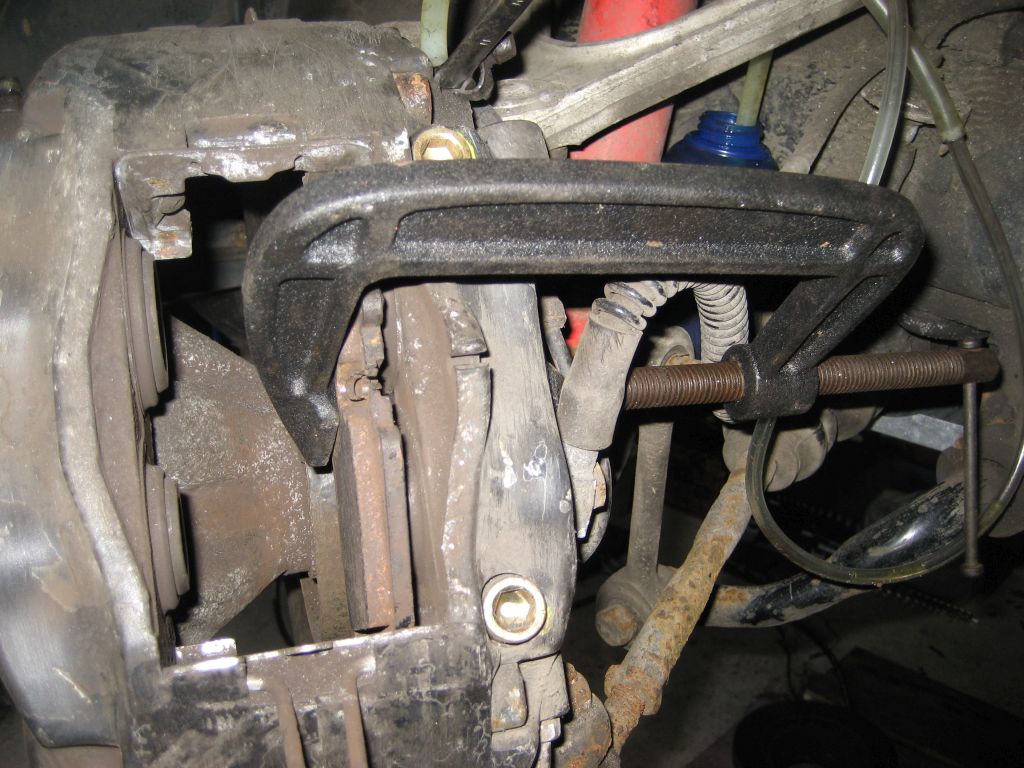
7) With brake pads removed you will see that the pistons need pushing back into
the caliper to make room for the new brake pads and disc. If you don't have a
piston tool, buy a U-clamp. Reinsert an old brake pad onto one side of the
caliper and then with the U-clamp properly centered on the pad, tighten the
U-clamp onto the brake pad just to the point that you can feel light pressured
applied to the caliper pistons.
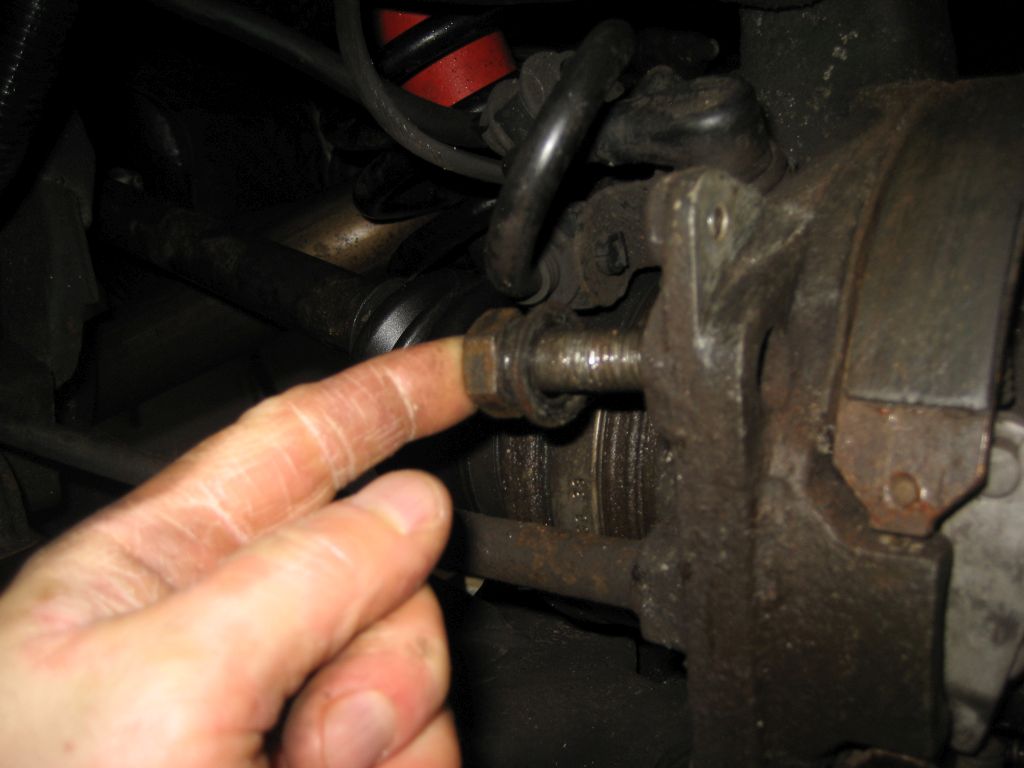
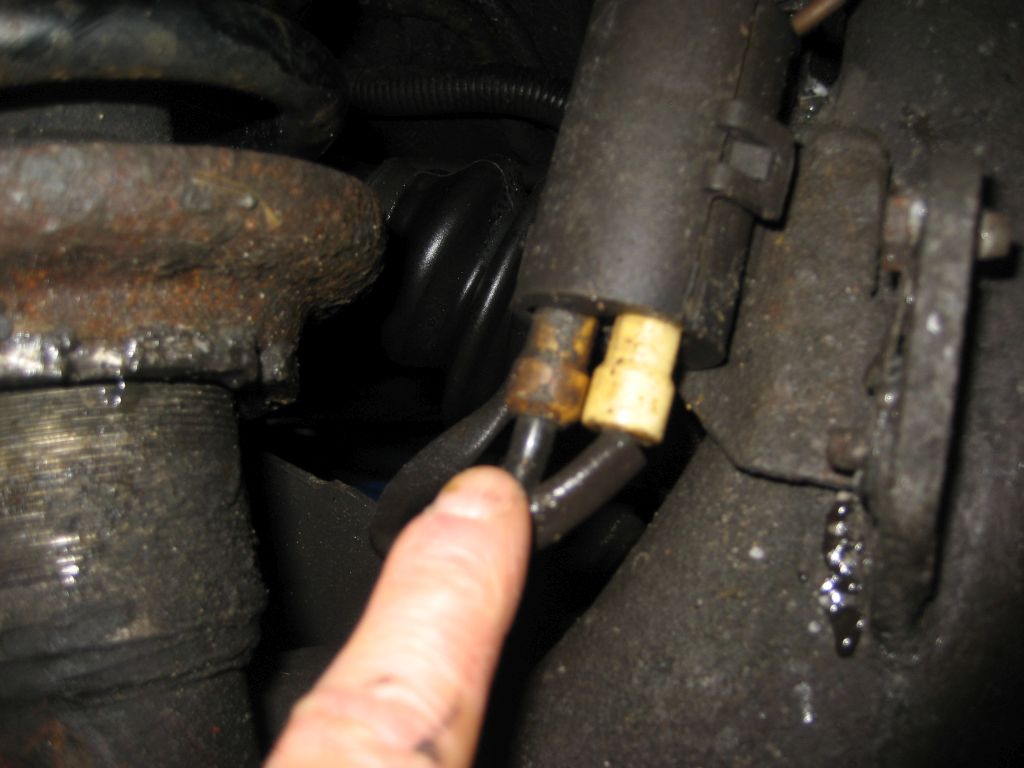
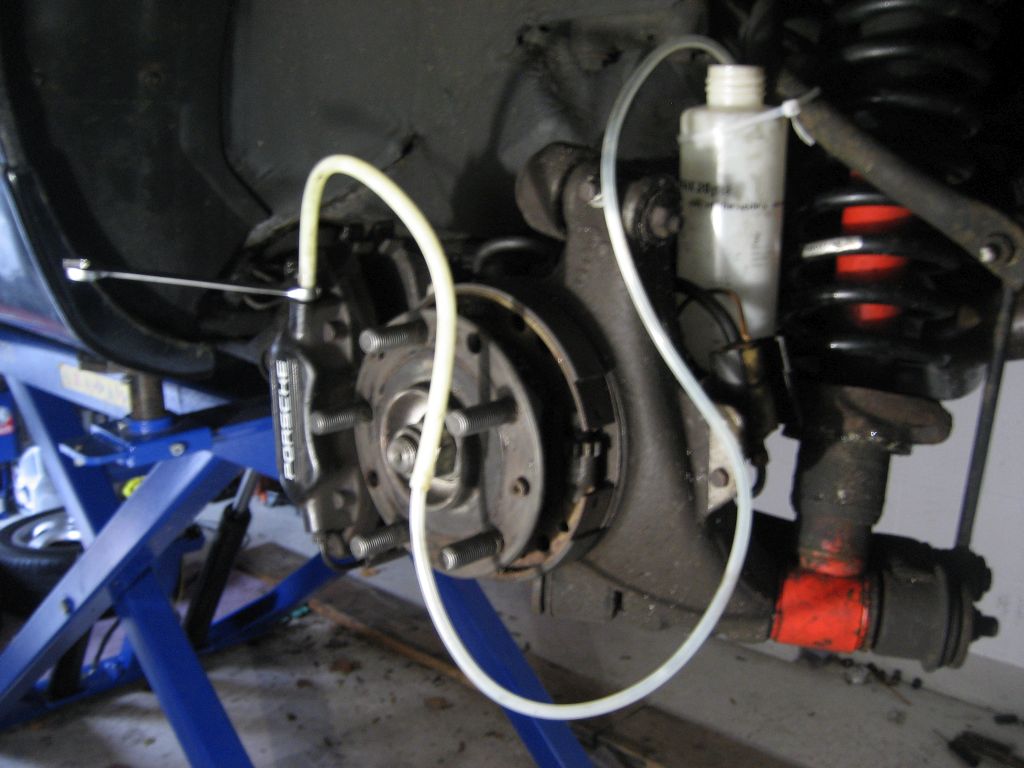
8) Now find a container to catch brake fluid in and attach a bleed pipe to the
bleed screw on the side of the caliper you are compressing the brake pad. Open
the bleeder screw and slowly compress the brake pad against the caliper pistons
using the U-clamp. Make sure you compress the pistons fully back and that they
are both pressed back by an equal amount. When the pistons are compressed back
into the caliper, release tension on the U-clamp and then tighten the bleed
screw. Repeat on each side of each caliper until all pistons are pressed back
in. ALWAYS open the bleed screw on the side of the caliper when repressing
pistons; you DON'T want brake fluid going back to the reservoir or the ABS.
(ps: make sure you do not push out brake fluid via the reservoir. If there is
too much fluid it will escape via the air hole in the cap and spray towards your
hood or land on the fender. Not good !!)
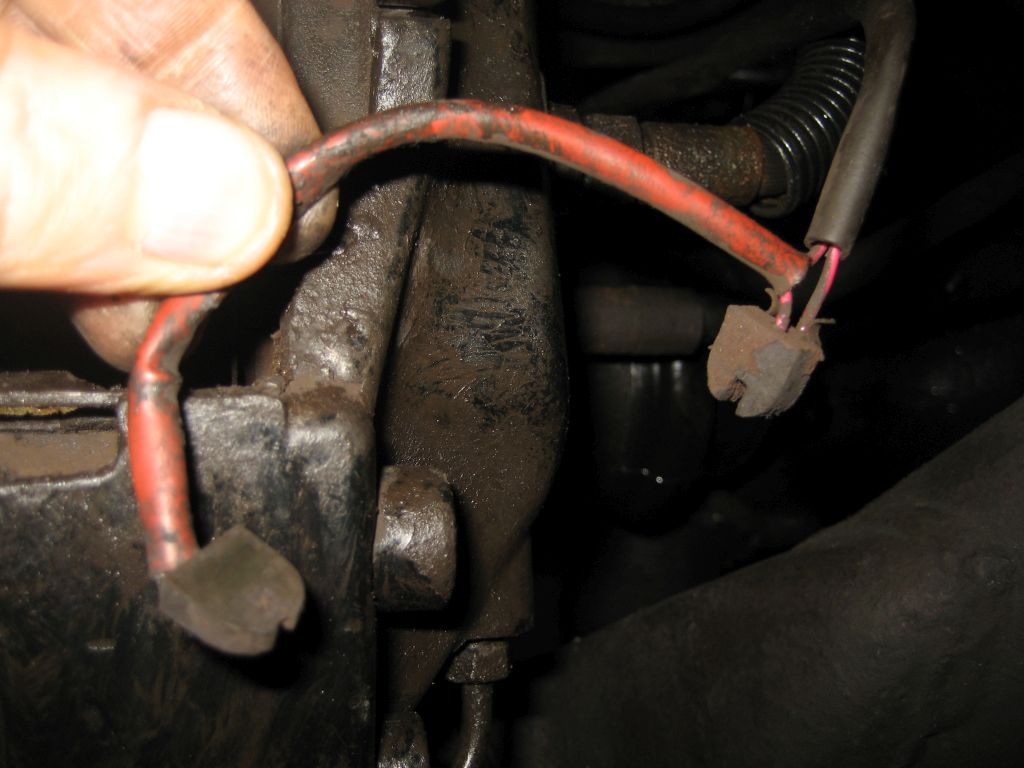
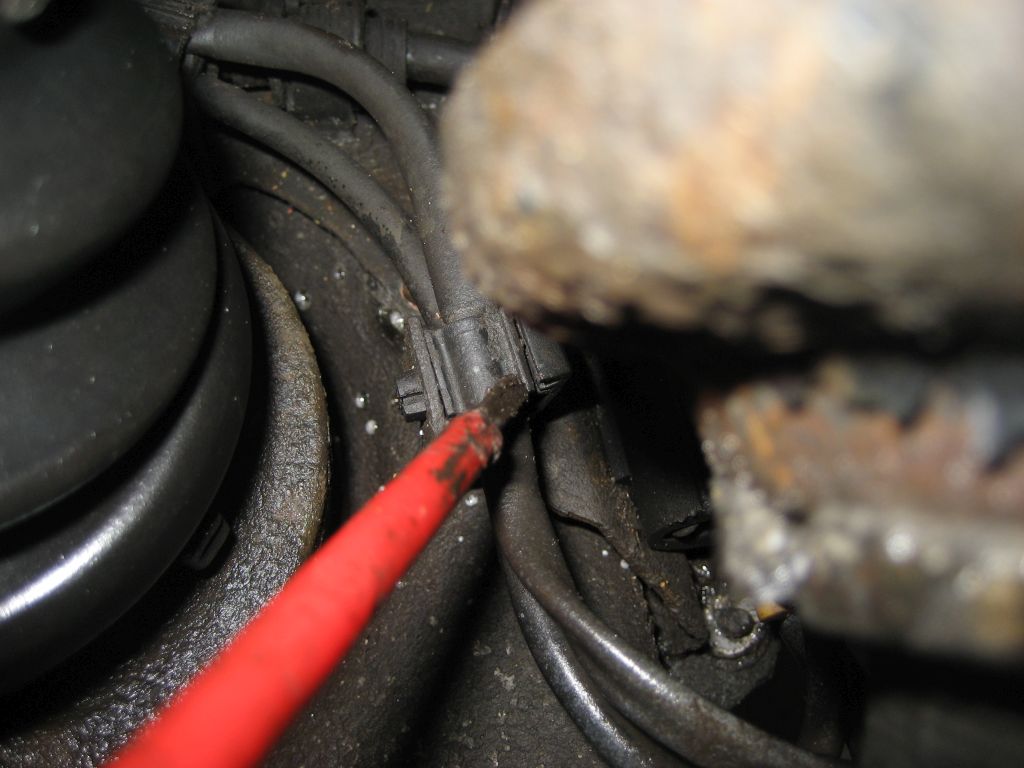
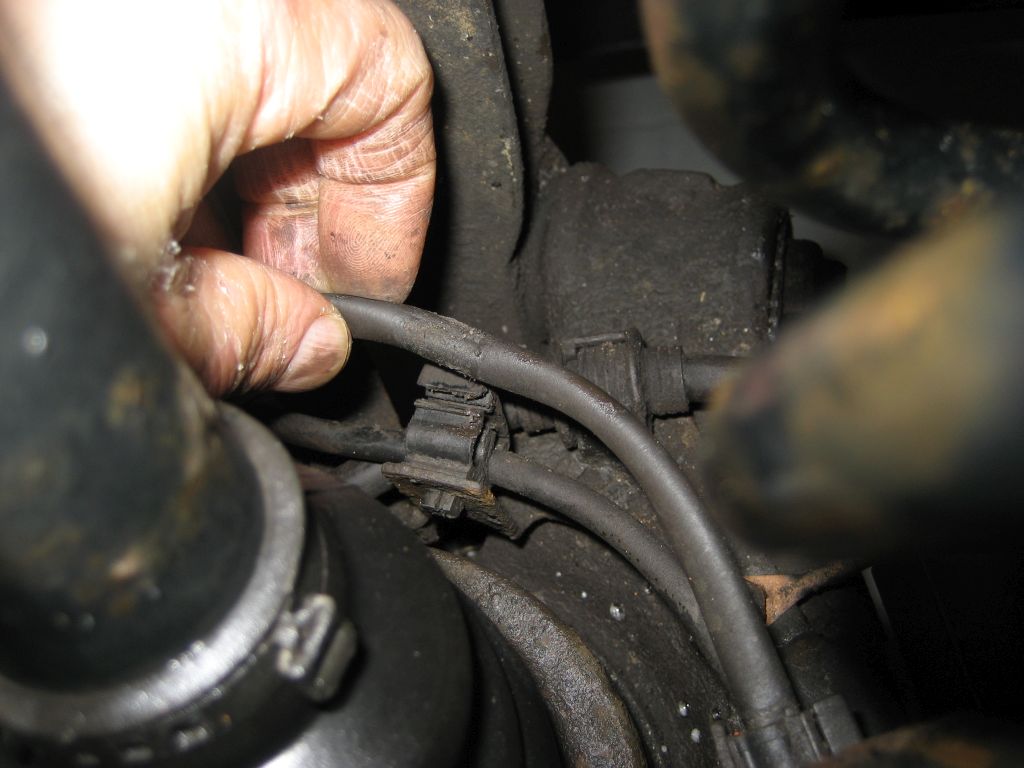
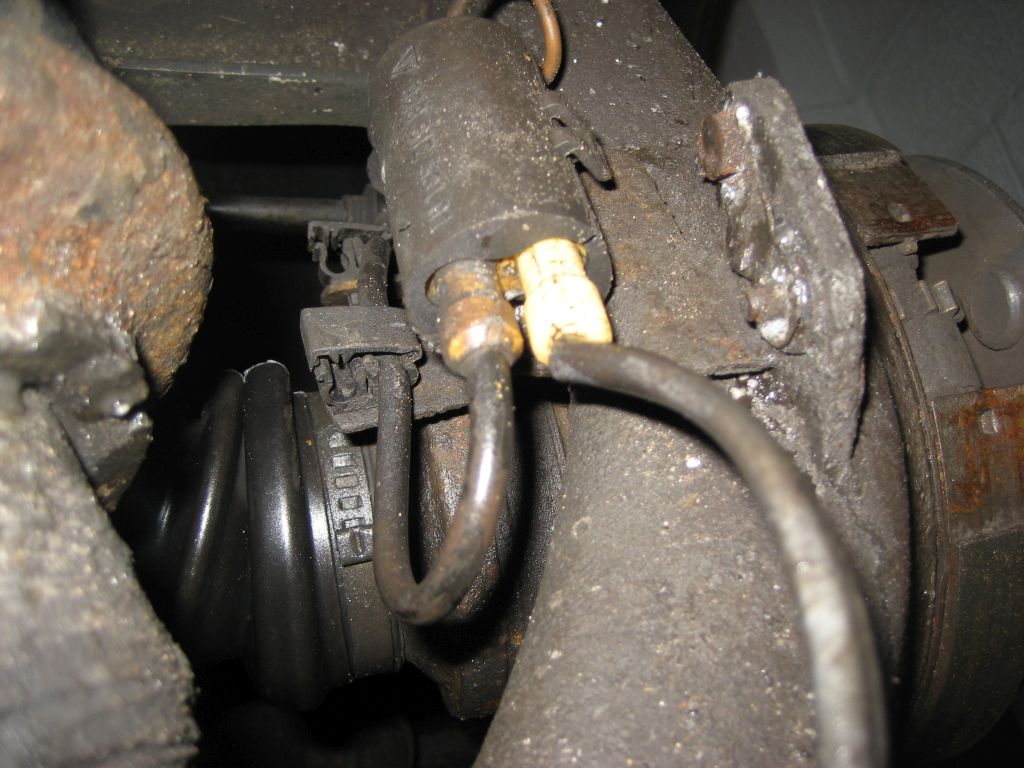
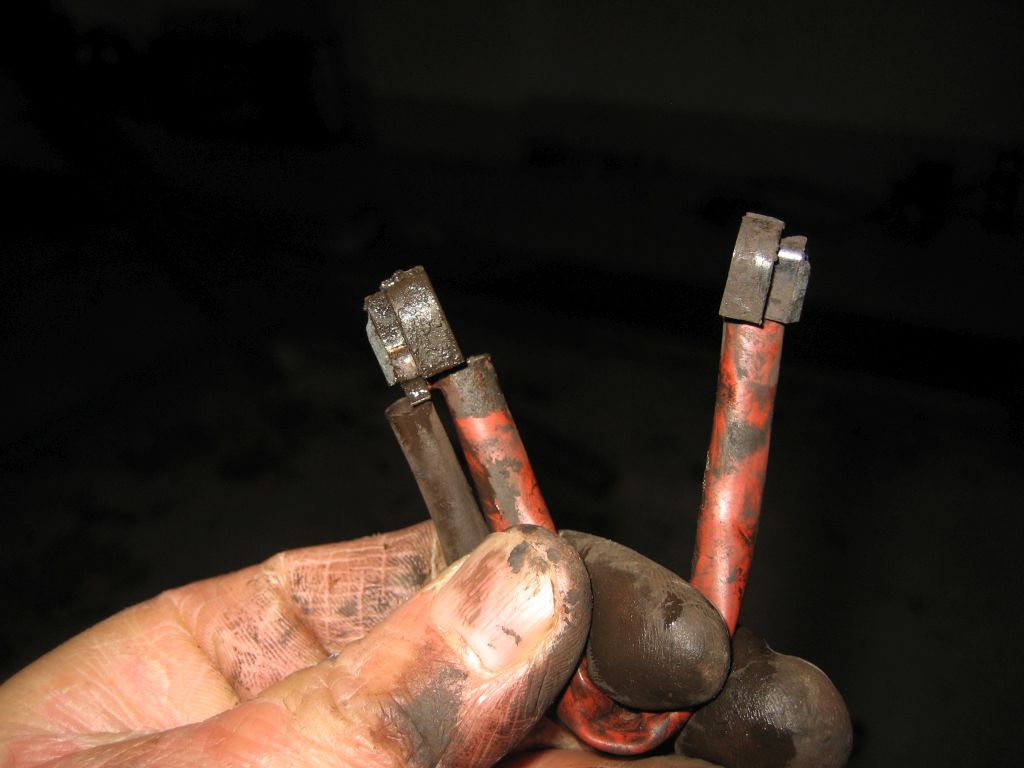
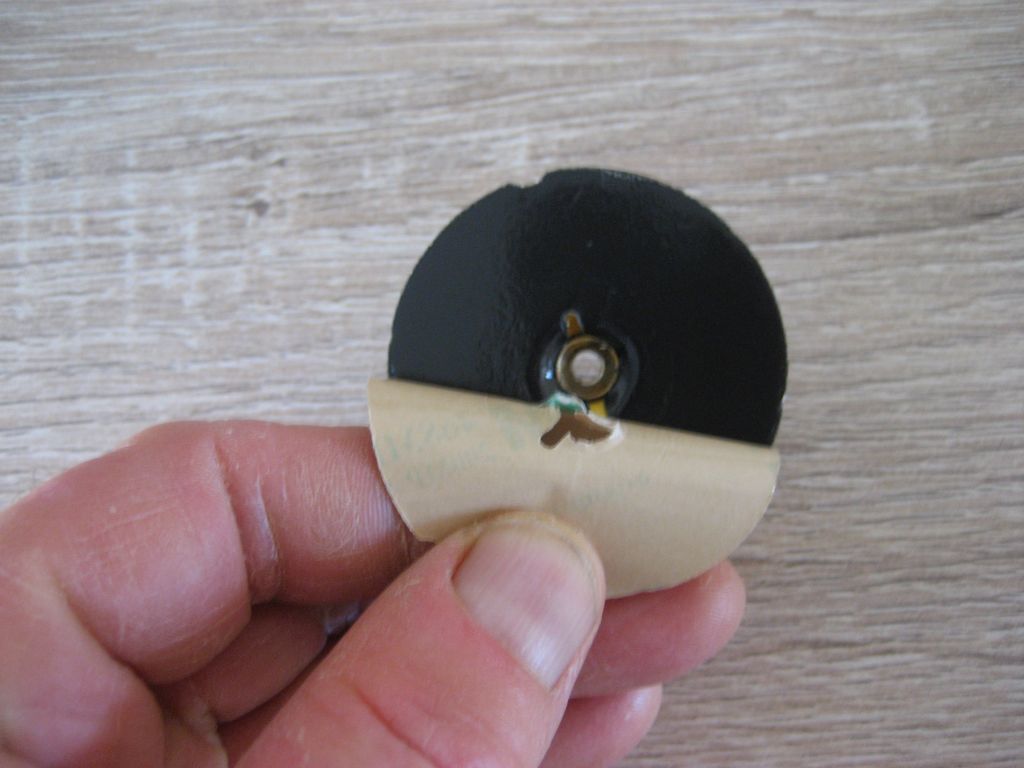
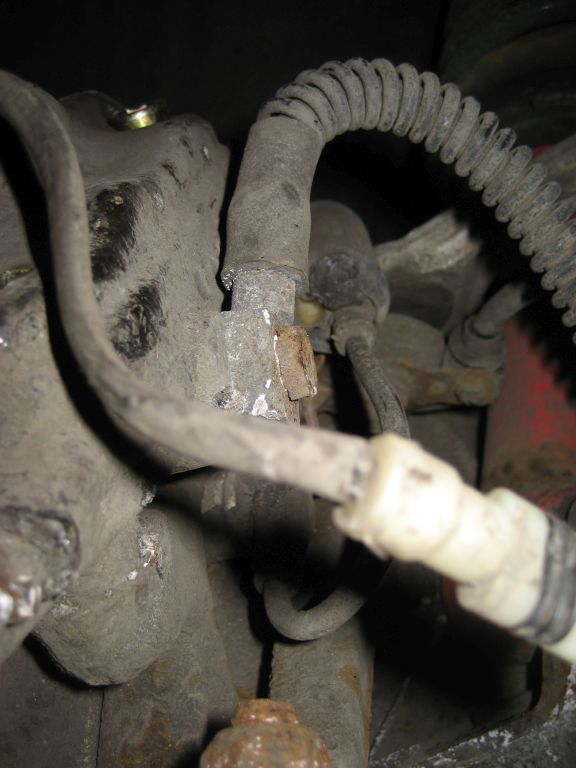
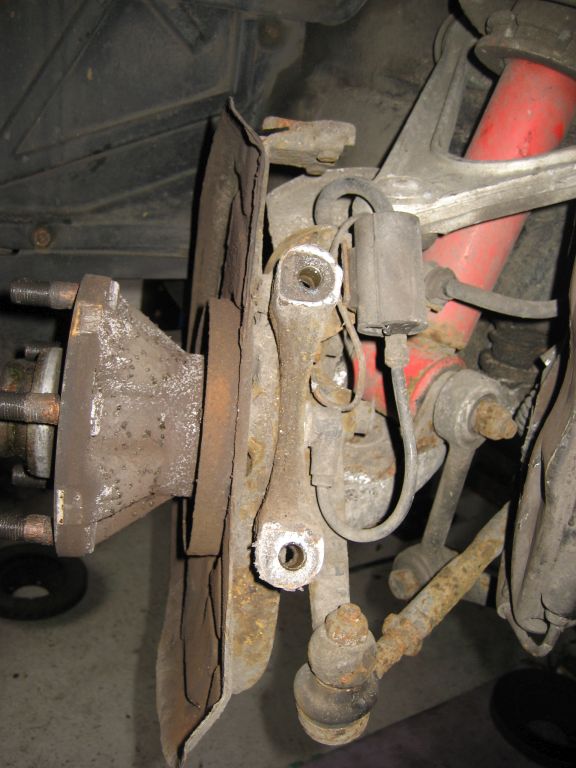
9) To remove the brake pad wear sensors trace the wire back were it runs behind
the brake backing plate and unplug it from the round multi-wire connector. Spray
some Plusgas into the electrical connector socket after you remove the pad
warning sensor plug.
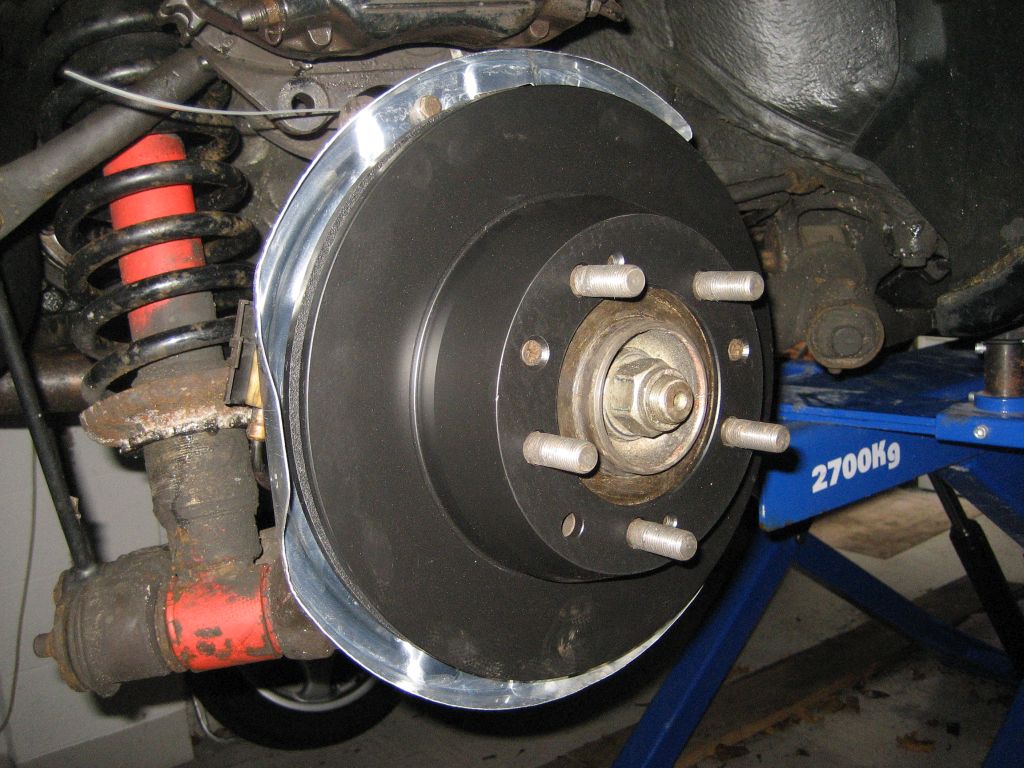
10) Now it's just a case of refitting new brake pads/discs/sensors etc.
11) First remove the caliper and attach it to the rear axle with a tie-wrap. Put
your new brake disc on making sure you grease the attaching grub screws (renew
these if you can).
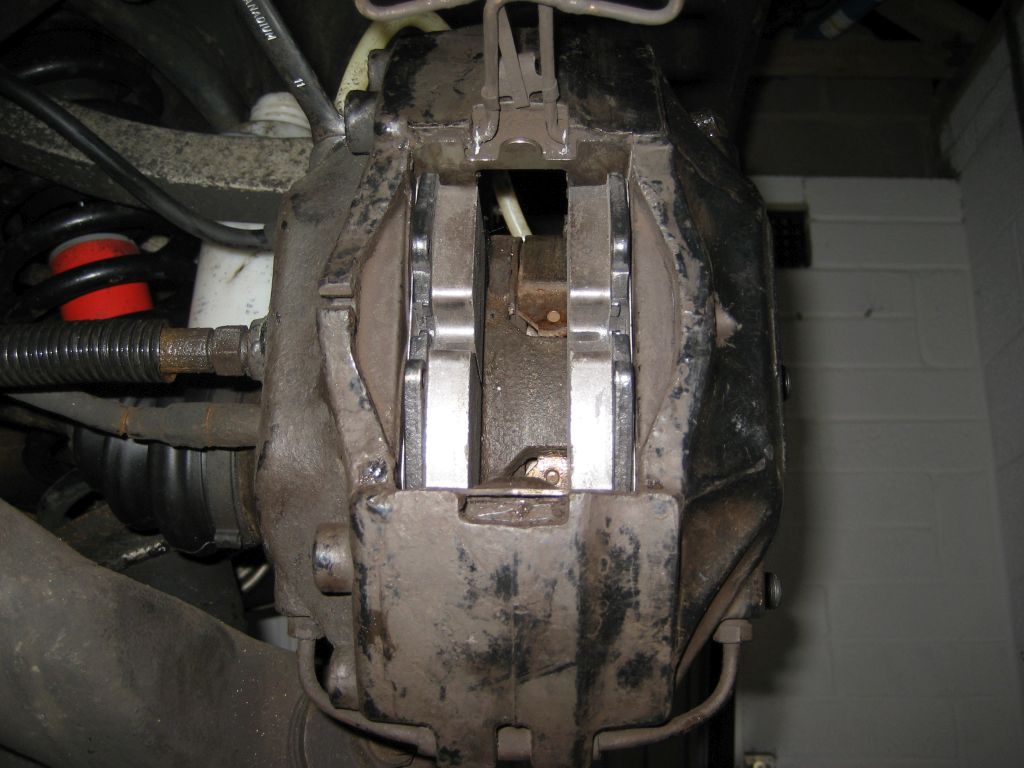
12) If the brake pads do not go in smoothly, check the guides on top and bottom
side in the caliper. If there is corrosion behind them they tend to make the pad
stick. If so, remove the guids and clean things carefully. The pad should move
freely.
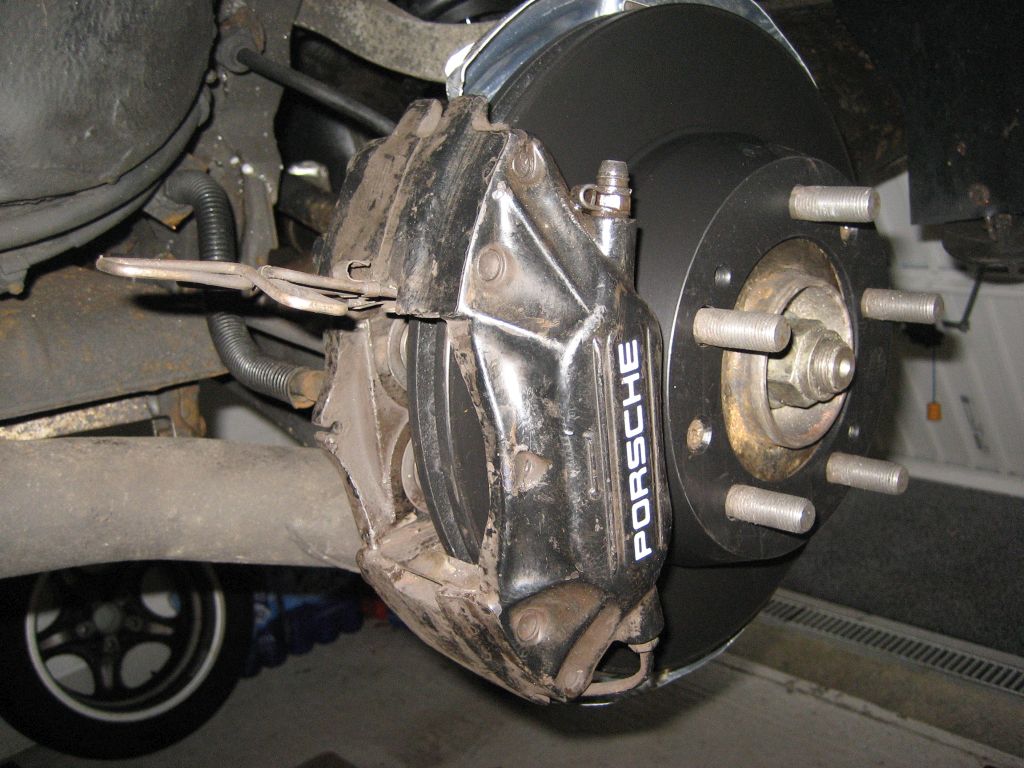
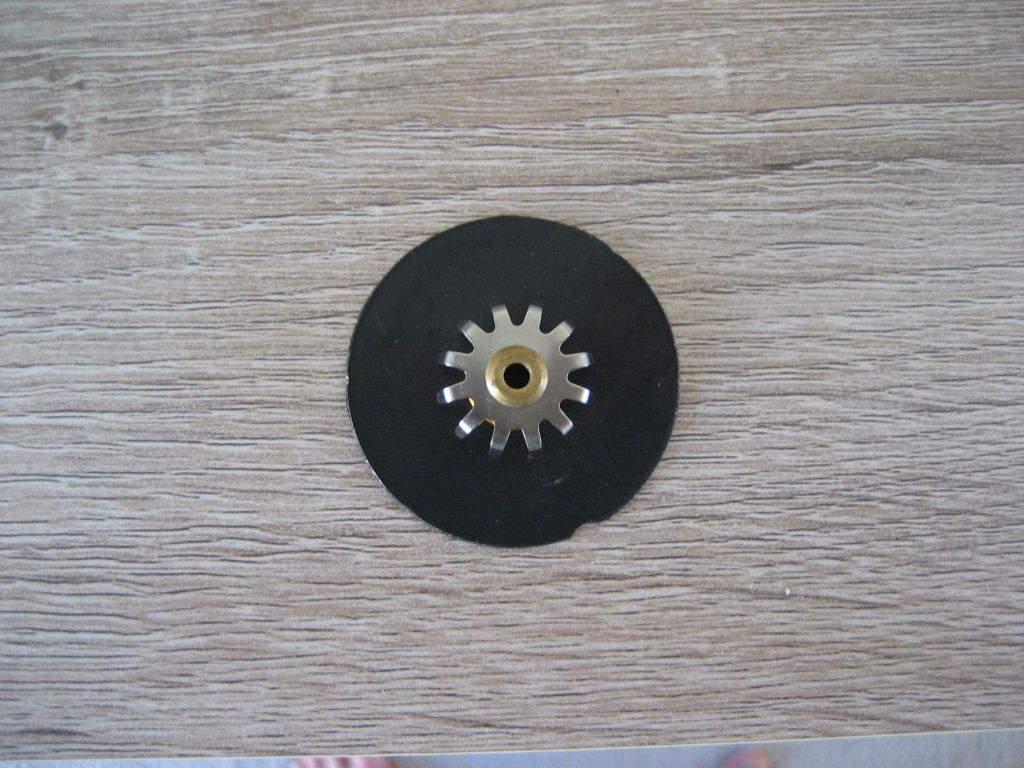
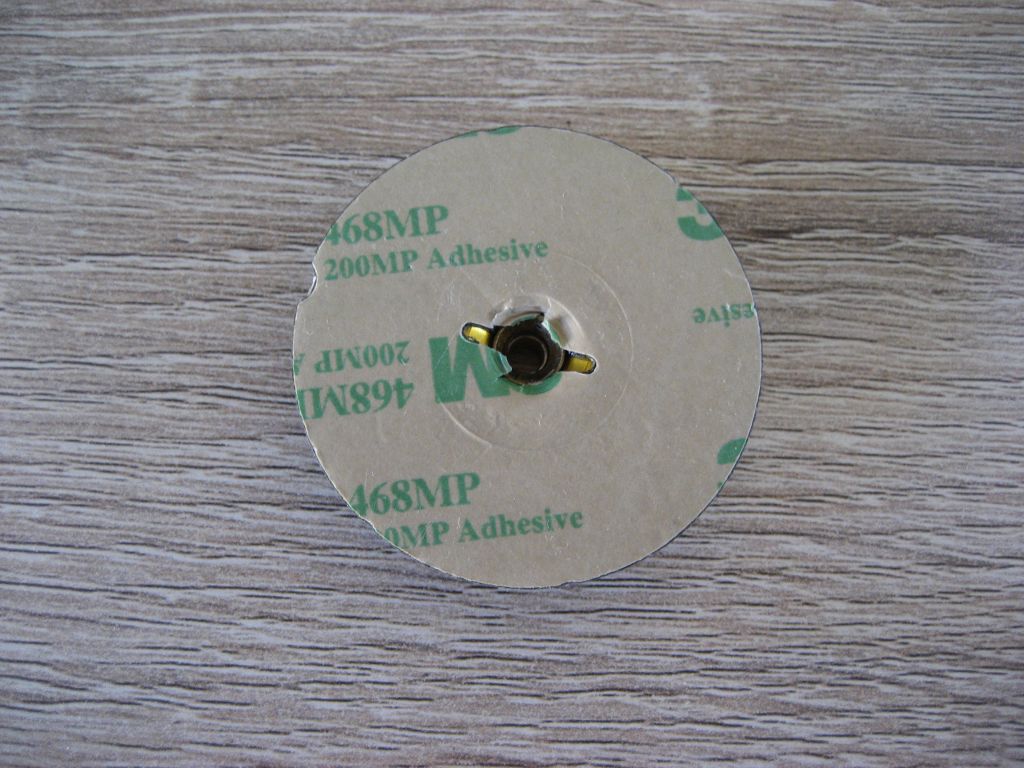
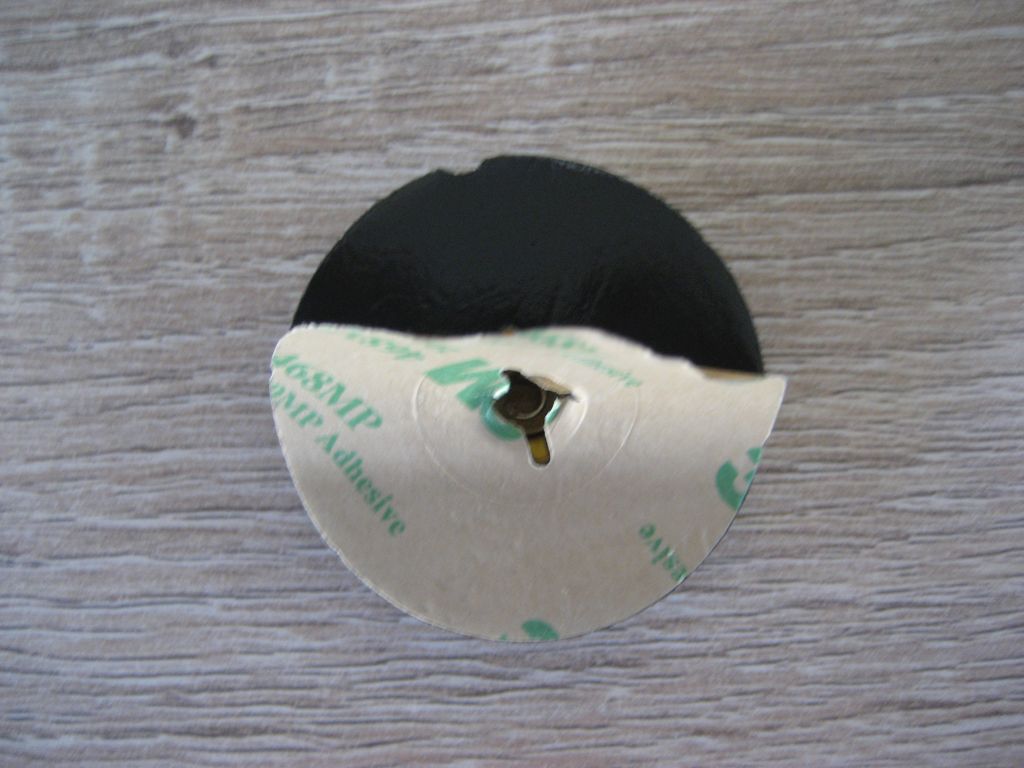
13) Reattach the caliper, greasing the holding bolts. Get your new brake
anti-squeal pads and partly lift the backing from the sticky part of the plate.
The larger size go in the top caliper piston and the smaller in the bottom. The
teeth-like part of the anti-squeal pad point towards the top and the bottom of
the brake caliper. Now press the anti-squeal pads into the pistons in the
correct orientation, and remove the backing from the sticky part of the pad. Do
this on both sides of the caliper.
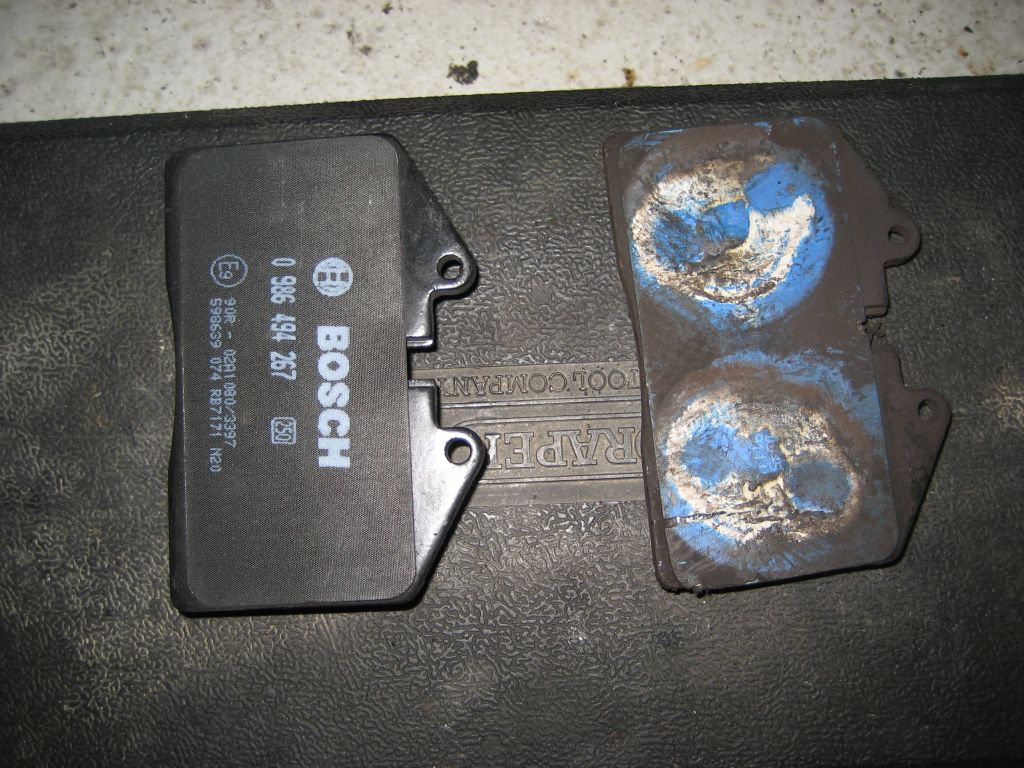
14) Get your new brake pad, copper grease the top and bottom part that touches
the bottom and top of the brake caliper. Now, without touching the anti-squeal
pad, slide it into the caliper. Do this with both pads.
15) Now refit the X-type brake pad holding spring using mole-grips attached to
the middle of the holding spring whilst pushing the spring tight against the
pads until it clips tight into the caliper at the bottom. An additional
screwdriver will help moving it into the right location to snap in.
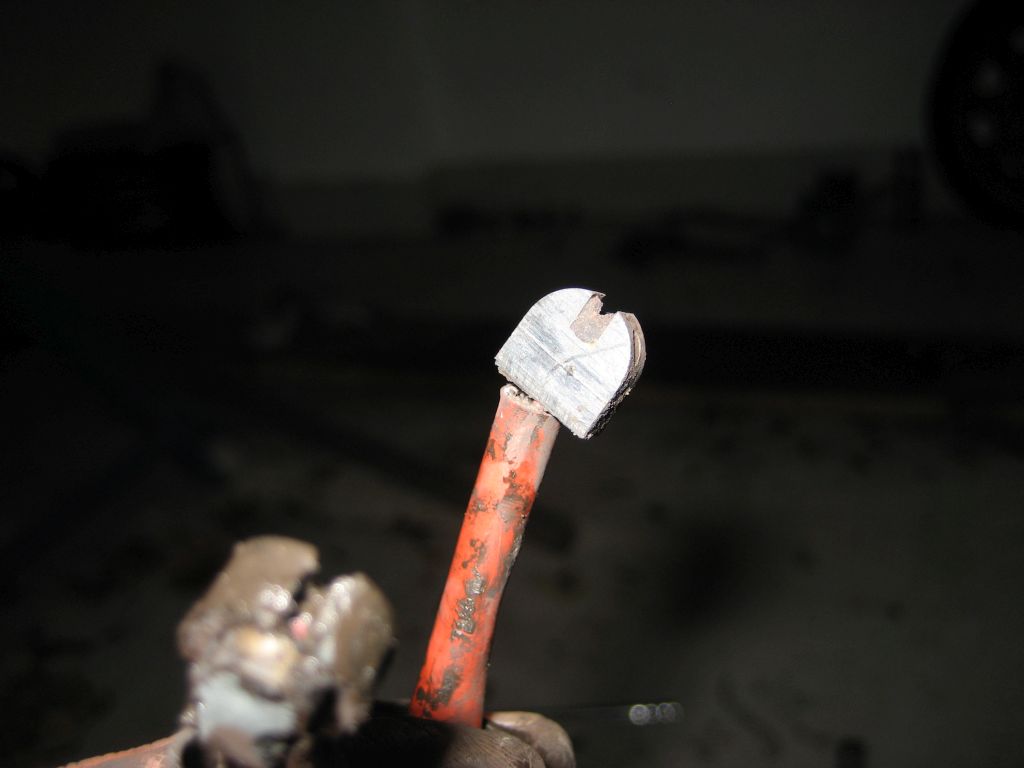
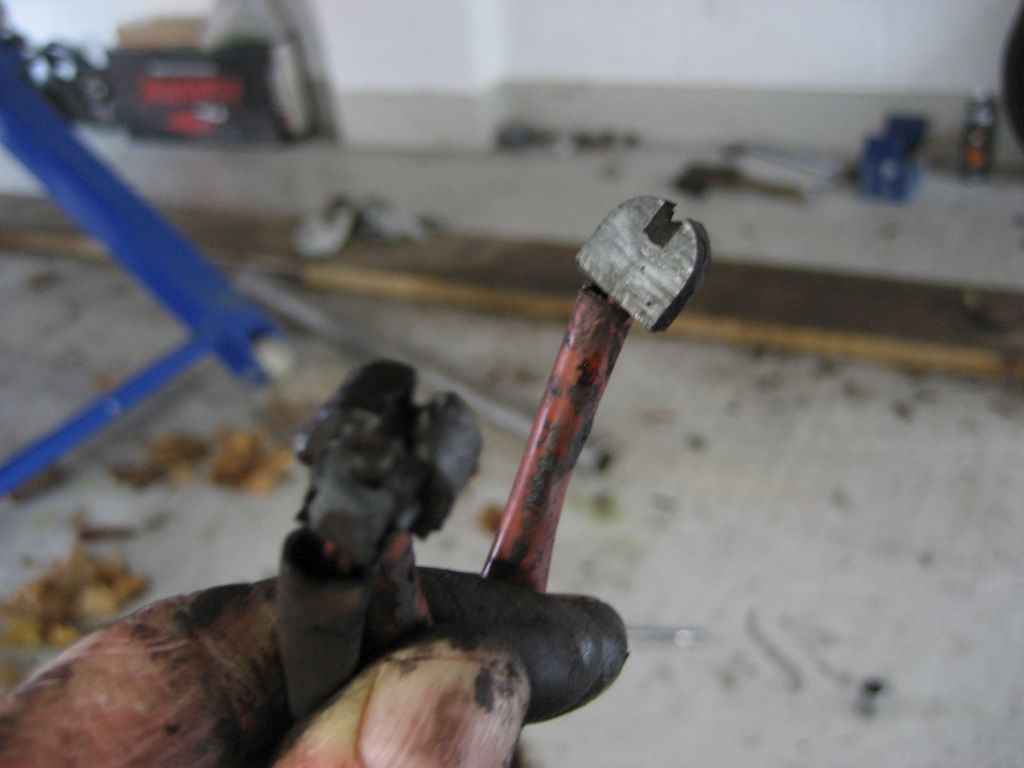
16) Insert brake pad warning sensors and reattach the warning sensor bracket.
The thicker side of the sensors go towards the brake disc. Plug the brake pad
warning sensor wire plug back in.
17) Have a good check over everything to make sure you haven't made any
mistakes. All that's left to do is bleed the brakes. If you're renewing your
front brakes, do them first and then a full system bleed after.
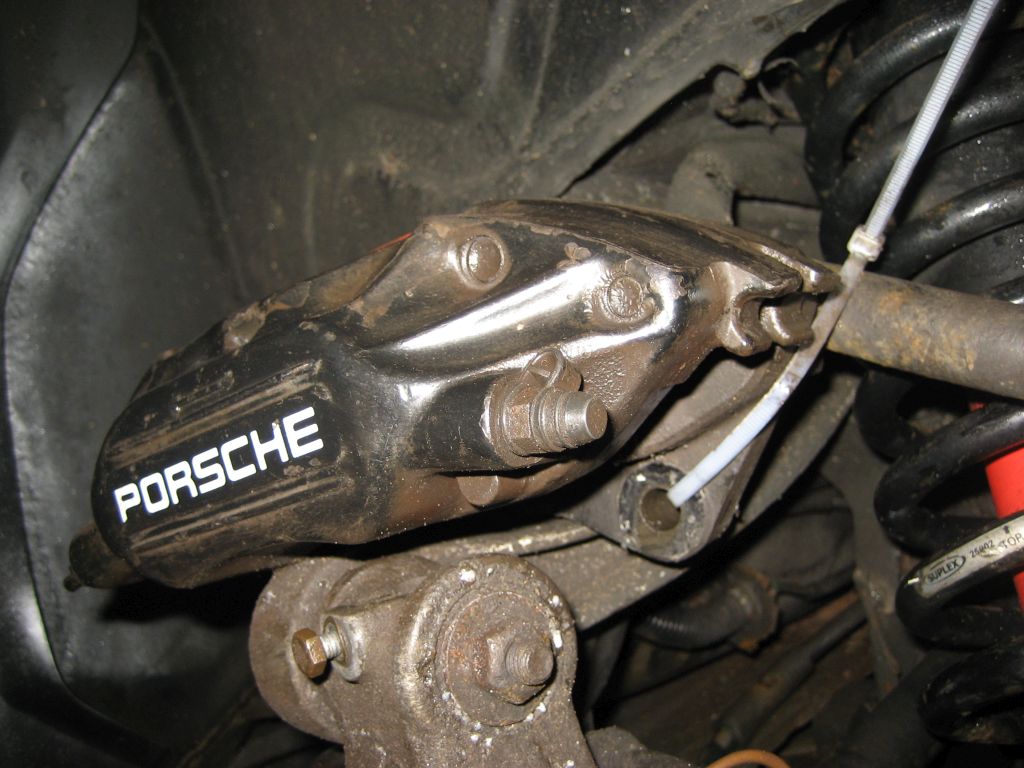
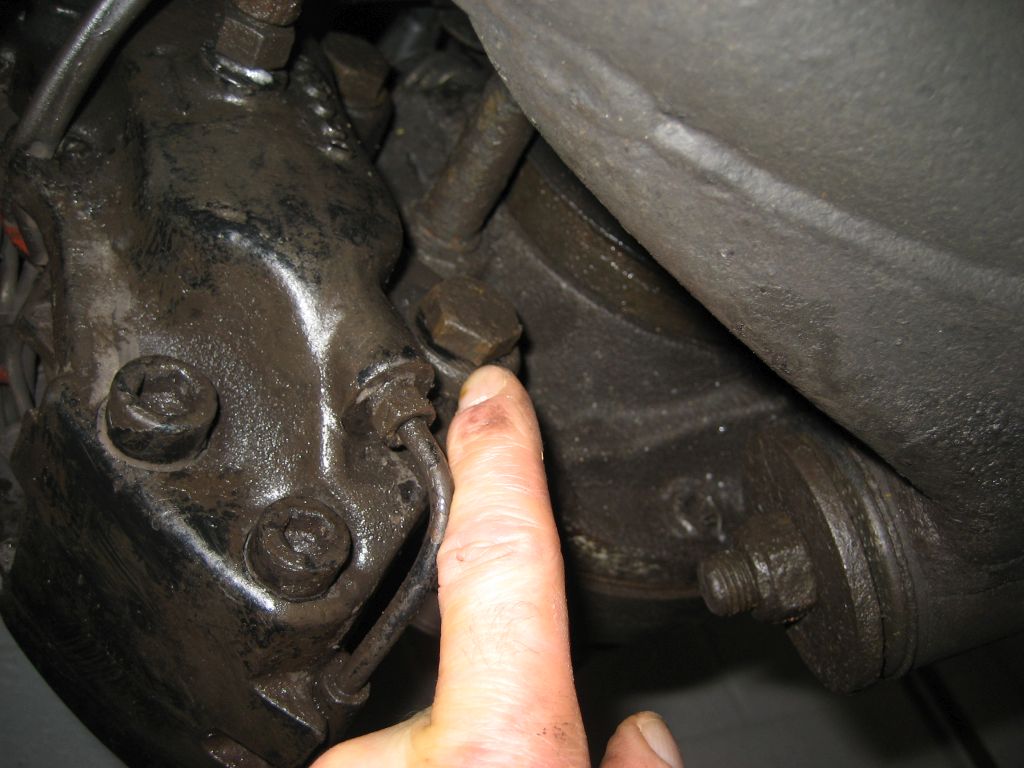
18) The front brakes are pretty much the same process. The only thing I will
strongly recommend is renewing all the front brake caliper holding bolts and
greasing them really well. My original bolts were very difficult to undo and the
heads were quiet rounded off; it was touch-and-go for a while! You don't want
this, as without removing the bolts the caliper is stuck on! Same can be said
with the grub screws holding the brake disc on; renew and grease them. New
caliper bolts are no more than �20 for a set of 4 and the grub screws are only a
couple of pounds.
19) The anti-squeal pads at the front are much larger than the rears as the
pistons are larger. Sizes differ over the various years. Check the specs just to
make sure you order the right ones.
Hoping this helps other 928 owners.
best, Dave.
Lots of pictures now...