


Hi Theo, thanks for your reply with guidance.
I think the issue with the dist cap is simply due to the harsh temperature fluctuations the plastic endures. Just think, in the winter the plastic sits in a freezing cold garage maybe for days/weeks and then when the car is driven the temperature in the engine bay suddenly climbs to 90-100 degrees and there's spark flying around in there! Then when left to cool down again the plastic is subject to freezing cold temperature; it's pretty tough on plastic doing that.
Here's the write-up on CEB removal, service+ reinstall.
CENTRAL ELECTRIC BOARD removal, service and refit with pictures on a Porsche 928 S4 AUTO, 1989 model.
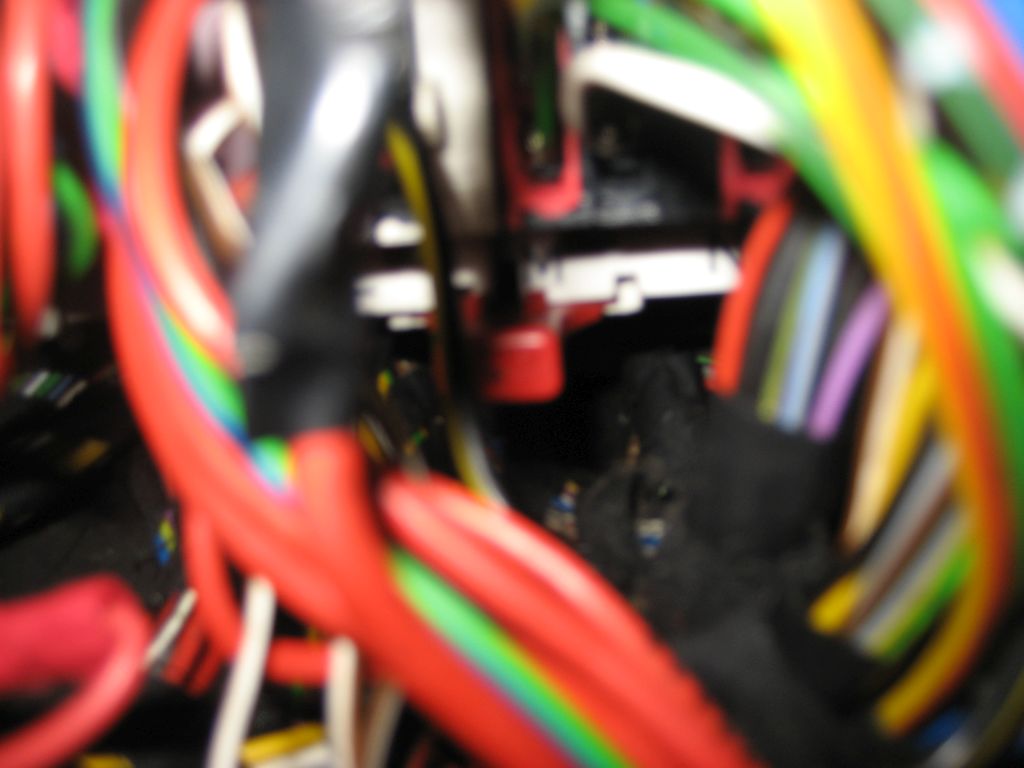
Any DIY vintage car enthusiast will be forgiven for being somewhat apprehensive about removing the CEB on a Porsche 928, even to the point of thinking 'I'm not going anywhere near all of that'! I mean, just look at all those fuses, relays, plugs and wires; holly shit! In reality though, and like most tasks on a 928, with careful planning and meticulous labeling, it's not really as difficult as it first appears. I did this all by myself with no previous knowledge of the task and couldn't find any info anywhere on this work. So, any other 928 owner can do this task. It will benefit your 928 immensely as electrics are definitely one of the areas on a 928 that can cause trouble, simply due to lack of maintenance. For most 928s, the CEB will most likely never have been touched, so some TLC is probably well overdue.
1) As with most electrical tasks, first and most important point is DISCONNECT YOUR BATTERY! Also, make sure your ground cable cannot touch the battery once disconnected. I always disconnect the ground cable, put a tea towel over the top of the battery, close the battery door and leave the ground cable on-top of the closed battery door. Now you can proceed without fear of shorting anything out or any current running through something you're working with. NOW TAKE SOME CLEAR PHOTO'S OF WHAT YOU'RE DISM
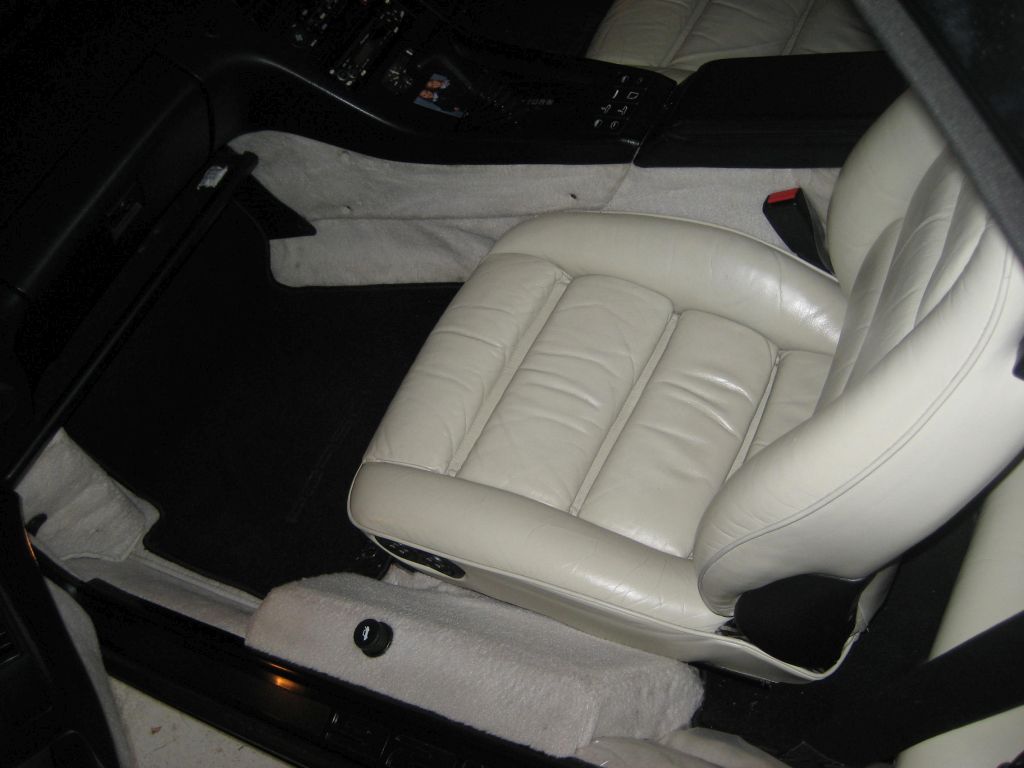
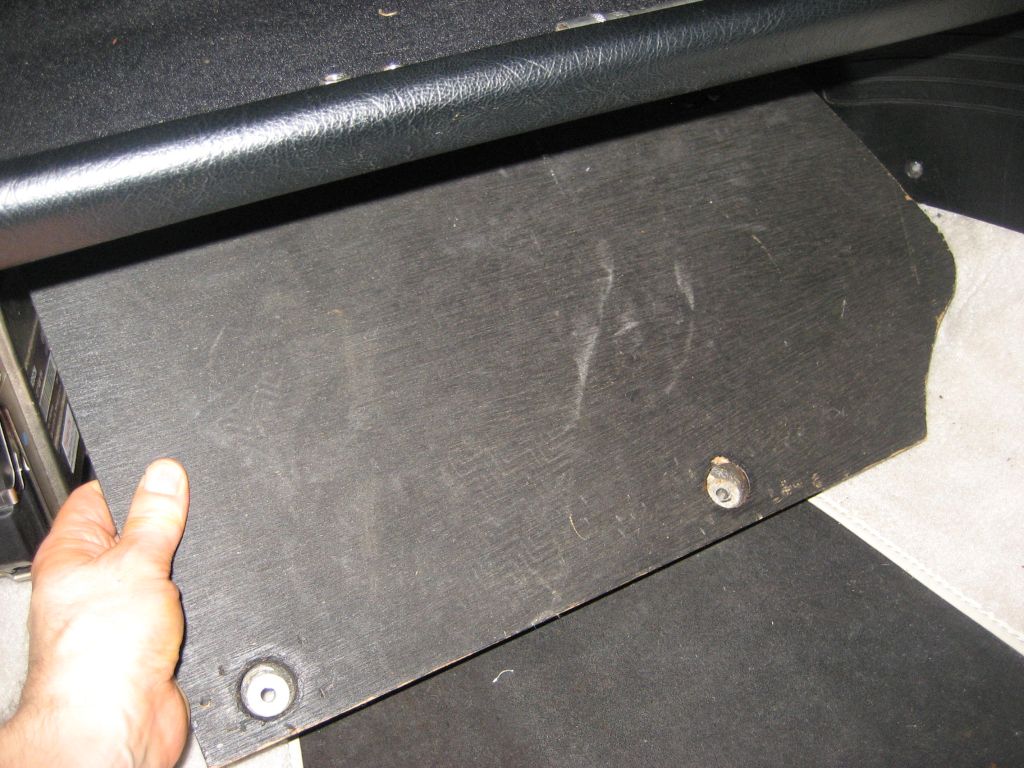
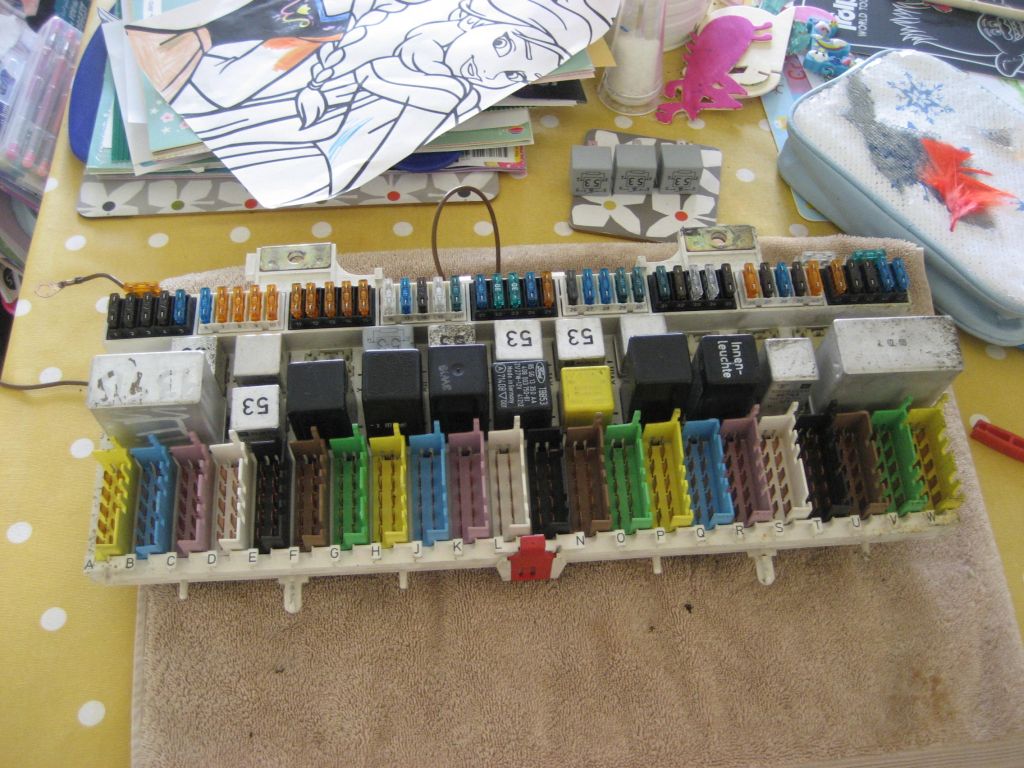
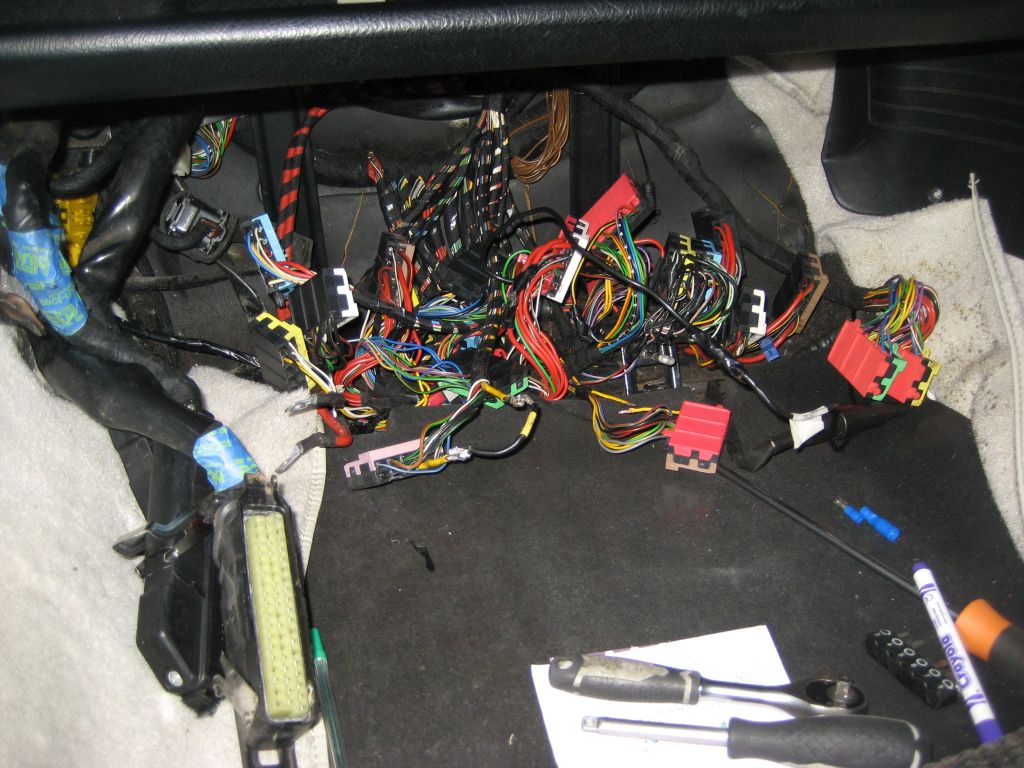
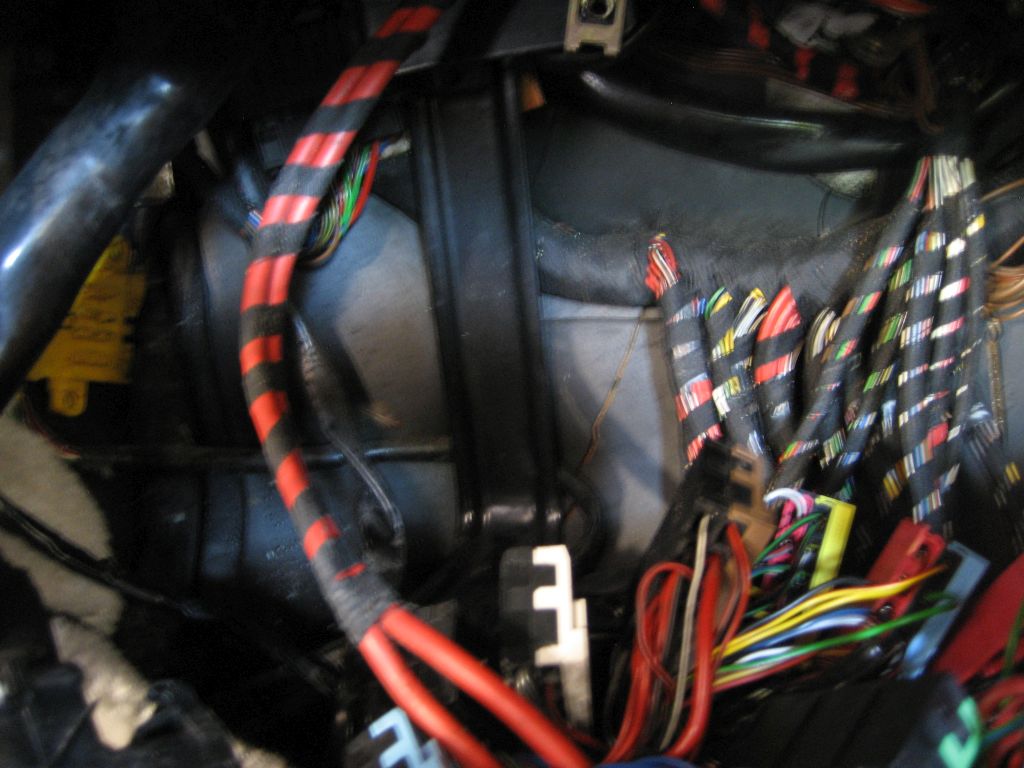
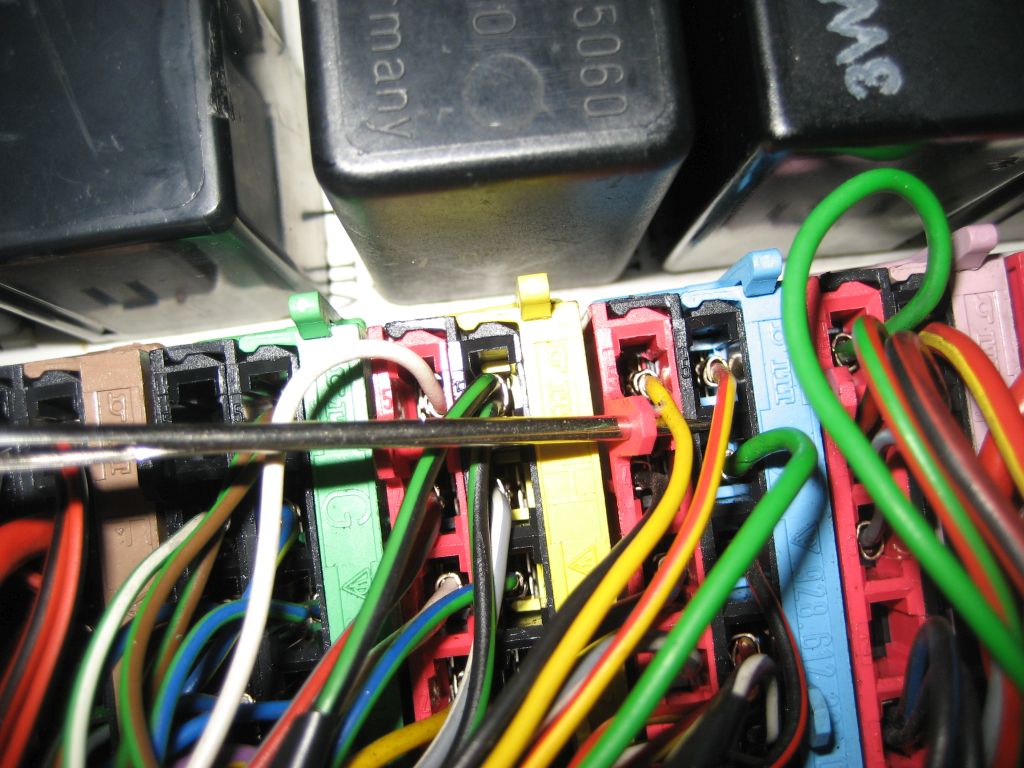
ANTLING / WORKING ON FOR REFERENCE. With a task like this, you're bound to forget where everything originally went, so pictures will help you remember!2) The CEB on a Porsche 928 (all models) is situated down in the passenger footwell behind a wooden board that acts as a footrest. Not the best place to put it really, as it looses legroom and places the CEB right below a windscreen seal, that can and sometimes does, leak! I often think Porsche would have been better to have ditched the passenger parcel shelf and placed the CEB facing down to the floor there behind some kind of panel with door for access. To access the CEB pull the footwell carpet back and remove the 2x 10mm bolts and washers holding the wooden board in place. There should be a chart on that wooden panel indicating what the relays are for and what amperage each fuse is and the circuit it protects. If this is missing you can find one here on Theo's excellent website for the 928.
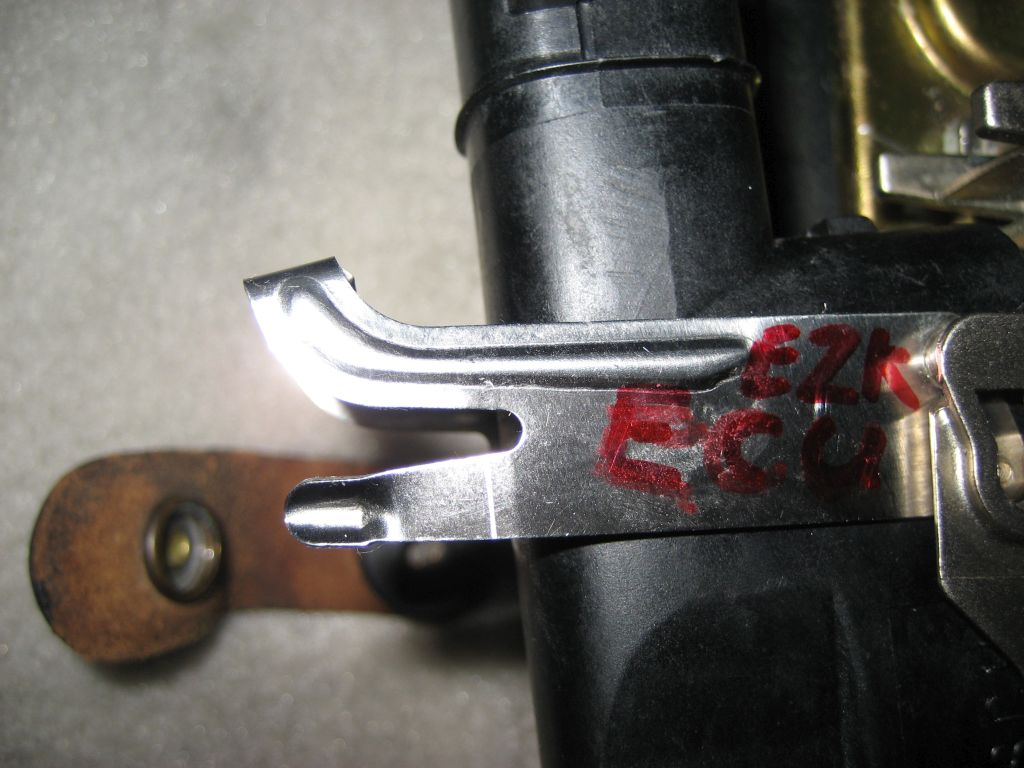
3) This is not absolutely necessary, but for ease of working and space, I removed the LH/EZK/IGNITION RELAY cradle at this stage.
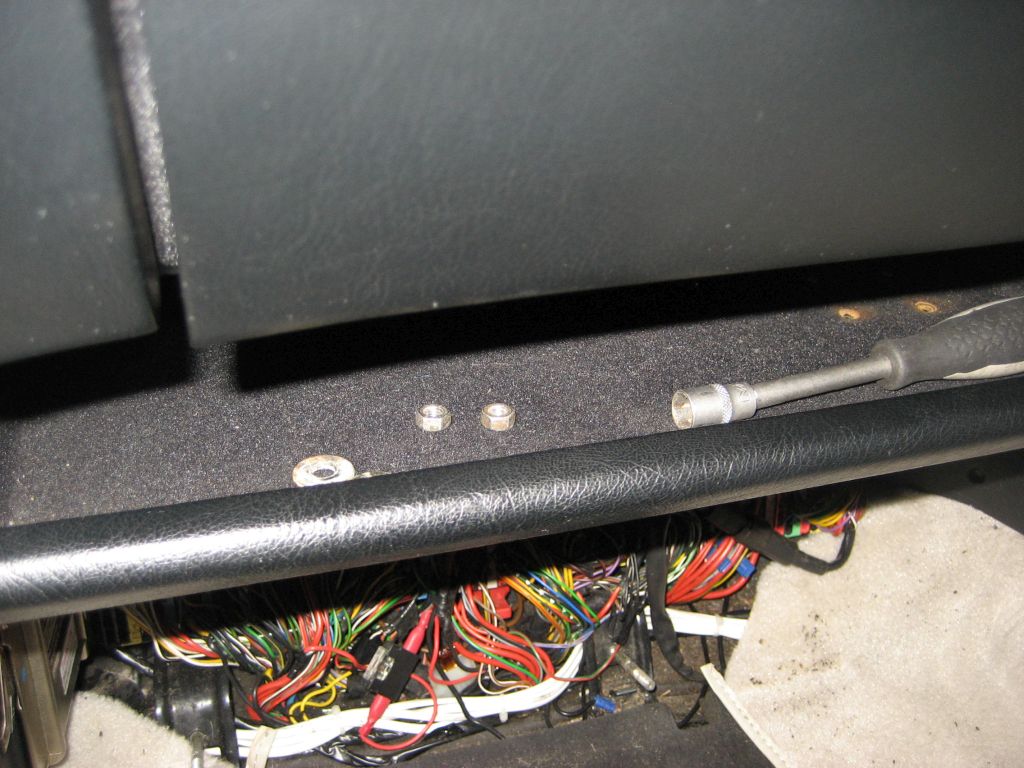
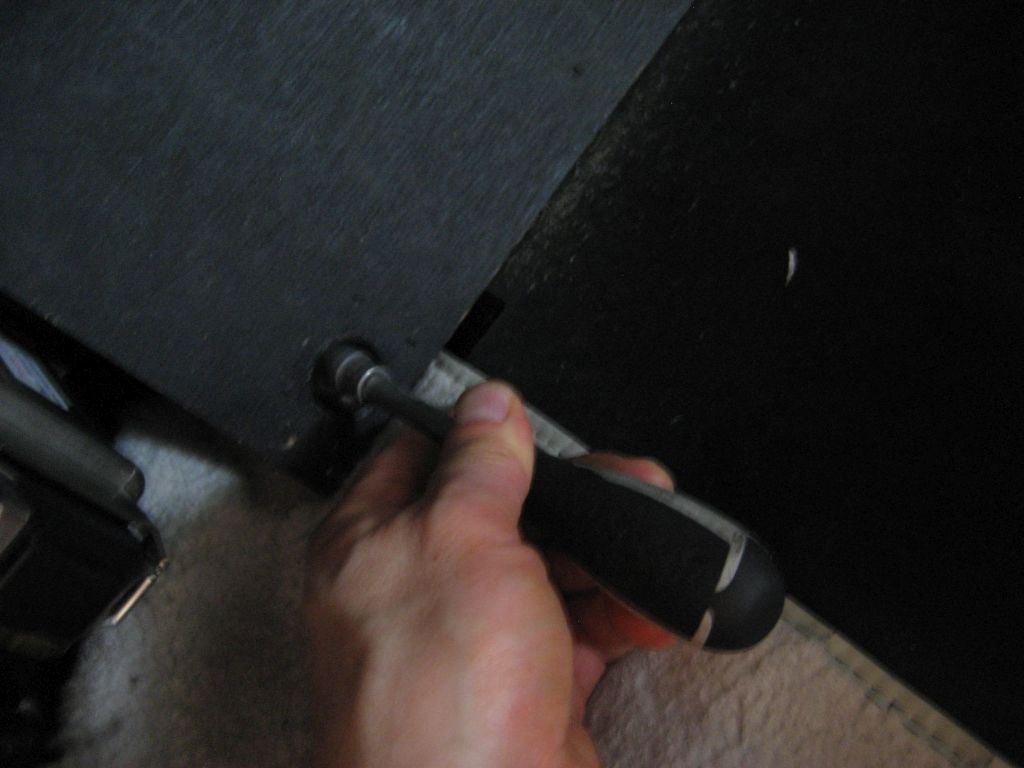
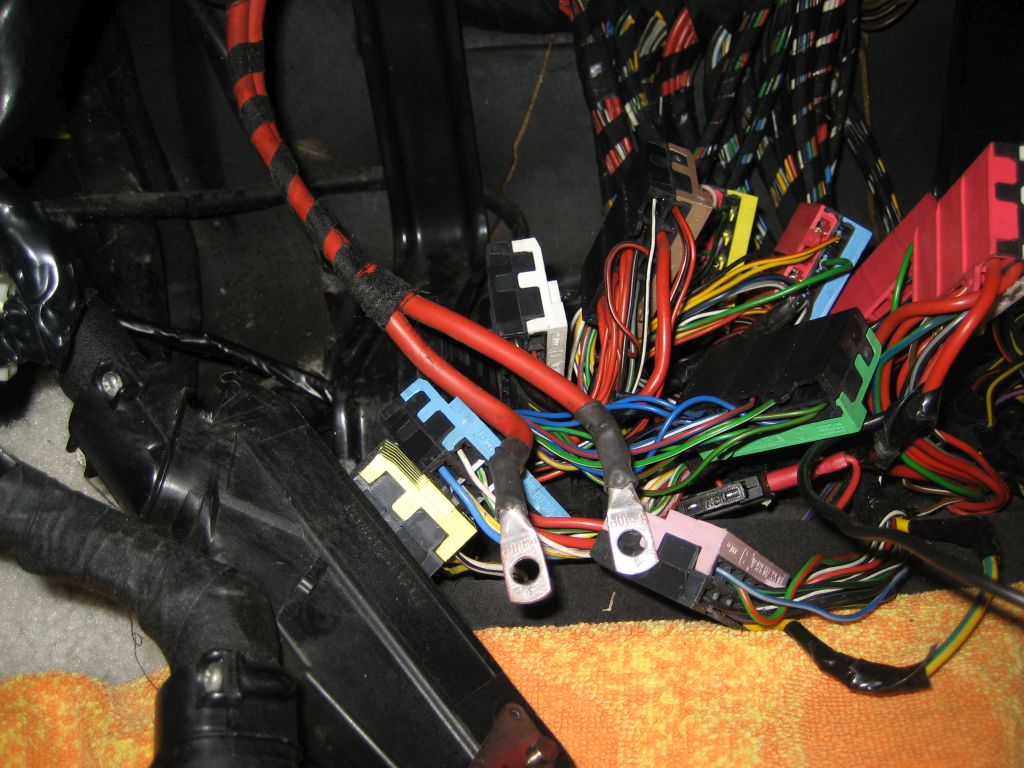
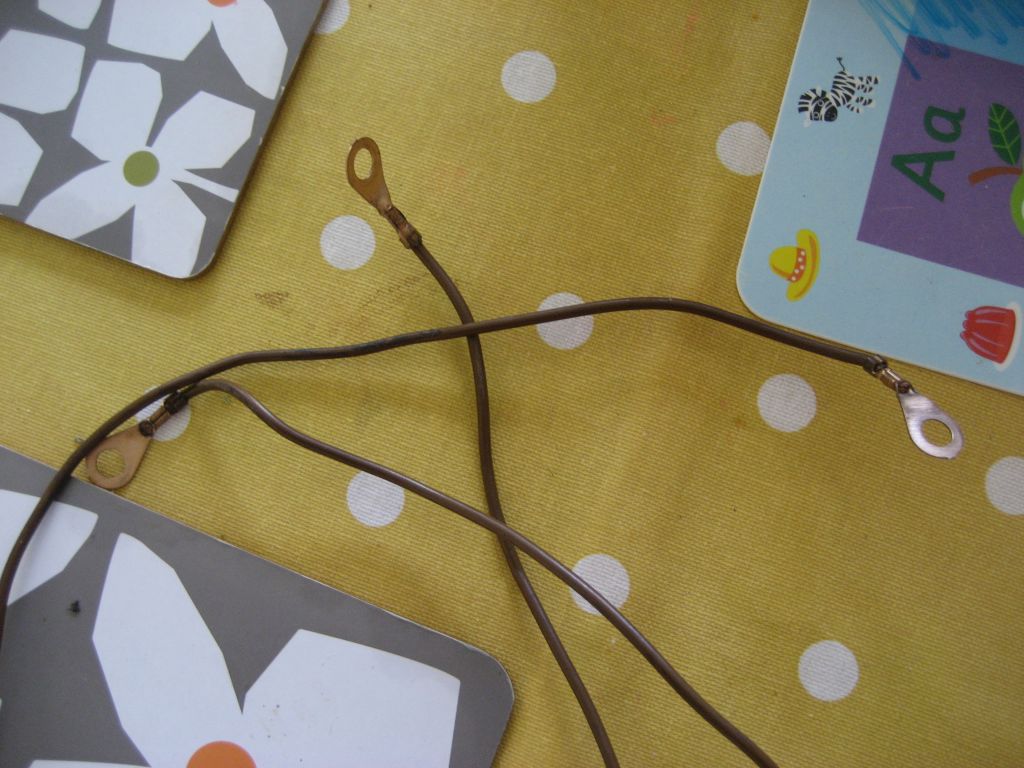
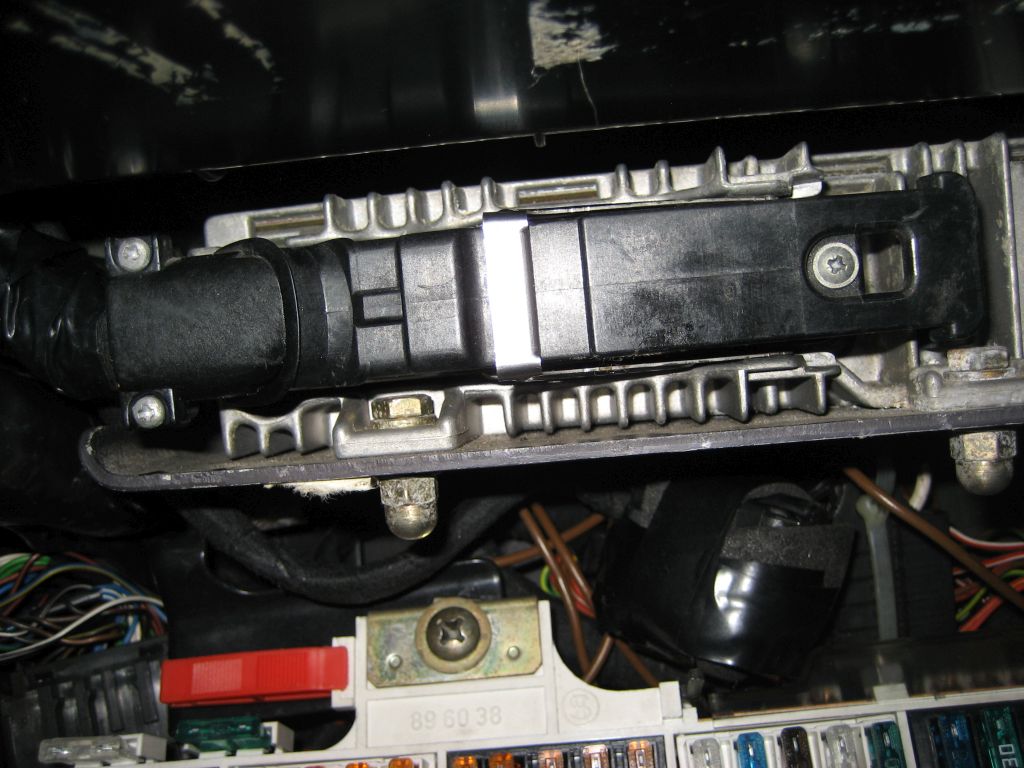
4) You need to access some ground cables that run from the back of the CEB to the firewall down in the footwell. So, you need to remove the ABS control unit on an s2+s4 onwards to get access to the bolt that secures the ground cables to the small copper plate on the firewall. Just disconnect the large ABS plug and then undo a 10mm bolt that holds the ABS control unit secure. Store all of the nuts/bolts/washers you're removing in the passenger parcel shelf for safe keeping. Now you can undo and remove the 10mm long bolt that secures the ground cables to the copper plate on the firewall.
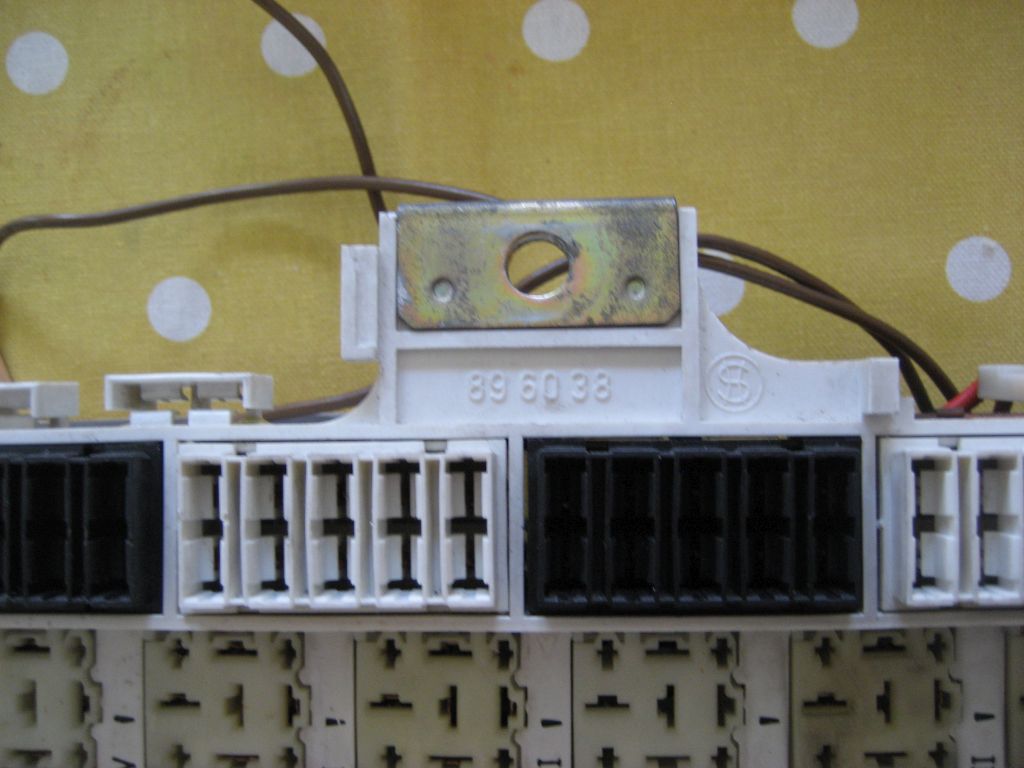
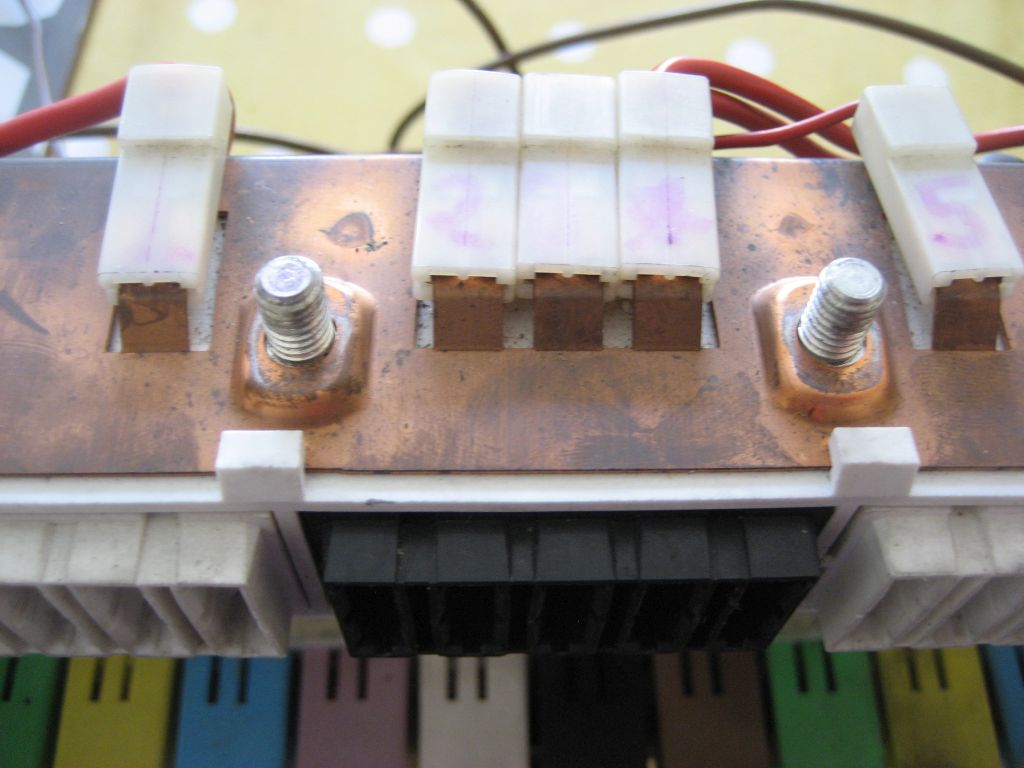
5) Next, on the top in the middle of the CEB is a clear plastic cover. Pull this forward and by squeezing one side of the plastic cover it should pop out of it's fixing. Now you can access 2 main power feeds that are attached to the top of the CEB with 2x 10mm nuts. Remove these nuts and cables.
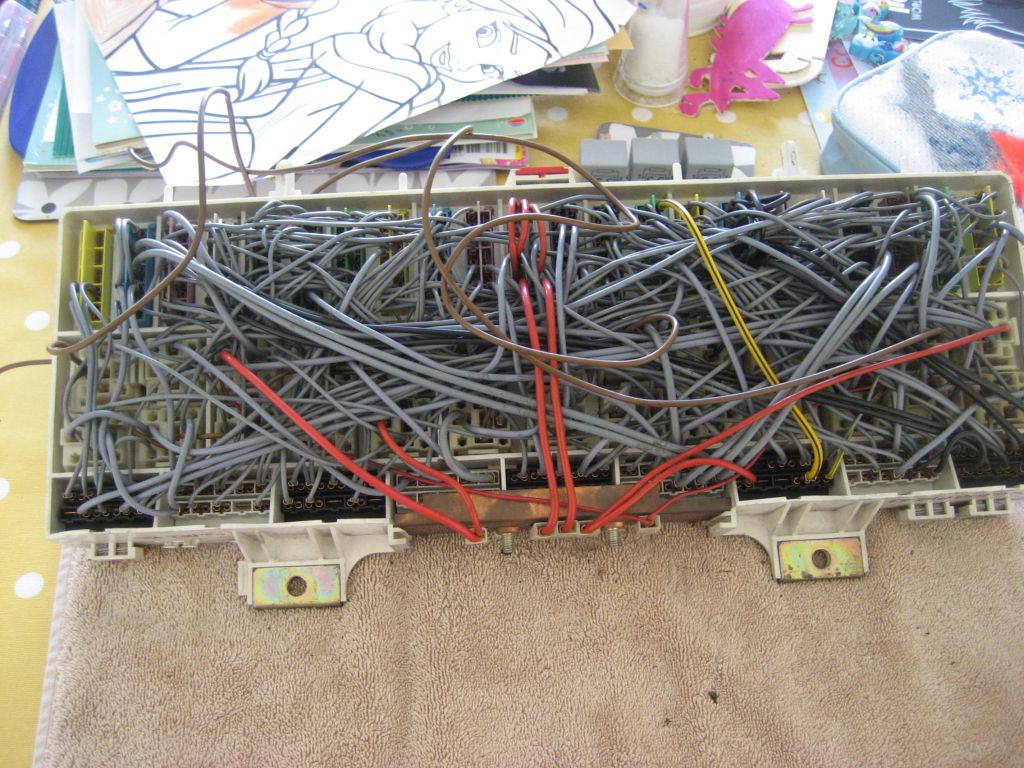
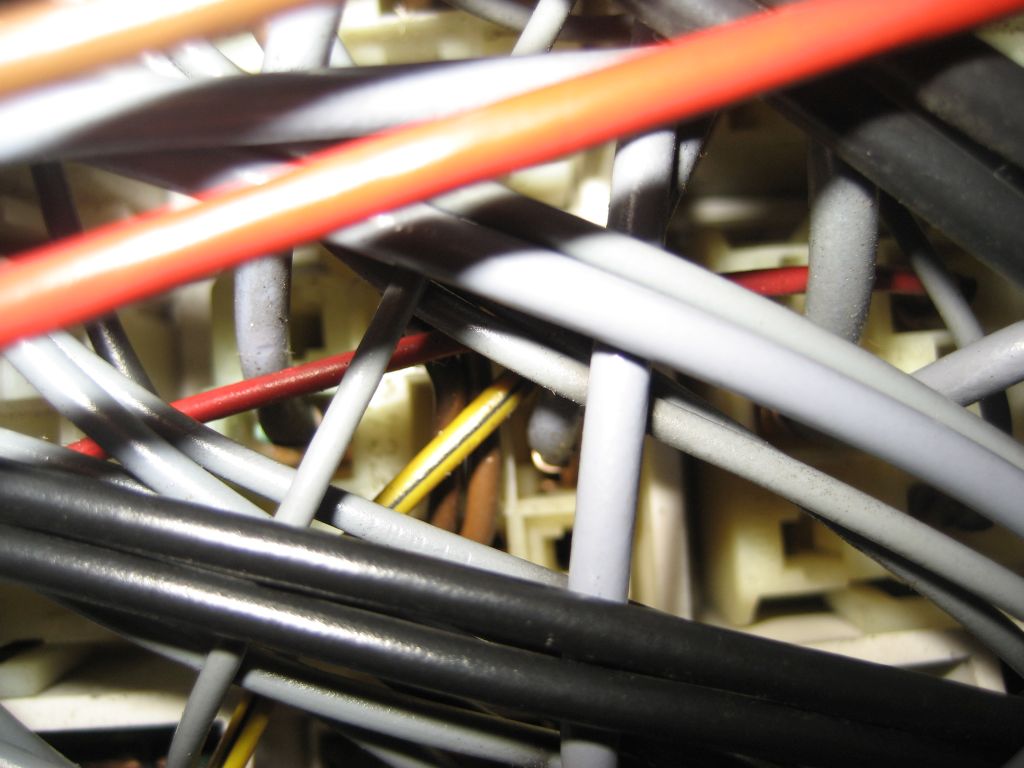
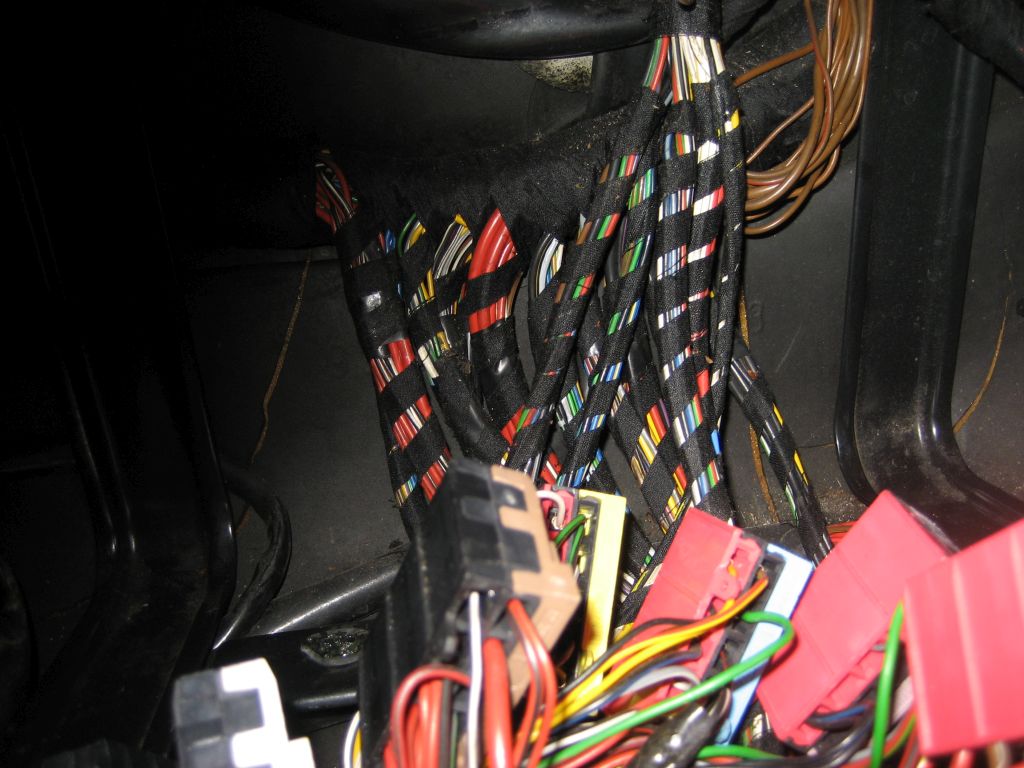
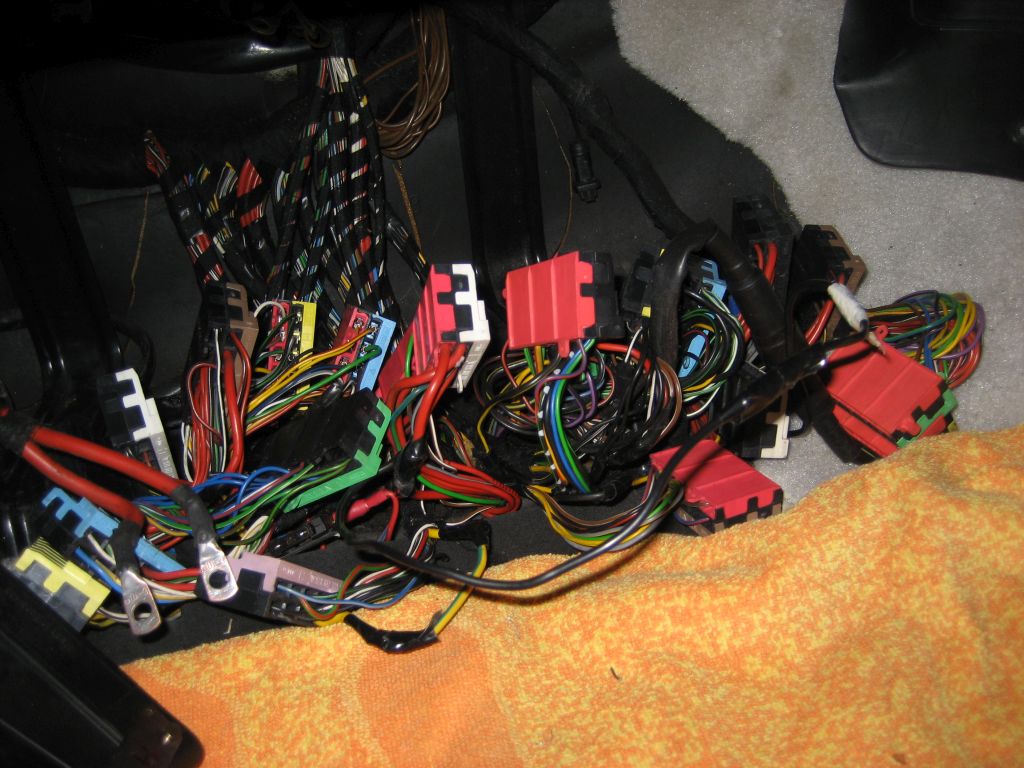
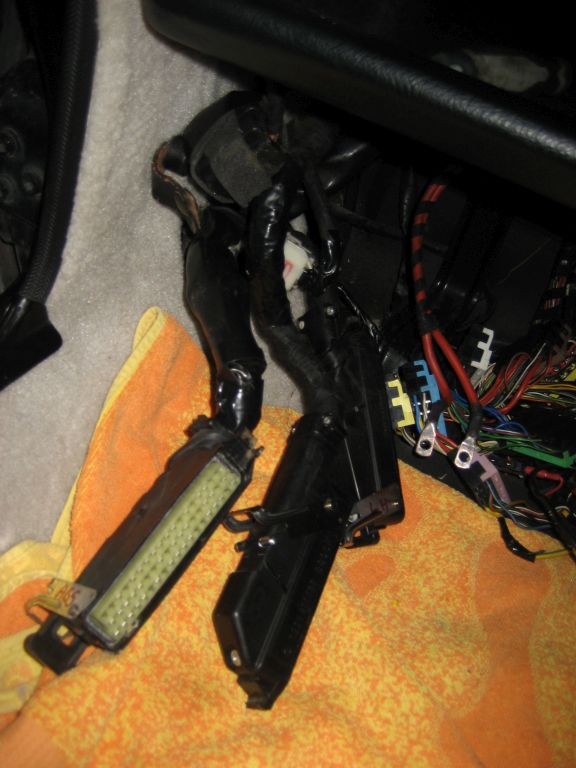
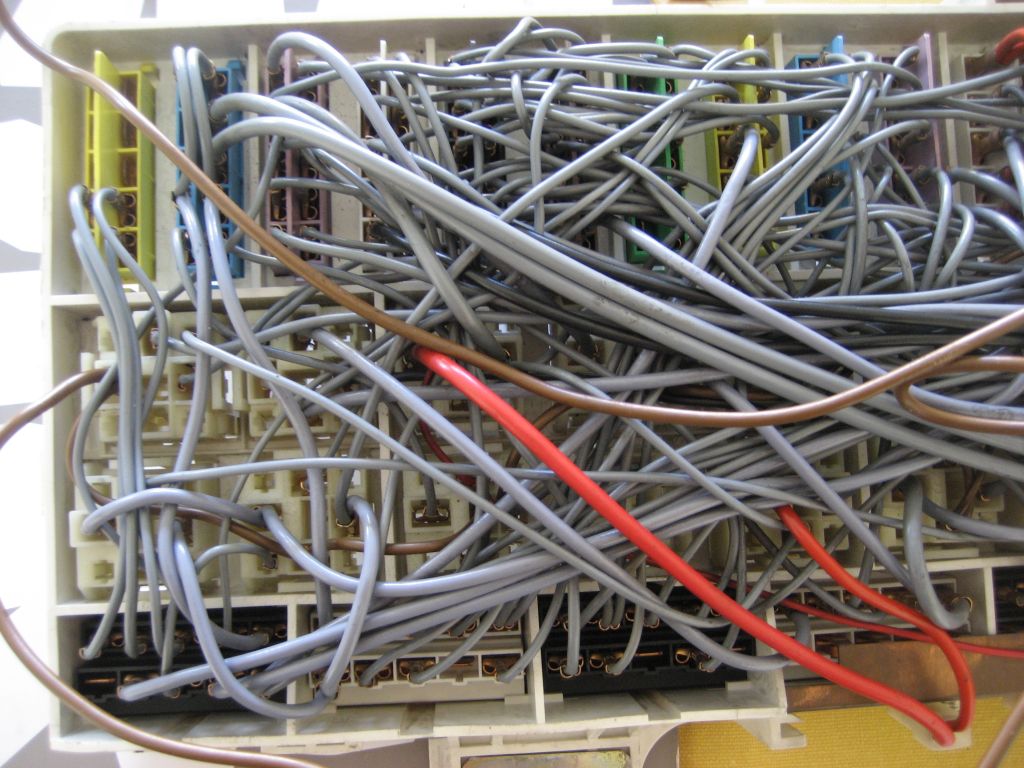
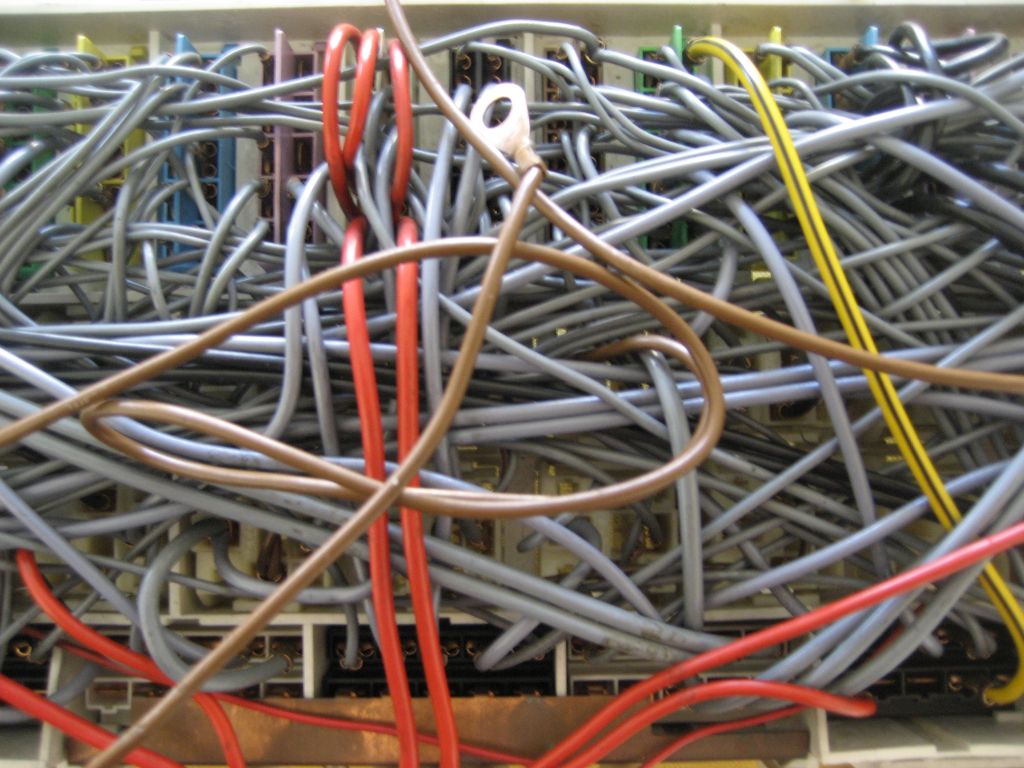
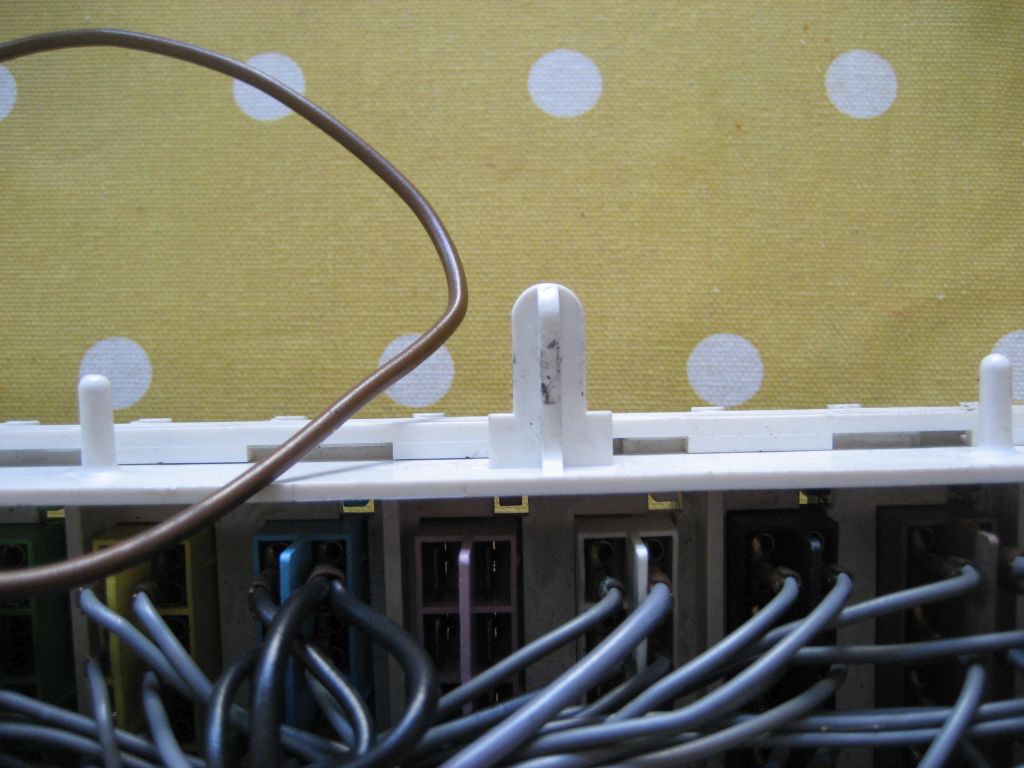
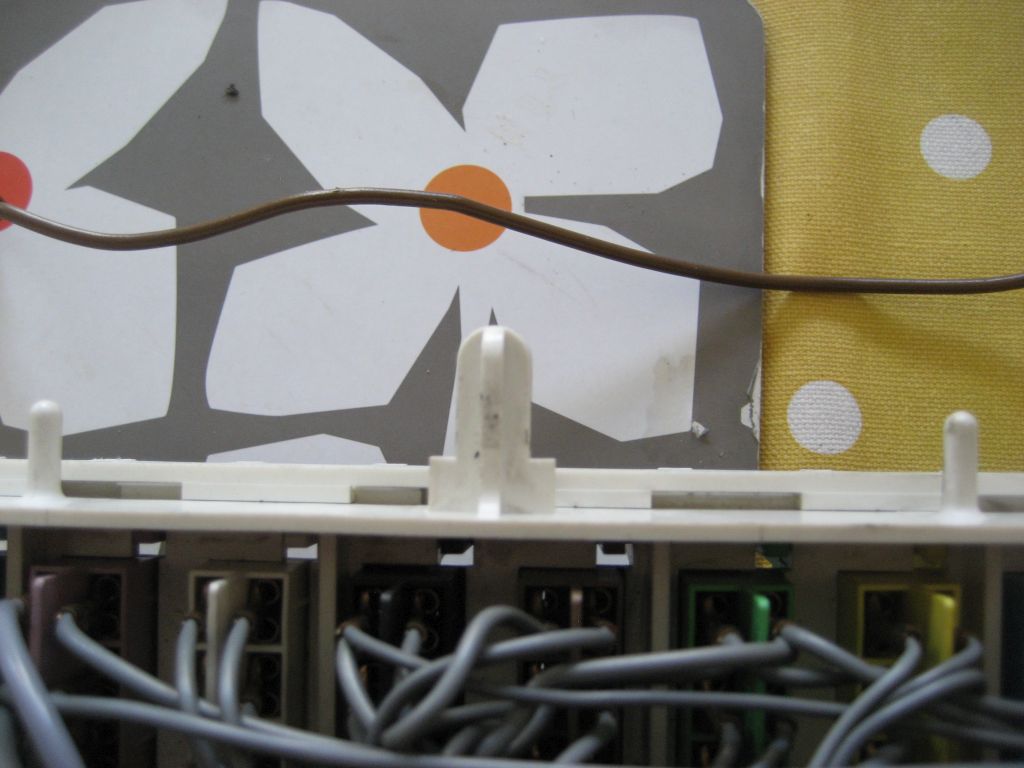
6) Now comes the daunting task of removing all those wiring plugs attached to the CEB. FIRST AND FOREMOST, go and find the red handled lever in the middle of the bottom of the CEB, nestled in behind some wires no doubt. To release the plugs, the red level must be pulled outwards. It doesn't pull out very far, so go steady. To remove the plugs get a long piece of wire or a long needle and thread it through the holes at the end of the tangs that stick out of the plugs. Now apply some outward force whilst also gripping the plug and pulling it out from the bottom. If they've never been removed before they'll be quite stiff to release and due to the age of the plastic, some of the tangs at the top might well break off even if you're careful; some of mine did; but don't worry as this is often part of vintage car DIY.
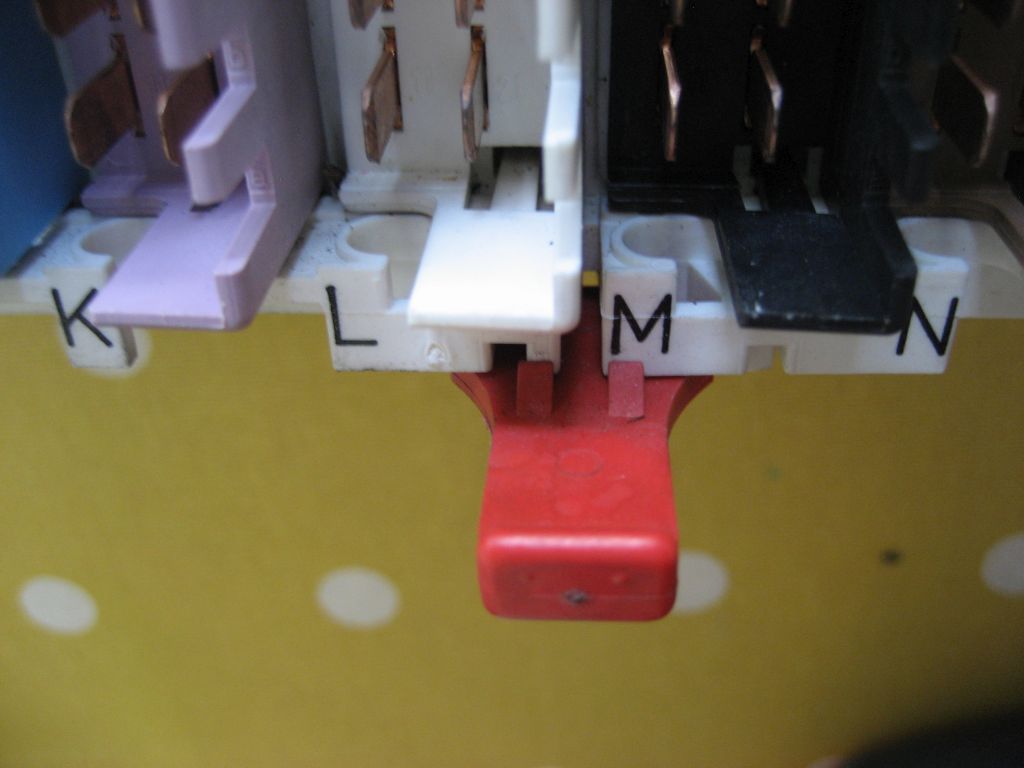
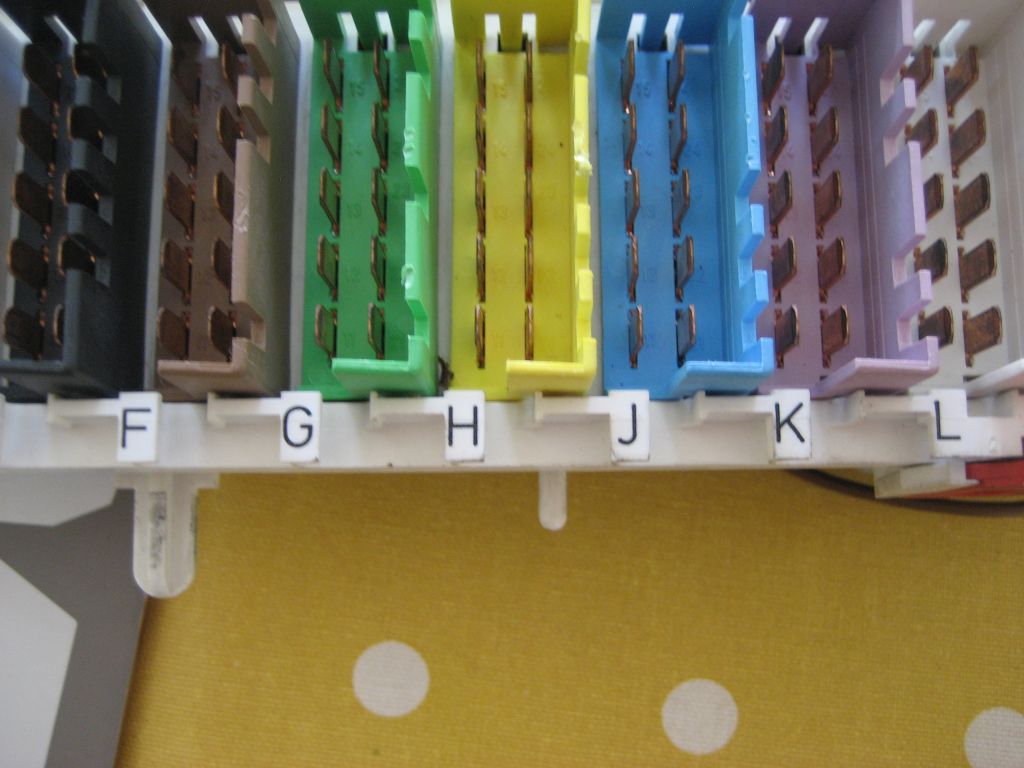
7) The wiring plugs are labeled A-Z and colour-coded so you can't get them mixed up.
8) With all the plugs finally removed, now find the 2 large hexhead bolts that fix the CEB firmly in place in the footwell. They're located on the top part of the CEB left and right. Undo them and the CEB is free to be removed. To pull it free, pull it straight up and out, NOT forwards. The CEB had 2 little feet on the bottom that push into 2 rubber grommets in the footwell. So you must pull it upwards FIRST and then forwards and out. Well done! You have your CEB removed; go make cup of tea or crack a beer and have a break!
SERVICE REMOVED CEB.
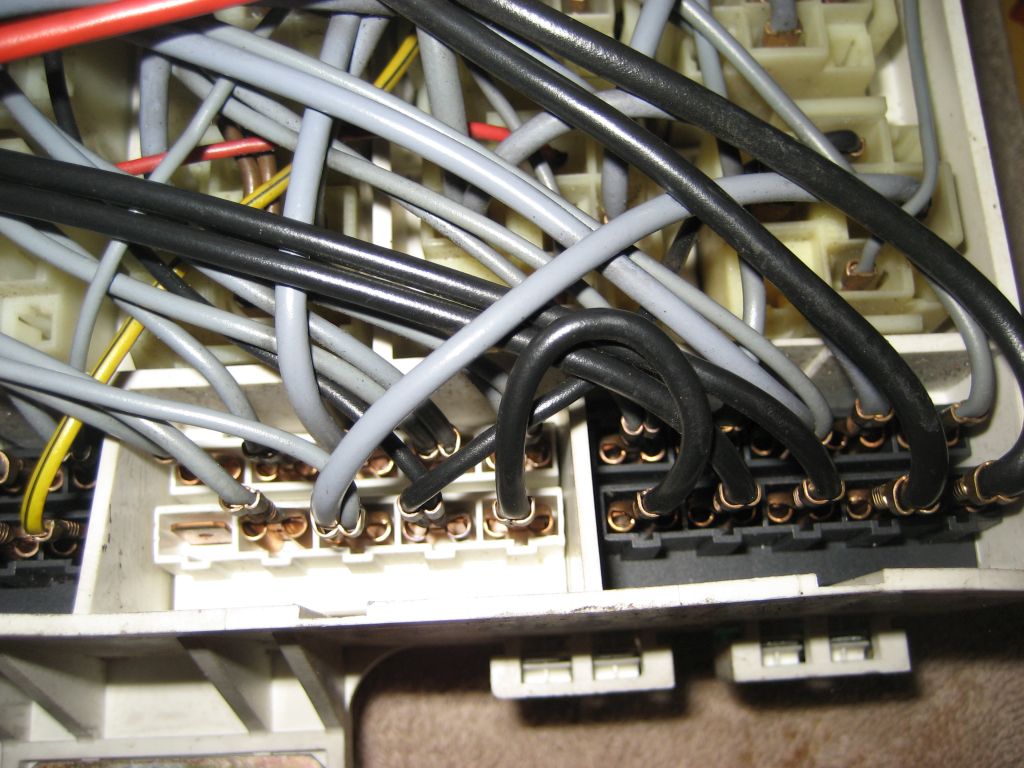
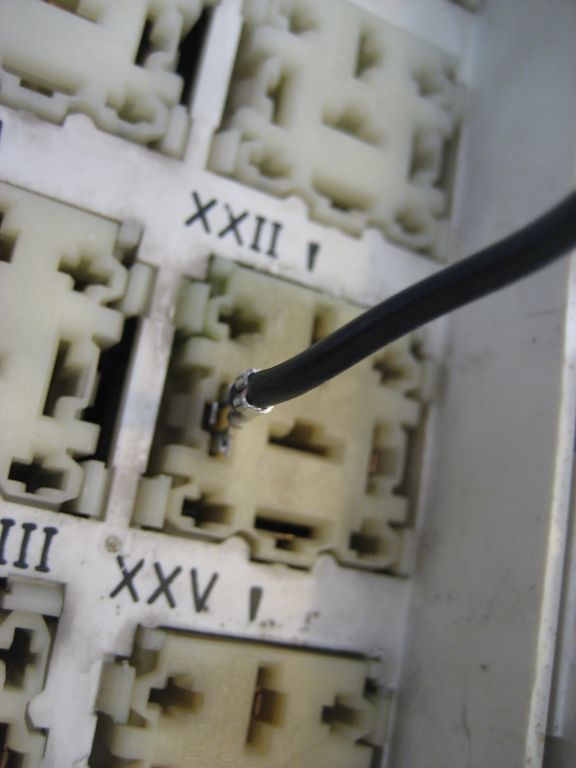
1) With the CEB removed have a really close inspection of the back of the CEB. It might well be full of dust/debri and crap; get your hoover out and get rid of as much rubbish as you can. Then use a soft new paint brush to brush clean anything your hoover can't remove. Now re-hoover the back of the CEB. Go careful with all those wires. Have a good look for any signs of corrosion or any wiring issues and if possible, fix them now. The wires on the back of the CEB are EXTREMELY difficult to remove and the CEB can EASILY be damaged by trying to force them off. If you find any corrosion, simply spray it with DEOXIT or PLUSGAS and leave it overnight to work its magic. These often work wonders on electrical contacts.
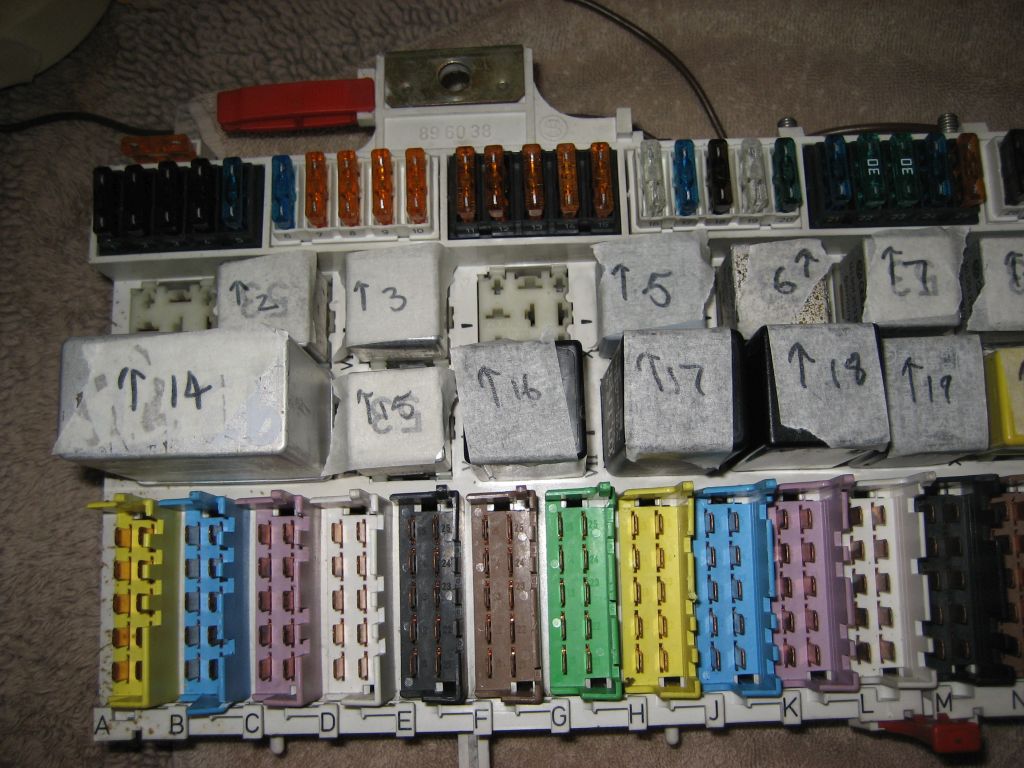
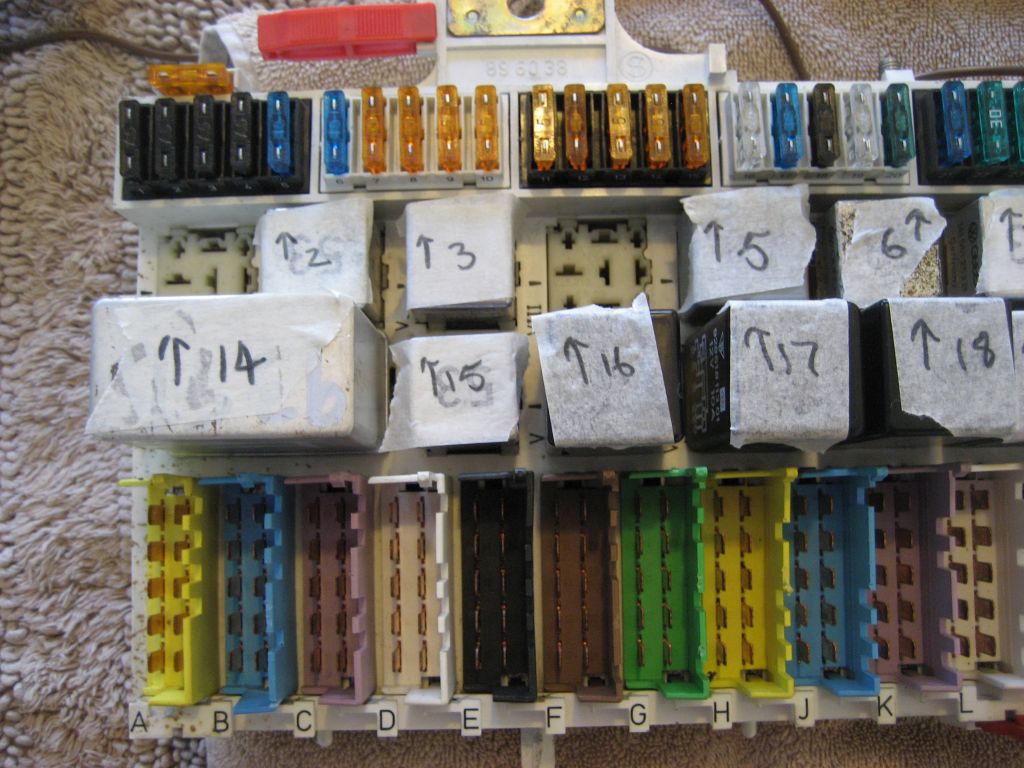
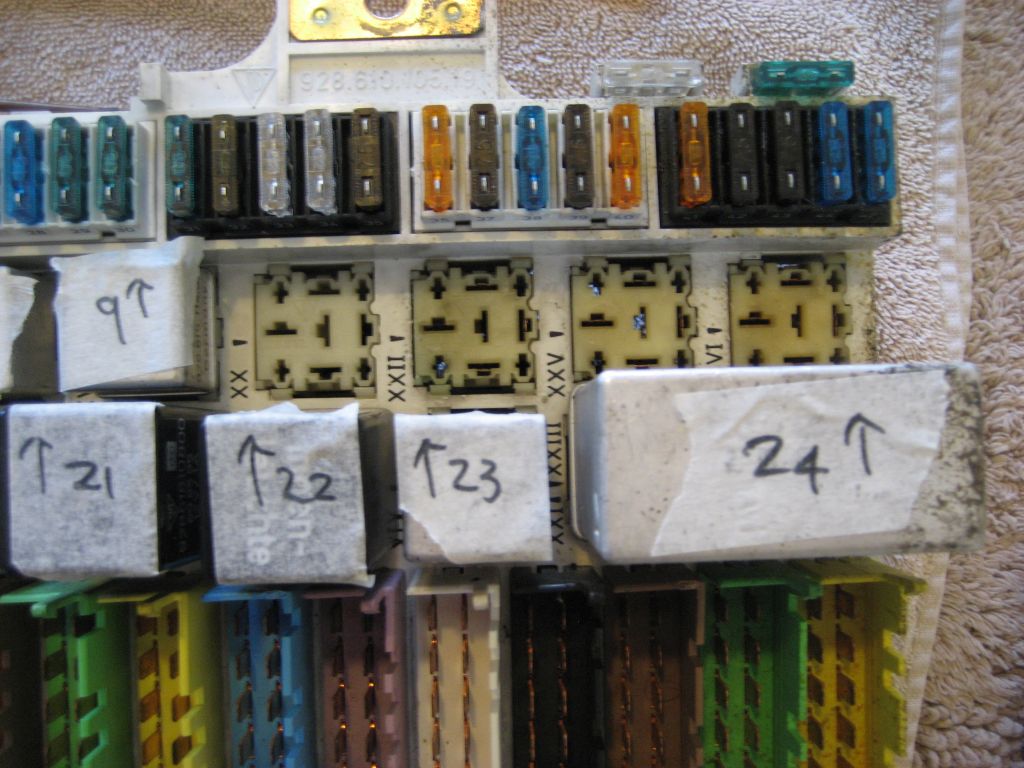
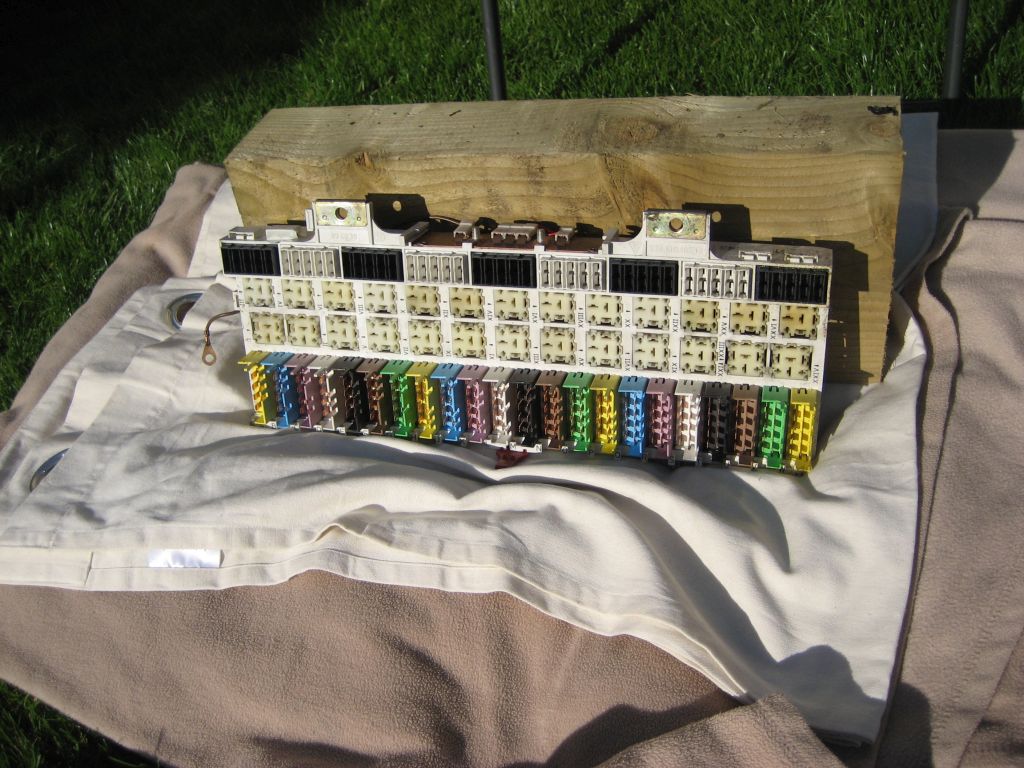
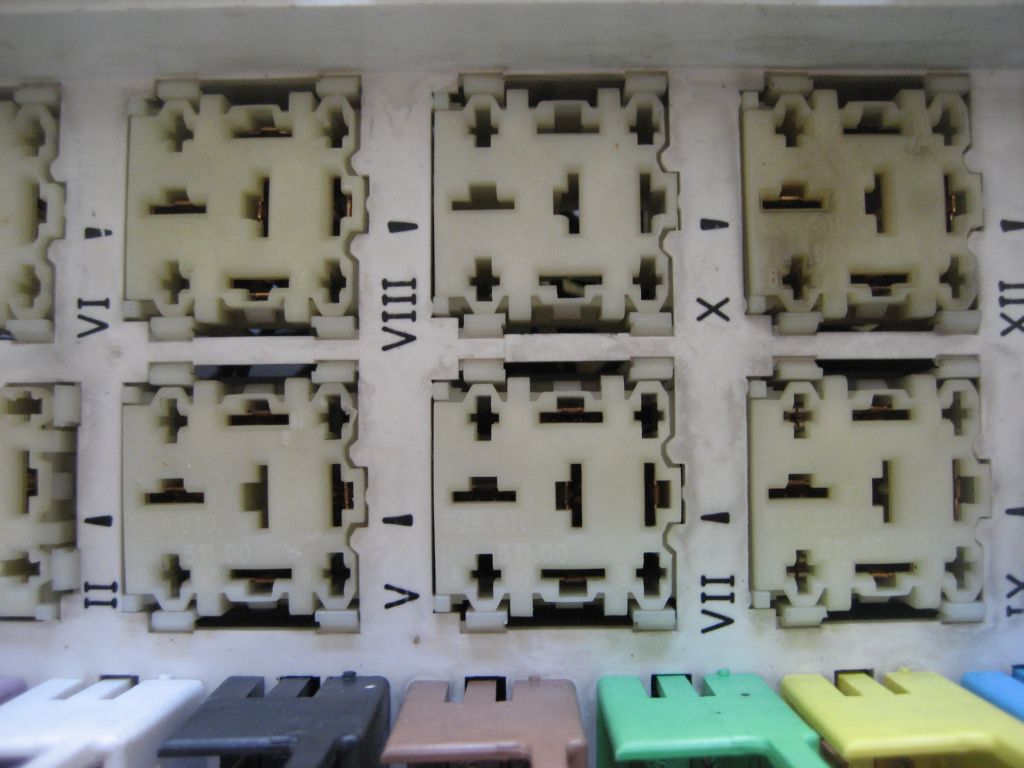
2) Now it's time to remove all those relays and fuses! Work out a numbering system that suits you for the relays. Get some masking tape and label each relay in sequence so when removed, you can easily refit them in the correct order.
3) To remove the relays, start at the outside edge of the relay right on the edge of the CEB and with a flat-blade screw driver VERY GENTLY prise up the outer relay on its outer most edge and then using your hand, wiggle it left to right to pull it free. It might take quite some wiggling to free them if they've been there for years. Repeat this procedure until all your LABELLED relays are removed.
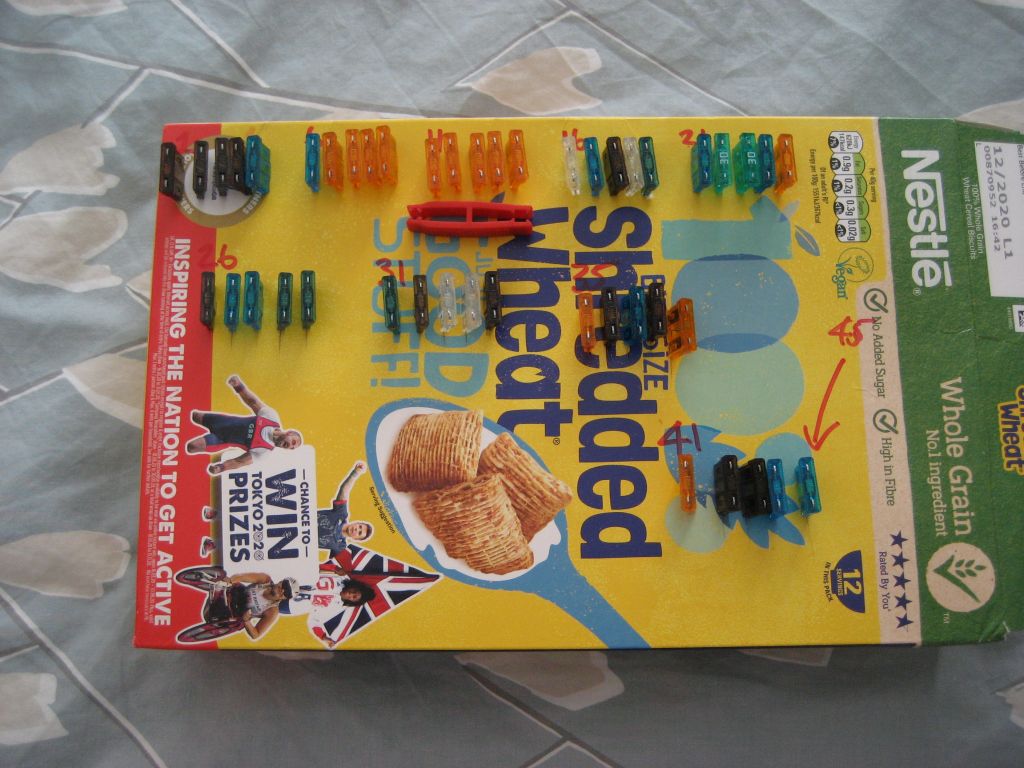
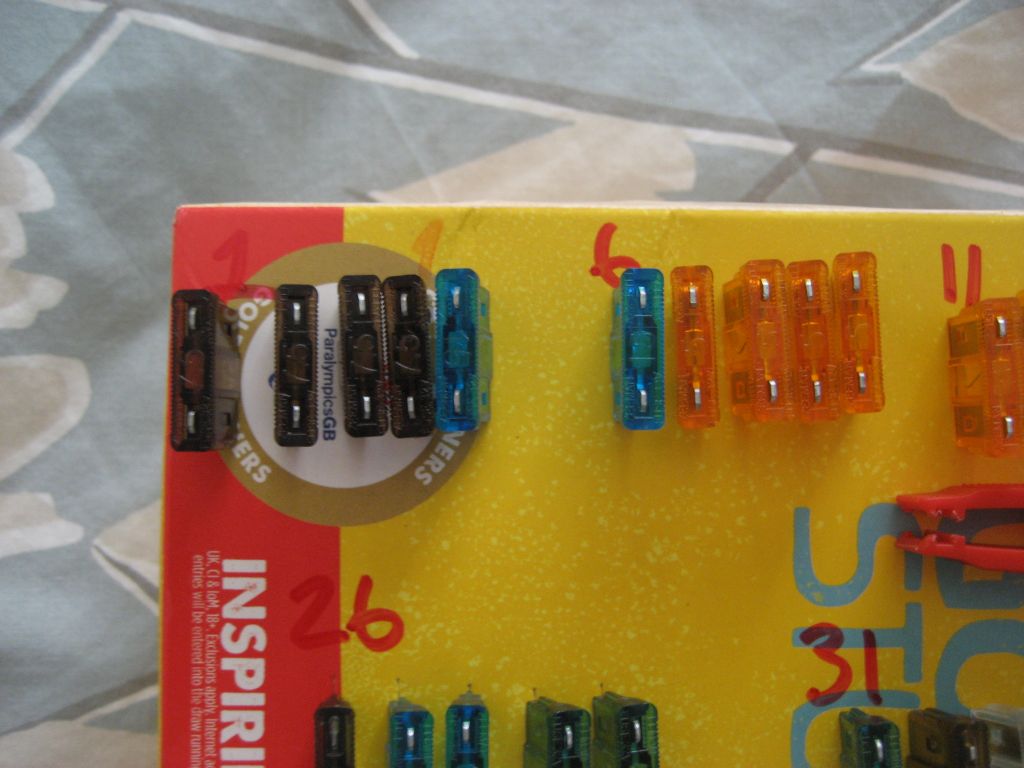
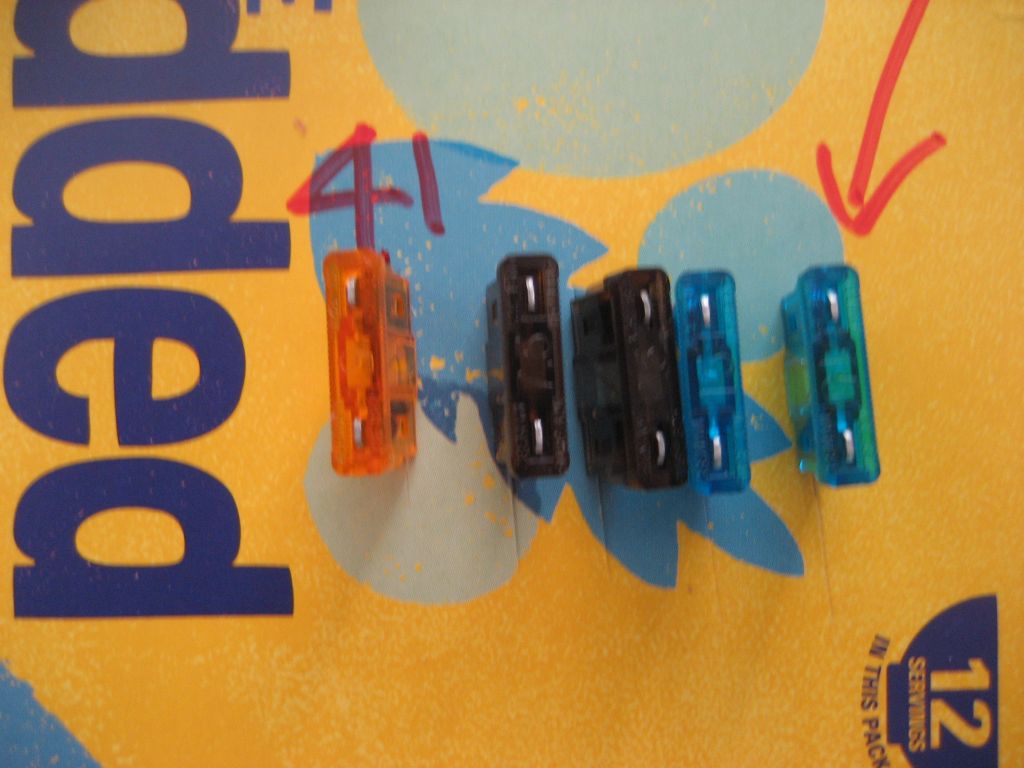
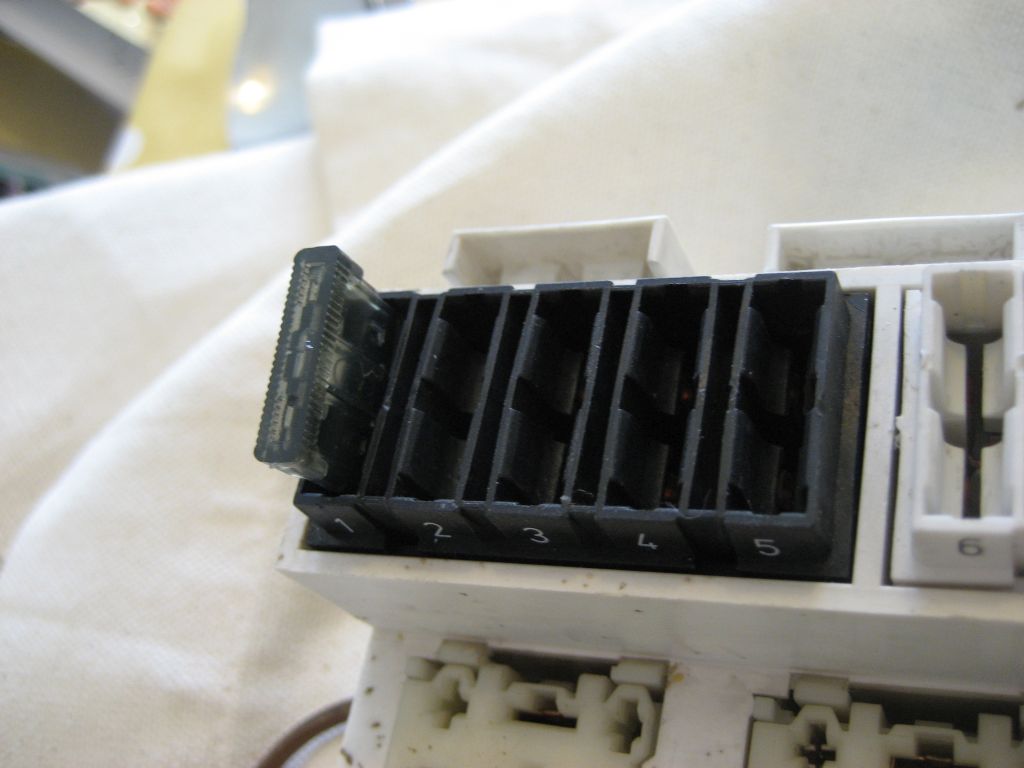
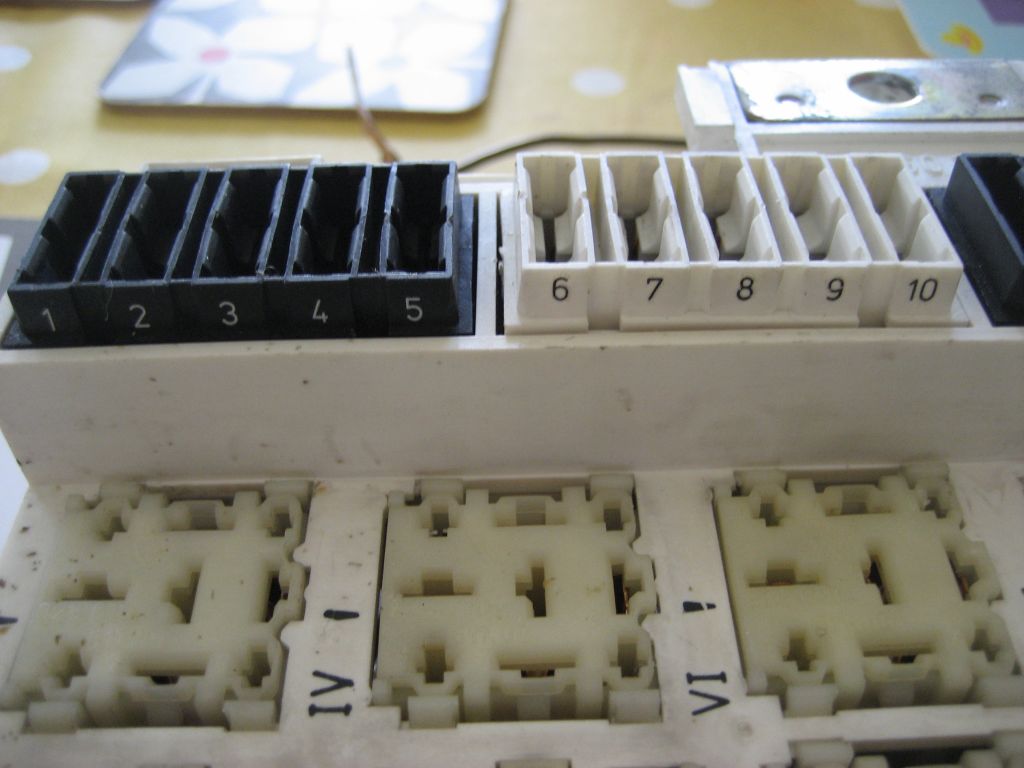
4) To remove the fuses and not mix them all up, I used a cereal cardboard box, and using a stan
ly knife, cut five slits into the box labeled 1-5. Then using the OG fuse removal tool I simply pulled each fuse one-at-a-time and put them in order 1-5 in the cereal box. I repeated this sequence right through to fuse 45. At the end you will have a cereal box with 9 banks of 5 fuses 1-45 neatly in order for safe keeping. If you don't have an OG fuse removal tool some small pliers will suffice or you can buy a standard fuse removal tool from most car parts shops.5) Now with the CEB stripped and laid bare, get a bright torch and have a good look for corrosion in each fuse socket+relay terminals. The wires in the plastic CEB are not easy to remove even with the correct tool and the tangs holding the wires in will no doubt be very brittle and break easily! The safest way to remove any corrosion you might find in the terminals is to spray them with DEOXIT or PLUSGAS, leave it overnight and then use an old fuse to push in and pull out on any fuse terminal with corrosion. For the relays, get a male electrical connector on some strong wire and push it in and pull it out time-after-time to remove as much corrosion as you can. It will be very difficult to remove all traces of corrosion from contacts inset into the CEB. Just do the best you can.
6) Now take your CEB outside on a sunny day if possible and spray all the electrical connectors you can access on the back in amongst all those wires, and EVERY fuse+relay contact again with DEOXIT or PLUSGAS. Leave the CEB to dry out in the sun for the day.
7) Get some medium sandpaper, and where the 2 main power cables ontop of the CEB attach, clean the copper part so that it is shiny and like new. Don't over-do it though! Do the same to the 2x10mm nuts that secure the power cables in place and the metal ends of the power cables themselves. Do the same to the ground cables attached to the back of the CEB.
8) Now it's time to re-insert your fuses + labeled relays. I would STRONGLY recommend that having come this far, YOU SHOULD RENEW ALL FUSES (referencing the old ones you have safely stored in the cereal box to insert the correct AMPERAGE) and at least RENEW ALL 53 RELAYS AND ANY RELAYS YOU KNOW ARE BAD/FAILING. Any old relays you use, check the terminals for corrosion and clean ALL contacts with corrosion on. Remember, CORRSION=RESISTENCE=HEAT=VOLTAGE DROP=POOR ELECTRICAL FUNCTION+INTERMITTENT ELECTRICAL FAULTS+EVEN CEB MELTING!
9) Now go to you 928 and spray all the electrical plugs to the CEB with PLUSGAS or DEOXIT. Do the same to your ABS, EZK+LH plugs. Leave them to dry out overnight. Put some kitchen towel down underneath whatever you spray as the fluid can get everywhere.
10). Now check the ground cables for corrosion that attach to the firewall inside the passenger footwell of the car. If you see any corrosion, sand it off. Do the same to the copper terminals that the many ground cables attach to. Reinsert the long bolt, and before fully tightening the bolt up, spray the cables with DEOXIT or PlUSGAS; now tighten the bolt right up.
11) Go make a cup of tea or crack another beer and have a break! Congratulations, you've serviced your 928 CEB!
Reinstalling the CEB is simply a reversal of the process of taking it out. Remember those detailed photo's you took BEFORE removing anything? Go find them for reference on exactly where everything went; easy! If you have any wiring repairs to do to the plugs, do it now while the CEB is out as it gives you much better access. Also, give the area behind the CEB a damn good hoover/clean while the CEB is out.
A FEW TIPS.
1) As with many 928 tasks, there's plenty to be dealing with when reinstalling something (inlet manifold is another example!). So, just retrace the steps you took to remove the CEB. Start by getting the feet at the bottom of the CEB inserted into the rubber grommets on the floor of the footwell; use some grease on the rubber grommets to help them slide in easy.
2) Now make sure the many wiring plugs are laid out in the right order to plug back into the CEB BEFORE screwing the CEB back on; ask me how I know this!
3) Secure the CEB in place with the 2 hexhead top screws loosely first and then reassemble the plugs, power cables and grounds; when all this is right, now fully tighten the 2 x top hexhead holding screws.
Once fully reinstalled, make sure your battery is fully charged before firing your 928 up again.
This maintenance work will make a HUGE difference to your 928s electrical system and even help cure electrical gremlins you might have. If you clean all of your electrical grounds across the car and renew the battery-chassis and engine-chassis strap, your 928s electrical system will be renewed like never before.
Hope this helps other 928 owners.
best, Dave.
====
MAIN TIP ON REMOVING THE WIRING PLUGS TO THE CEB!
The wiring plug connectors to the CEB have holding tangs at the top of each plug. You have to CAREFULLY push them upwards while pulling the wiring plugs out otherwise you will not be able to remove the wiring plugs. Just gently push the tang upwards while pulling the plug out by half-an-inch and then because the plug has started to be removed the tang will be pushed up out of the way by the wiring plug itself so you don't have to push the tang upwards anymore. They'll be brittle and don't be surprised if some break off.
I think all this work took me about 10-15 hrs in all.
best, Dave.