Hi Theo, thanks for your interesting reply.
I sourced and cleaned the grounds above the fuse board and under the steering
column today; they had some corrosion on the wires and the ground points on the
body were very dull. I cleaned them up and covered them after with the copper
grease. They were a bit tricky to access.
I took pic's of the points I've done so far hoping they will assist someone else
who may want to do this work themselves. I've enclosed them. Maybe you can put
them in the same order as my write up?
Brief write-up.
Ground point maintenance on a 1990 Rhd 928 S4 with Cat. Tools required: 10mm
socket and ratchet with flexible attachment and or spanner; 180 grit sand paper;
small brush; copper grease.
There's 3 more to do; when I've done them I'll add pic's/info! Hope this
helps someone else new to this work. It definitely makes a difference. My volt
meter on the dash was always at 12; now it's between 12/14.
Best, Dave.
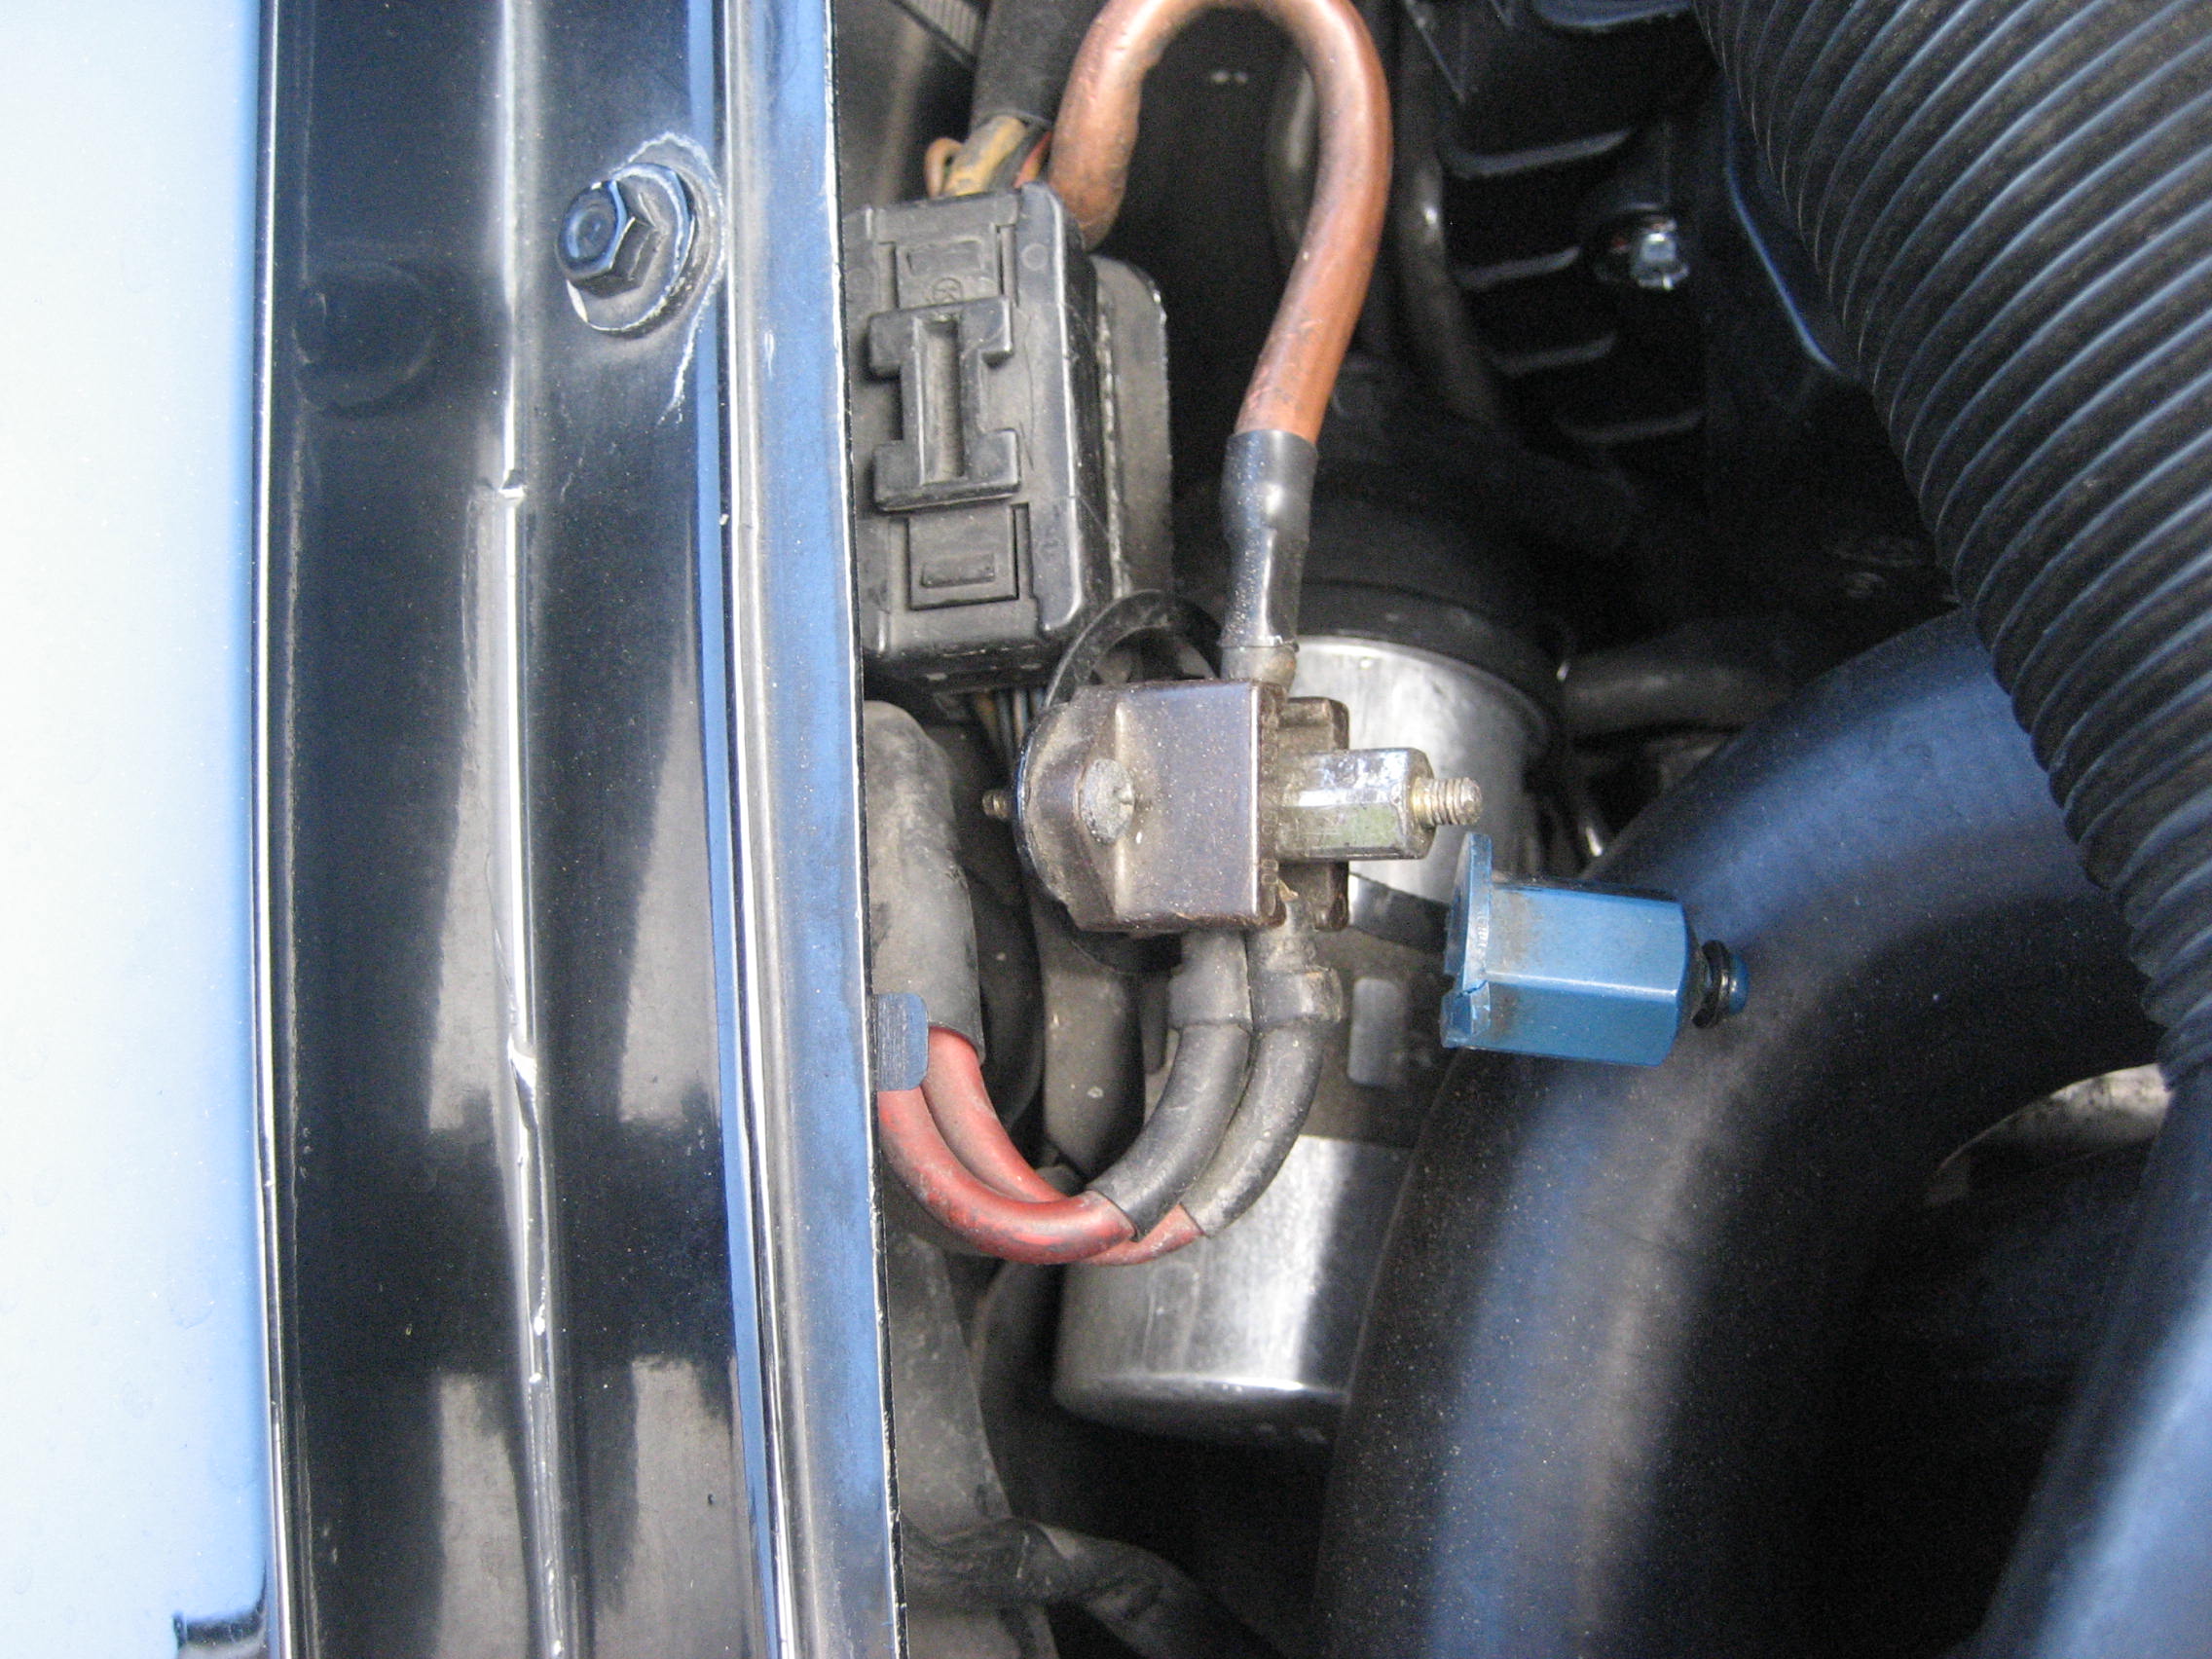
MP 1 -- at the headlight tube, close to ignition power stage
=====
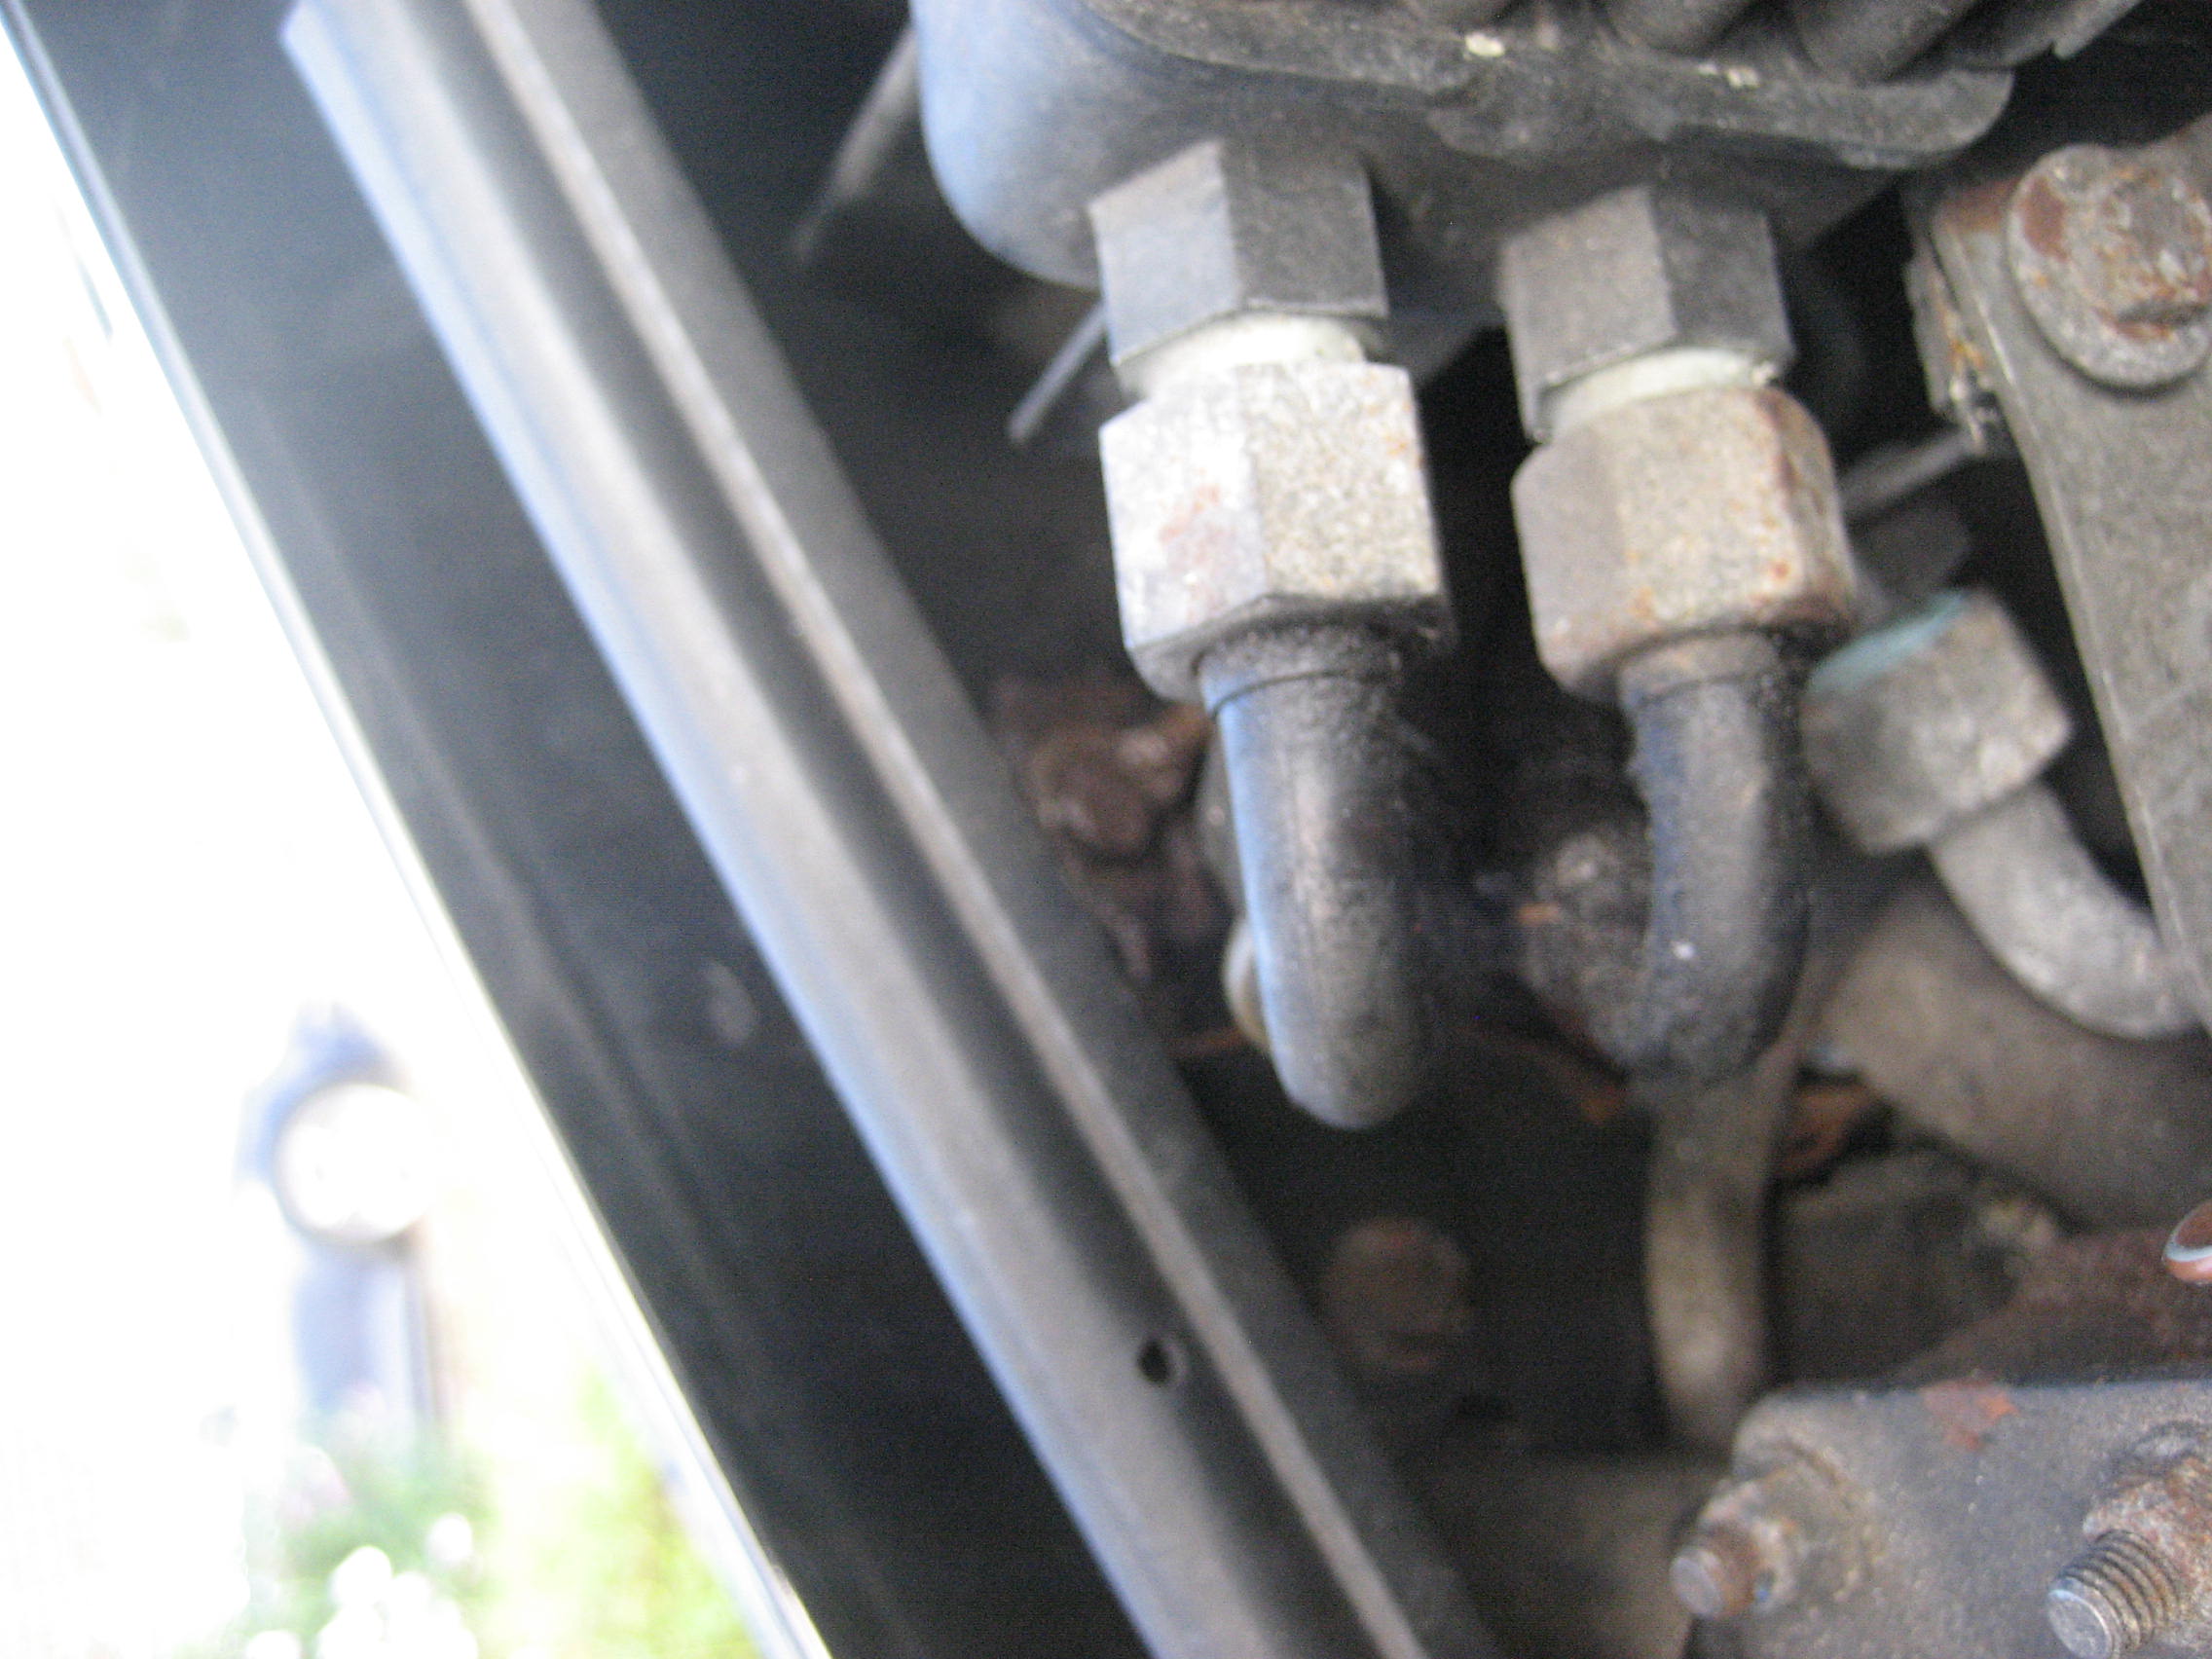
MP II -- next to the top of the radiator at the passenger side, close to the transmission cooler lines
====

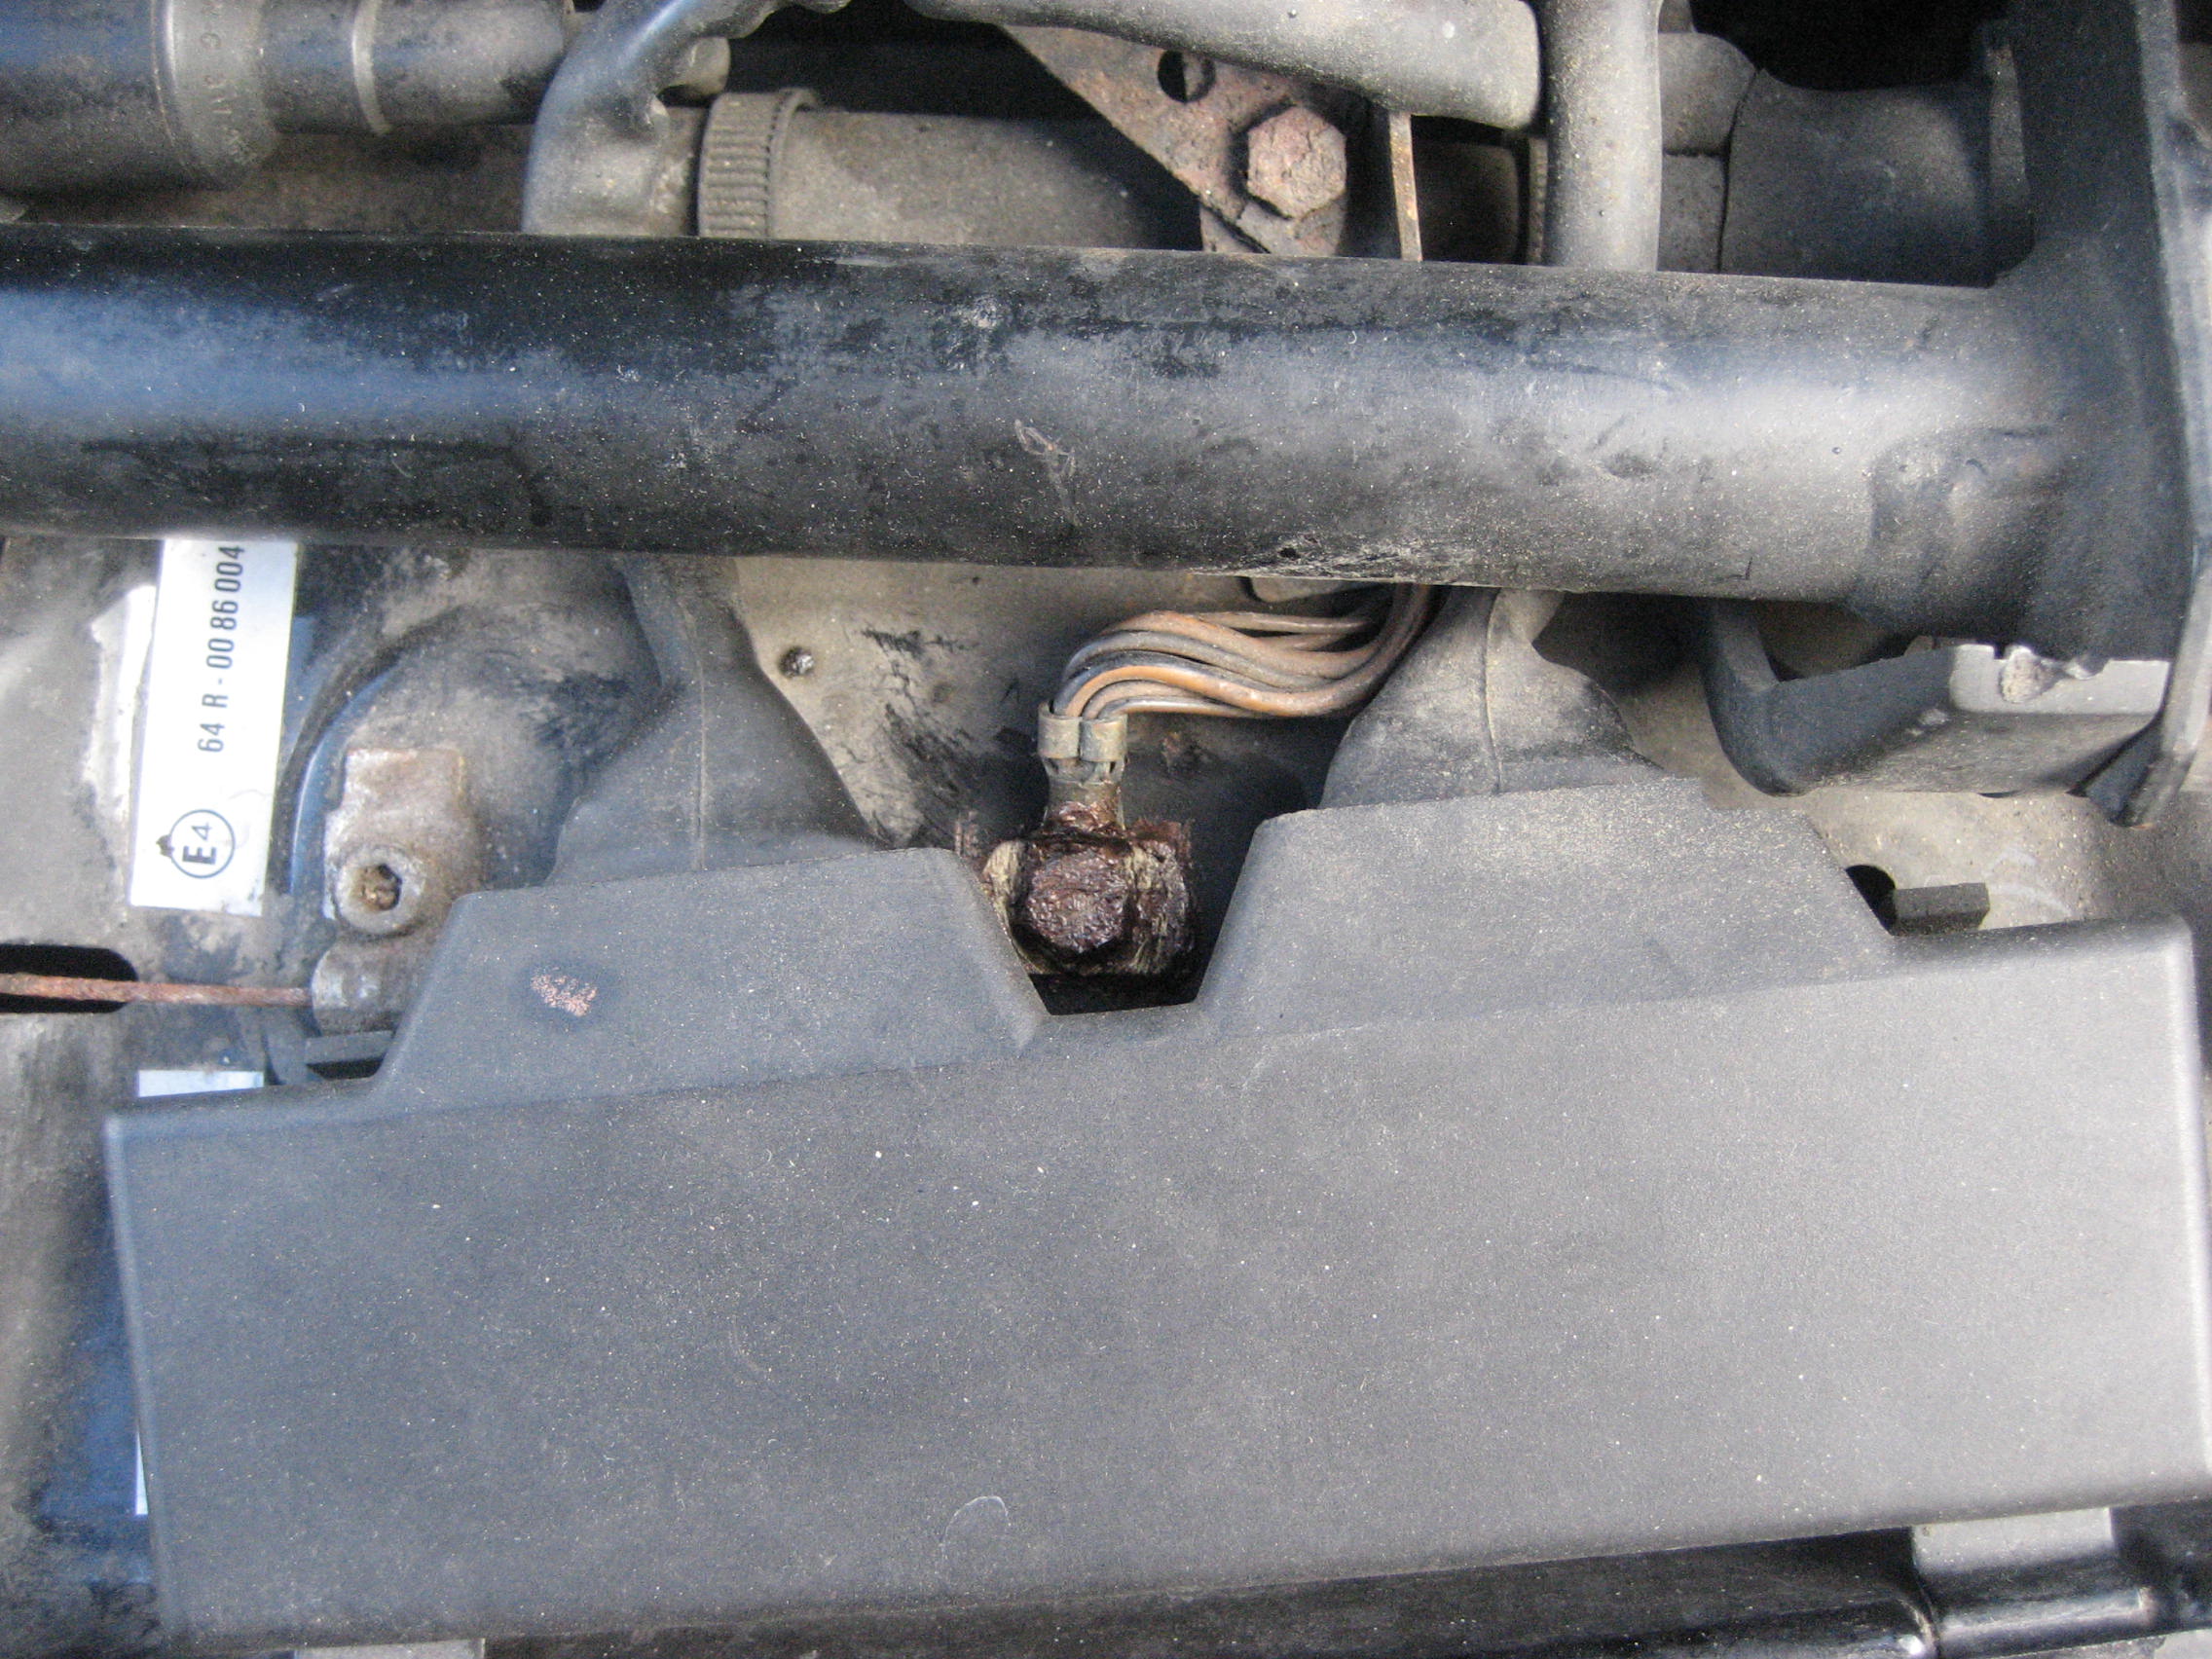
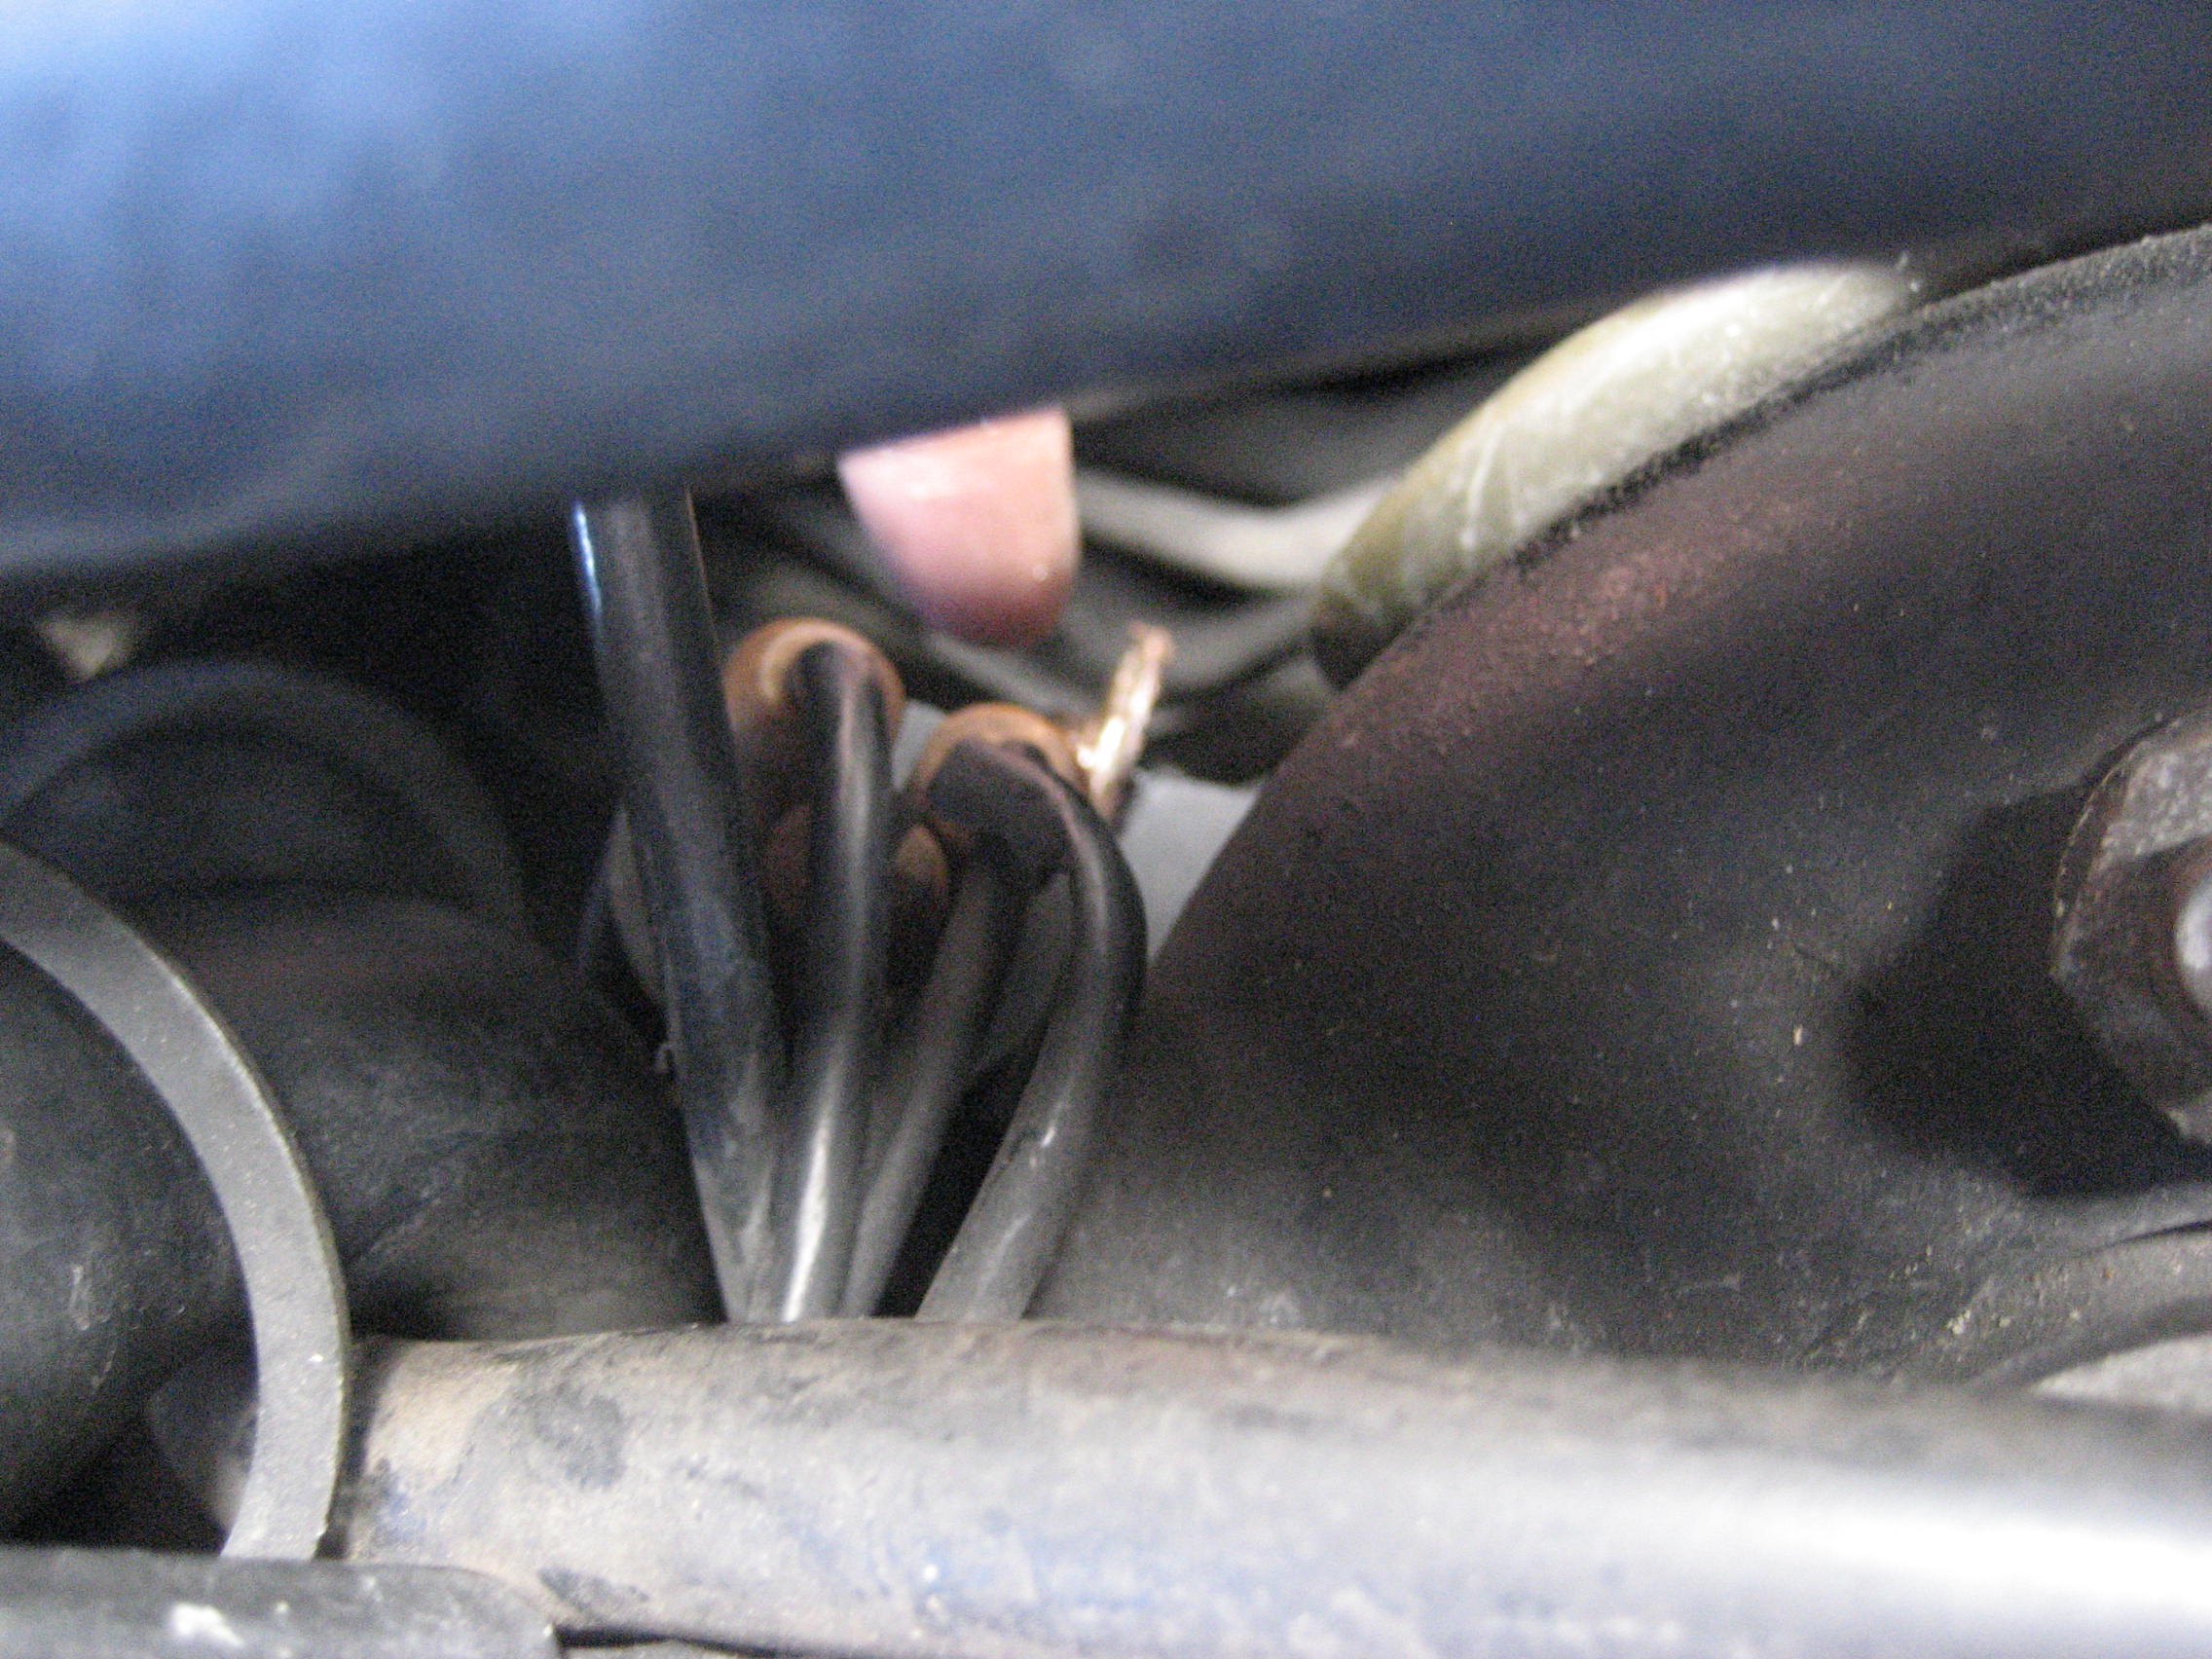
MP III -- hidden below the jump post terminal assembly. It provides ground for the ignition end stages.
====
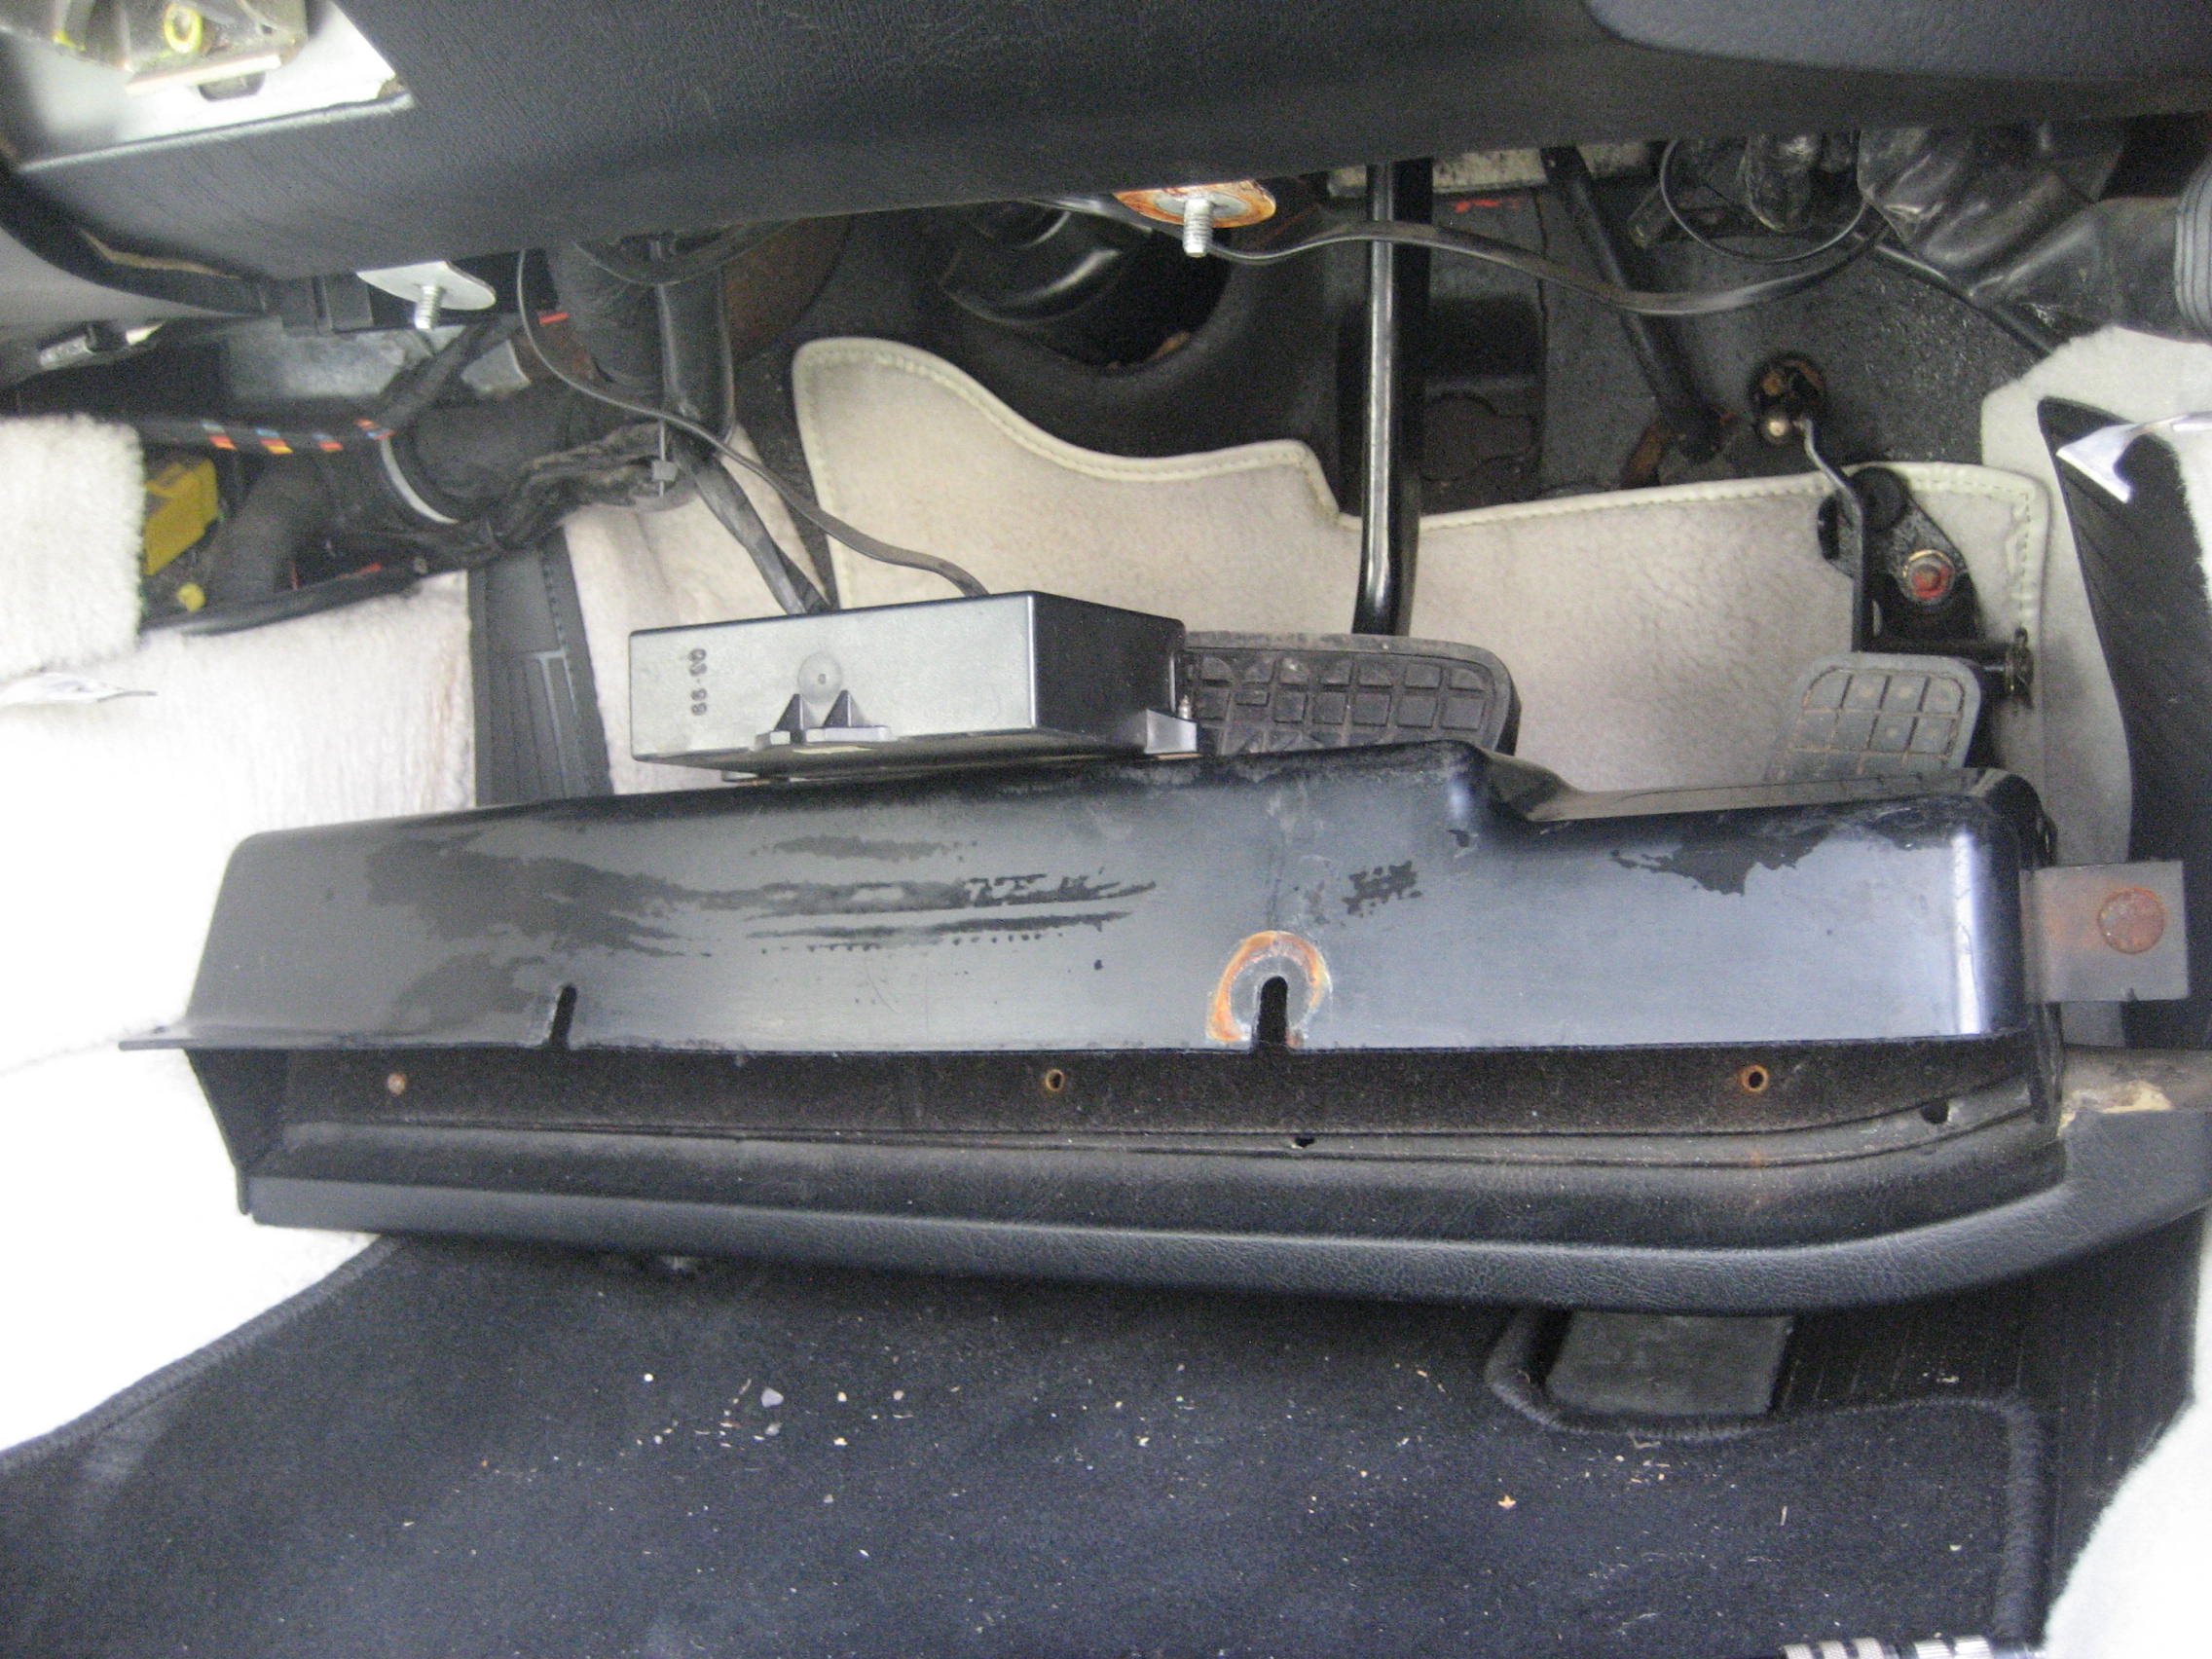
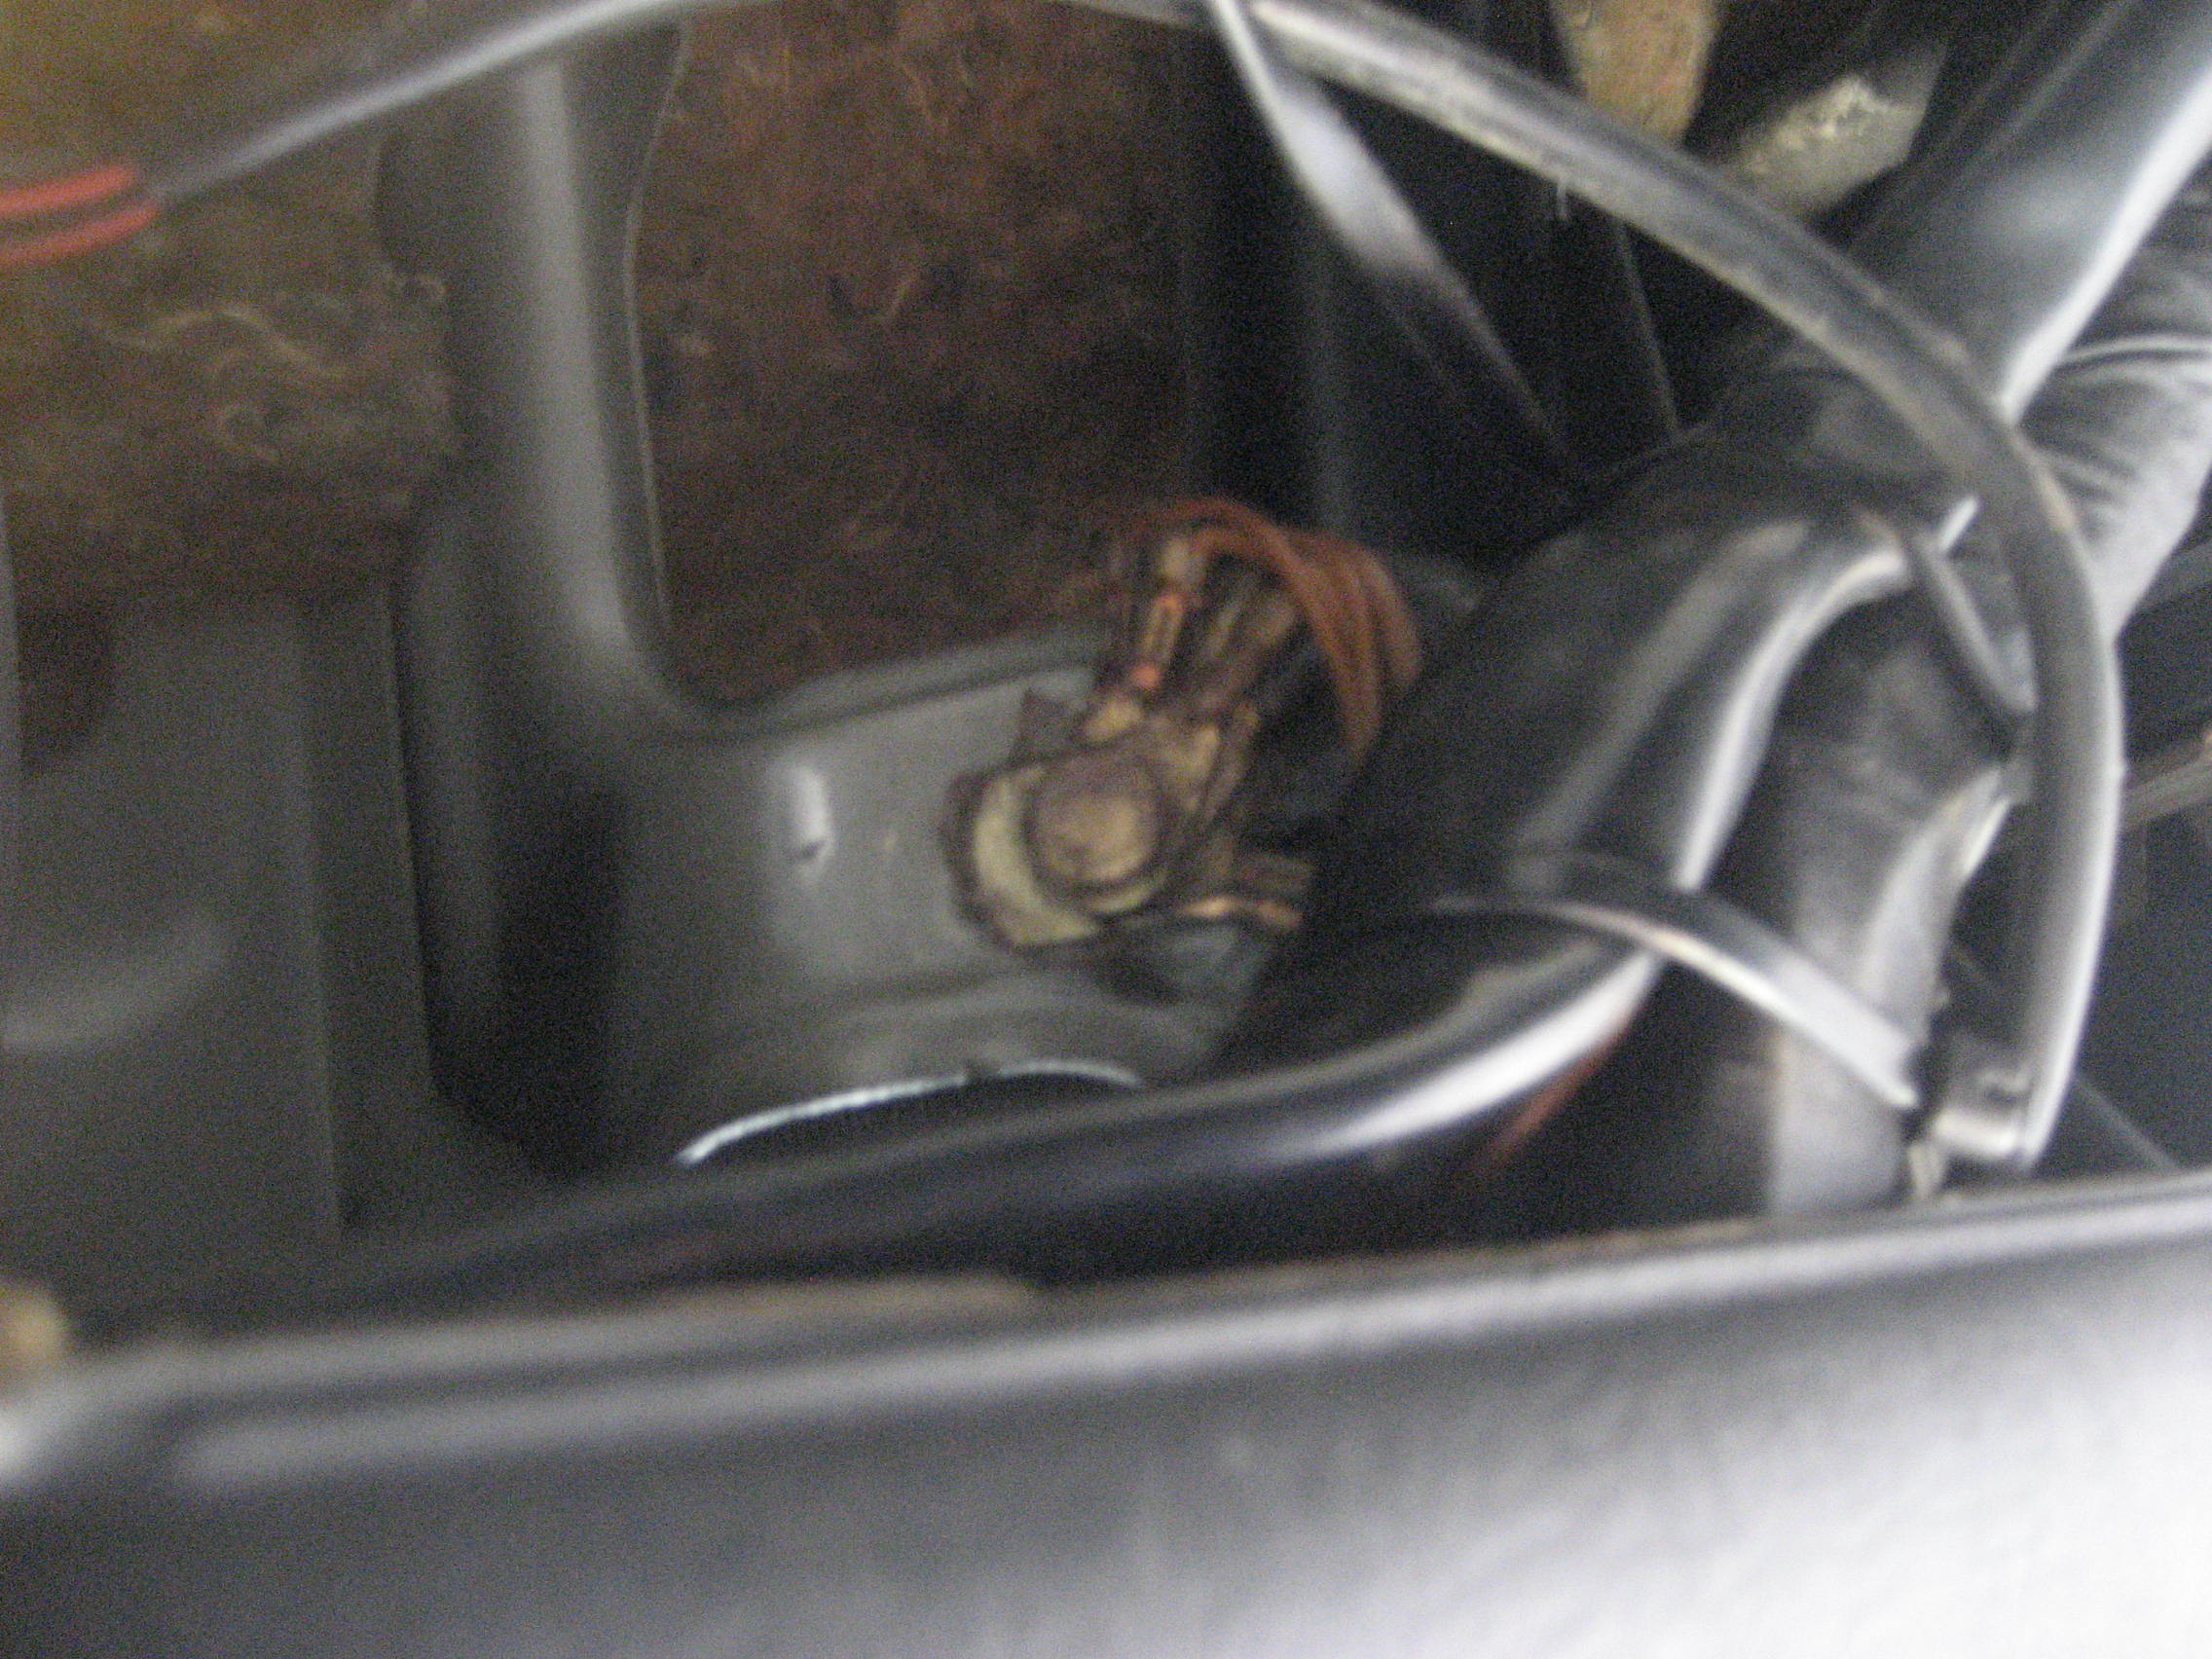
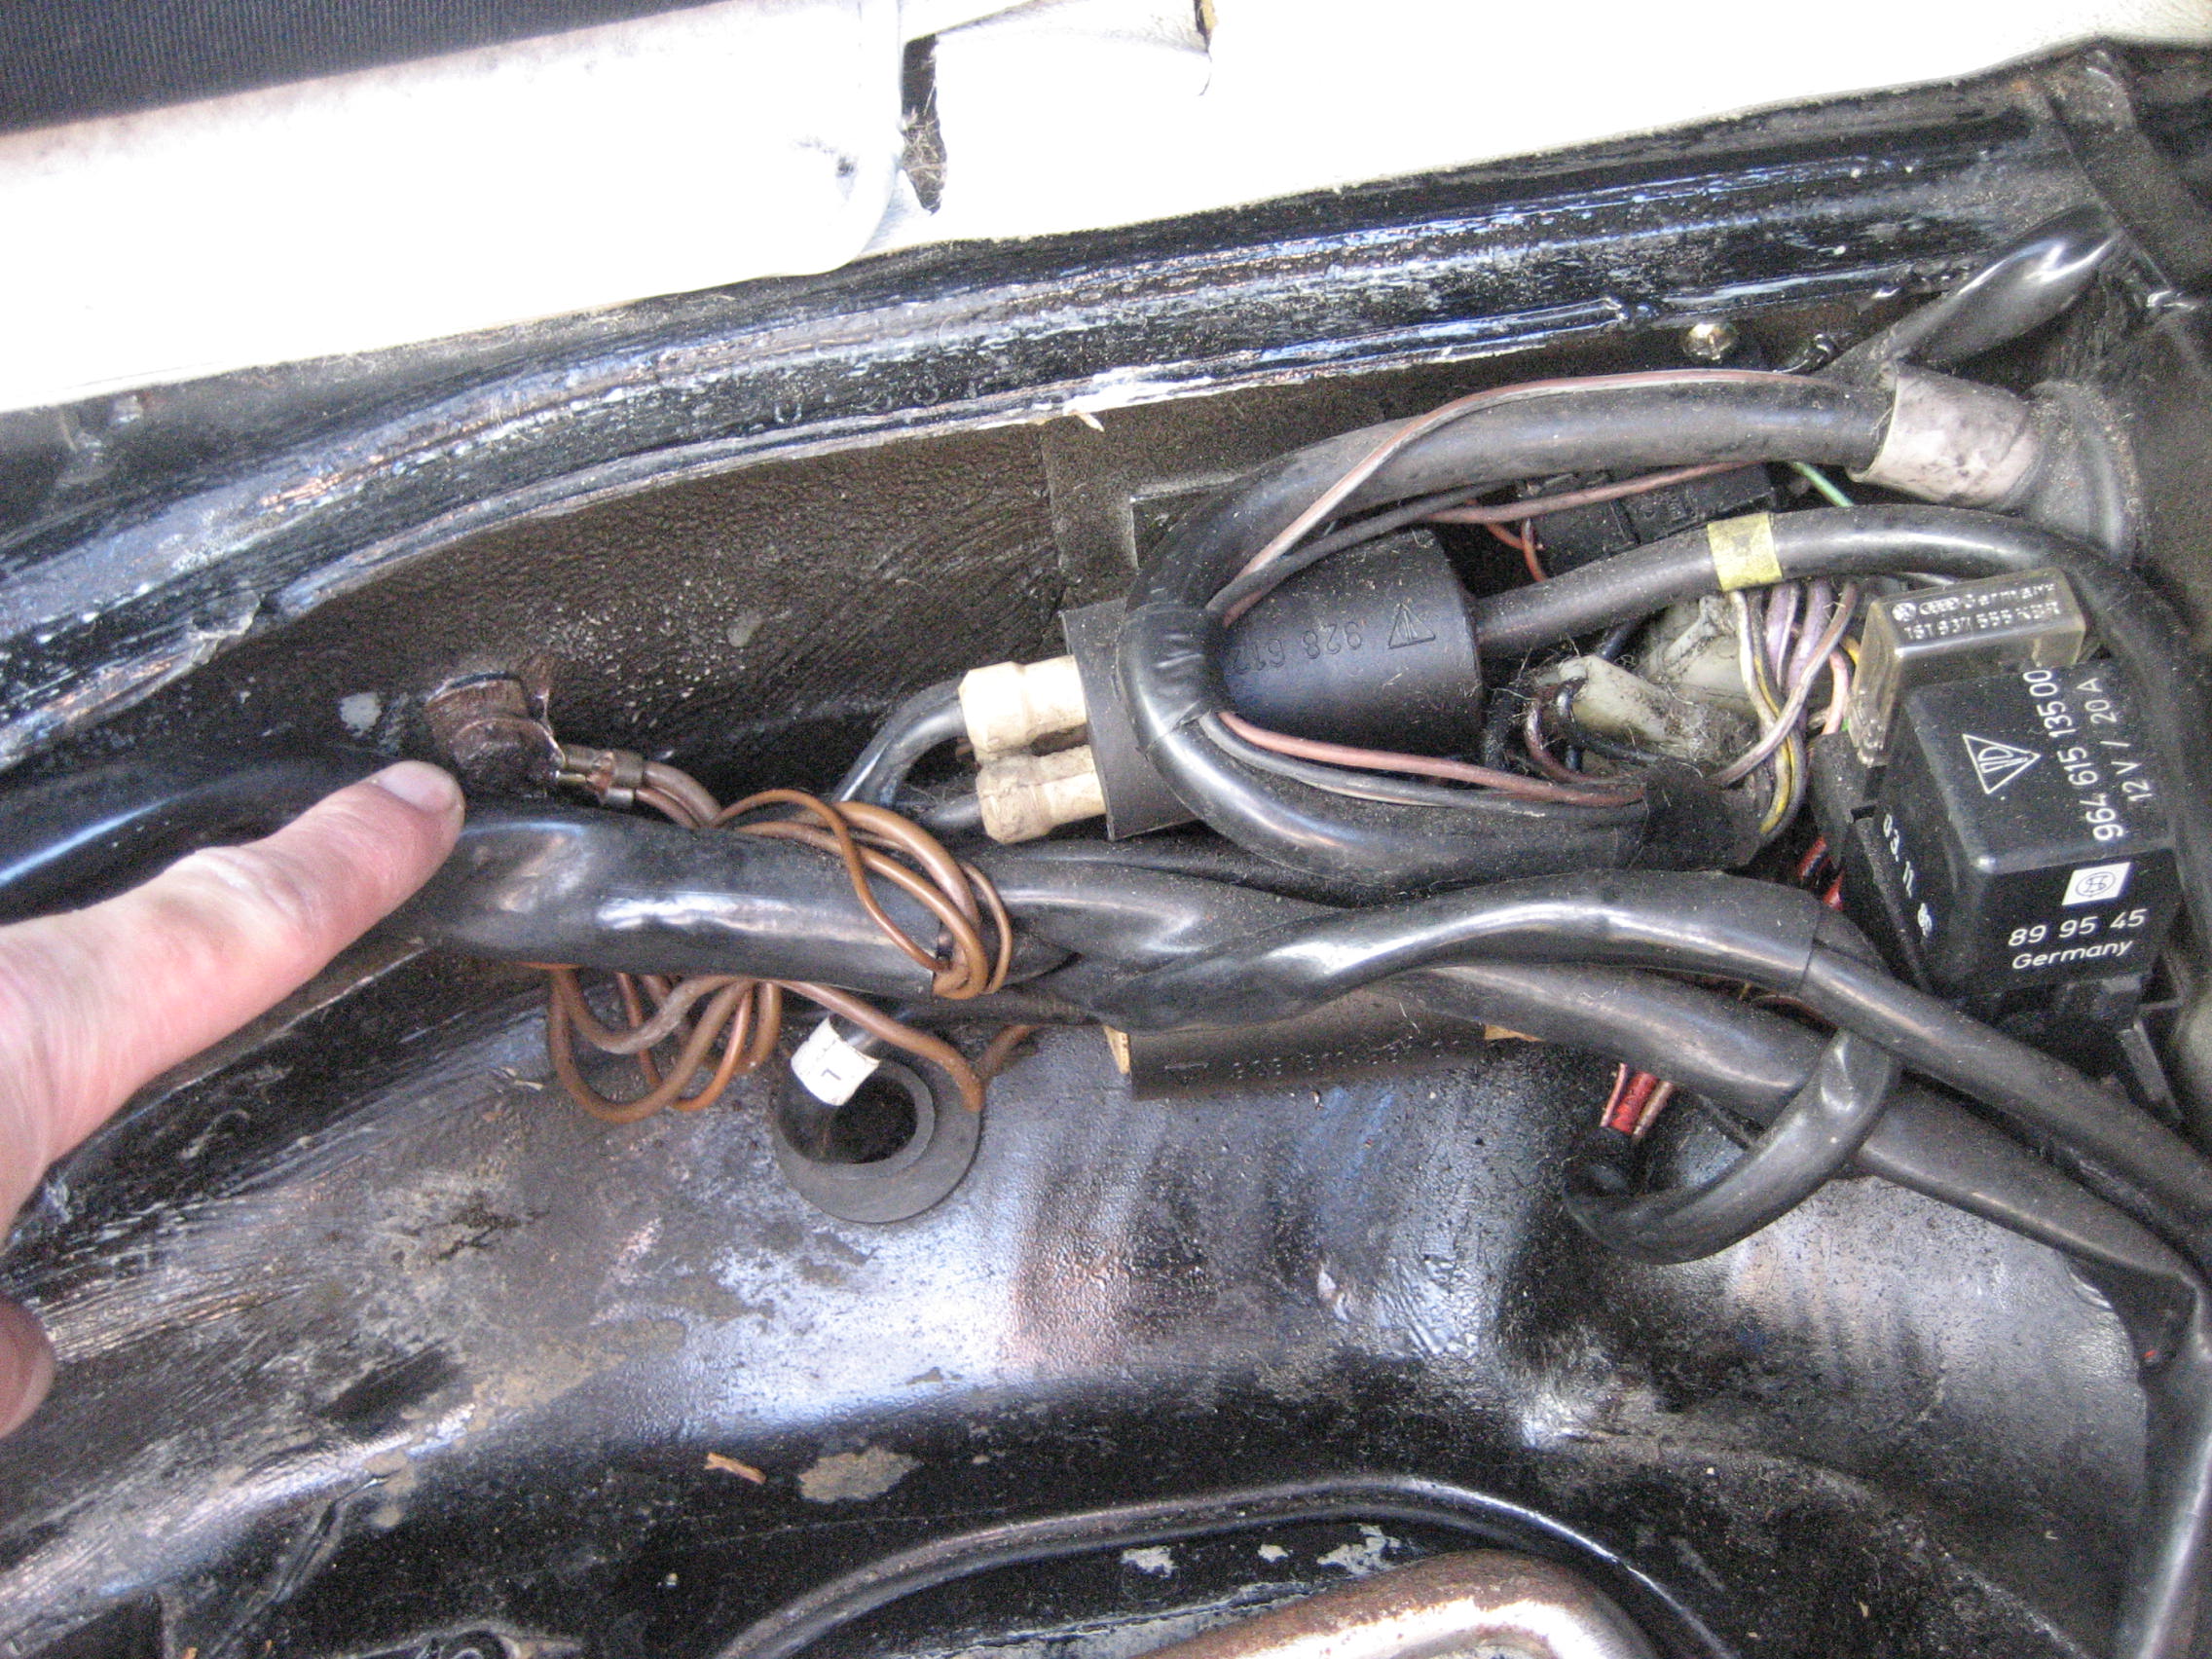
MP IV -- driver side footwell behind the parcel tray, near steering column
====

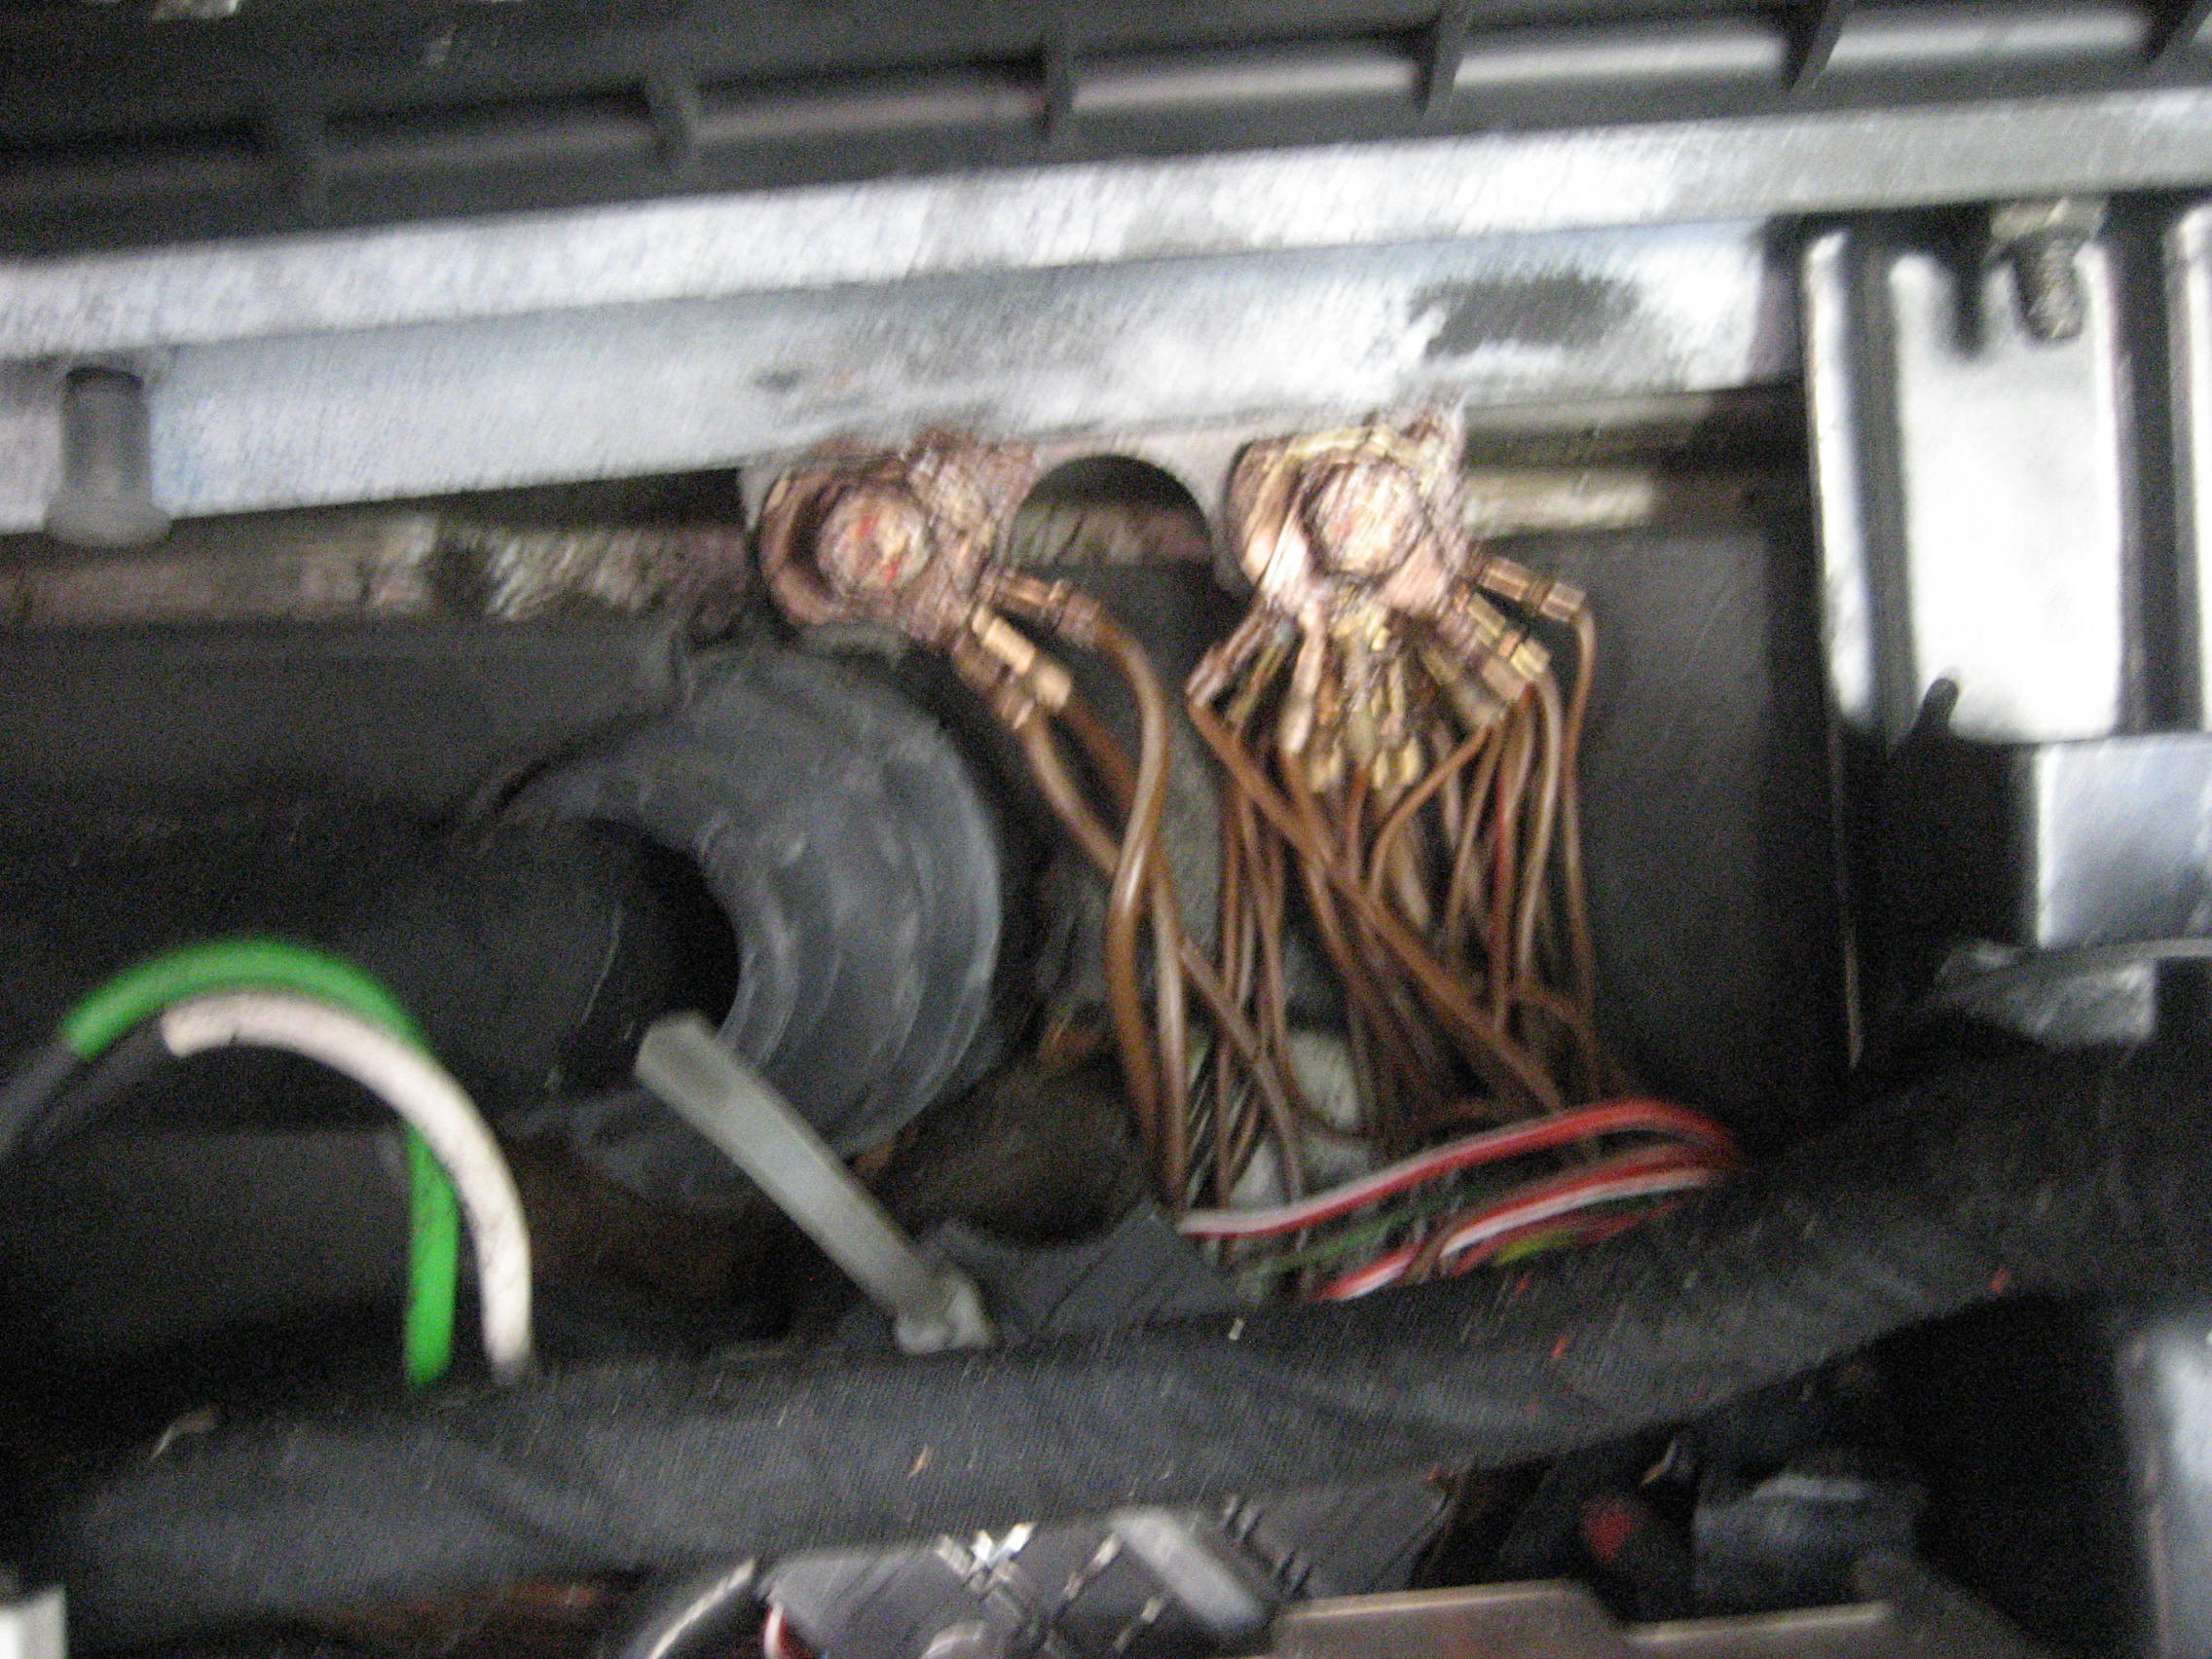
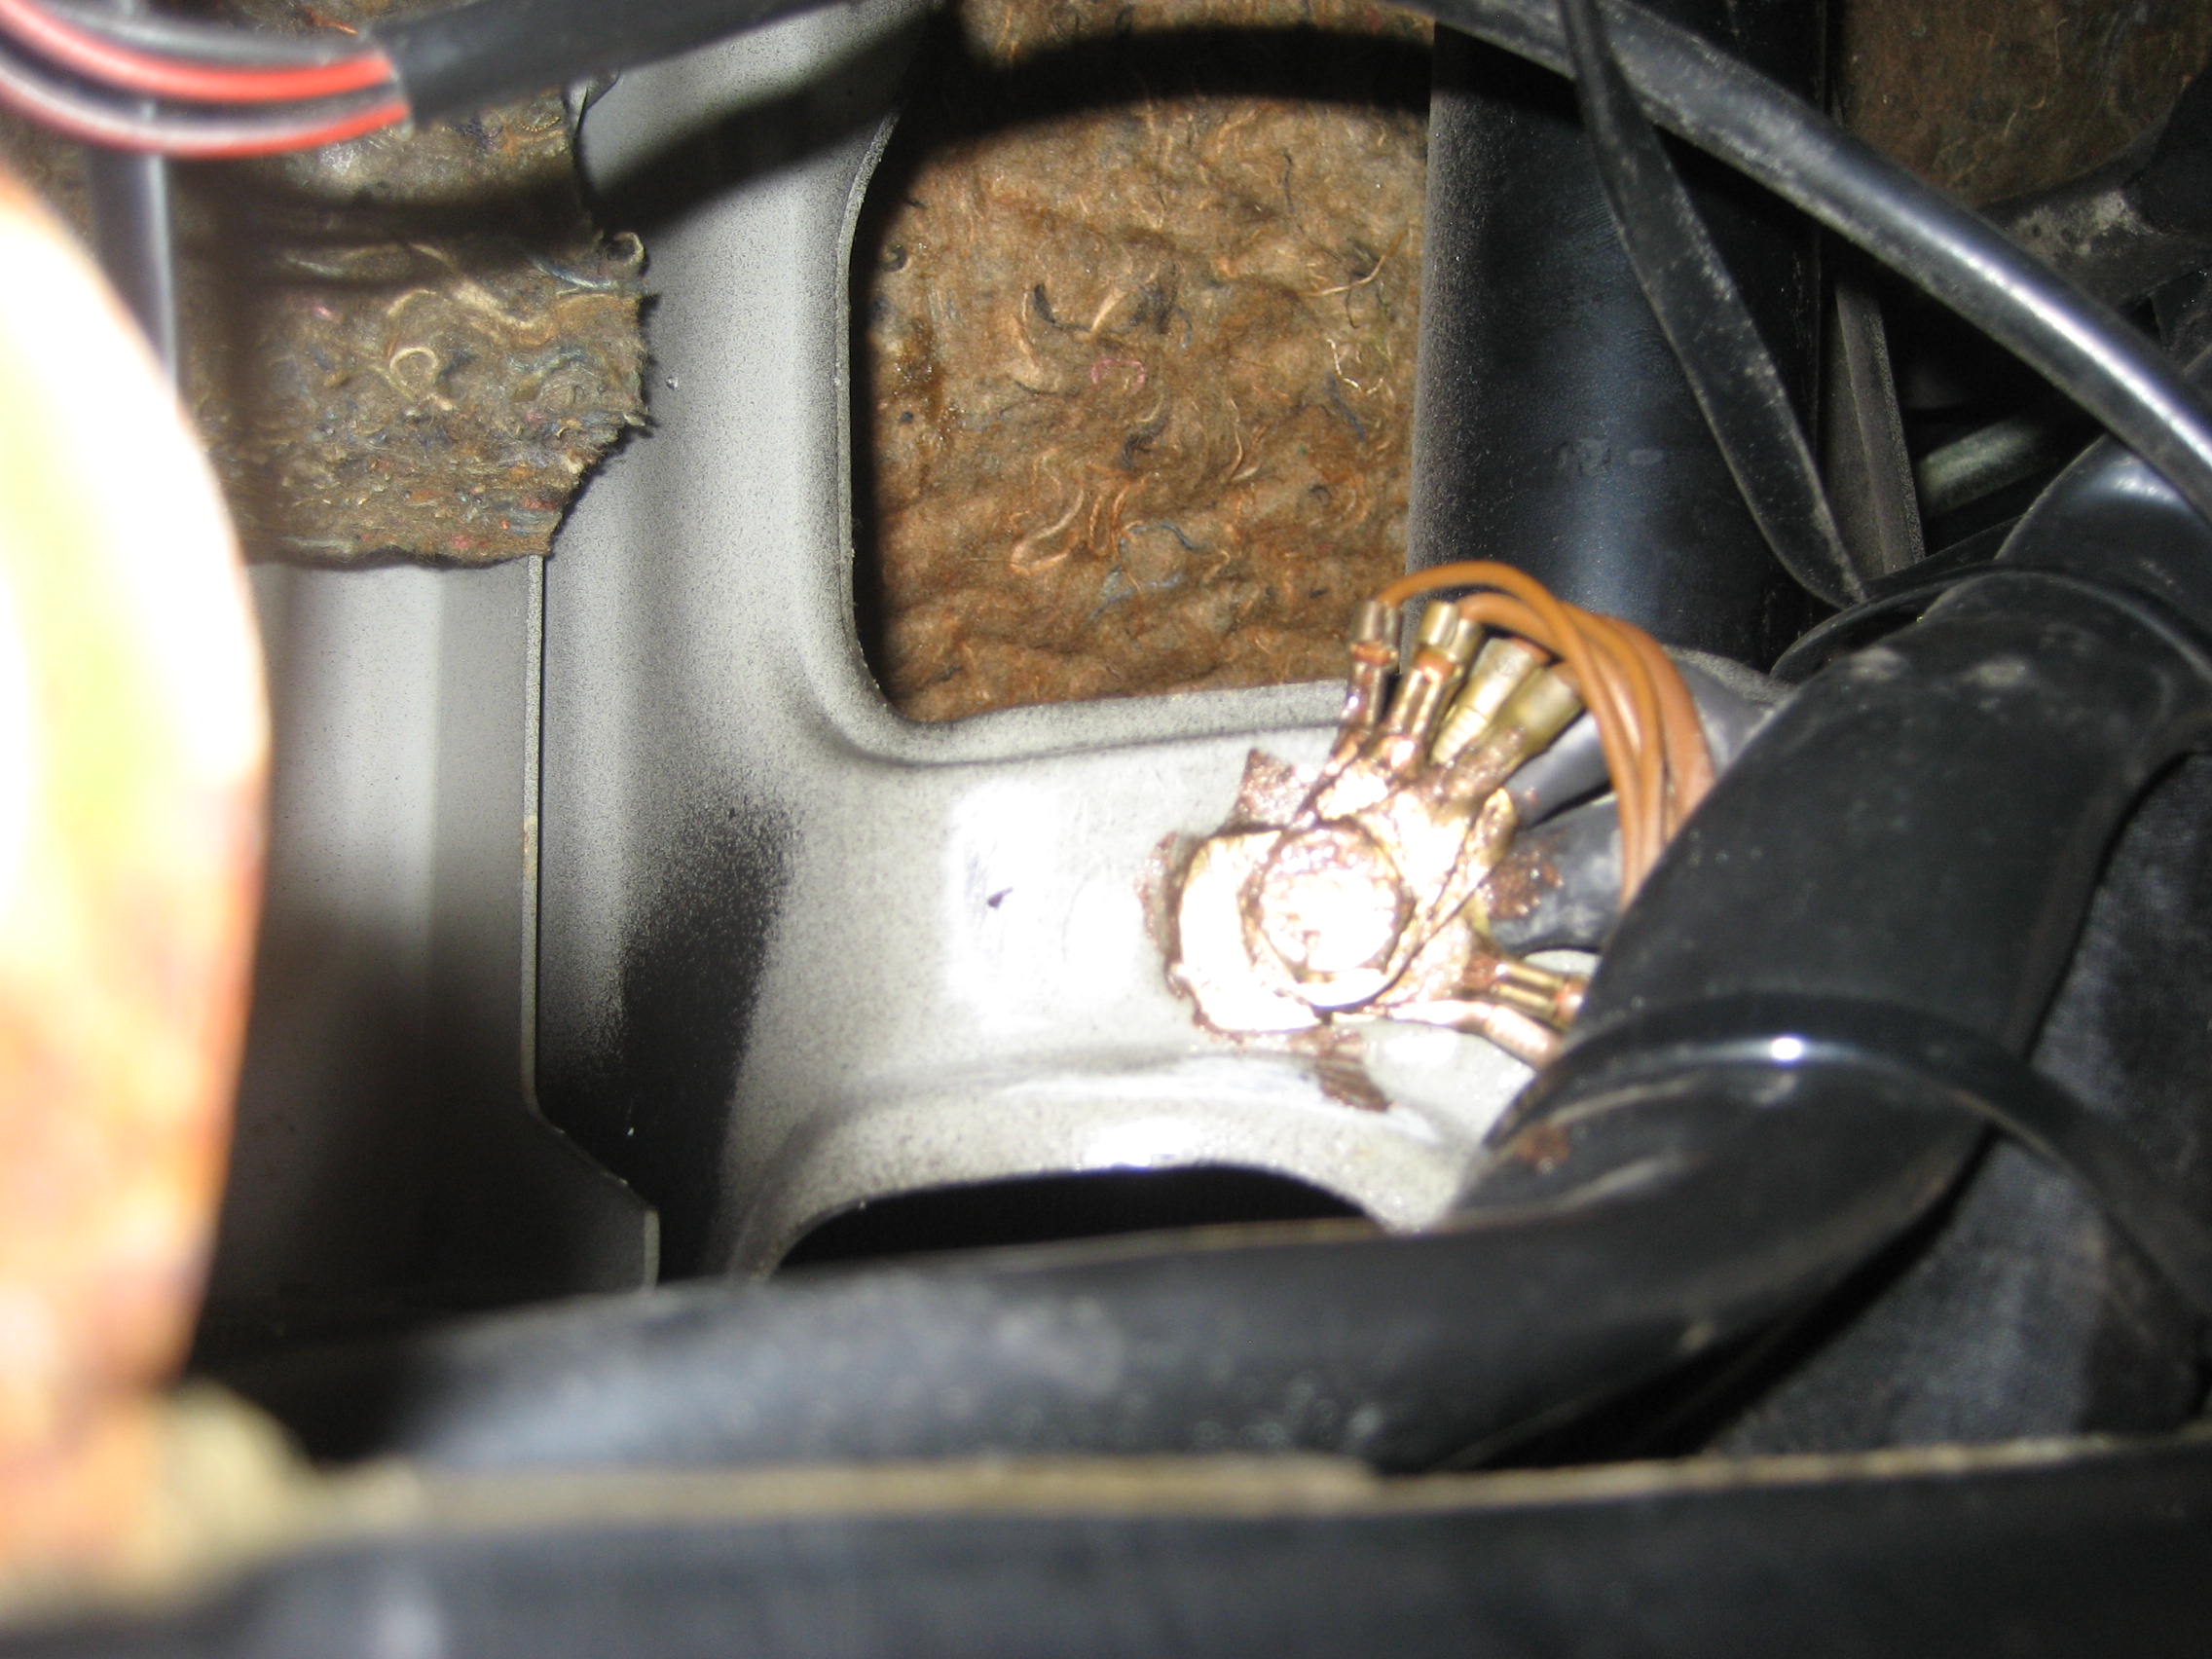
MP V -- Above the fuse panel---
====
MP VI -- under the cover in the spare wheel well.
====
MP VII -- at battery ground strap
====
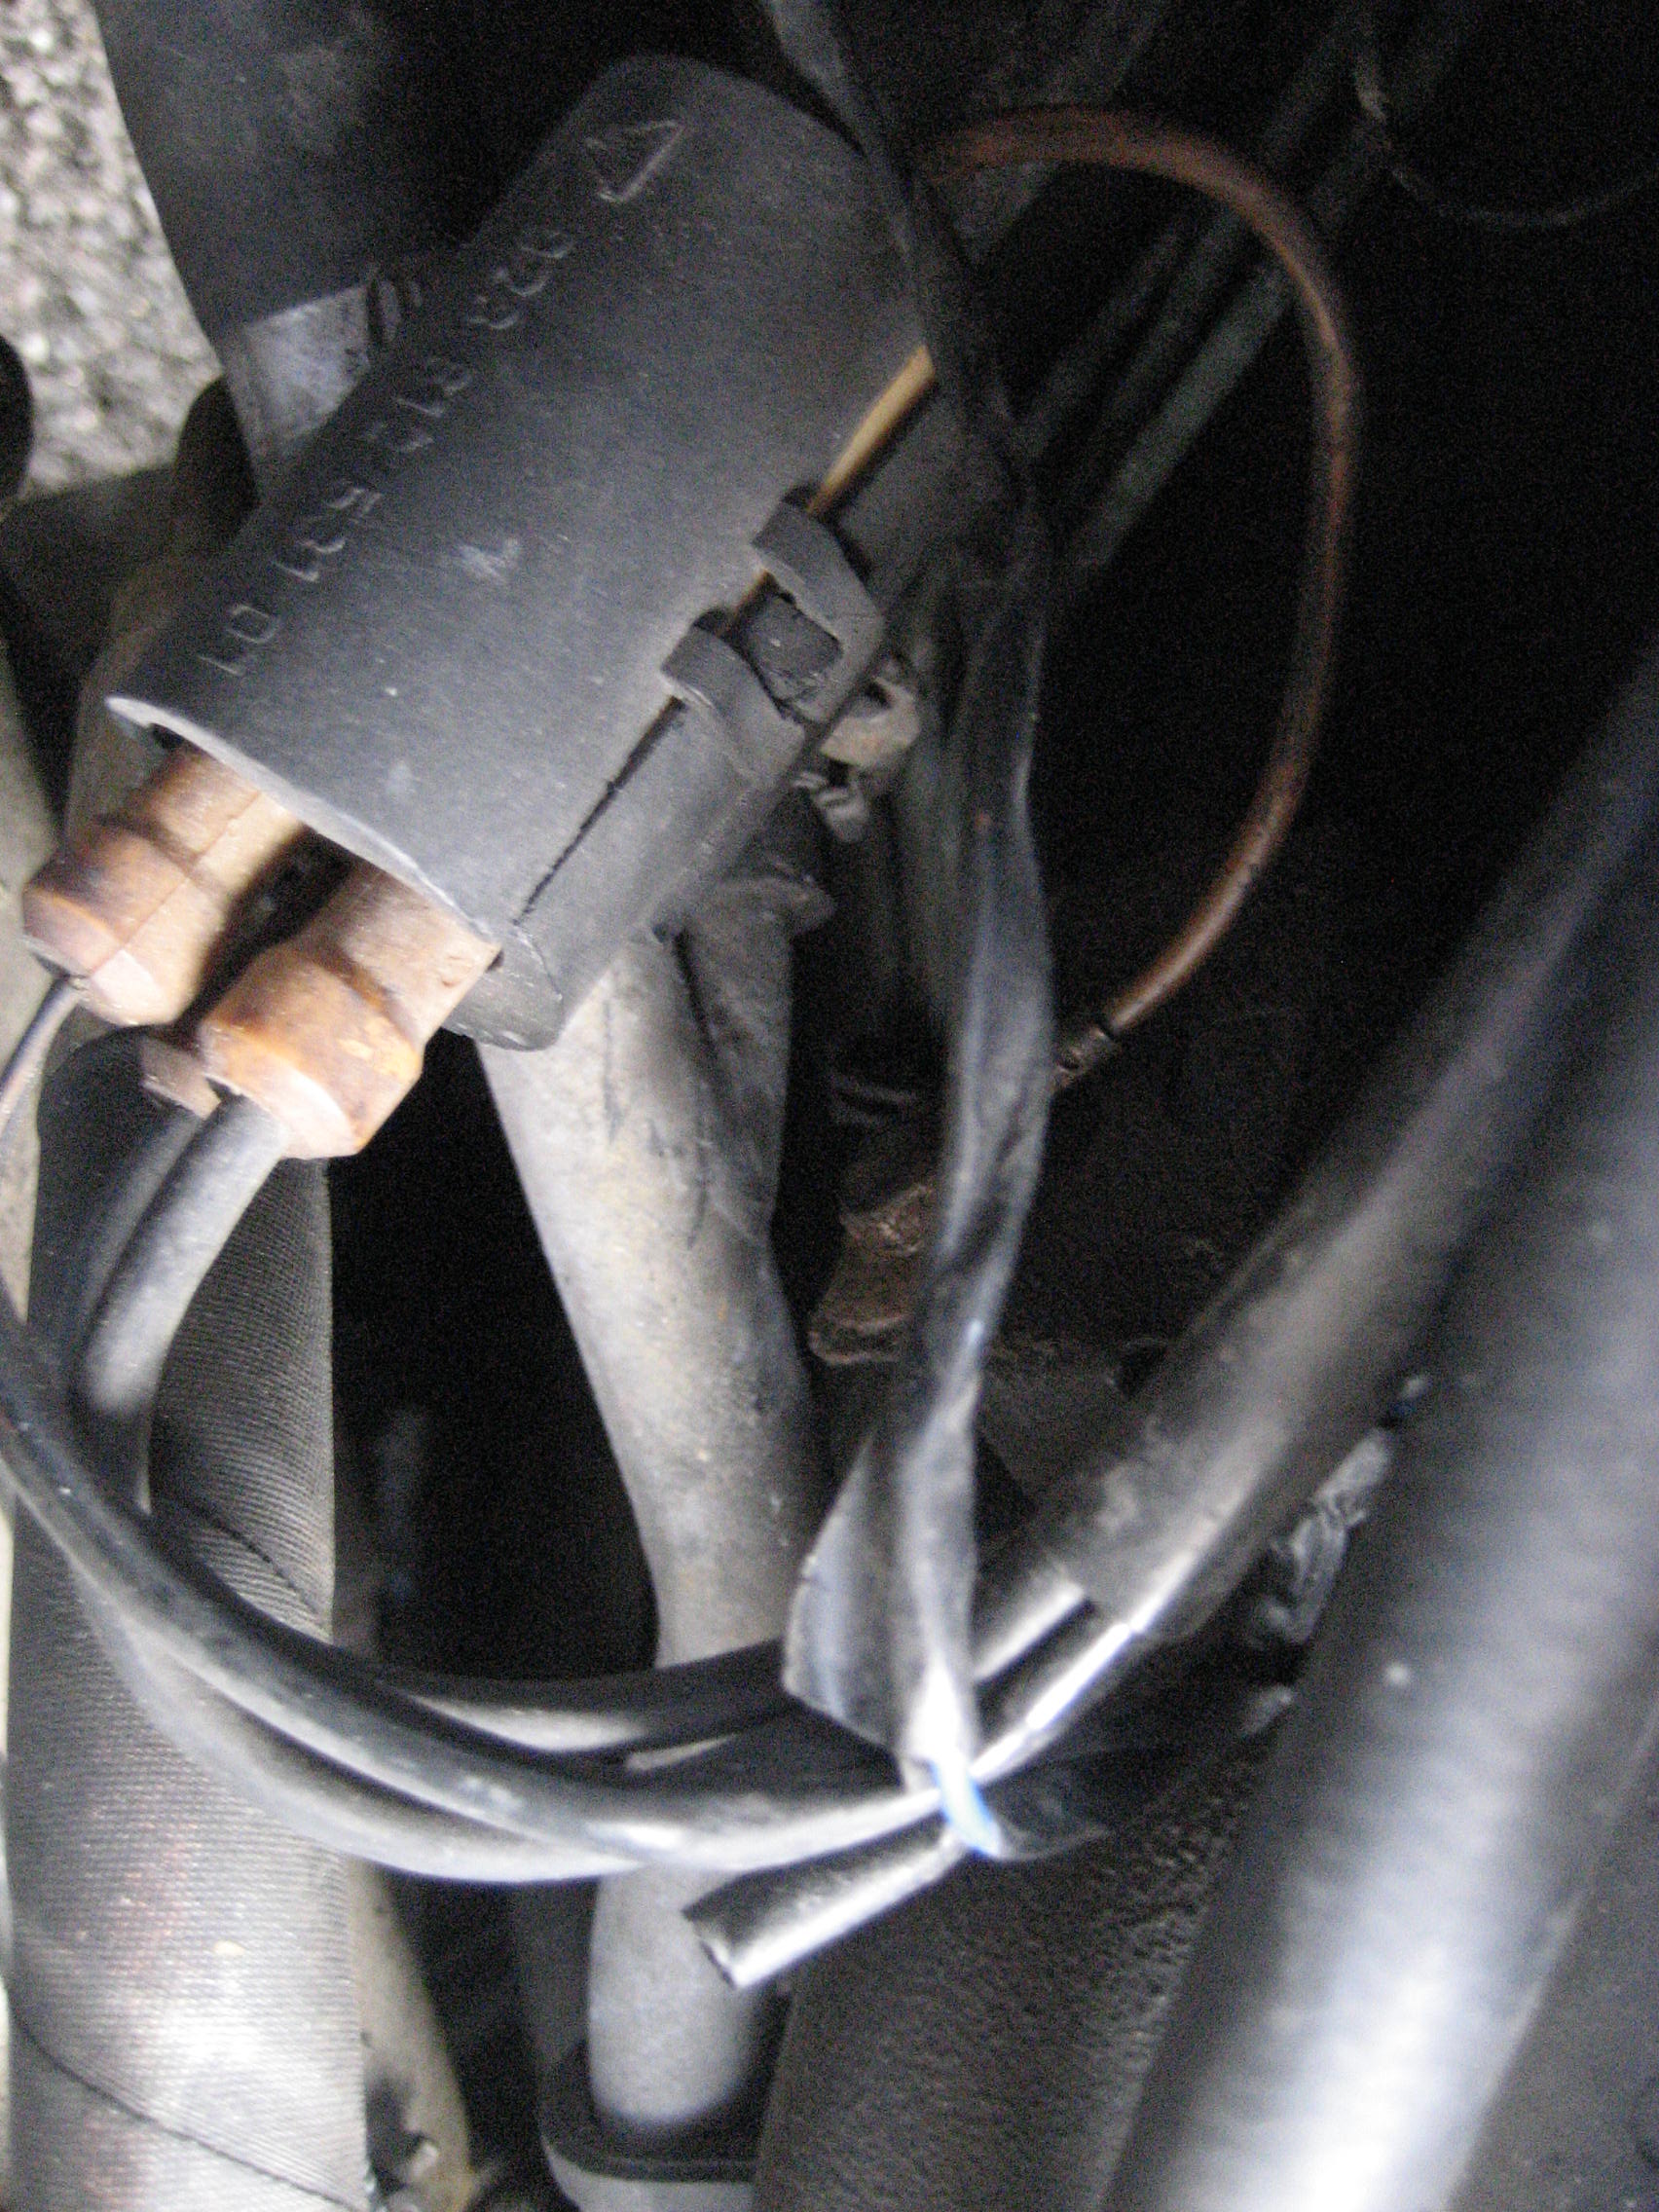
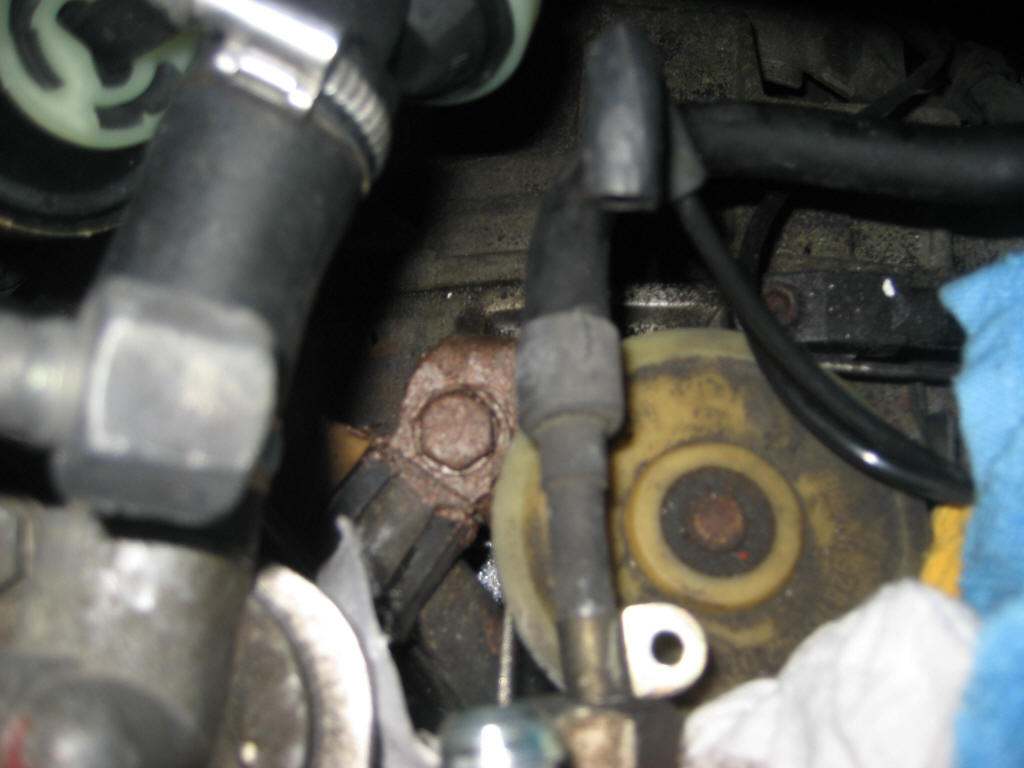
MP X -- at coil near the ATF steering reservoir
====
MP XI -- suspension strut driver side
====
MP XII -- suspension strut passenger side
====
Hi Theo,
so now I've completed the work on my grounds can you please add the following
info to my post on your website.
So, I've finally accessed the 3 remaining grounds on my right-hand drive 1989
S4!
The 2 main grounds on the top of the engine and the main engine-chassis strap.
Here's what's required to do the work.
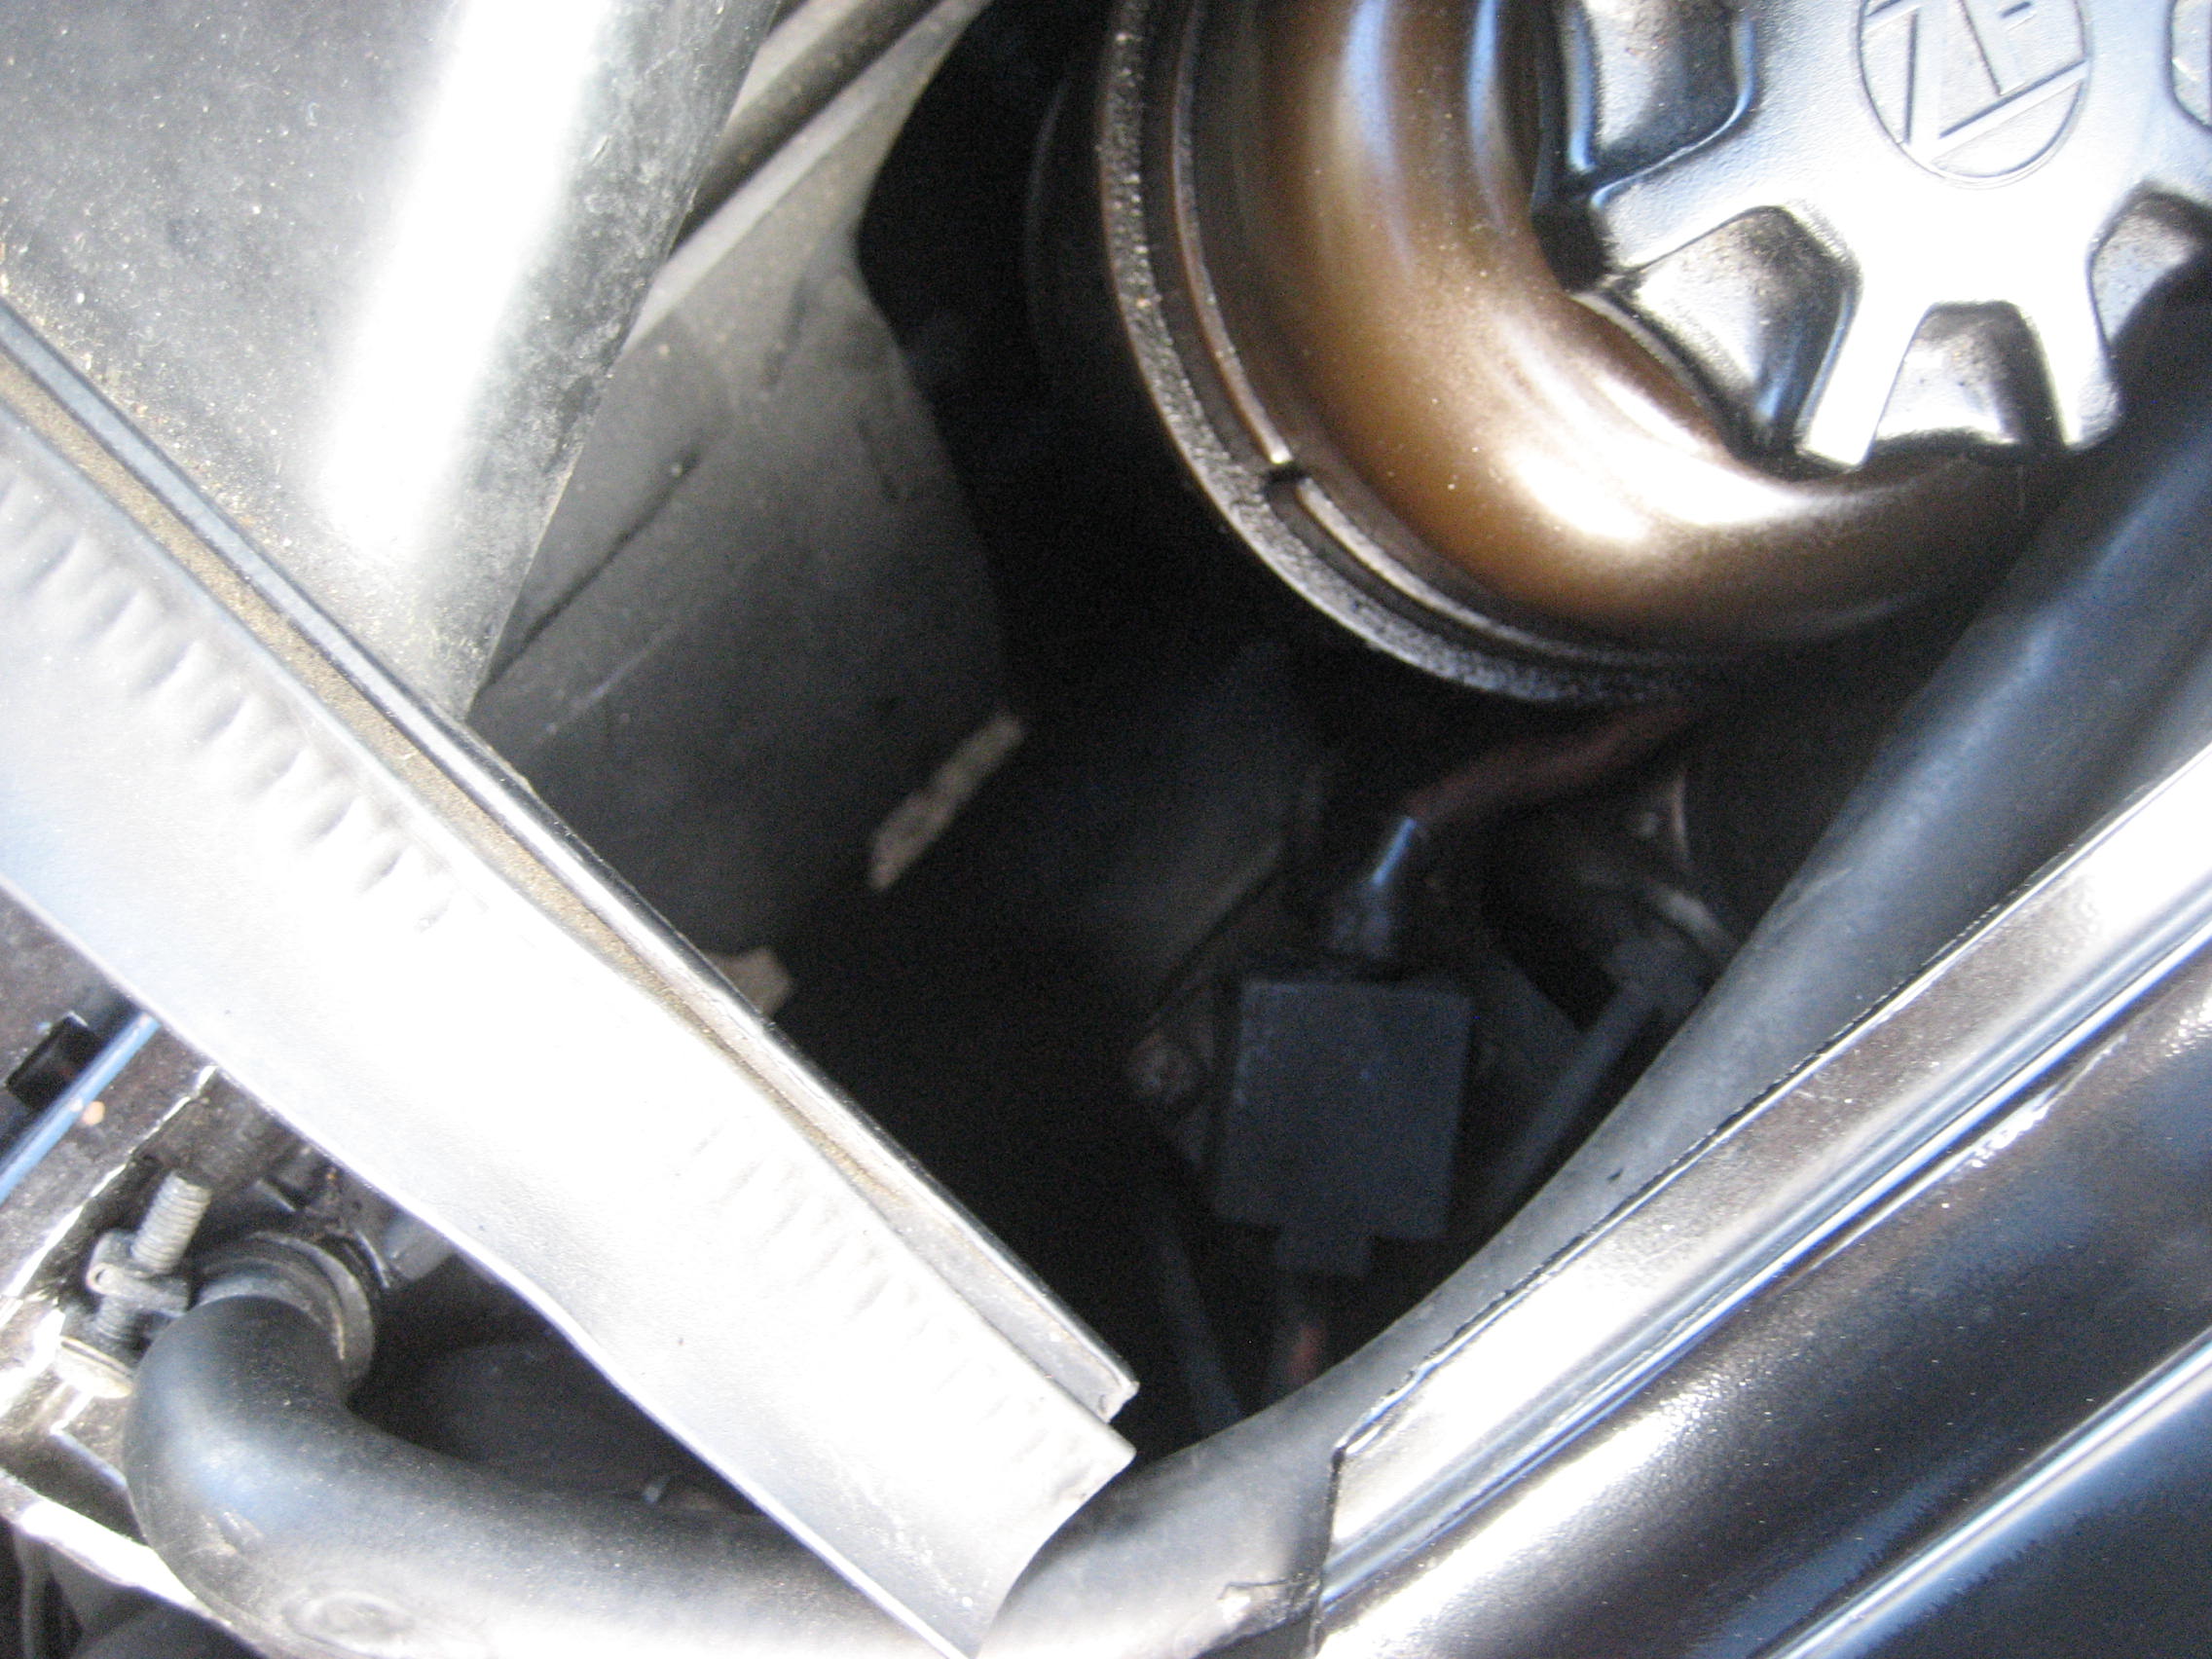
1) To access the grounds on the top of the engine you need to remove the air
cleaner housing, MAF, fuel regulator and fuel damper and their fuel lines. Then
you have the four way vacuum splitter and some wiring located on the passenger
side. Even with all this out the way getting your hands on the ground
points/wires is not easy as they're deep down in the engine bay!
So, a 13mm socket with extension from a ratchet is the way to go undoing them.
Then, I used a chisel to clean the block where the ground wires attach (you want
them super shinny for maximum grounding). Then, a flathead screw driver pushed
down on some sand paper allowing me to scrub the block smooth and shinny. Not
easy, but possible!
Using a thin/long screw driver I then pushed it through the ground wire
connector hole and gently pulled them up to allow me to sandpaper them
clean/shinny.
Then reinsert/tighten your bolt. BE CAREFUL not to drop them down under the
manifold! Just in case, have some 13mm bolts spare! A trick I use to hold bolts
I'm putting back in is to push some bluetack into the socket and then press your
bolt back into the socket as tight as possible; it then holds the bolt in the
socket instead of just dropping out.
Finish by painting copper grease over the top of the bolt and any exposed ground
connection/block.
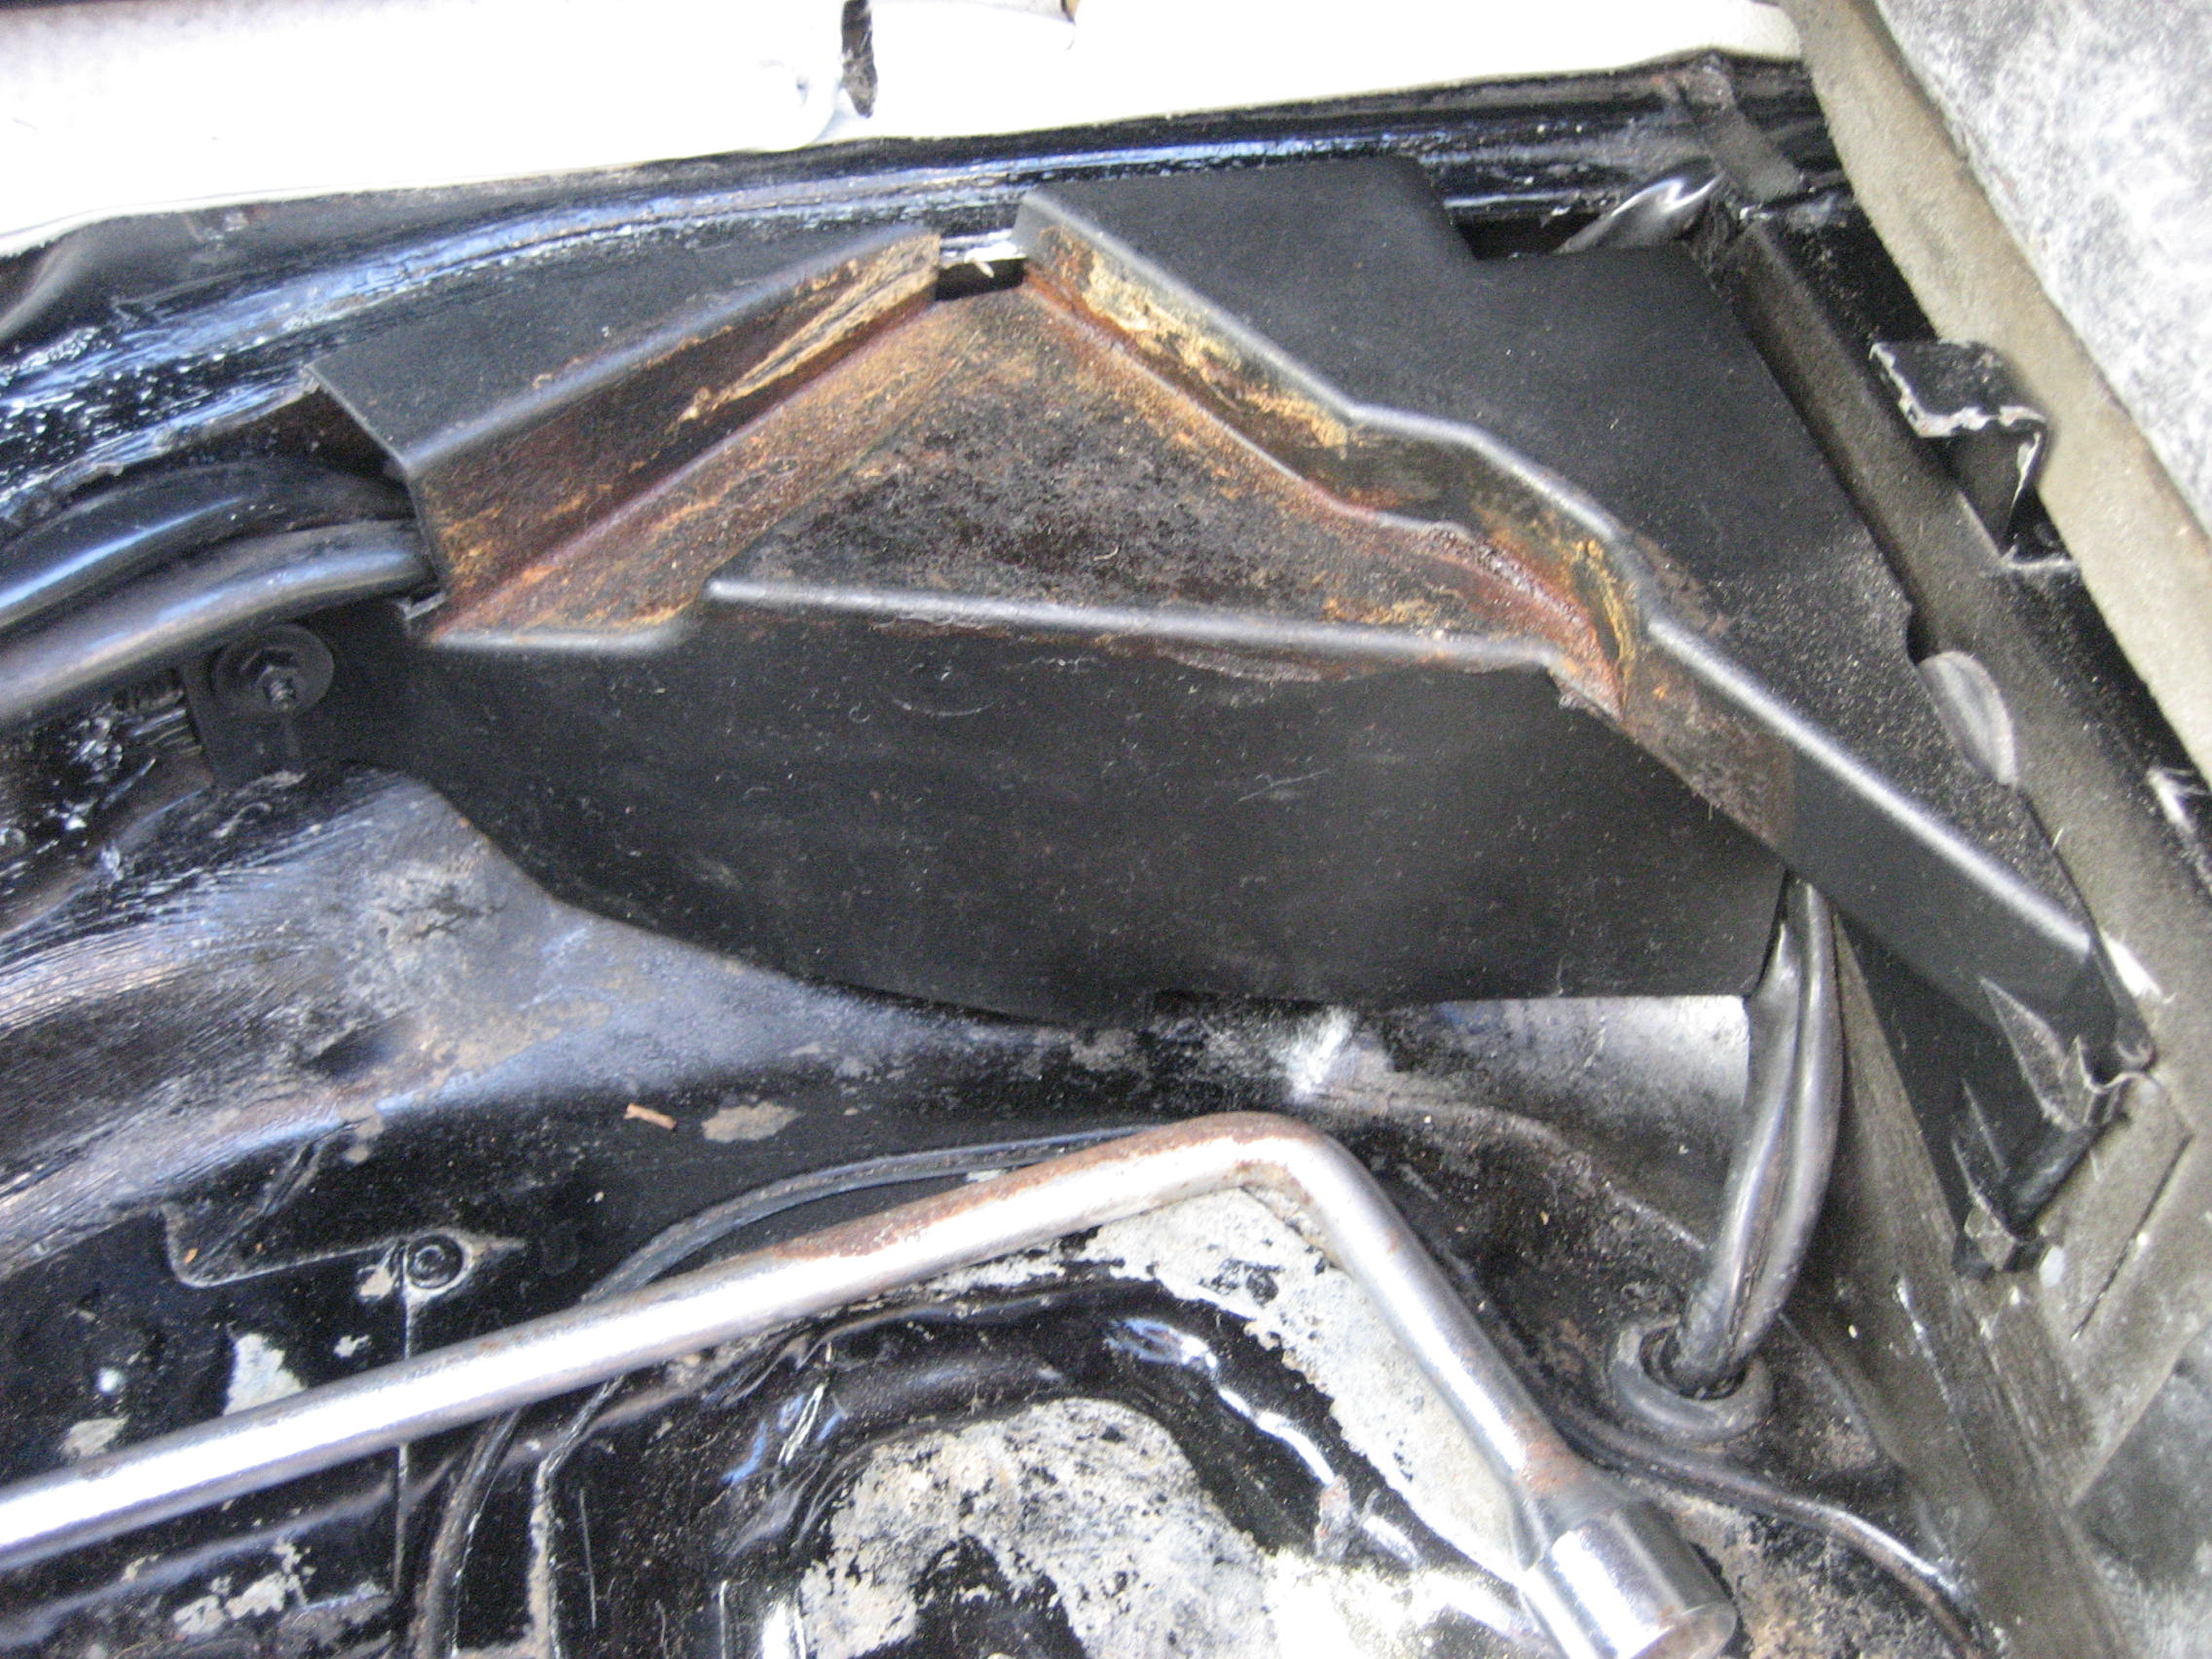
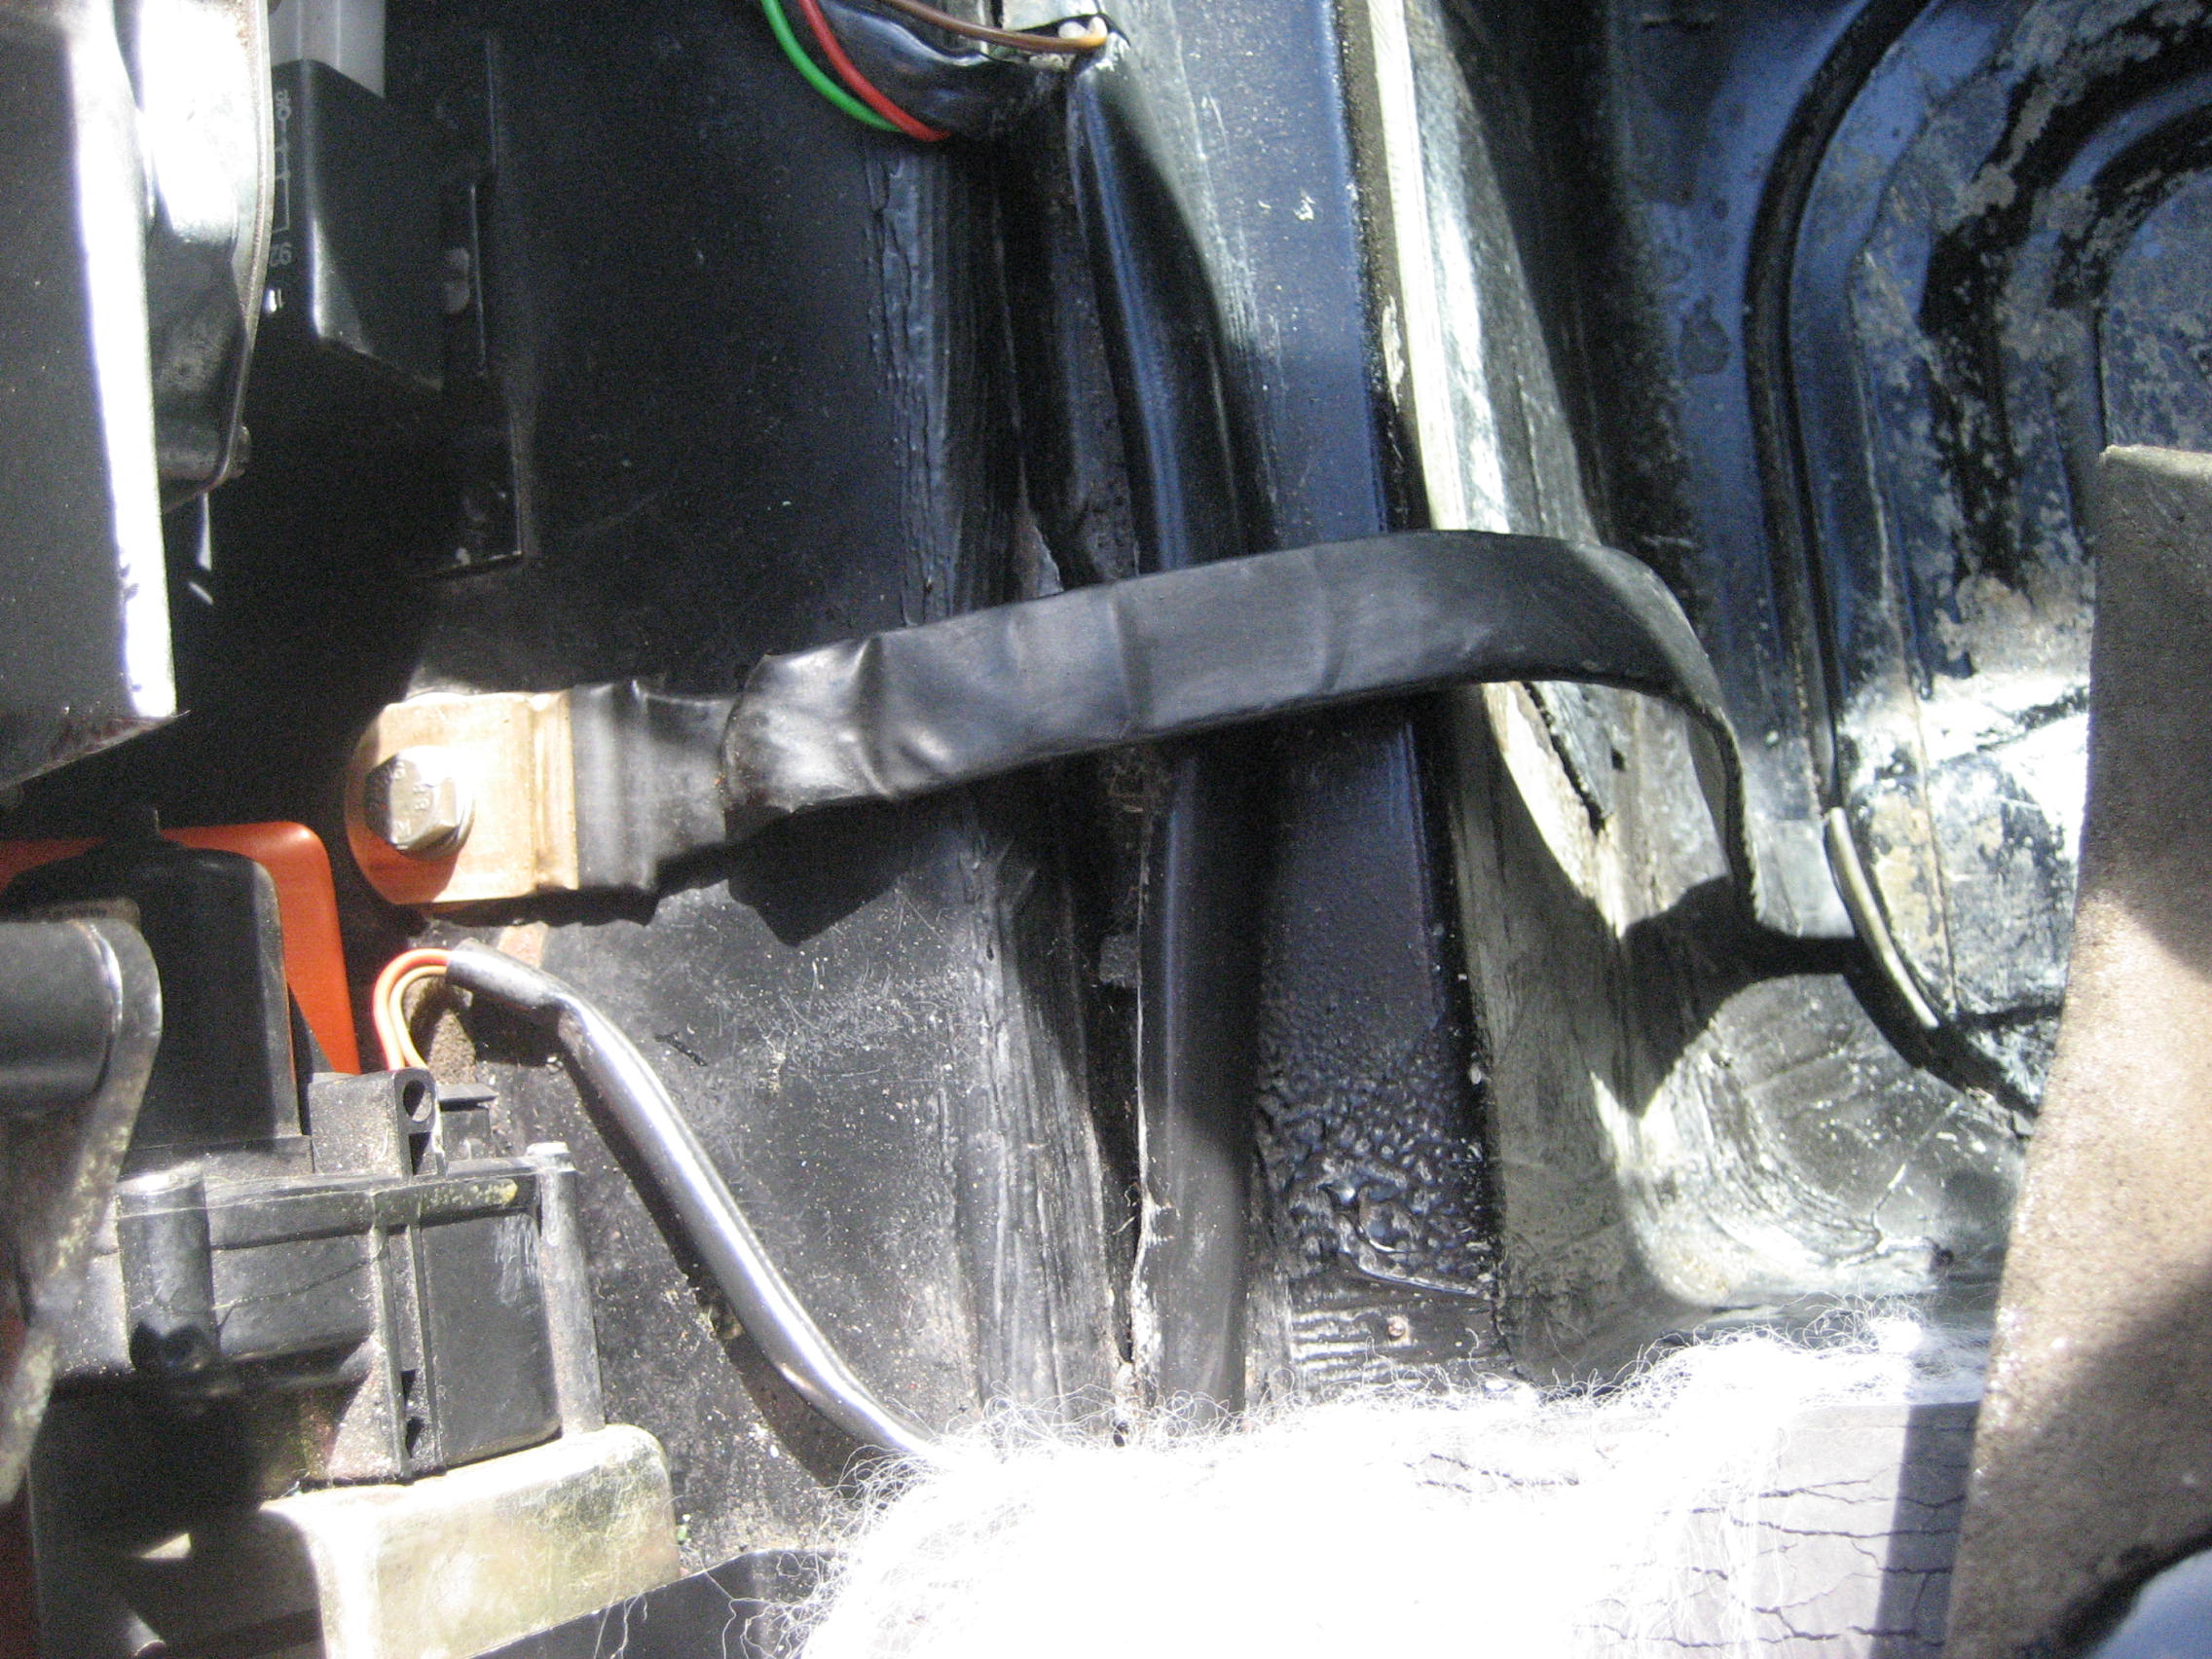
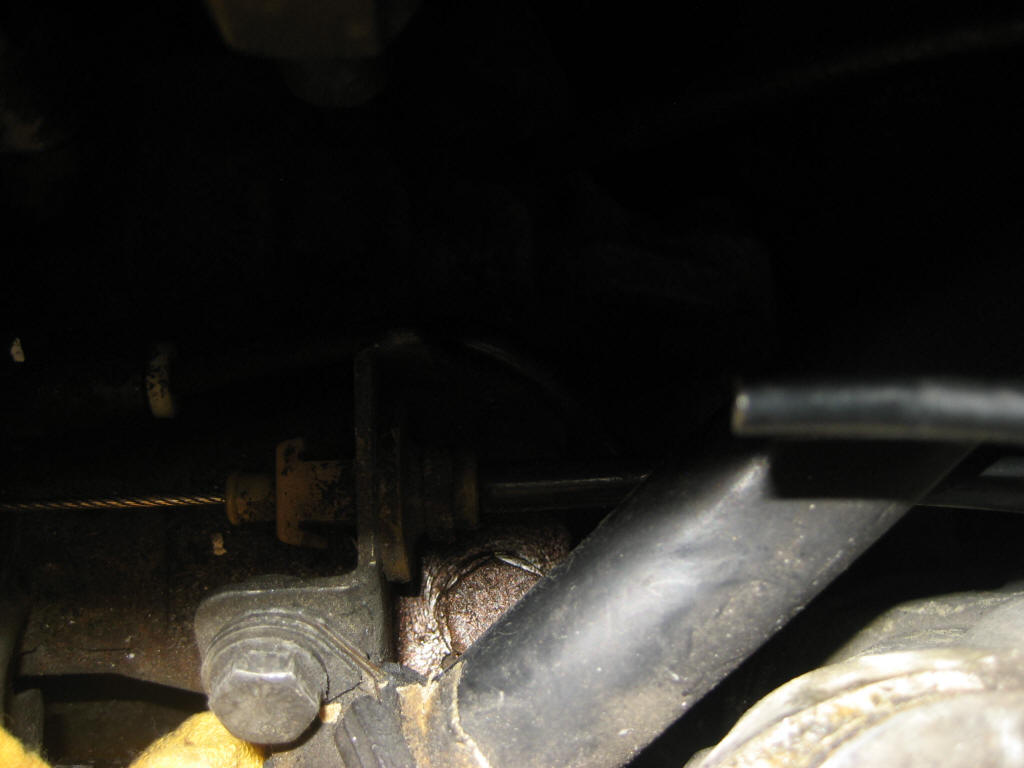
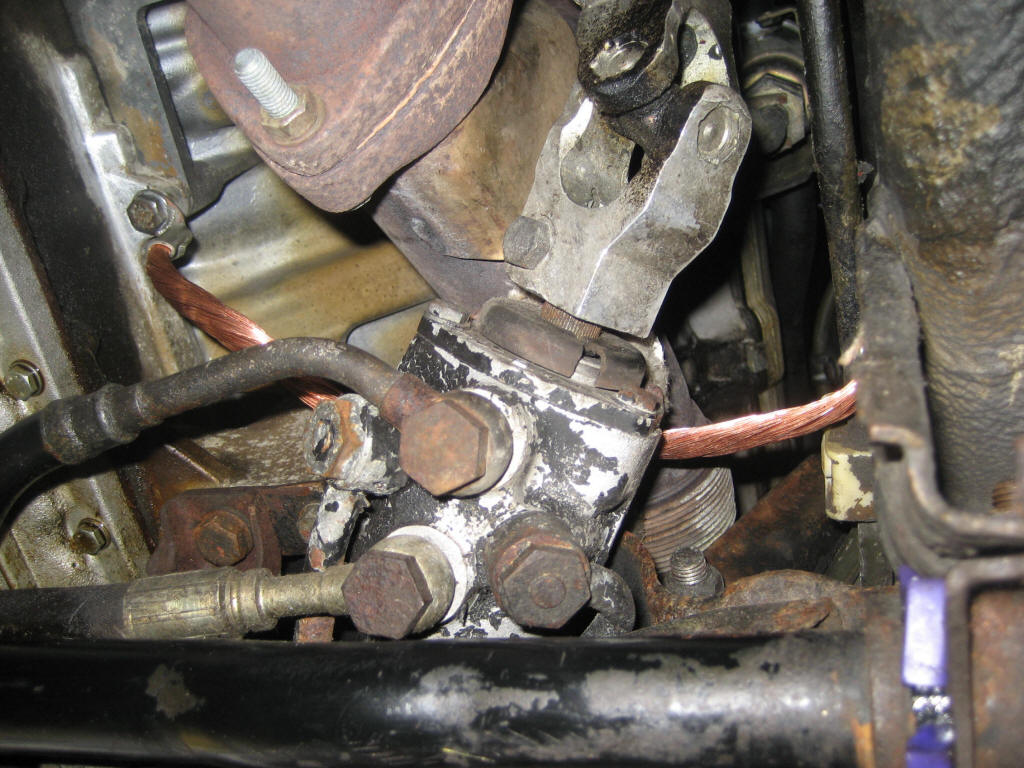
2) The main engine-chassis strap on my car was appauling; see pic. Heavily
corroded alongside the connectors and ground points on the chassis/engine.
The engine should be cold. Ideally you need a lift/ramp to access the main
engine-chassis strap as access is difficult (although I know some peeps have
done it with axle stands). The main e-c strap is on the driver's side
(right-hand drive car) just behind where the sway bar attaches to the chassis.
So, drop your engine under-tray/trays and then you will see it just behind the
sway bar running from the inner chassis near the exhaust manifold and to the
engine block. If it's never been serviced it will most likely be corroded and
covered in grime; not what you want at all on the main e-c strap as
corrosion+grime=electrical resistance=problems with your car!
Removing the strap just requires a 13mm socket on an extension to reach the
engine bolt and the same again without an extension on the chassis. If you want
to, it's possible to clean the original strap with a wire brush and/or Coca-Cola
(yeah, that stuff is super corrosive and people drink it still!). To clean the
connectors rub hard with sandpaper until bright and shinny.
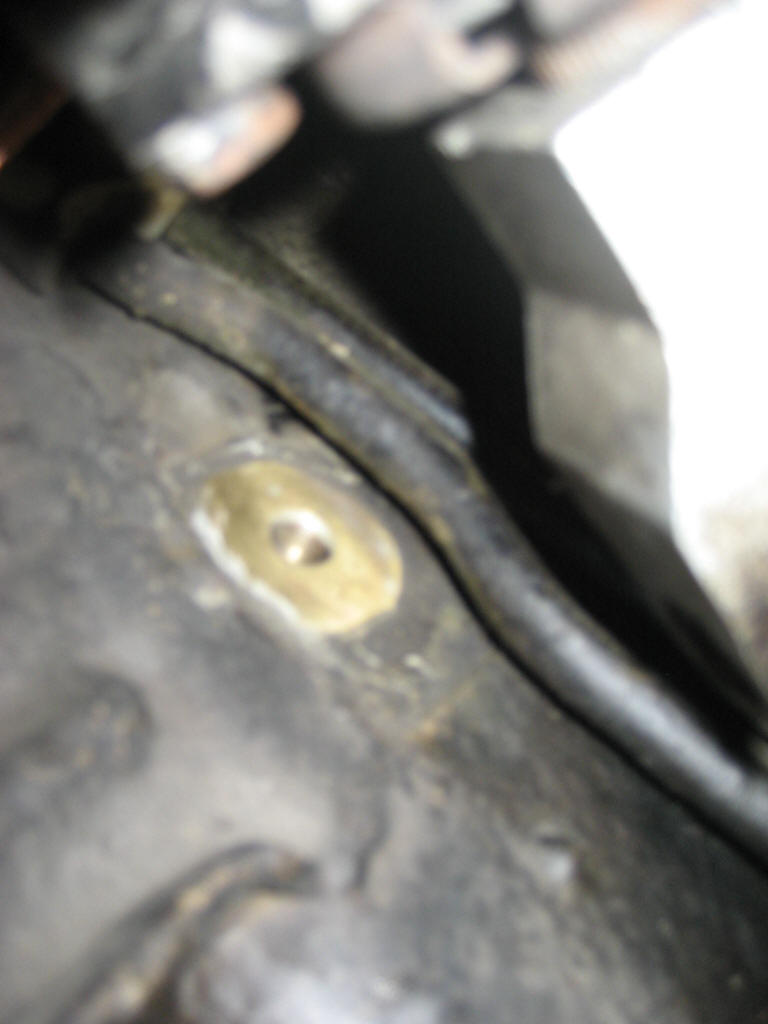
Then clean the grounds on the engine block and chassis. I shifted the grime with
a chisel and then sandpapered them bright; see pic. Do the same sandpapering to
the washers connected to the bolts; you want optimum contact on this cable.
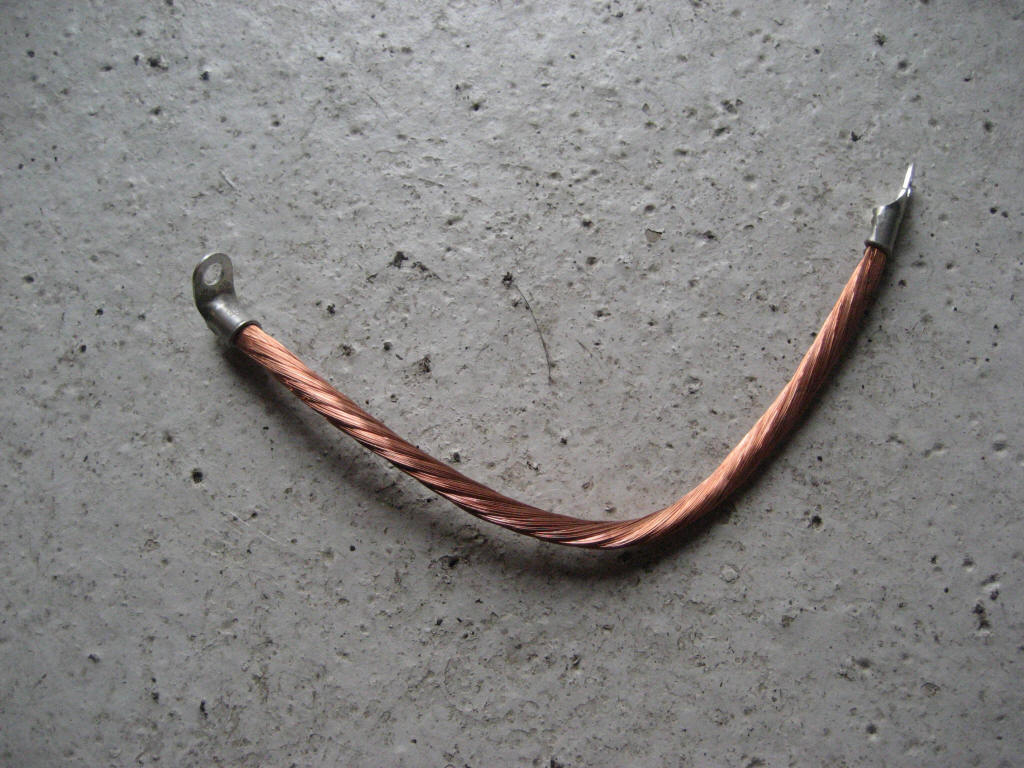
Now you can replace the old, cleaned up cable or buy a new one here:
https://www.rosepassion.com/en/cat/piece/P28660
The Porsche part number is: 928 612 011 00
Again, finish by covering the ground contacts with copper grease. Thereafter,
include this cable/grounds in your 928 maintenance routine as due to its
location near the exhaust manifold it gets a rough ride.
Your car/electrical system and therefore everything else on your car! will
benefit greatly from this work.
hope this helps other 928 owners.
The 928 myth: '928s are complicated and hugely expensive to run/maintain'; not
if you do as much maintenance as you can yourself and make sure the basics are
all up together!
928 truth: '928s are awesome if well maintained'!

best, Dave.
________________________________________