This is something the average DIY'er can do at home for low cost, and it's a very educational process as well. It assumes you have the mechanical know-how and time to remove your injectors from your engine, clean them properly, do a basic rebuild on them, and re-install them - all without damaging small parts with critical tolerances. If you do not have the required time and skills for this, leave this to a professional. It's easy to ruin an injector via physical damage (the innards are very sensitive), using the wrong cleaning chemicals, or other problems. If you have spare injectors from a junkyard or another source to experiment with and the time and inclination to do this work, and the equipment to do this right, you can save yourself a few bucks by doing it yourself. It's also a good way to de-mystify fuel injection and see how stuff works.
A basic cleaning will not always solve every problem, though it's almost always going to help if the injector still works at all. Injectors can go bad and need to be replaced - they can "burn out" (the electrical portion stops working), develop leaks in the main body, or the electrical contacts can become corroded. Basically, if it's too far gone, replace it. Some injectors are more durable than others. Search around on the internet and see what other places have to say about your particular style and brand of injectors. Used, remanufactured, and new injectors are all readily available. If you can get a "spare" injector (one is fine) to experiment on from a junkyard or off of eBay, that's a good start.
If you are going to do this for only a single set of injectors, it is most likely not cost effective to gather the tools and chemicals to do this yourself vs. having this done by a professional. Removing your injectors, sending them out for cleaning and reconditioning, and then reinstalling them yourself is a very good way to save money on the "remove and replace" labor while still leaving the hard part to the professionals. Spend your time and dollars wisely. For me, the biggest investment to try this out was a new bucket of carb cleaner ($25) that I needed anyway, plus the injector rebuild kit. Your mileage may vary.
For my situation, I like to experiment and "play around" with stuff myself, I already have most of the tools for this in my garage, and I'm going to be reconditioning at least 3 sets of injectors, possibly 4-5 and I'm trying to do it all "on the cheap". Based on that, and the desire to create a web page about this, I decided to dive right in and see what I could do to save the pile of used injectors I had accumulated for various EFI-related projects. I also decided that since I have lots of spare wiring harness bits laying around, and some electrical know-how, that I would build a small control box to be able to activate an injector. I may also build other tools to help me out.
I would like to thank the fine folks over at FordFuelInjection.com for giving me the idea for this and posting a basic page with details and descriptions to explain how an injector works. With that idea in mind and the courage to try this out myself, this page was born to document my experiences in more detail and "fill in the blanks" that I had after first reading the pages over at FordFuelInjection.com. I also intend to add details here beyond the Ford fuel injectors if possible. Many injectors are basically the same, and the same basic details apply to them no matter what brand of engine they are installed in.
I use Mr. Injector for my injector rebuild kits, as recommended by FordFuelInjection.com. Mr. Injector has an eBay store and all sorts of great injector-related stuff available at a good price and Buy It Now available on everything. He also has a injector reconditioning service for a good price - remove your injectors, ship them to him, he reconditions them, and ships them back. At the time of this writing, he's asking about $120 + shipping for a set of 8 injectors (used to be $100, his prices went up), which frankly is not a bad price for the services rendered. An injector rebuild kit for a V8 is around $20, and that is included in the reconditioning service, so it's really only about $100 extra to have your injectors professionally reconditioned. Considering the time and effort involved to do this on a DIY basis, $100 extra for professional cleaning is a reasonably good deal. It was a better deal at $100 for the service, but life goes on and prices go up.
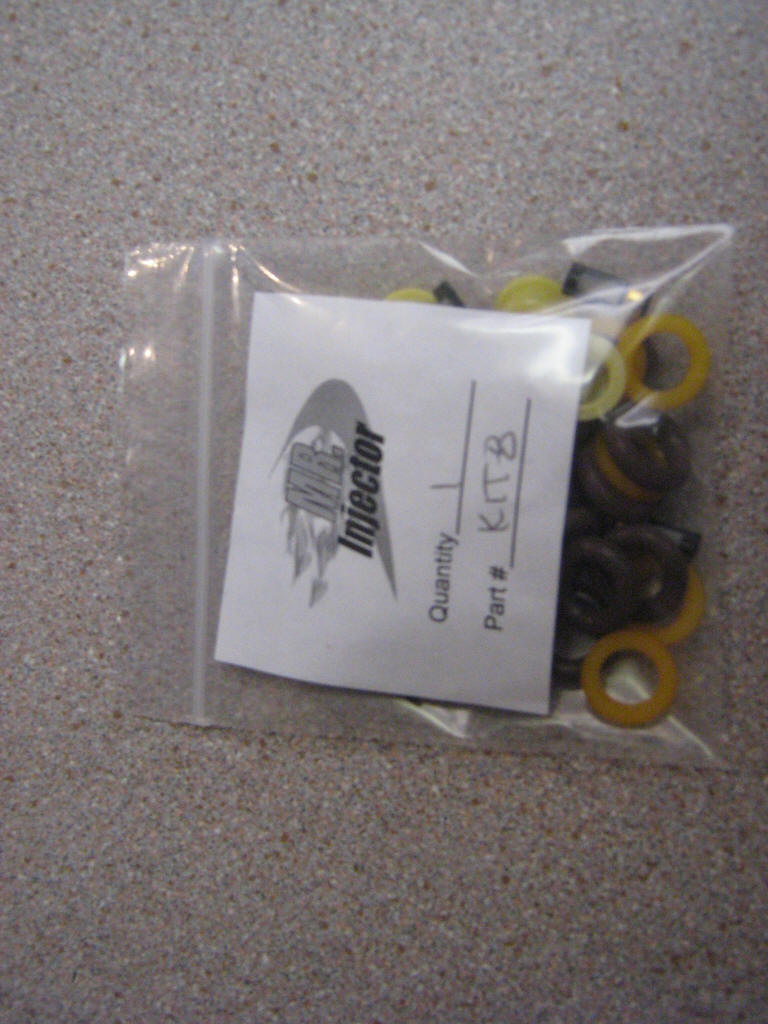
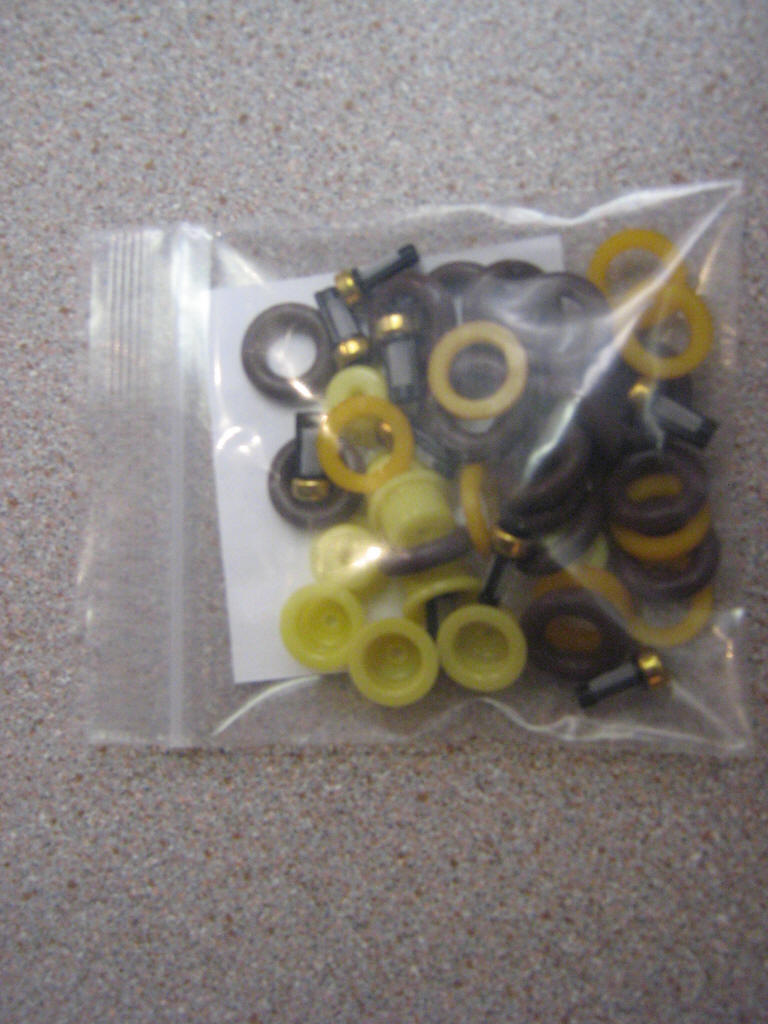
Here's a typical Mr. Injector kit for rebuilding 8 injectors. You get a new filter, spacer, pintle cap, and two O-rings for each injector, and he even includes an extra set of each item in case you break something along the way - torn O-rings are not uncommon for novices, so this is a nice touch and helpful. If you're careful you can rebuild 9 injectors with each kit - which is handy if you end up doing multiple sets of injectors over time or you end up with one bum used injector and need to rebuild a spare junkyard one to get your engine going again.
One of my readers, Brad Watkins, sent me a link to his page about this same process, complete with his own home-brew injector test/flow bench. He also has a link to a video of his test bench in action. Very cool! Thanks, Brad!
The approach this page is outlining is basically a simplistic injector reconditioning, without any formal flow testing. Most folks have no good way to test an injector and verify it's flow rating, or even visually verify the spray pattern. You can build an injector test bench, but again, compared to $120 for a certified reconditioning by someplace like Mr. Injector, doing this all yourself for a single set of injectors is much harder and probably more expensive than having it done for you. If you're really strapped for cash and just trying to do some basic EFI work, then this can be a really good way to help save most injectors and get things going again. A bucket of carb cleaner, some fuel hose, an air compressor, and a way to activate the injector (details below on that) is all you need to get started on a basic injector cleaning and rebuild.
Here's the basic plan of attack:
Remove the upper and lower O-rings from the injectors
Soak the injectors in regular carb cleaner overnight to remove external crud and loosen internal crud
Blow the injectors out while applying power to the injector so that the innards will come clean
Rinse the injectors off to remove cleaning solution
Soak the injectors in an ultrasonic parts cleaner to remove more crud from the innards
Cycle the injectors while in the ultrasonic parts cleaner to help knock off even more crud
Replace the caps + O-rings + internal filter using an injector rebuild kit
Here's what you'll need to do this work:
Dirty injectors
Carb cleaner
Injector rebuild kit
10mm socket
Small hammer
#10 sheet metal screw
Vise
Utility knife
Injector test harness (see below)
To clean the innards for the injector, you need a way to turn it on and open the insides to allow cleaning solvent to flow through it. An injector is basically just a small and very fast reacting solenoid connected to a valve - applying power to it opens the valve, and allows the injector to have stuff flow through it. The basic piece you need is a fuel pressure injector wiring connector w/ some wiring stubs attached to it. The injector connector can be snagged at a junkyard dirt cheap (clip it out of a junk car's harness, they'll likely only ask for a few bucks for it, if anything) or "repair pieces" are available from parts stores. Either way, the wiring is very simple - one side goes to power, the other to ground. The factory wiring will usually be color coded, so go with that as a starting point. Extend that with some lengths of wire and maybe a small pushbutton to control the injector and you're all set. Don't hold the injector open (aka, apply power to it) for long periods of time. They are not designed for that. Push it like a doorbell button - on and off again. Some injectors may need a resistor inline with the power lead to drop the voltage down to a proper level, so research your injector details first. Due to the risk of burning up an injector, use this idea at your own risk - if you burn up your injector(s), don't say I didn't warn you. There's a reason I suggest using a spare to experiment with the first time around! Is that professional reconditioning service starting to sound more attractive? If so, maybe you should consider using it... :-)
For my work, I built a small control box with wiring harnesses attached to it. It has a light (so you can tell when you have power connected to it), a pushbutton to activate the injector, and a 6' wiring harness with jumper clips to connect to a battery, and another 6' wiring harness to connect to the injector. When I push the button, I can hear the injector click on, and when I release the button injector I can hear it click off again. I can apply air pressure to the "top" of the injector and when I push the button, the injector flows air, and when I release the button it stops. If I hear or feel air leaking from the bottom or sides of the injector, then I have a possibly leaky injector. The second photo shows the short length of fuel hose I tossed into the box along with this


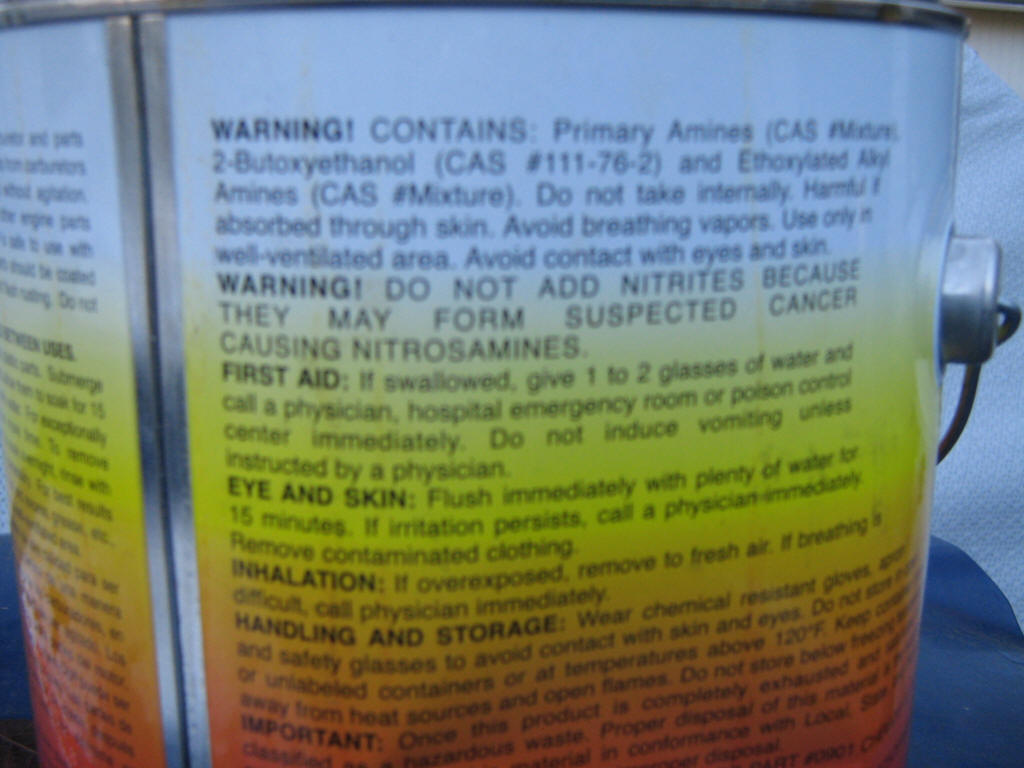
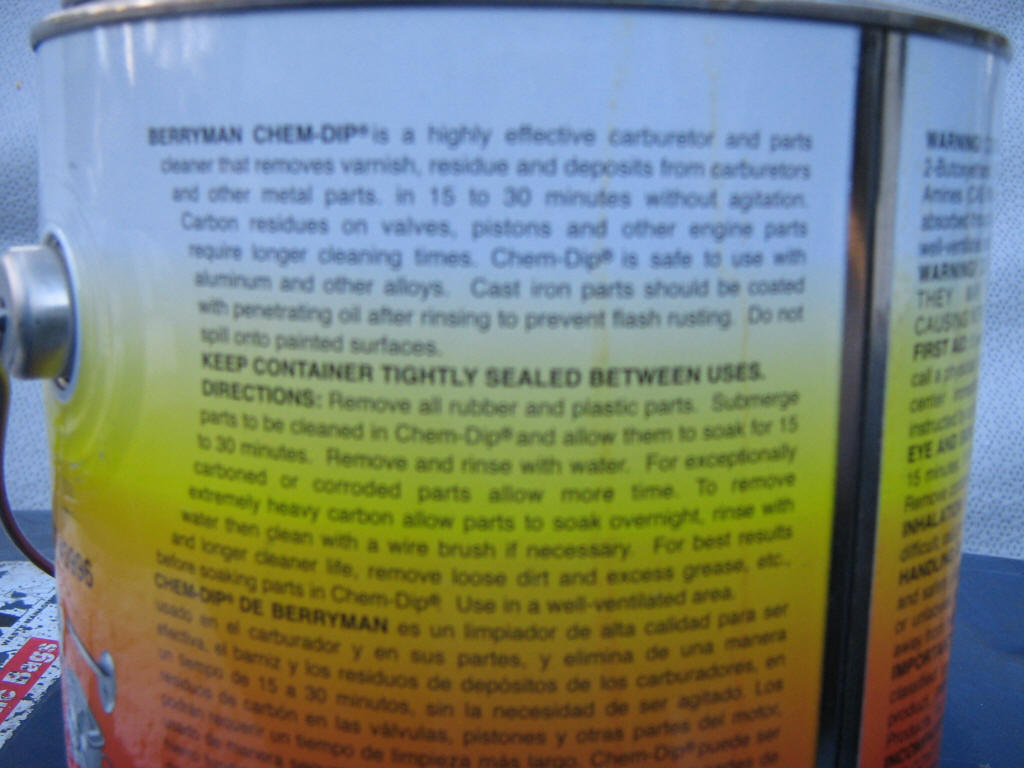
You'll also need some cleaner to soak the injectors in - I left mine in overnight for a good de-gunking. The plastic came out unharmed, but not all solvents may be so nice to the plastic, so if your cleaner uses a different solvent, test an overnight soaking on a disposable injector first if you want to be on the safe side.

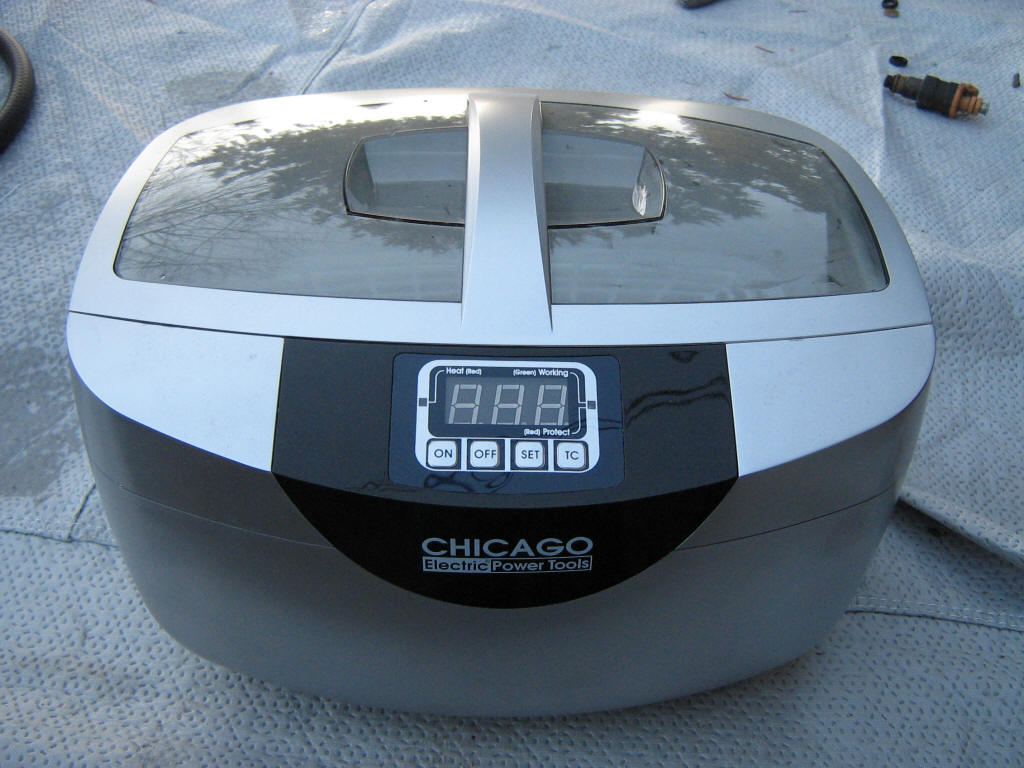
You can also use a small ultrasonic parts cleaner to do even more cleaning if desired. I bought mine from Harbor Freight for under $100 on sale. It's a good unit and can help clean things in a non-destructive way, provided you get the right cleaning solution for your needs. I am still hunting for a good cleaning solution to
use for greasy stuff and for injectors - so far all I've learned is that you don't want to put any flammable cleaning solvents into an ultrasonic parts cleaner. Unfortunately, that rules out most popular automotive degreasing agents. If and when I find something good, I'll post it here along with how/where to buy it.
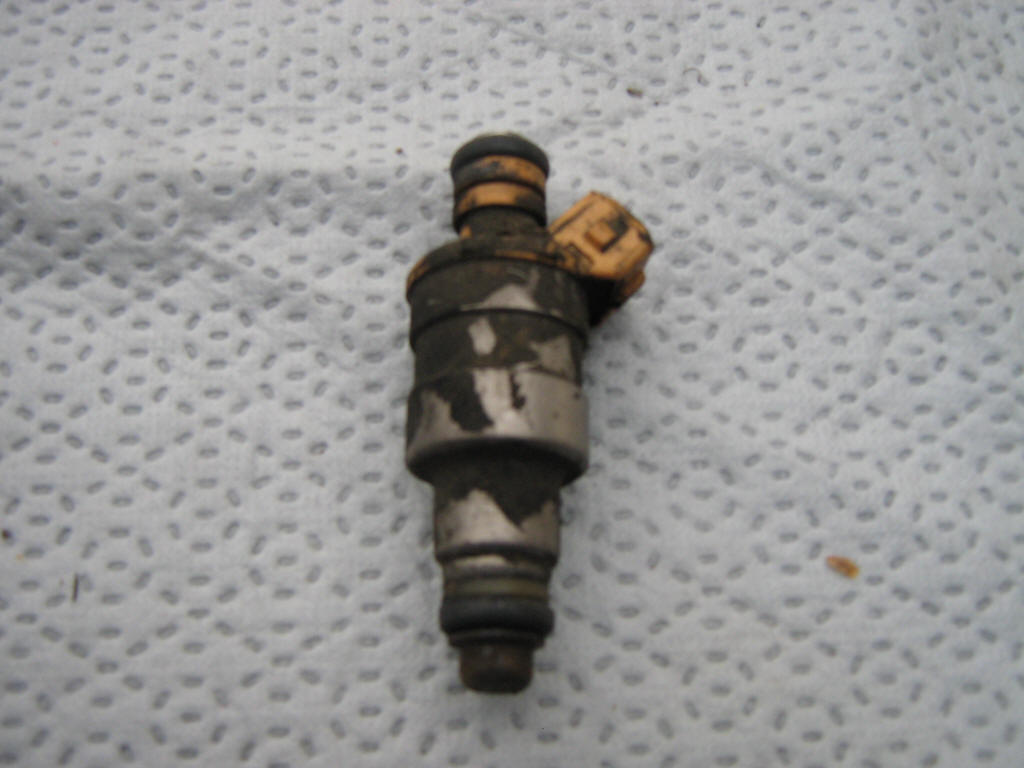
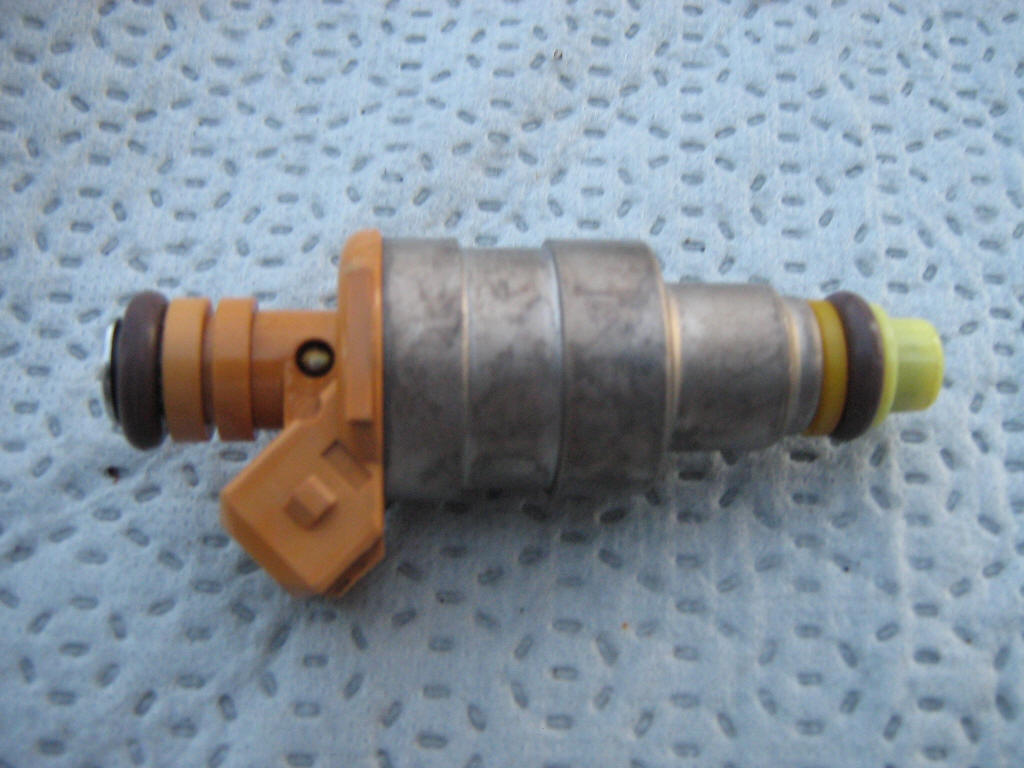
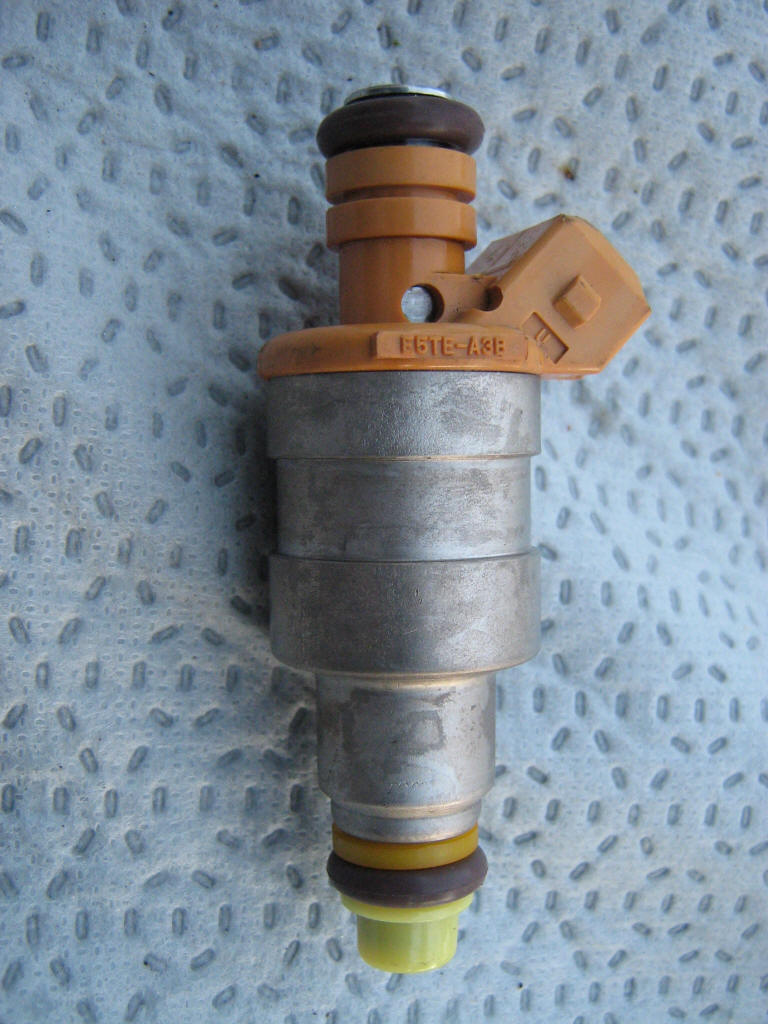
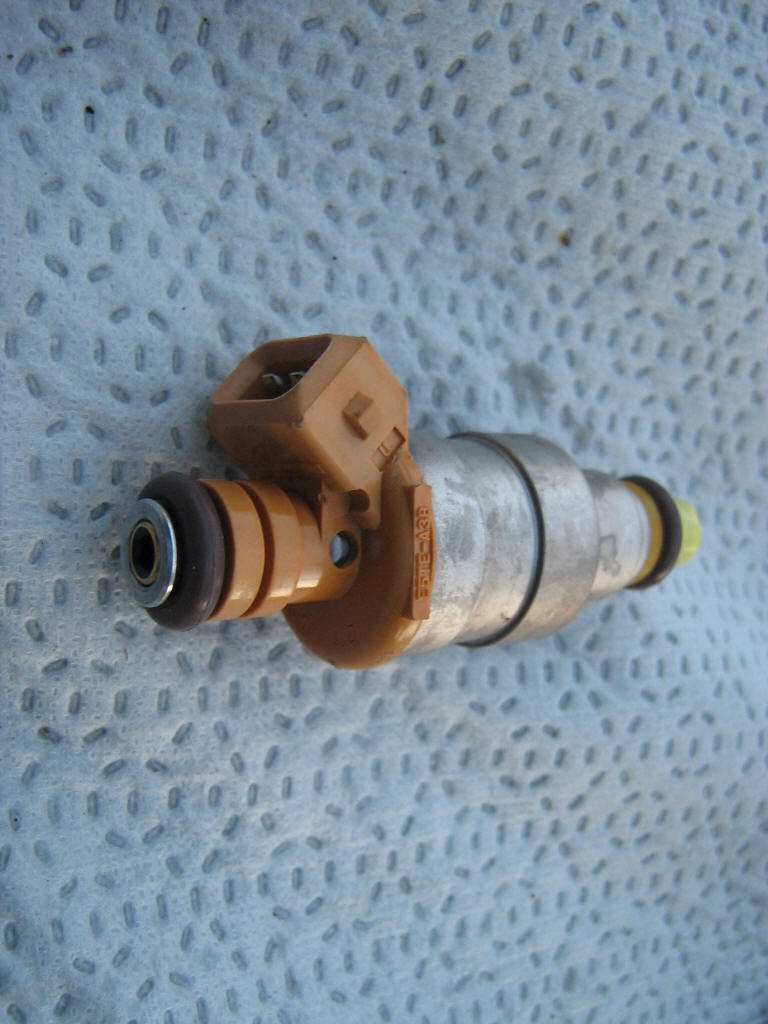
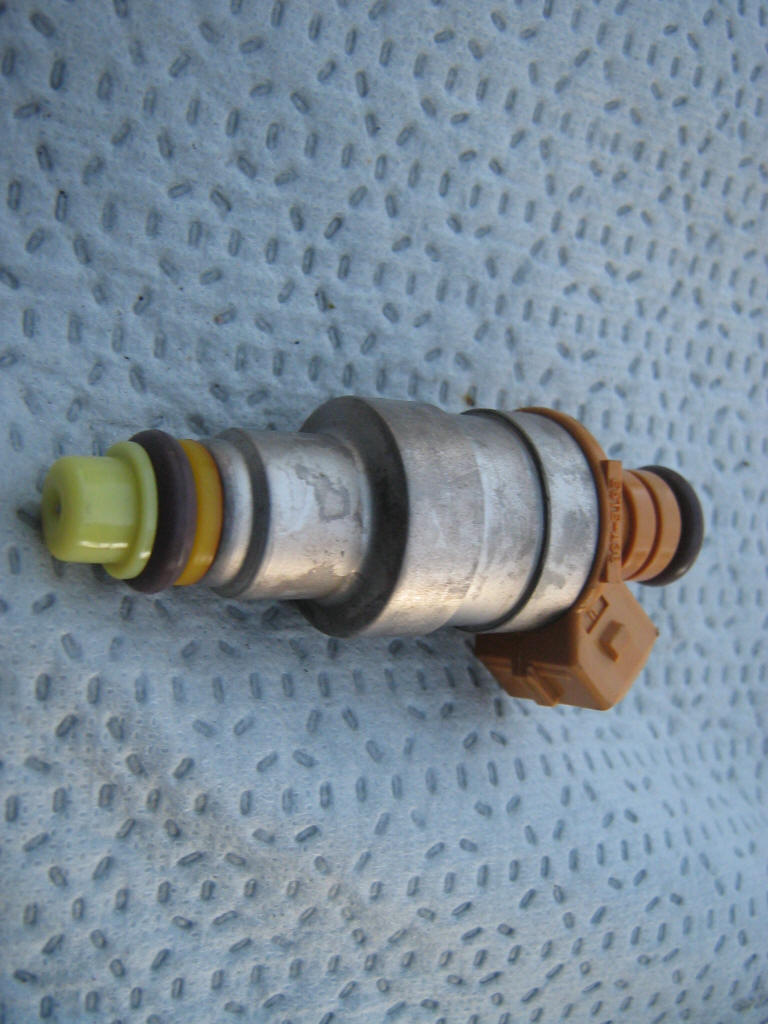
Here's a used Ford 5.0L injector before cleaning. Yuck! The upper and lower O-rings were removed and it was tossed into the carb cleaner overnight to clean it.
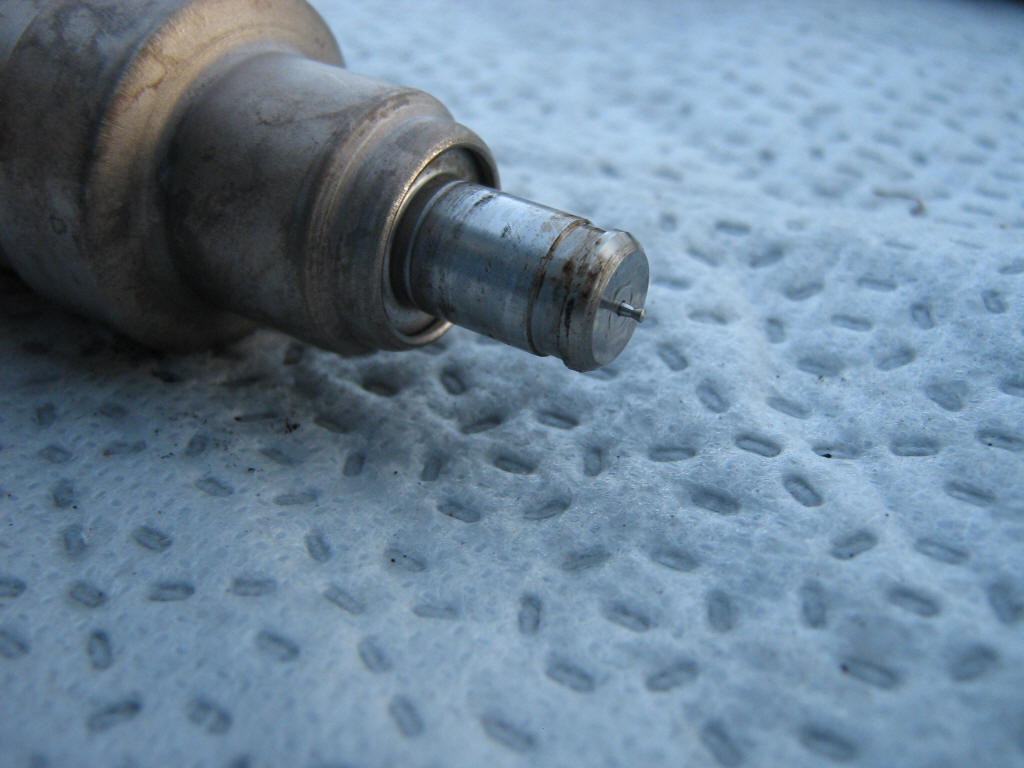
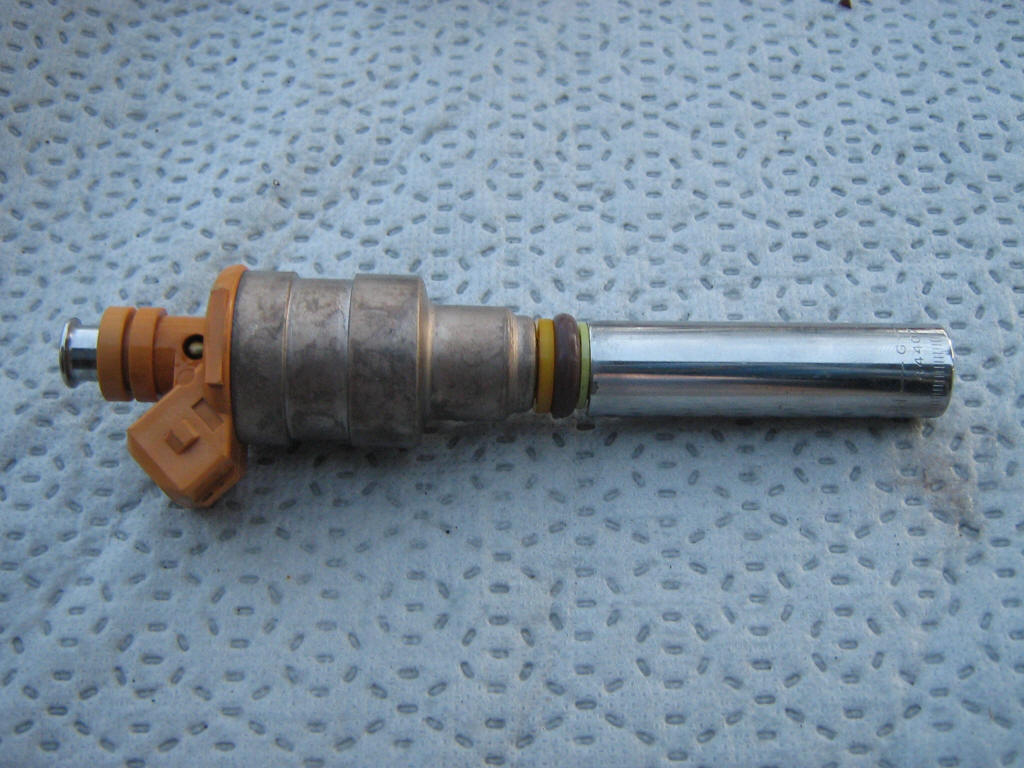
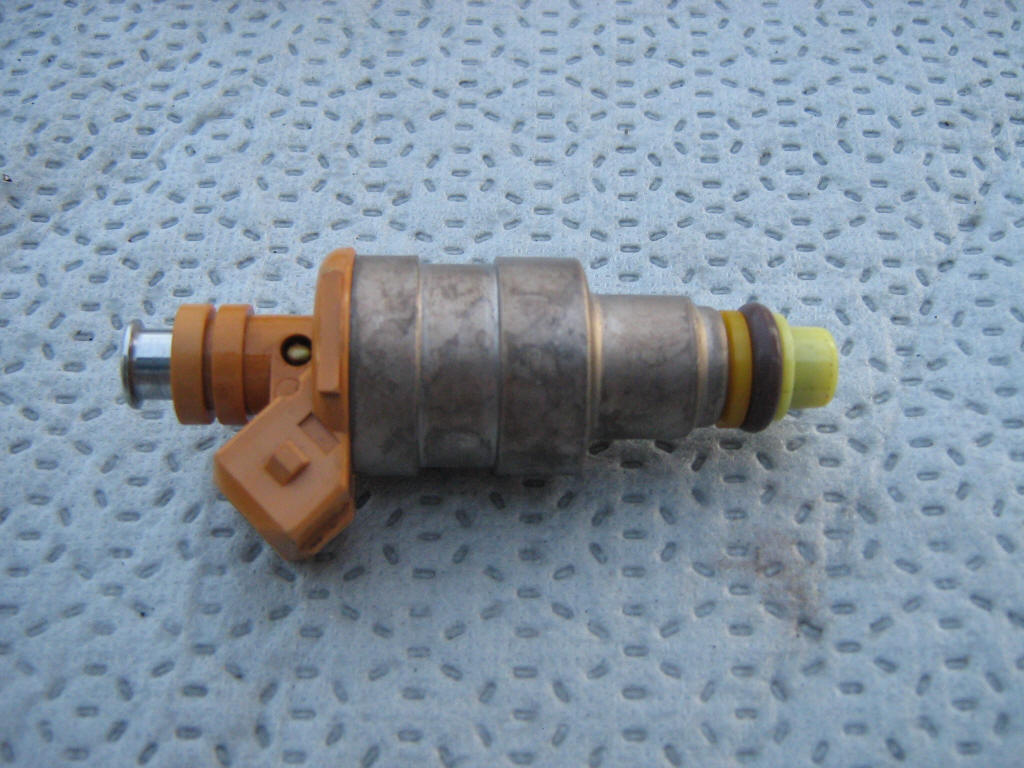
Here's the injector after soaking in the carb cleaner and then being rinsed off. At this point I hooked up my injector test harness and applied compressed air to the top of the injector while pulsing the button to activate the injector. I found that sitting the control box on the ground and hitting it with my foot worked surprisingly well since I had the injector in one hand and the air hose in the other. Be sure to point the injector towards a pan or open area - cleaning solvent and gunk will fly out of the injector from the first few shots of compressed air.

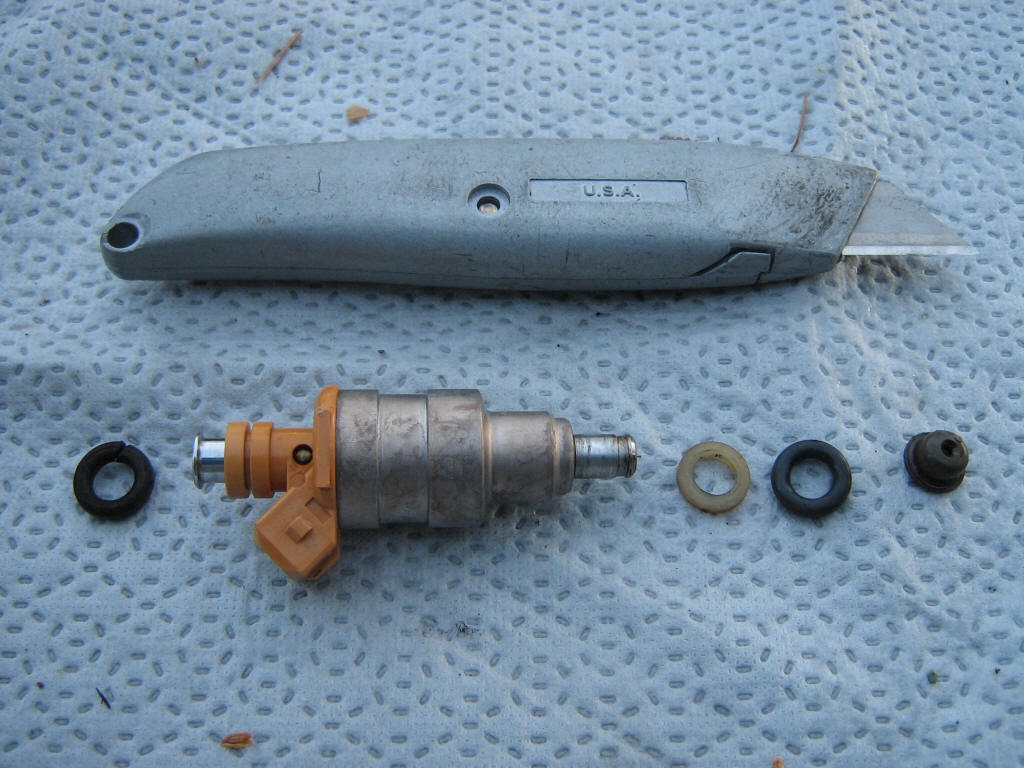
Here is the injector with the pintle cap cut off and the spacer removed. I found it easiest to make cut running "down" the side of the pintle cap to allow it to pop out of it's groove and be removed. Be sure to not hit the pintle (see next photos) when doing this! If you bend it, the injector is basically junk. Note the ordering of the O-rings, spacer, and pintle cap.
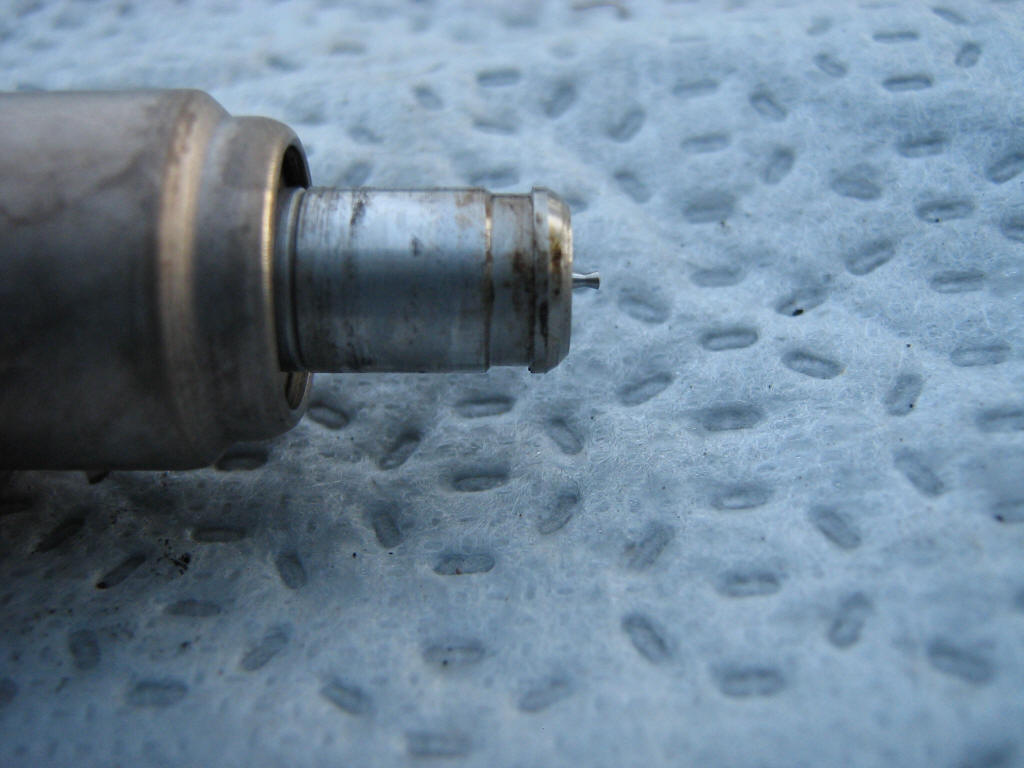
Two close-ups of the business end of the injector with the pintle cap removed. The little pintle and the opening around it is where all the fuel for your engine comes out at. Resist the urge to touch the pintle - if you bend it, the injector is basically junk. You can use compressed air or a bucket of cleaner to clean it again if needed, but don't touch the end.
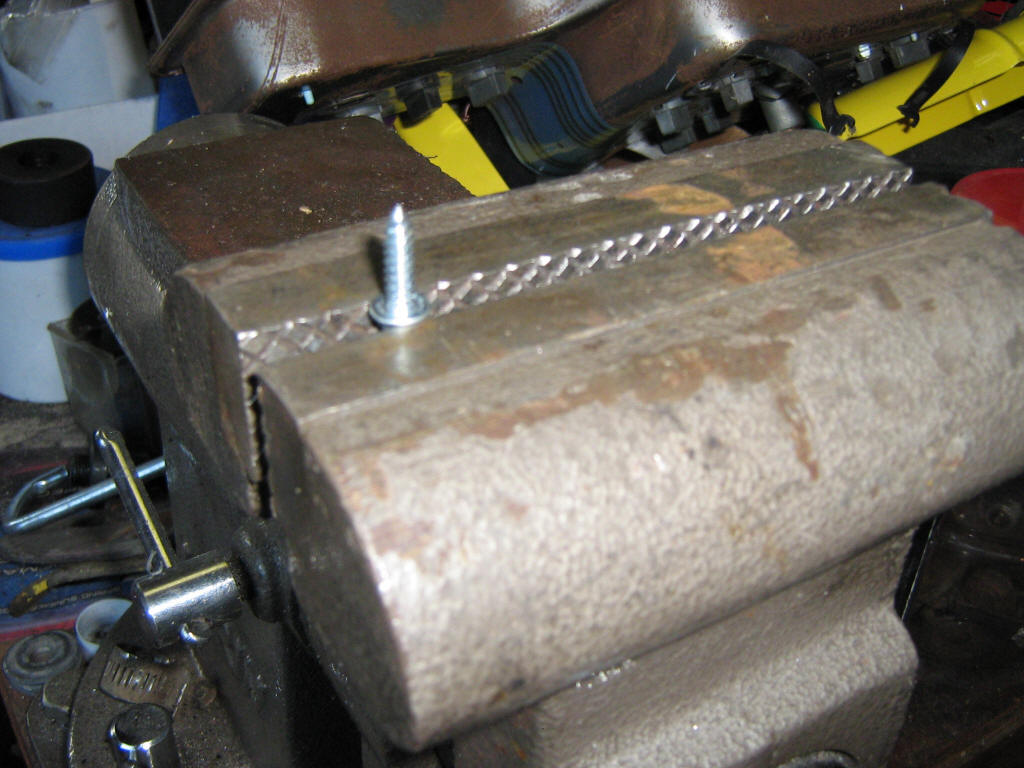
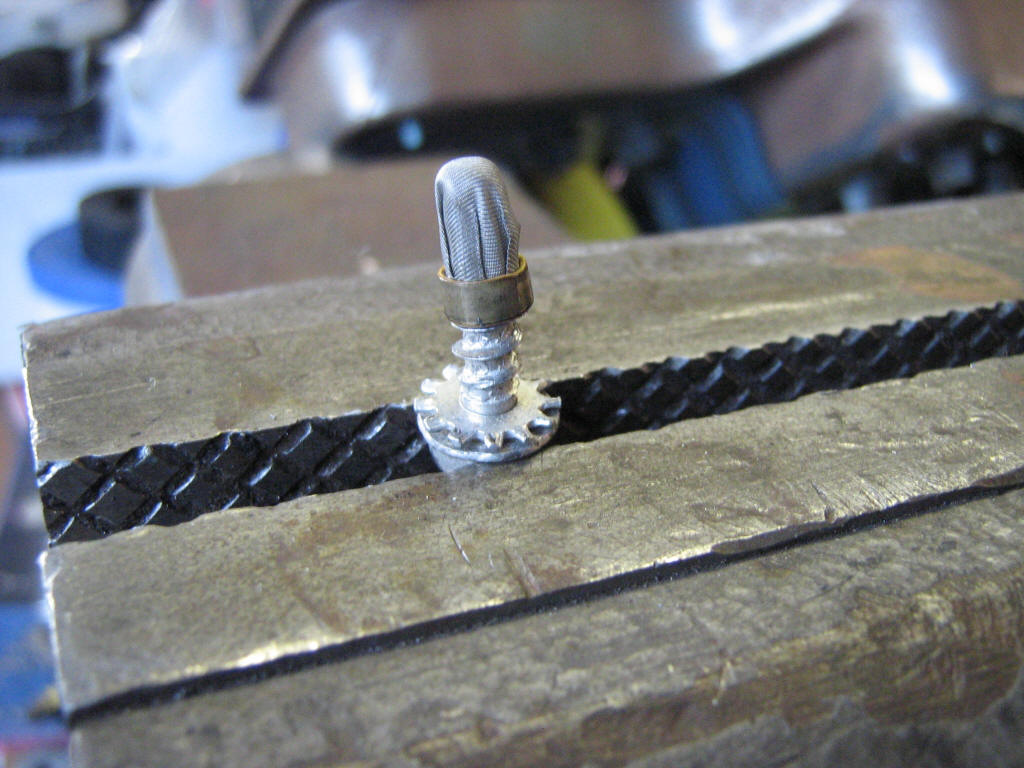
Here's the high-tech injector filter removal tool - a small sheet metal screw clamped in my vice. A #10 screw seemed to work for me, your mileage may vary. You want something that you can thread the injector onto and that will grab the filter without distorting the injector body.
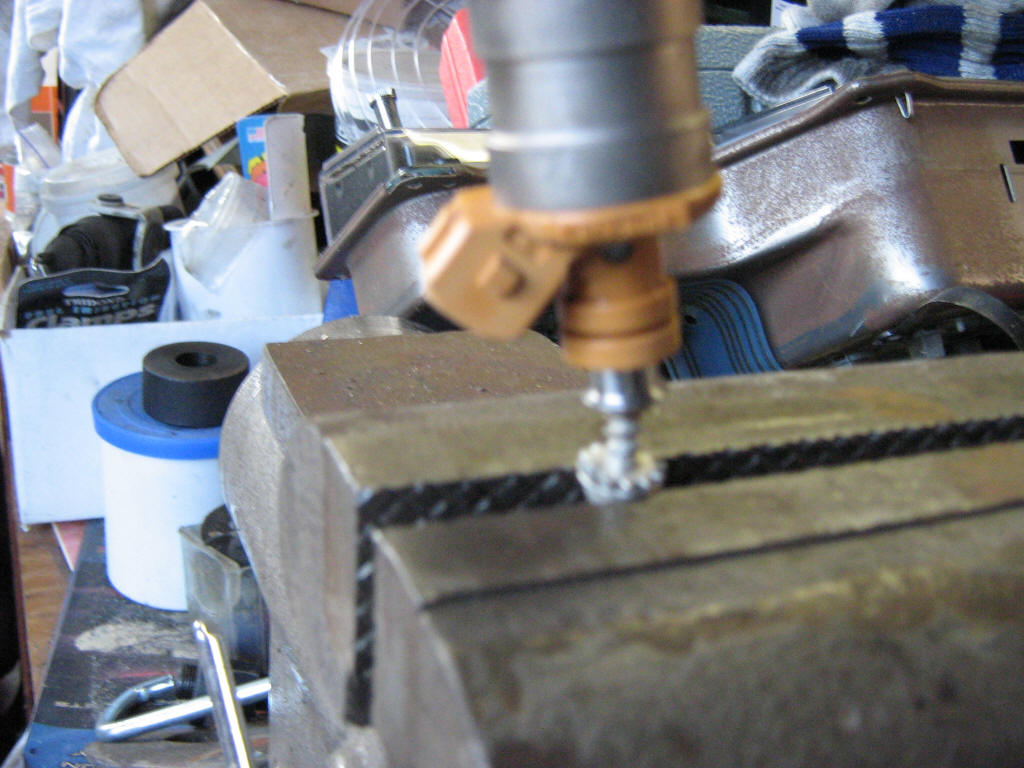
Here's the injector threaded onto the screw - note that the filter is in the "top" of the injector, not on the pintle end. Once you get it threaded on - it may take some pressure applied to get the screw to grab - gently rock the injector back and forth while pulling on the injector body. The filter will stay attached to the screw and slowly come out of the injector body. Apply slow even pressure to remove it - don't yank it and don't play gorilla. You'll get the feel of it pretty quickly. If the injector slips off the screw, thread it back on and try again. Note that I did things in a silly backwards way - I should have removed the filter first so that the pintle was protected when I was doing this, but this was my first attempt, so live and learn.
Here's the filter still attached to the screw after I removed it from the injector. Unscrew the filter from the screw and set it aside. I saved all of mine for comparison with the new units and tossed them once I knew I was done and things were working right.
Here is a comparison of the old parts and the new parts. The new stuff is on top. Note the order of assembly.

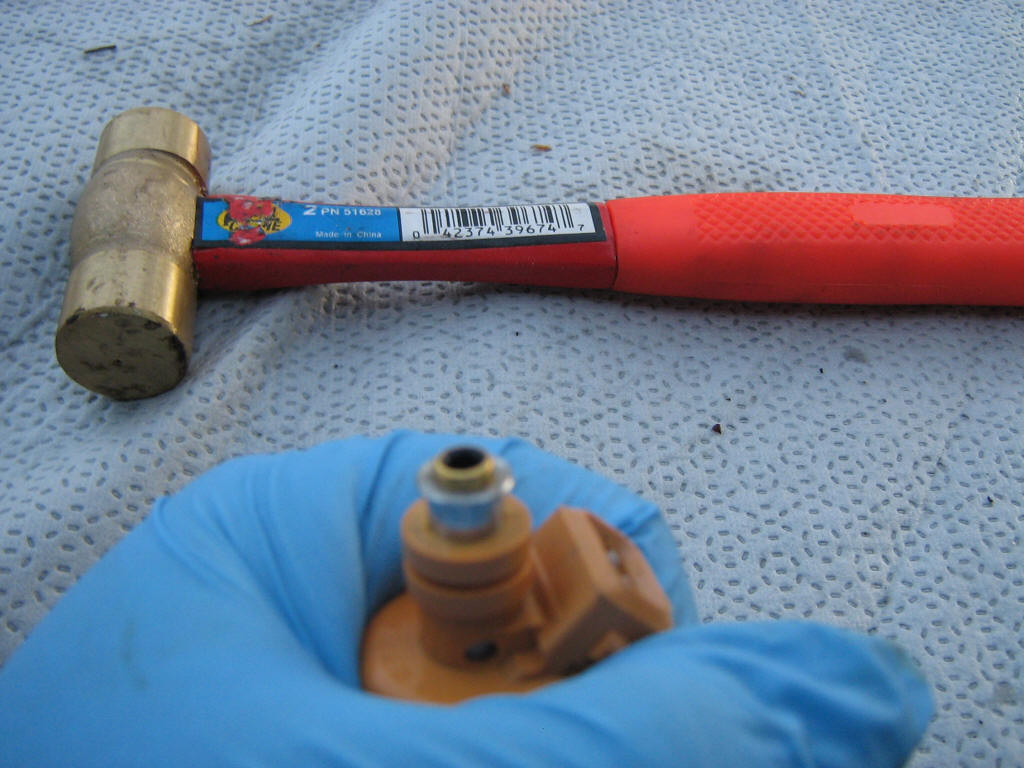
Push the filter into the top of the injector by hand until it stops. it will still be sticking up a bit, which you can see in the picture if you look close. Sorry about the fuzzy picture.
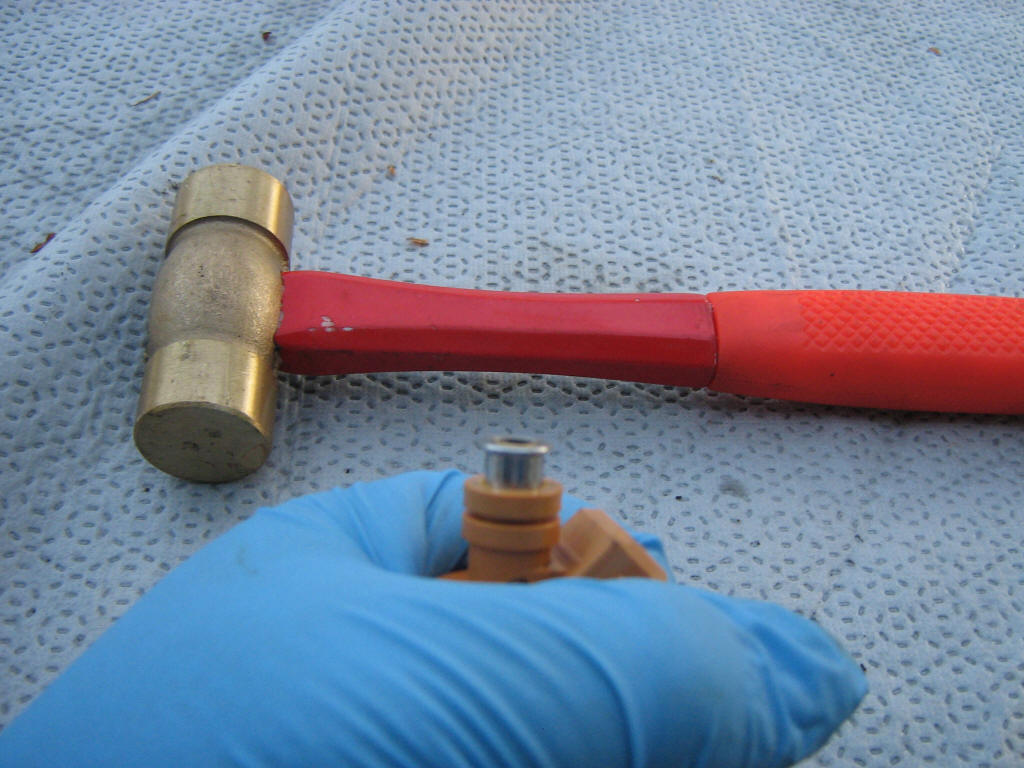
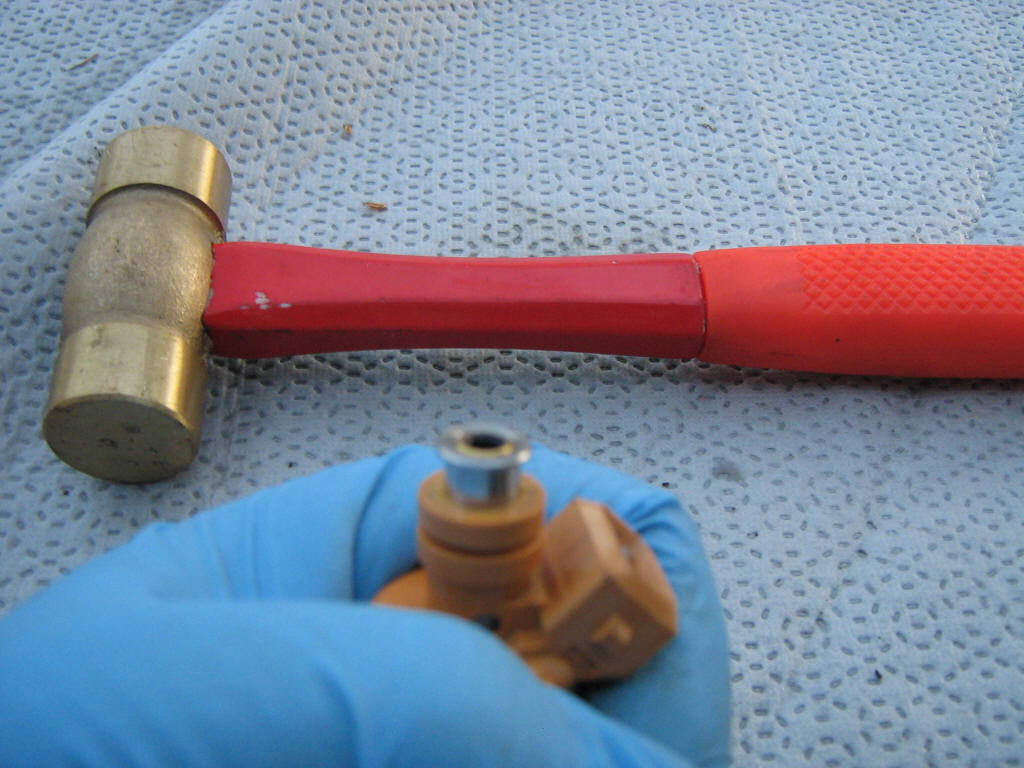
Using a small hammer - I used a brass one - hold the injector in your hand in mid-air and gently tap the filter into place. it will seat with a couple of light hits. Do not rest the injector against anything while doing this. It really does go in easily until the filter is flush with the top of the injector body. I have two pictures so you can see the top of the filter cap. Sorry about the fuzzy pictures.
Slide the new spacer onto the bottom, followed by a new O-ring, and then start the pintle cap by hand. Use a 10mm socket to push the pintle cap on until it "clicks" into place. Heating the pintle cap with a hair dryer may help it to slip on more easily. Make sure the pintle cap goes on square and does not hit the pintle. if you bend that, the injector is basically junk.
Here's the lower end of the injector reassembled with new pieces.
Lastly, install the top O-ring - being careful not to cut it - and you're basically done with the rebuilding part of things. You can likely reinstall your injectors at this point and they will work fine. You may wish to run a tank full or two of good detergent gasoline through the system to help clean things out even more. I've heard good things about Chevron's Techron additives, but I've not confirmed that. Search around on Google for some ideas on what's out there.
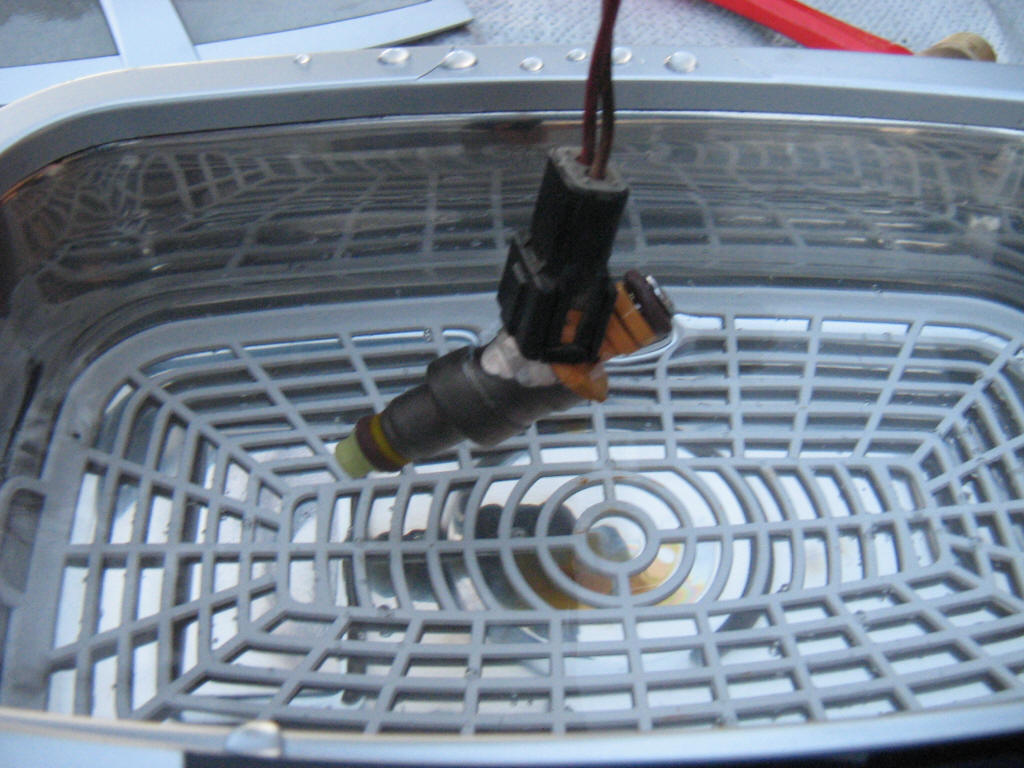
At this point you can proceed with further cleaning using an ultrasonic parts cleaner. I tried it and got nothing else visible to come out of the injector. That may have had something to do with the lack of the roper cleaning solution. For now, I opted to stop here. If you do decide to proceed, then you can use the injector test harness to cycle the injector while the ultrasonic cleaner is turned on. It may not be a great idea to activate the injector while the electrical connector is immersed in the cleaning solution, and I've seen small fixtures to hold the injectors while they get cleaned to help avoid this problem. In my experiments, I simply dangled the injector in the fluid and cycled it off and on a bit. I may be entirely missing the point here somehow, or maybe the carb cleaner did a decent enough job on my injectors so that I didn't need much from the ultrasonic cleaning
This is something I thought about building to visually verify injector spray patterns, lack of leaks/drips, etc. Basically, you want to get the injector to spray something you can see and cycle the injector to make sure it's working right. You can use a timing light to make the spray pattern more easily visible. It's a much more involved project, but an interesting one for experimenting.
You'd need a clear container to have the injector spray into - I figured a small fish tank would work well for that. That you need to build an injector fixture at the top that holds the injector and connects to a high pressure fuel line of some kind. I was thinking of buying a short length of custom fuel rail and putting one injector mount in it. Or maybe some kind of 4-cylinder engine fuel rail could be used as a starting point. The lower mount just needs to hole the injectors in place, so it can be plywood or a simple piece of metal with appropriately sized holes cut into it. The wiring is basically the same as the simple test harness above, with options to activate all four injectors or just one at a time. Four pushbuttons would work nicely for this. Then you need a fuel pump of some kind, high pressure lines, and a way to return unused fluid/fuel/whatever you decide to use to the tank/container you are using.
Using gas as the test fluid would be ideal to mimic actual operating conditions, but would be highly flammable in gaseous form. Water could work, but then you have to flush the system with air or something like that.
Some motivated junkyard scrounging could get you the needed parts for dirt cheap, but for most folks it's simply not going to be worth it to do this. I may end up with enough spare parts from my Ford EFI work to patch something together, but it's not a priority since Ford injectors rarely seem to go bad, and should work just fine for my needs. And if one does go kaput, I can replace it with one from my copious pile of spares. This was an interesting idea I had while working on related stuff, and I figured I'd share my thoughts with readers who might be inclined to build such a thing for fun, profit, or simple entertainment purposes.
One of my readers, Brad Watkins, wrote in to tell me about a setup he created before finding this page. Neat! He also has a link to a video of his test bench in action, which is pretty cool. Thanks, Brad!