Ball Joint Boot R&R (by Andrew Olson)
I was changing out the suspension on my GT and knew that the ball joint boots needed replacing. All 4 were bad (2 upper, and 2 lower.)
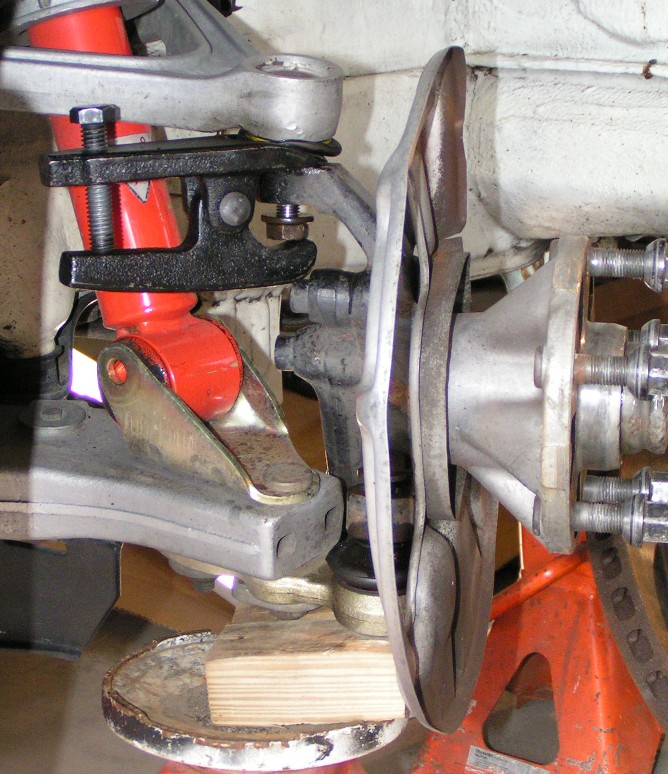
The first step is to remove all the stuff in the way. Remove the wheel, brake caliper and rotor. I'm not sure it's necessary, but disconnecting the tie rod from the steering knuckle might be helpful.
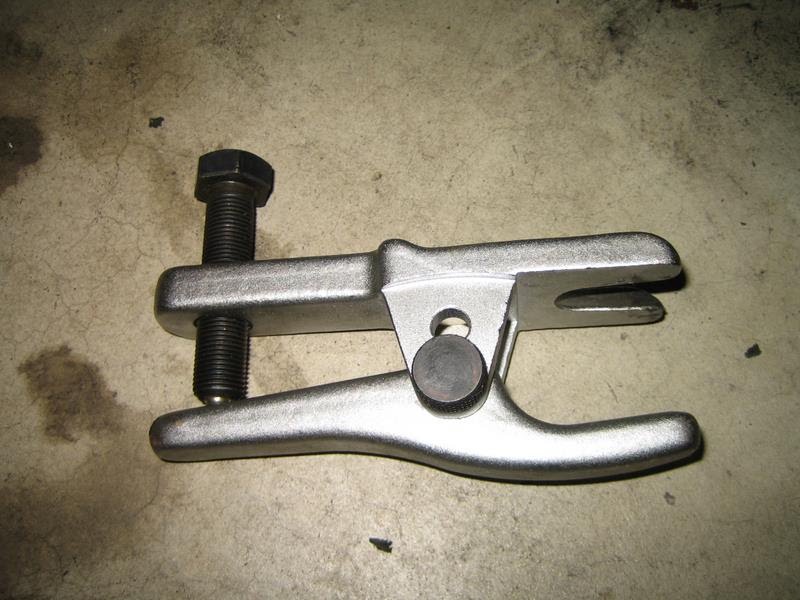
Oh yeah, before I forget, NEVER use a "pickle fork" style ball joint removal tool. You'll end up scratching the Morse taper portion of the ball joint, or worse the actual ball. Don't do it. Rent a high quality ball joint separator like this one. My local auto parts store has a free loaner program for this particular tool. Thanks Murray's Auto!
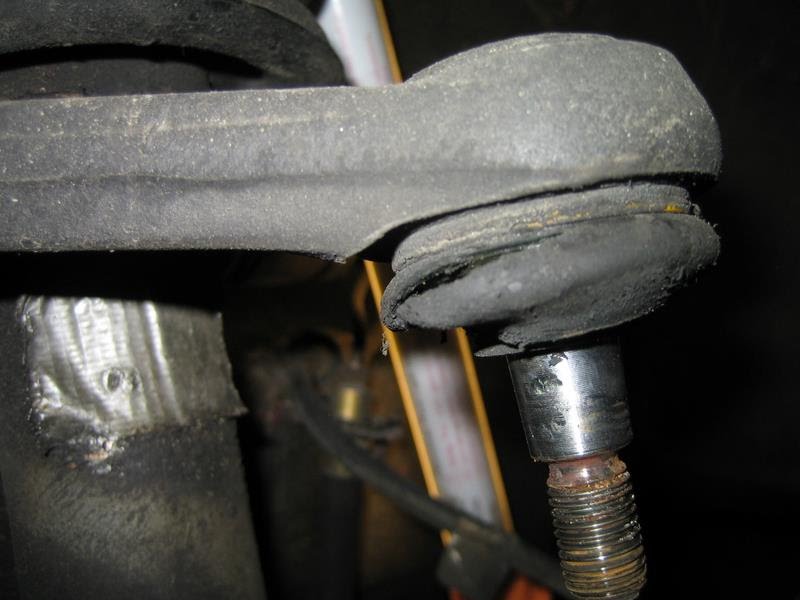
Here's a cracked boot! Nasty stuff!
There is a metal retaining clip at the top of the ball joint that needs to be taken off to remove the old boot. A needle nose pliers works pretty well for this. If you did not get a new clip, be sure to be gentle with this as you'll need to re-use it.
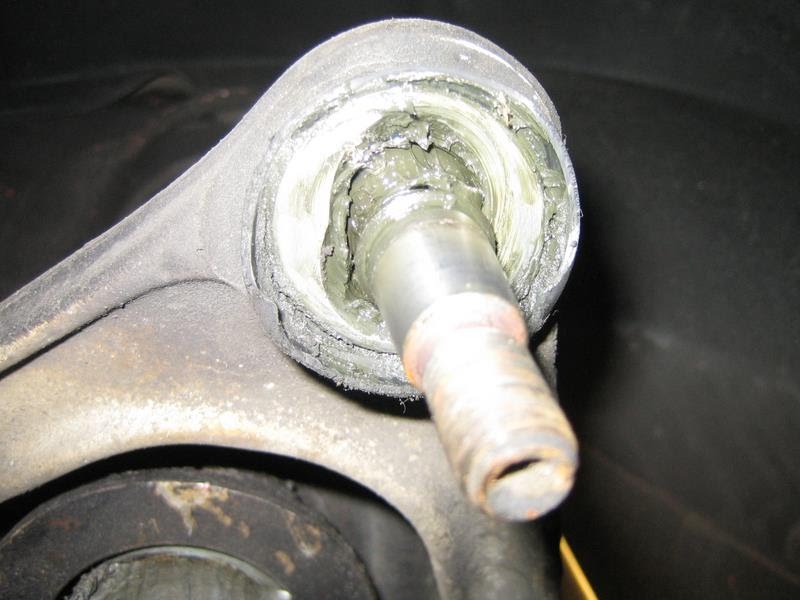
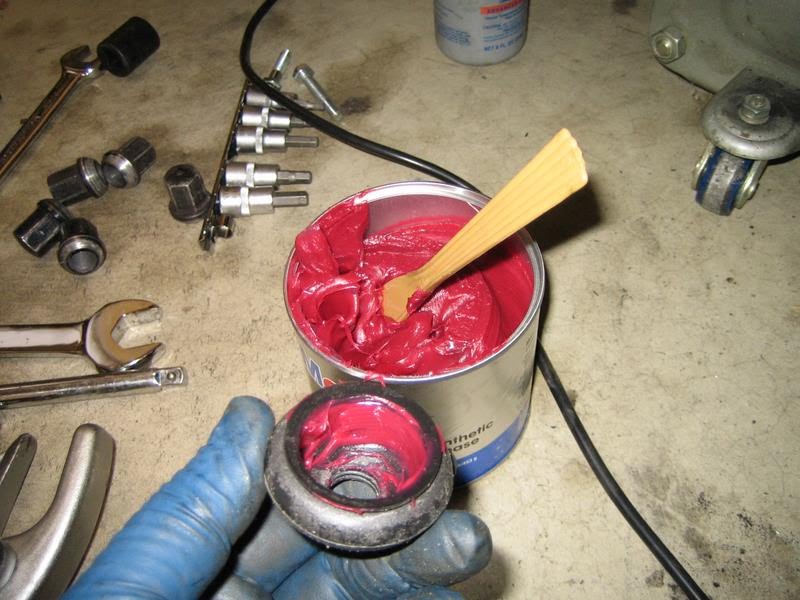
Inspect the grease and ball joint for contamination like sand, and other junk. I wiped out as much of the old grease as I could get out with a paper towel. DO NOT USE A DEGREASER OR BRAKE CLEAN - YOU WILL RUIN YOUR BALL JOINT! I used a high-quality synthetic grease to replace the old stuff.

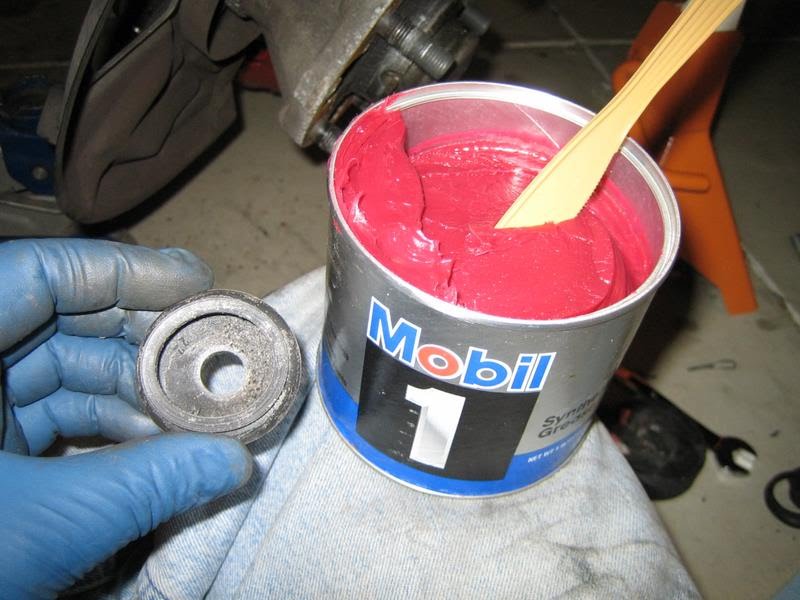
There are 2 ways you can pack the new grease in there. Pre-butter the inside, and goop it up in the ball joint itself. Just make sure there's plenty of grease.
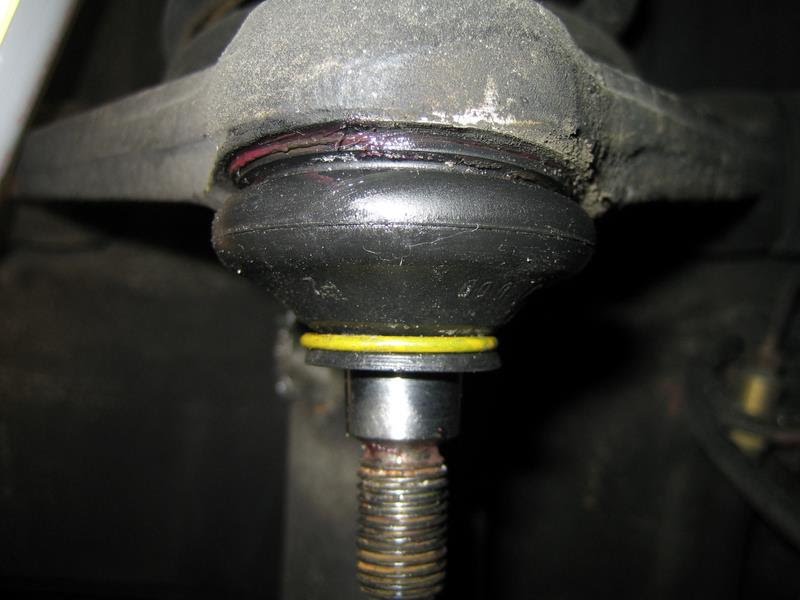
When you slip the new boot on, you'll notice a small grove at the top where the boot needs to slip into, but don't make the mistake of forgetting to put the lower retaining clip on first.
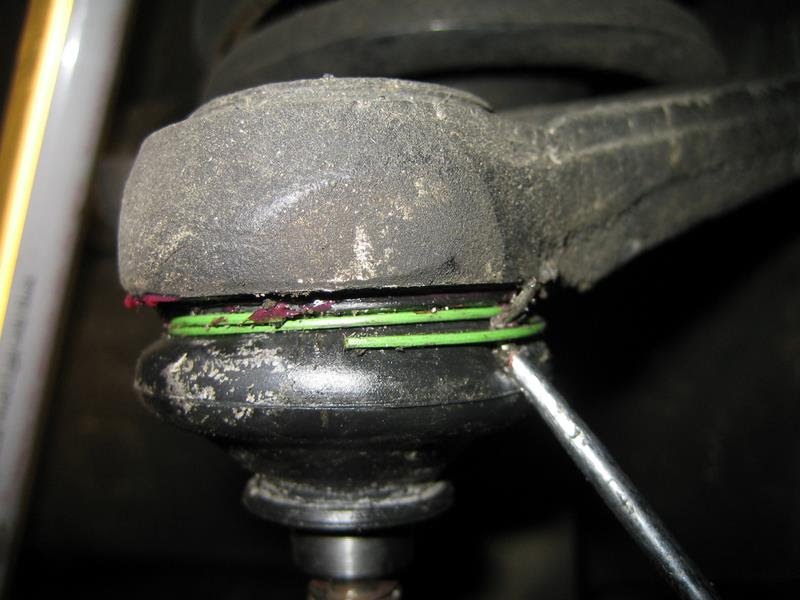
Next, put on the upper retaining clip. I found an angled pick works well for this.
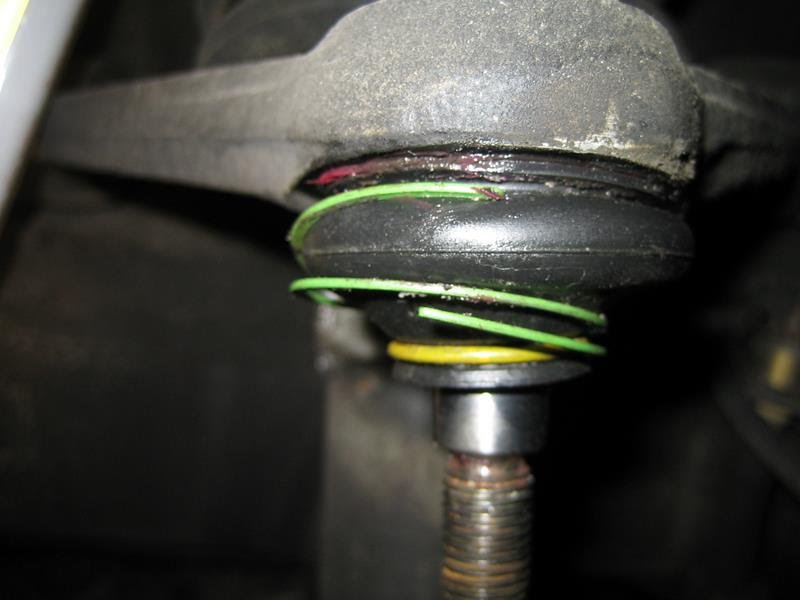
A mostly-finished Ball joint boot (notice I had forgotten to put on the lower clip! D'Oh! I had to redo it)
Tip
: For the lower ball joints, the boot is just a hair too small to slip into the groove. I found the best way to get it on is to flip the boot inside out and then slip it up the shaft of the ball joint. When you get it up there, turn the boot right-side-out and the pull it down into the groove. I must have spent an hour or more trying to pull it up into the groove, the inside-out method works much better - about 30 seconds! (Sorry no pic of that process.)====
another good ball joint separator:
I also had success with lo long piece of flat (maybe 8mm thick) metal that gave a lot of leverage :)
Theo
====
I fixed the boot of the left front wheel upper A-arm side. It had a tear and I wanted to avoid further damage.
The boot I used was a kit for a Audi 100/200 V8. Parts:
1 x 431 407 377 A ---> Boot
1 x 431 407 383 A ---> Clamp
1 x 431 407 384 A ---> Clamp
Cost was about 15 euro.
Repair was 2 hours, maybe 3.
The procedure is as follows:
Theo
1992 928GTS Midnight Blue