I've yet to add the leather cover but will post a pic when its done.
I've run across some pretty bad
RQPs and often they look like they're beyond hope. This one was warped and
busted up pretty well, but I managed to get it straight. I figured I'd pass
along a few tips.
I didn't get a pic of adding resin and fiberglass to repair the cracks and
adding broken sections back. Laying fiberglass is a whole other project for
another time.
I've yet to add the leather cover but will post a pic when its done.
Rob Budd
--------------
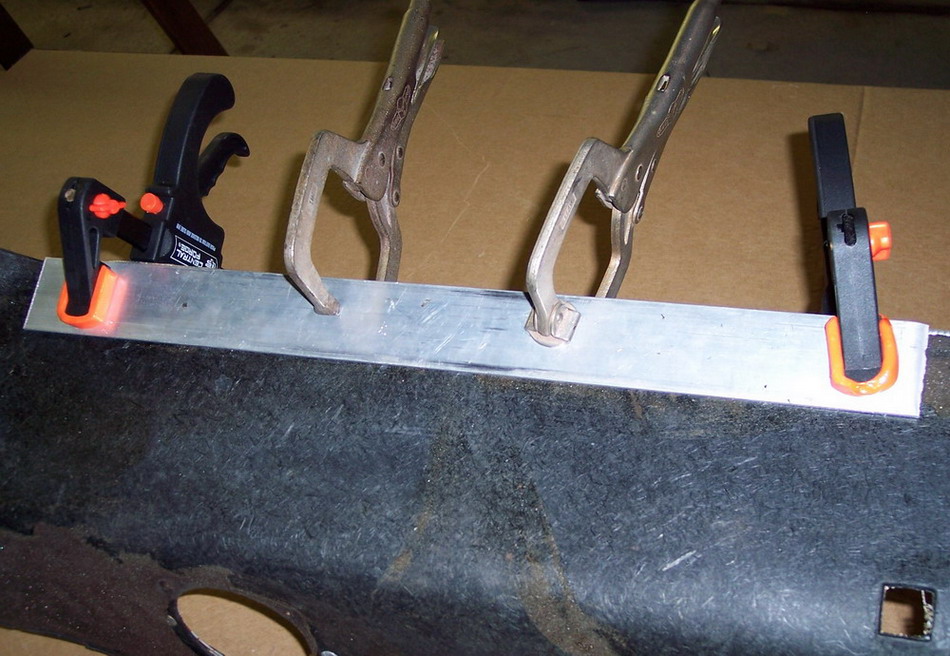
I did my '88 three years ago using heat and metal plates as Robert Budd
describes, but I had not seen his post at the time and had to 're-invent' the
process. The one plastic clamp was used over the retainer after the heating
step. I glued the old leather down again afterwards, but obviously displaced
somewhat since it had shrunk.
 clamp pic
-------------
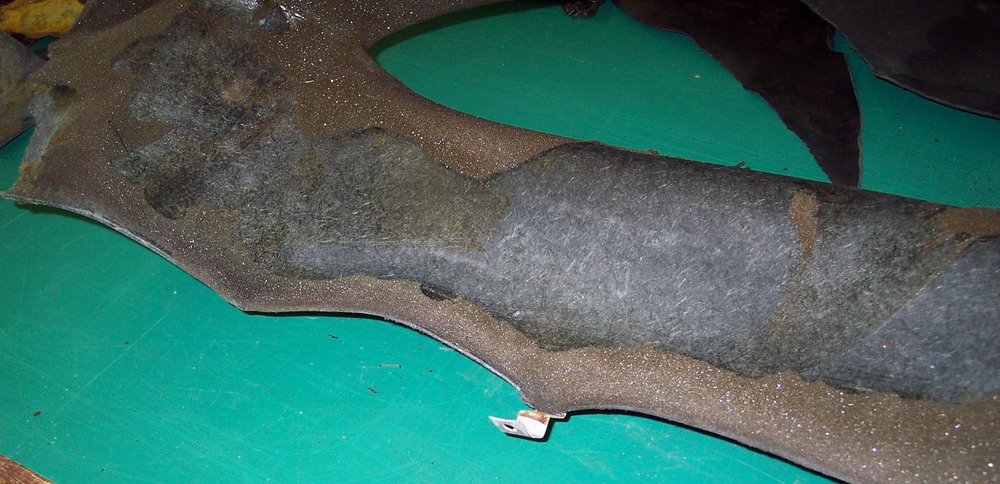
I did it 'my way', and it did work out well. Hot water was my softening agent
for the pressboard. First I removed the leather from the board. I then applied
large sponges saturated with the hottest water I could muster to soften up. I
then used metal 'L' braces to maintain the shape I needed. Two strategically
placed on each side. I employed a little bending to get the exact shape I needed.
I used flat round top bolts which laid under the leather. I removed some of the
foam for the bolt head to sit in and cut a Dr Scholl's moleskin to fit exactly
over the bolt head so there would be nothing obvious to the contour. It really
worked out well. I disconnected the panels, but did the job without removing
either side from the car. Sorry I can't provide a pic now, for my teenage kids
left the Nikon D100 in the rain on the patio. I did have one casualty from the
job, but it was related to my error. While moving things around, I wasn't
careful and let the panel flex just behind the pillar in front of the window.
This resulted in the dried leather tearing about 2 inches linearly. Because I'm
such a dope, it happened on both sides. I tried various agents to fix this tear,
but what finally worked was extending the cut perpendicularly so that I made an
'L'. This allowed me to reinforce it from below by using Permatex 80016
Non-Hardening Pliable Gasket Sealant adhesing a pleather material. I then used
the same black material to generously cover the linear 'L' shaped seams of the
tear. I let it 'harden' for a few days and then went back and sanded it down
with 320 then 1200 grit paper. I liked that the material was hard but 'giving'
so it would react well to expansion/contraction. I then sprayed it with flat
black Rustoleum fabric/vinyl spray. It looks great.
MainePorsche