One of the main reasons I took the dash completely out was to get the HVAC box out for a complete cleaning to be sure no strange odors would be lingering for our enjoyment. So started with lots of pics to know how to put parts back together, paying special attention to the direction flaps linkage and the vacuum pots. Looking into the blower boot, I can see the AC core front face is dirty, so sure this will be a worthwhile exercise.
I removed the freeze switch – being careful to not kink the sensor bulb or tube when pulling it out of the housing. Also removed the resistor pack – it looks like each coil is fine, but need to test each for continuity before reassembly. I noted the location of the nub that locates the wire harness connector, to be sure it goes back in correctly. Next took off the flap control motor and carefully noted the linkage orientation for later. I noticed flow direction arrows on the expansion valve, so first marked the housing with “IN” to be sure later assembly is correct. Being sure to counterhold the expansion valve to prevent tweeking the AC core pipes, I got the tube nuts broke loose with a 19mm wrench. It is a tight fit to get the wrench into this plastic pocket area – a straight open end wrench would probably work better here. There are 2 O-rings here to be replaced, so bagged and tagged for later replacement.
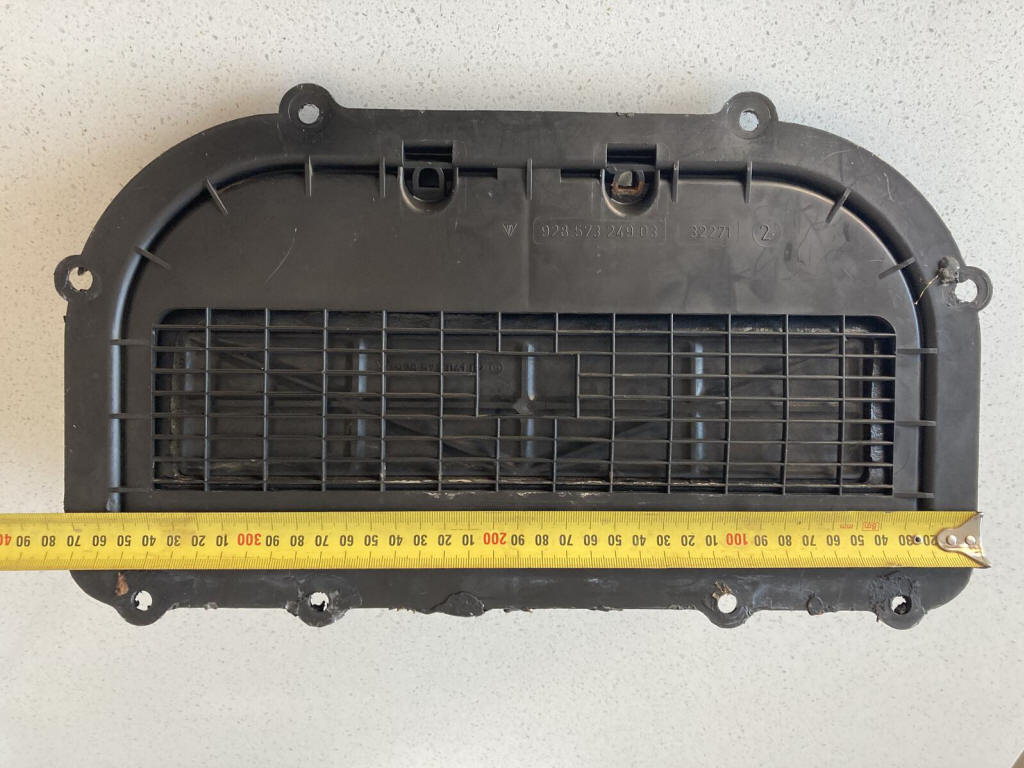
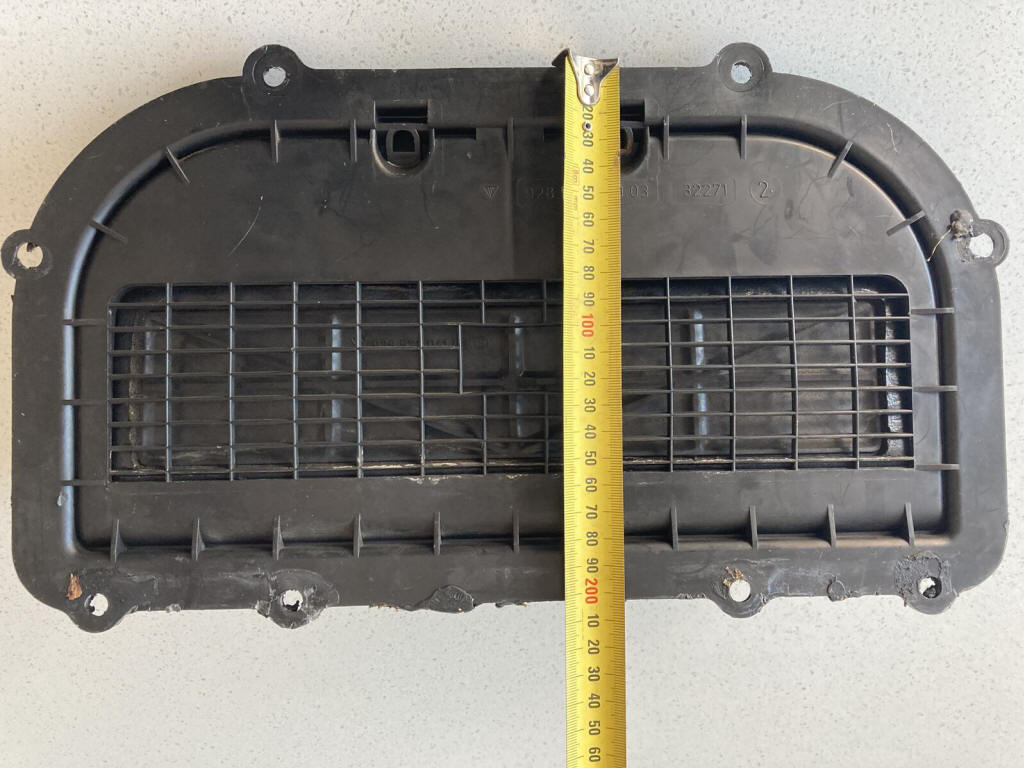
Moving to the bottom, I removed the footwell plenum by just getting the spring nut off the plastic stub, and lifting it off the tabs at the front. This joint also traps the footwell direction flap to create the pivot axis. It was easy to disconnect the vacuum pot from the flap lever so put that aside for cleaning. I left all the vacuum pots in place, to be tested after reassembly, but before installing the box. I also took off the linkage between the internal direction flaps, but found later I didn’t need to. Next was to get the rubber blower boot off – simple job, but it has a molded lip that cinches onto the blower box flange, so be careful not to damage this seal.
The housing was ready to open, so removed all the clips holding the parts together, and it just fell apart on the bench. Bits of junk, seeds, and filth fell out also to my surprise – there was stuff behind the heater core – even pumpkin seeds! Must be a story there in the car’s past….
From here is was simple to push the heater pipes through the grommets and the heater core slipped out of the two flanges holding it. The selector flap assembly pulls out of the main box now, just small bosses where the flap pivot shafts pass through the hosing are lined up with notches in the main box. Even more junk was revealed at the back of the AC core. I found the thin foam that is stuck onto each of the directional flaps is extremely delicate – it could turn to powder with just a touch, so that has to go. I don’t understand why the whole flap face – both sides – was covered with this foam. I can see foam on the edges to seal to the box housing – but the whole face? Maybe for noise control? The foam has a skin on it, so not likely for moisture control.
The heater core pipes are bolted to the plastic end tank, with O-ring seals on each. These will be replaced as a WYAIT. It would suck to have to go this deep into the dash later because of a coolant leak here! I made sure to mark each pipe for correct reassembly.
The only thing holding the AC core in now is the oval grommet around the pipes to the main box, so gently pushed the fittings and grommet into the box. Luckily the grommet is still soft, so this was easy. With the core out on the bench, the filth was revealed in all its horror – a nasty pile of organic stuff packed into the coils and along the lower fins. This would definately hinder the performance of the AC and smell awful! The main box is now empty – not really a hard job to do once it is on the bench. I sealed the AC core pipes with duct tape to keep junk from getting inside, then vacuumed both cores to clean the junk out. The next day I washed all the parts inside and out, being careful to not get any water into the vacuum pots. The main focus was on the cores of course, plus flushing the AC core with Varsol and compressed air umpteen times. I think the AC charge was R12 because the line fittings are not the R134 style and the o-rings were still black rubber. By flushing the core, it is ready for whatever coolant type I want to use when it gets charged. I used a nylon brush and Simple Green to wash the core fins, then made sure they were rinsed and dried really well.
Next is to find the right type of foam at the local hardware store to replace all the old stuff that disintegrated, and the correct o-rings for the heater pipes and the AC core to expansion valve. More to come....
http://forums.rennlist.com/rennforums/928-forum/673976-hvac-box-cleaning-and-reseal.html
__________________
BigAl1