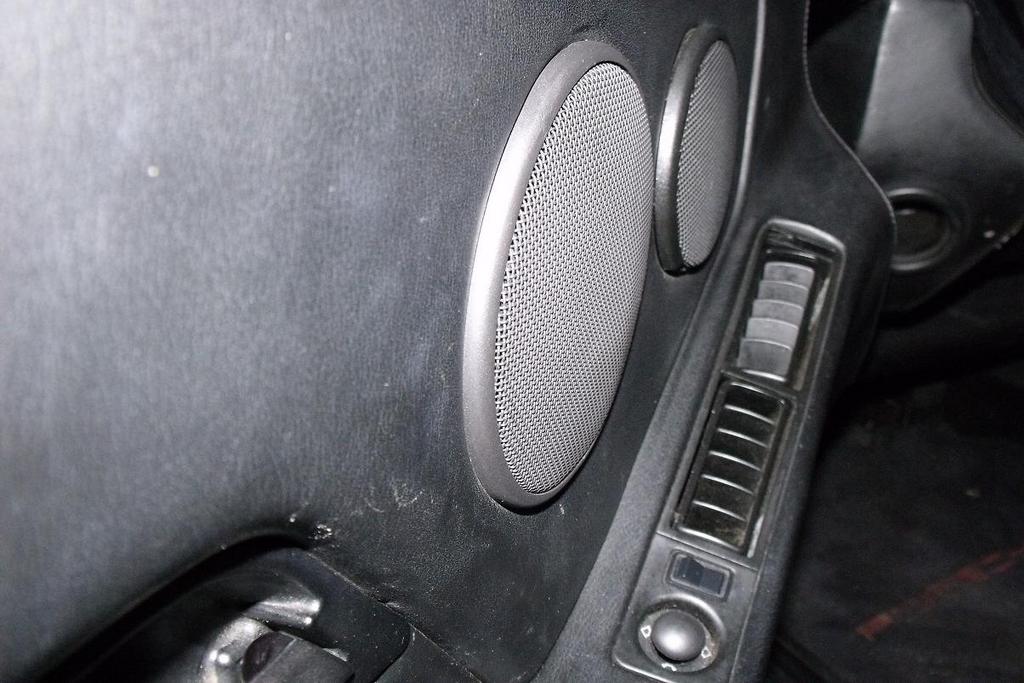
Save your speaker rings!
--------------------------------------------------------------------------------
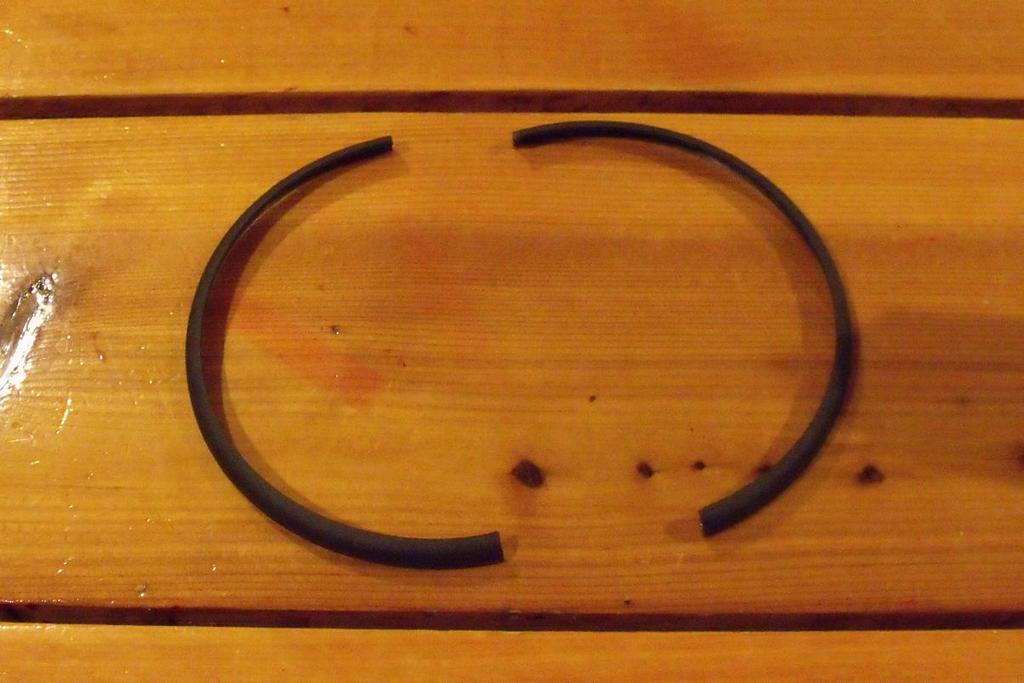
Ok. Now some of you might call me a cheap bastard for even trying to fix these.
But with four children, I am always looking for ways to make the car nicer
without spending so much all the time. I have tried using epoxy on the door
speaker rings in the past. You can get them to look good for a while, but they
always break in a bit of time. I figured out a way to repair them very nicely. I
always consider that someday you wont be able to get any original parts for the
sharks so I'm always looking for ways to sensibly save parts from the trash.
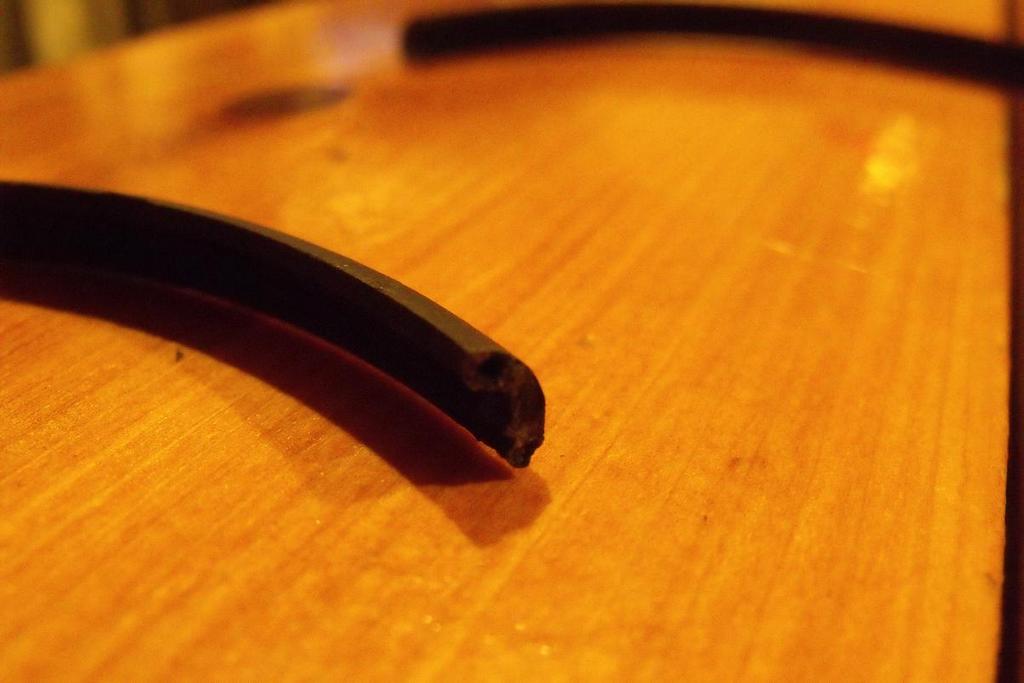
Below, by the photos you can see what I did.
Mike Ballard
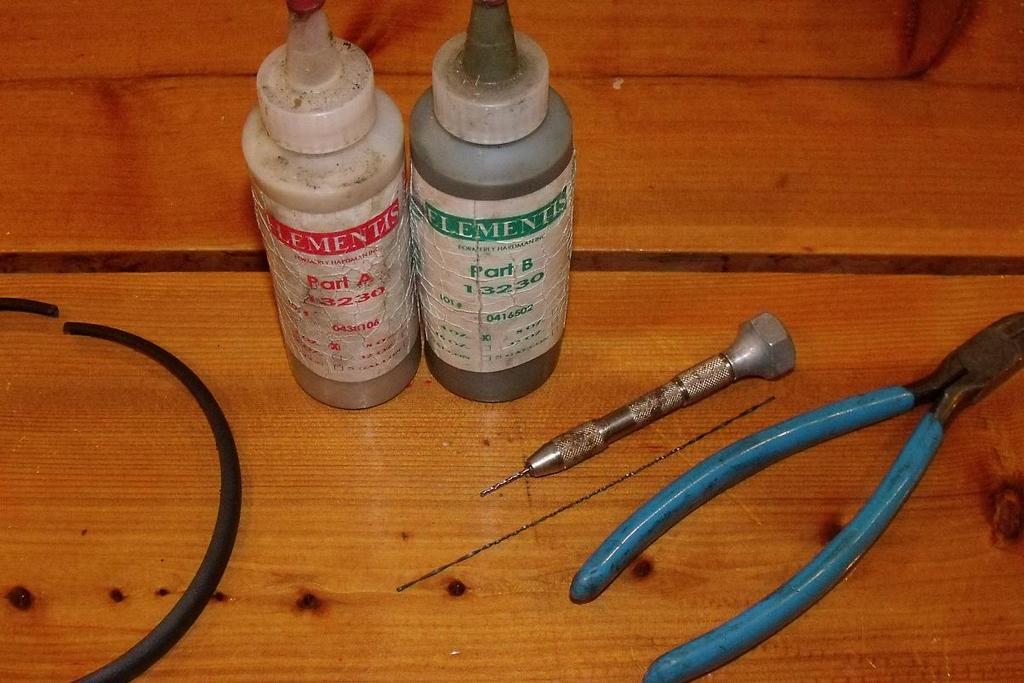
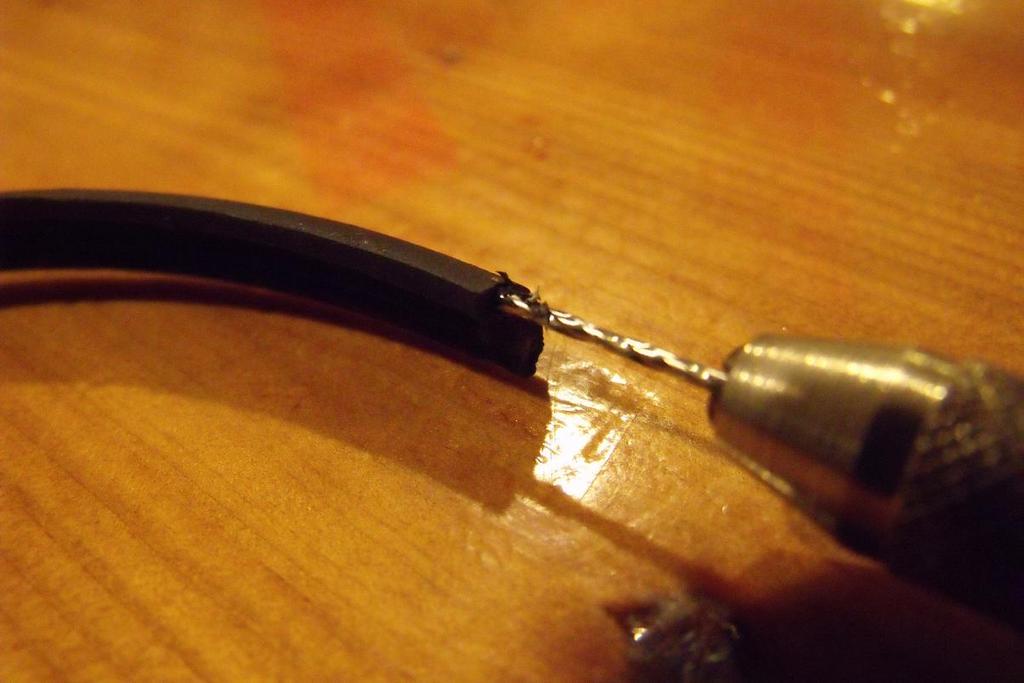
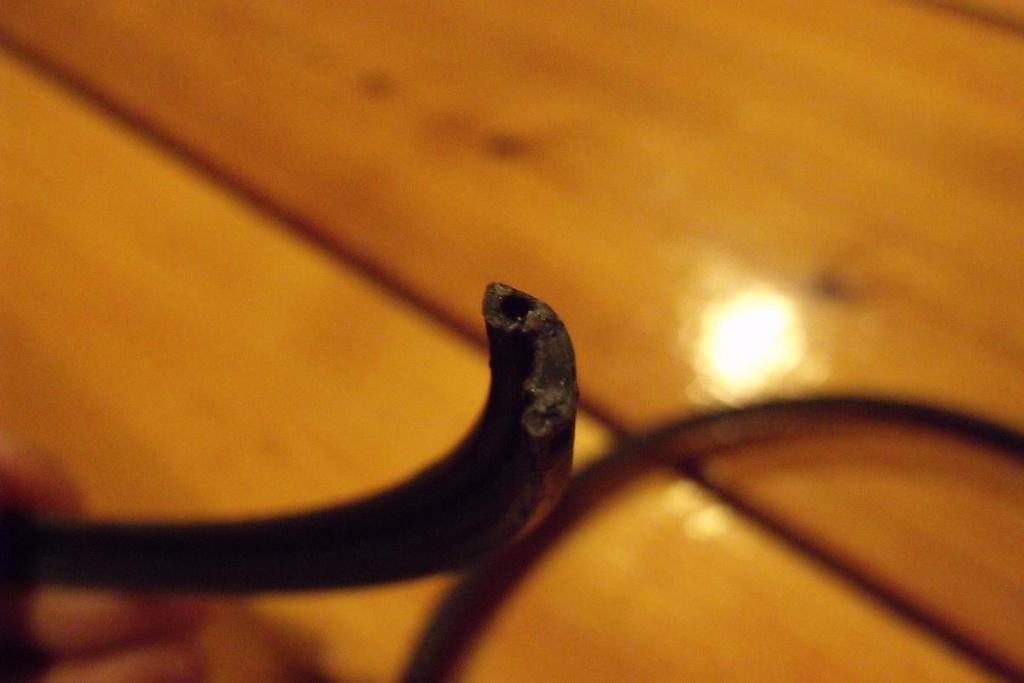
1) I used a micro drill in a Pin Vise and drilled some
precision holes using calipers to determine matching points in the ends of the
parts. I drilled about 7mm deep.
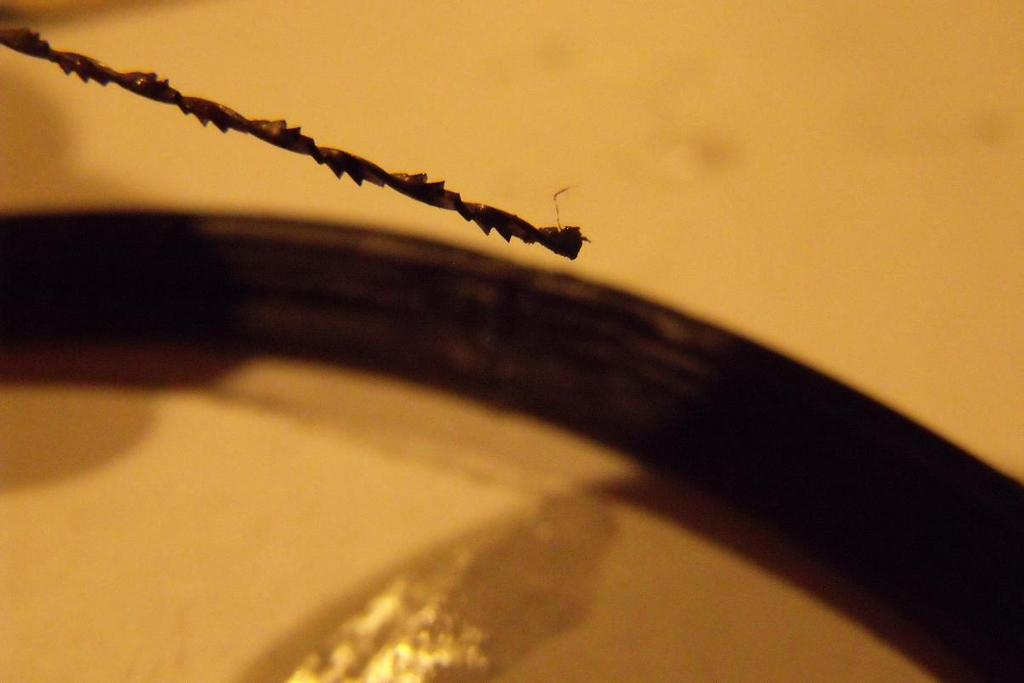
2) Used a 13mm piece of multi direction blade for a scroll saw
as a reinforcement. The multi direction spikes and high carbon content of the
blades make them small, strong, and perfect for purchase with the adhesive.
Also, due to their multi directional cutting ability, if your hole alignments
aren't completely perfect, a few movements of the two pieces together with the
blade piece in the connecting holes will allow some more material to be cut for
the perfect alignment.


3) Used some aircraft structural adhesive to coat the
reinforcement pieces and applied to the part contact areas.

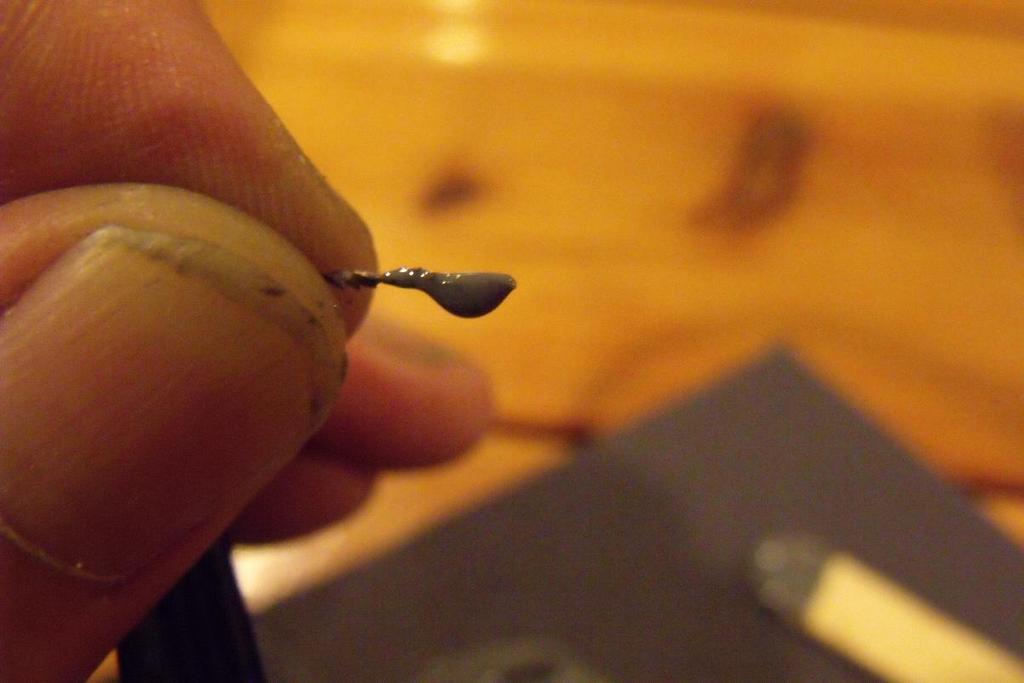
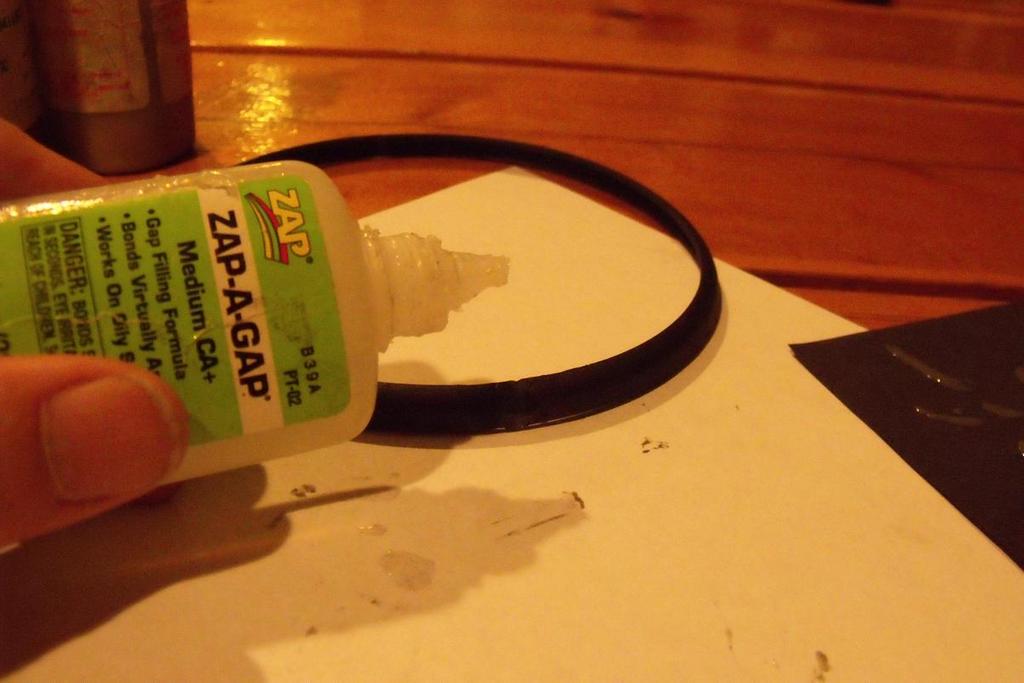
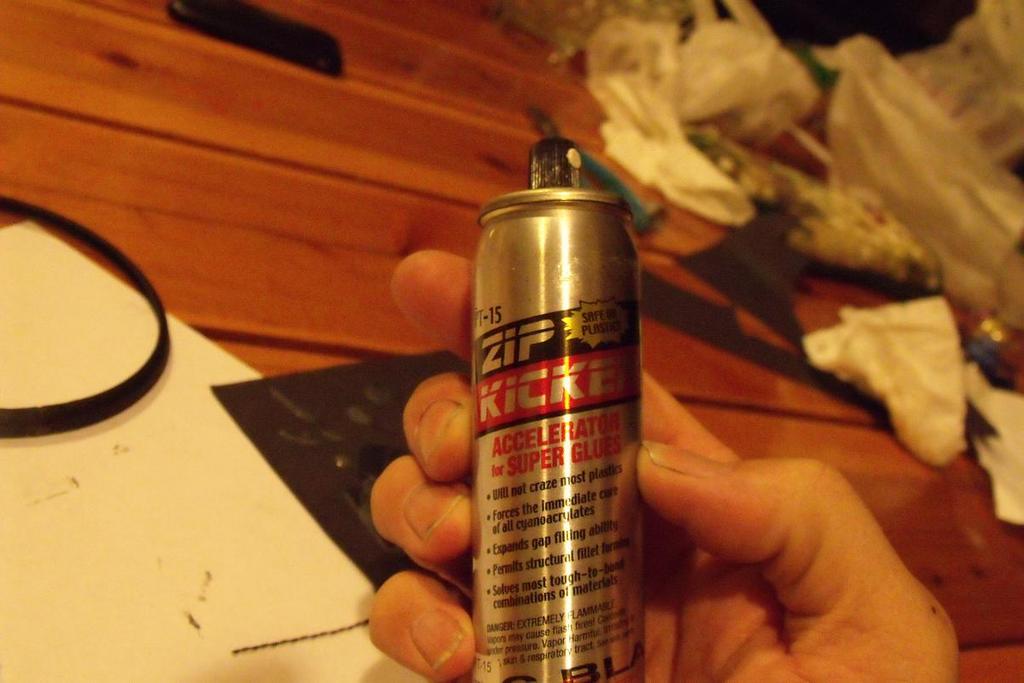
4) Since the structural adhesive takes 12 hours to cure, I
used some cyanacrylate and some accelerator to make an instant brace to keep
alignment while it cures. While I was at it I used another section of the scrol
saw blade to clean up the internal threads. Alternatively, a cork board with
straight pins would work well to "fixture" the pieces in alighment during cure.
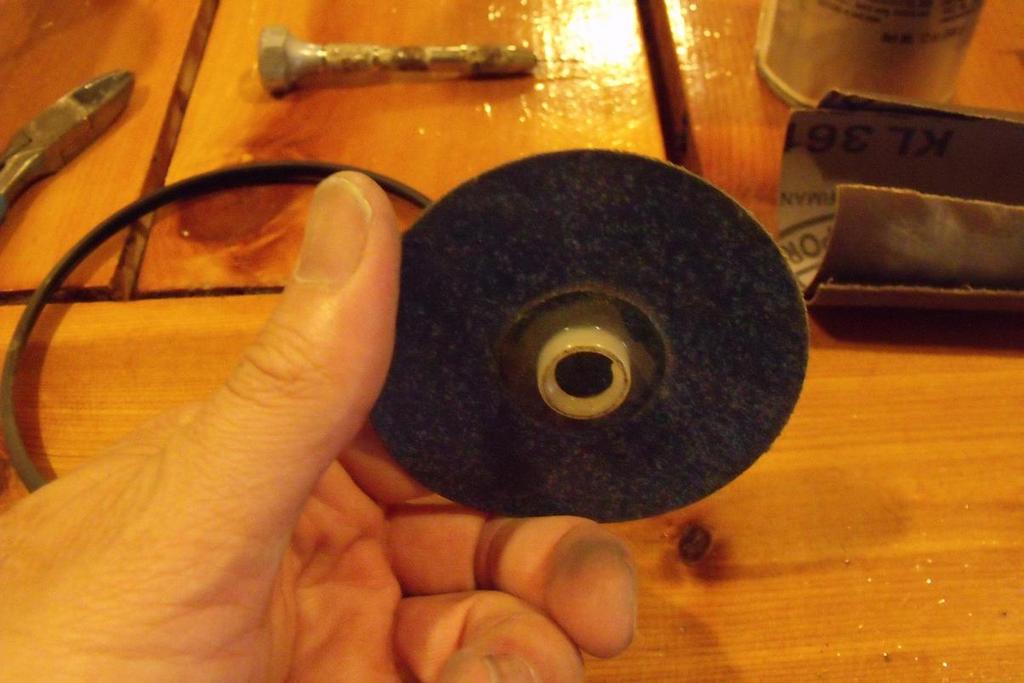
5) After overnight cure, I used a sanding disk as a sanding
block (320 grit) to smooth off most of the cyanacrylate.
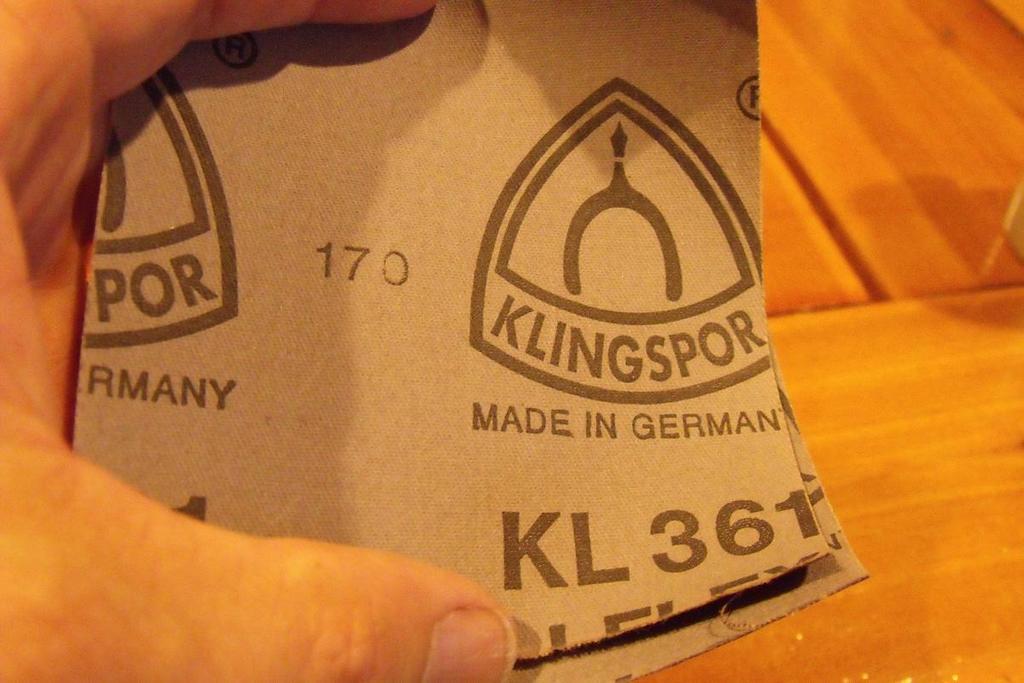
6) Next, used some of the excellent German made sandpaper in
600 grit.
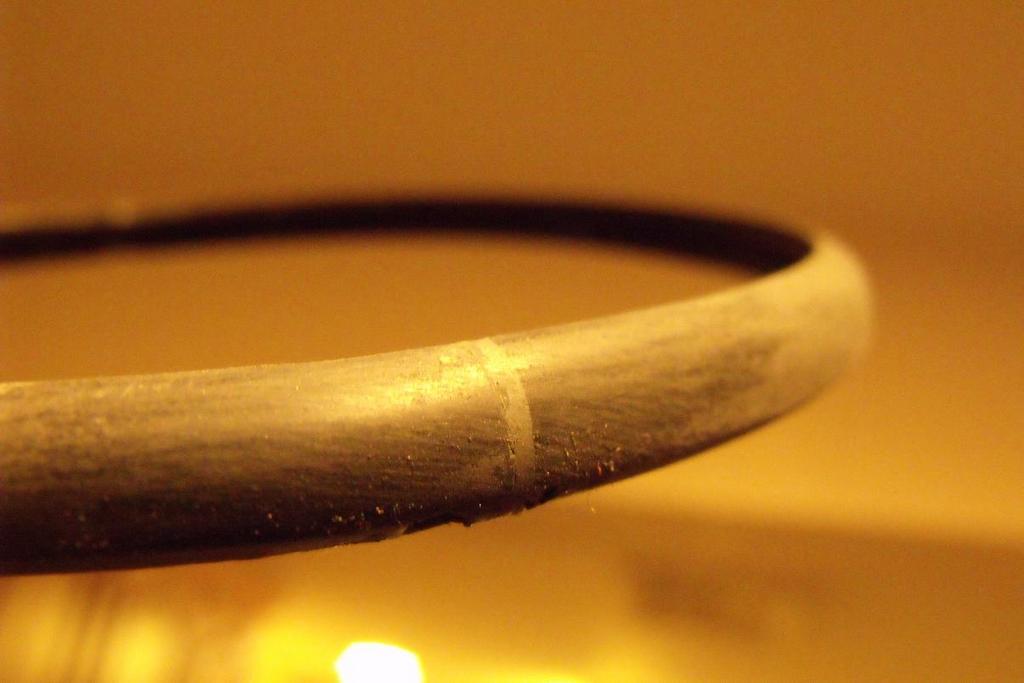
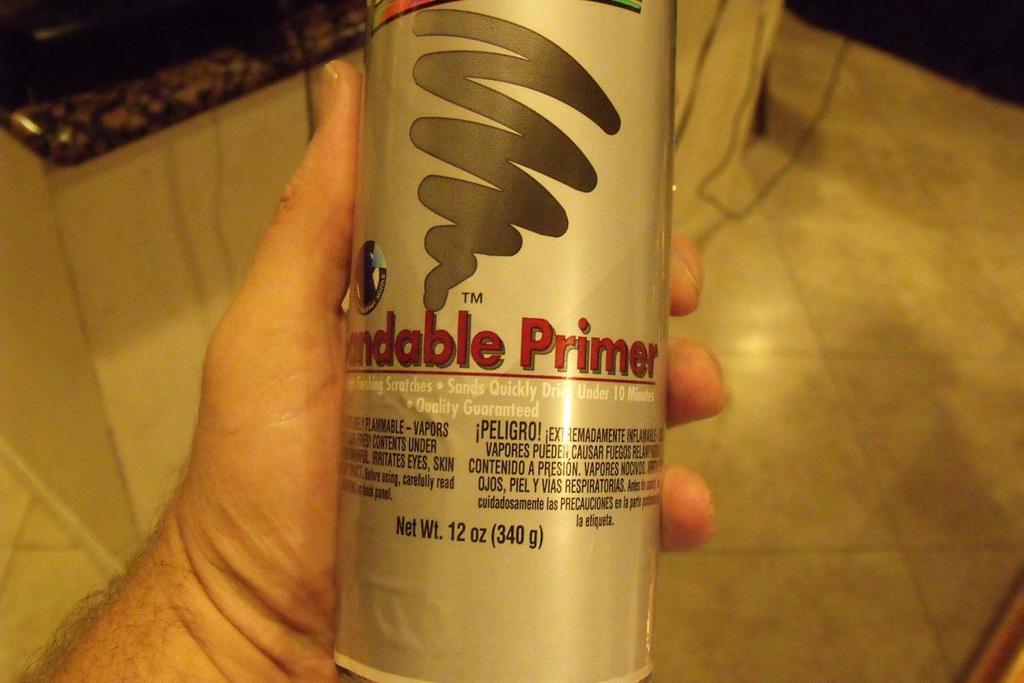
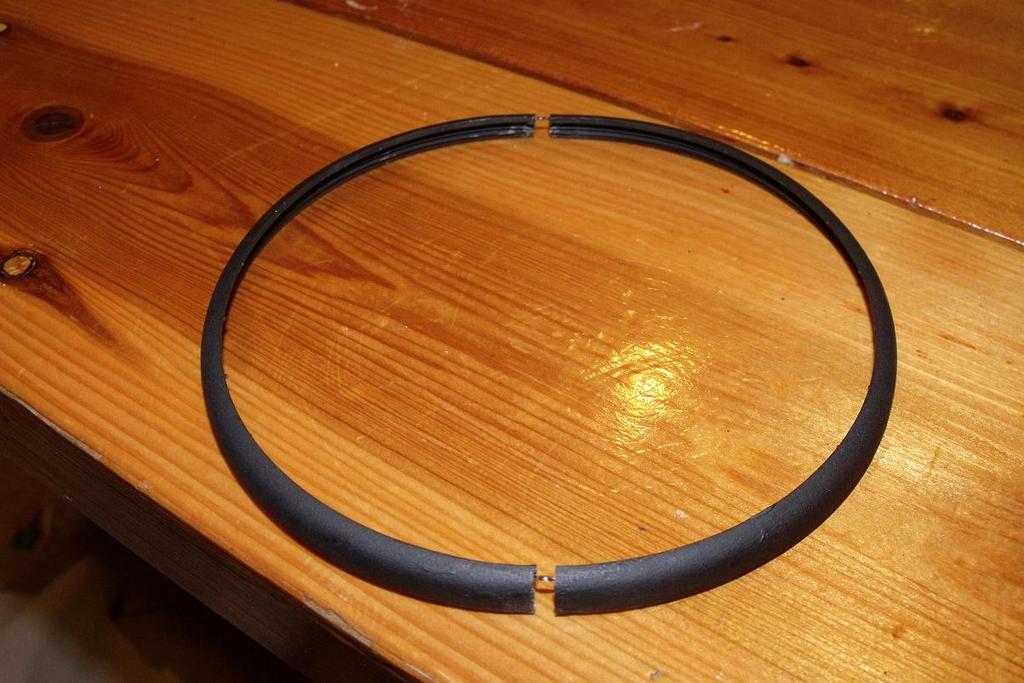
7) Applied sandable black primer, let dry. Lightly sand again
with 600. Then apply final coat of primer. Next you can use any color you like
to match the original plastic. I left mine with the black primer for the time
being and it looks great. I will probably match some paint for my airbrush soon.
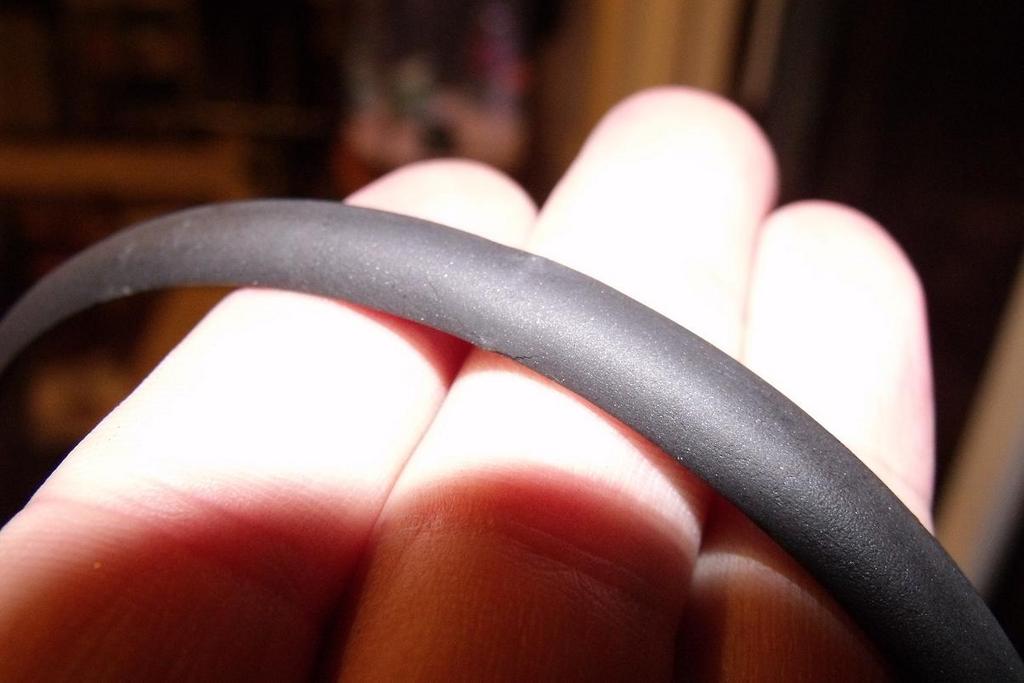

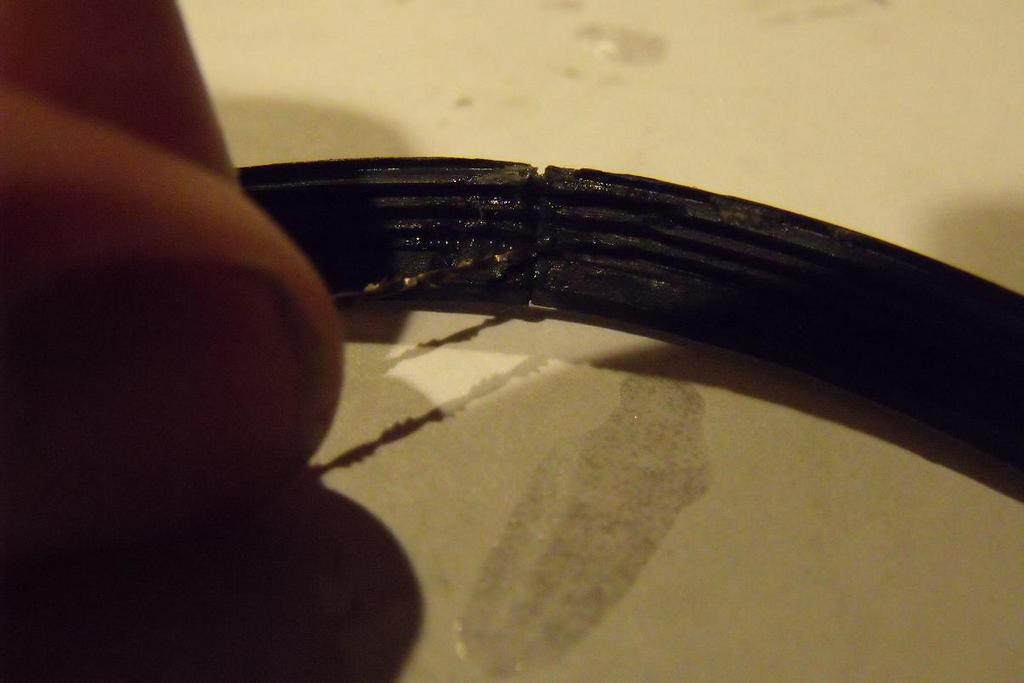
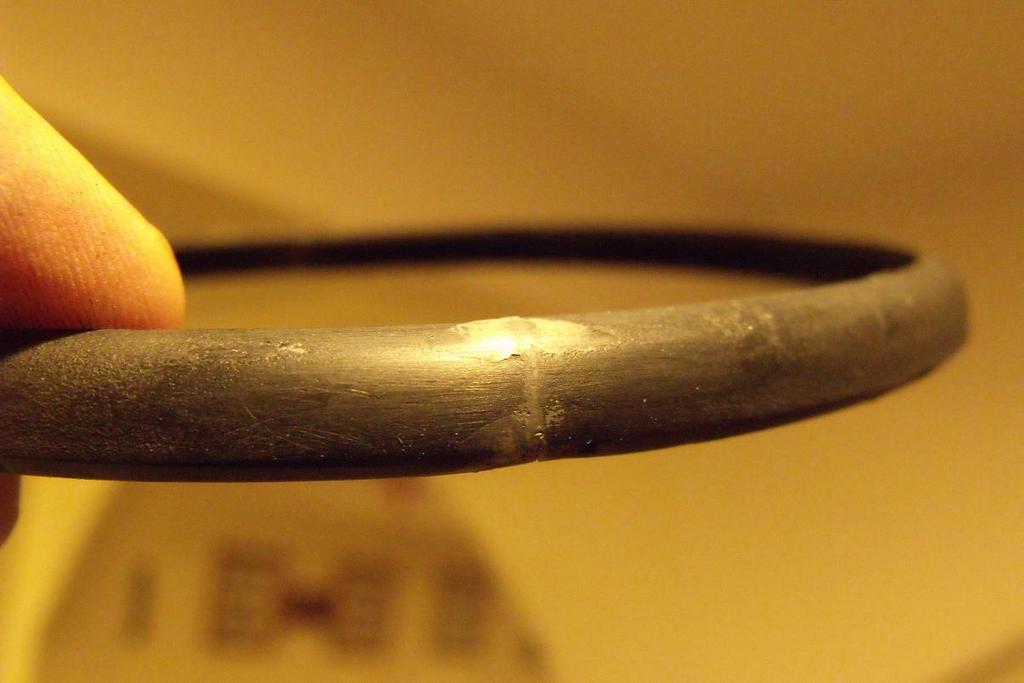
8) Install and enjoy. It seems to be pretty robust. It's been
good to go for a few days now. I'll report long term strength later. The ring is
for sure going to break again at some point. BUT I DON'T THINK IN THE SAME SPOTS
AGAIN. I can't tell you how many times I have accidentally pushed on those
speaker grills...